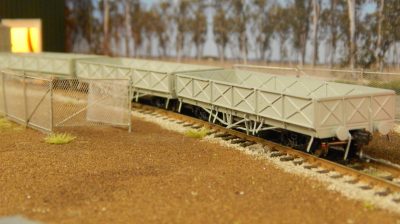
 I guess it goes without saying (though I will anyway) that after having worked so long on getting the HJS kits ready, I wanted to snaffle some time to make some models for our layout.
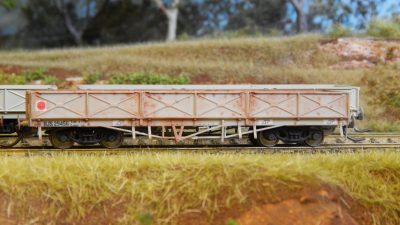 It was after I’d built the first four that I decided to attempt a kitbash of one. With this thought in mind, I plonked my backside down at the modelling bench and did some thinking… After much thinking (and some Panadol) I can tell you what I thunk…
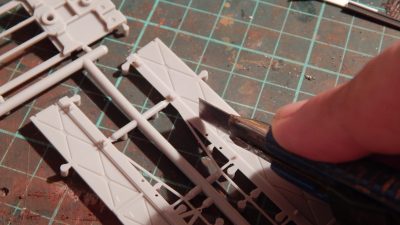 I thunk that I should remove the doors from one of the HJS wagons. This has got to be the simplest kitbash in history! All I did was make a single cut along the back of the sides where it steps out from the side sills. That was it!
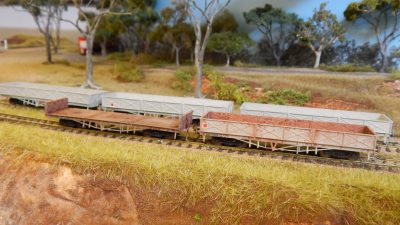 The rest of the assembly was exactly the same as how you’d assemble the normal HJS kit.
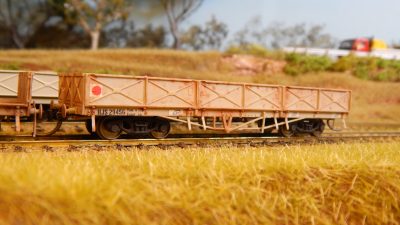 The model was painted with Tamiya TS-81 Light Grey, glosscoated and the decals applied… That kept me busy for nearly two minutes. Once all that was done, I applied a coat of Matt Clear and let it dry. Then it was onto the weathering.
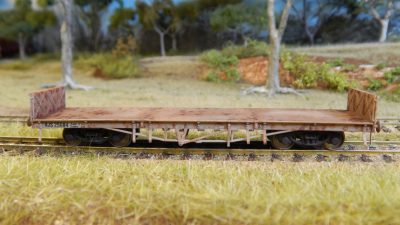 I took a tip from Pelle Soeborg’s book “Done in a Day” by Kalmbach Publishing. In the book, he demonstrated a method for achieving nice, small rust spots that have a bit of texture to them… Just like REAL rust does.
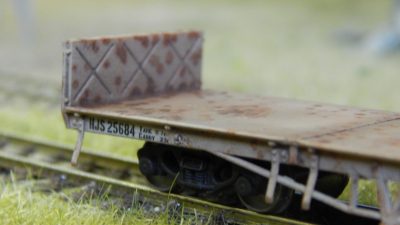 The first step involved applying a tiny amount of clear varnish (matt clear, gloss clear, it really doesn’t matter) using either a micro brush or a toothpick.
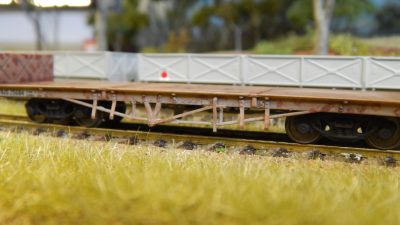 The next step was to use my stippling brush (it’s really just a normal small brush that I’ve over used and destroyed with powders) and dip it lightly into the powders then just dab it over the wet varnish spots.
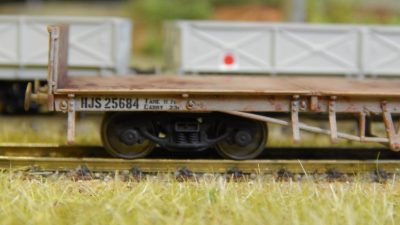 After letting that sit for about 30 seconds or so, I blew off the powder… most of it vanished onto my already messy desk.
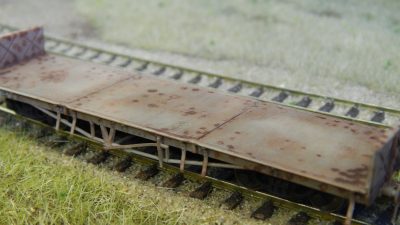 Once that was done, I used a dry, semi stiff brush to just dust off the excess powder… This also created a kind of transitional effect to soften the dots of rust.
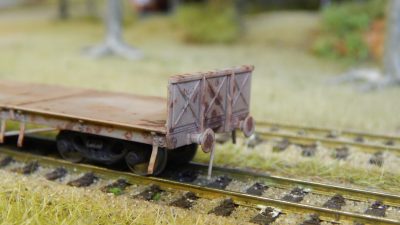 Once this was done, I used a VERY small amount of dark grey powder applied it in varying spots around the wagon deck and just brushed it off. I made sure the brush strokes followed a logical path, such as from one side to the other. For a vertical surface it would be from top to bottom.
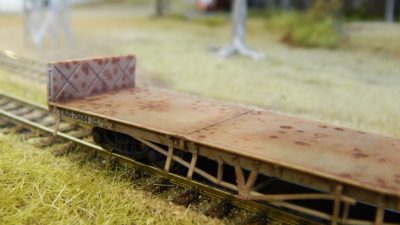 This gave the appearence of softening further the rust spots and blending it all together.
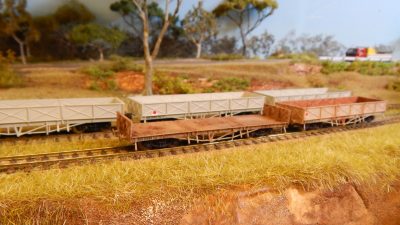 That’s as far as I’ve gotten with this model at present. From this point on, the next step would be to either apply more subtle blends of powders or to simply air brush a very fine mist of light grey or cream paint to blend everything together and further dull it to appear like a nice faded open wagon. But that’s still yet to be decided.
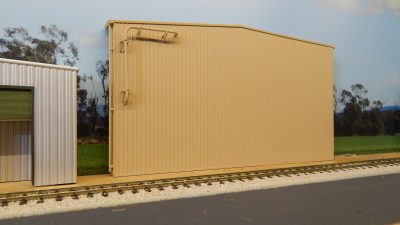 Aside from playing the part of Mr Sir HJS Kitbasher Extraordinaire (whom is oh so modest of course), I have also been working on a couple more buildings for the layout.
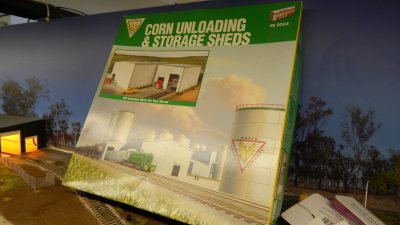 The first building was kit bashed from the Walthers Cornerstone Corn Unloading & Storage Sheds (933-2974). If you can find this kit, buy it! It’s a brilliant and simple kit for two large sheds.
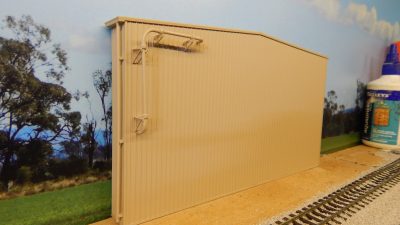 I took one of the end walls of the larger shed and simply cut short lengths of the side walls to mate up to it. The same was done with the roof and presto, we had a background shed.
A VERY boring background shed, but a background shed nonetheless.
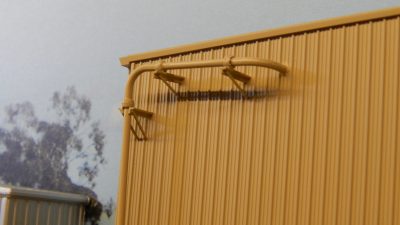 The next step was to add some details just to break up the boring lines. I did this with some left over pipework from a Walthers refinery piping kit. I made a simple L shape, marked where it should be mounted and drilled two holes.
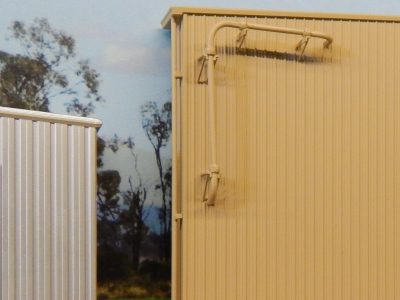 Obviously, a pipe sticking this far out from a building needs some support, so I made these using some scraps of Plastruct 1.6mm angle iron. The diagonal stays are 0.020″ (0.5mm) styrene strip. The down pipes were added later as simple 1.5mm diameter rod and cut down brackets from the piping kit.
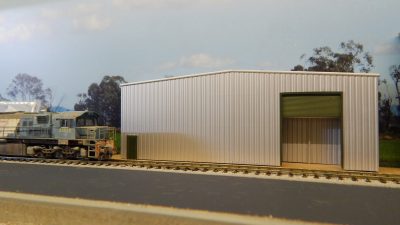 The whole lot was painted with a suitably boring (yet mildly disgusting) colour (Tamiya TS-68 Wooden Deck Tan) and now awaits the roof and pipe to be painted silver and grey respectively. After getting this far, I started on another background building for the layout.
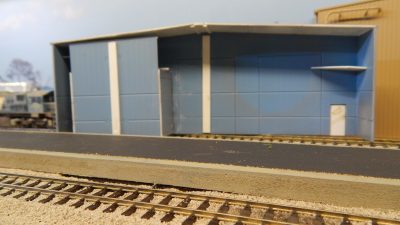 This time, I used a few pieces I had stockpiled from my collection of Pikestuff (Rix) kits. The entire model is made from two of the large end walls and two ends of the side walls. The roof is their standard roof cut down to suit.
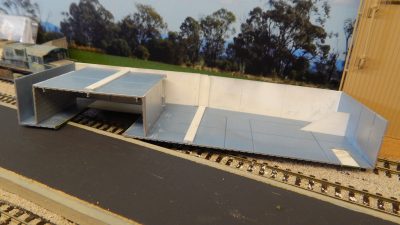 The door castings are supplied with the kit, I just cut down the roller door so it could be open. I made a small shadow box from left over wall sections and glued it behnd the door (I painted it before fitting it into place).
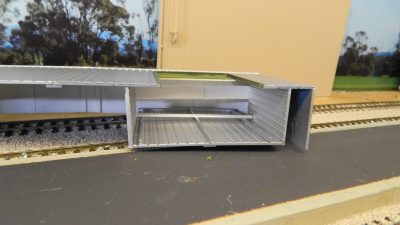 I detailed the inside of the shadow box with a couple of left over Plastruct I beams. This was just to break up the boredom. The beam running above the shadow box serves to keep it aligned whilst it dried as well as providing a mounting position for the interior lighting.
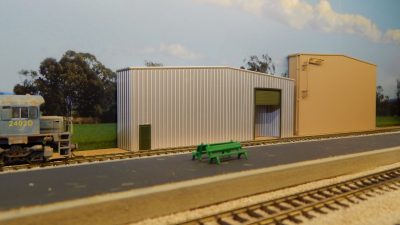 The next step is to add the lights, a few details and make a base for it. Of course, that is for another day though… We shall see how we go.
