 Well after a surprisingly hectic New Years and January for that matter some time has been taken by the ever modest and not even remotely conceited me to do some actual modelling. But more about that in a minute.
 Recently we were proud to announce the release of our second run of QSC Tautliner wagons.
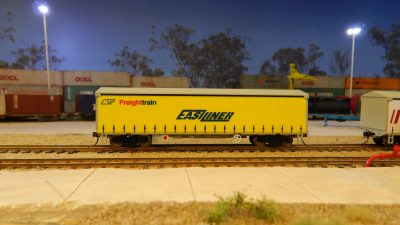 Yet again, in partnership with that demented Aussie that everyone thinks is a Taiwanese hamster with a bit of Alsatian thrown in for good measure… Kieren Haskell I mean, we have finally got the second run available.
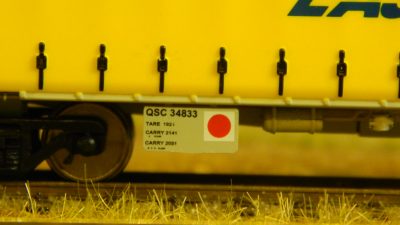 This time round, we did away with the decals that you all loved like a red headed step mother whom thinks you are the devil incarnate. Yes, we’ve supplied them FULLY printed and in all new running numbers.
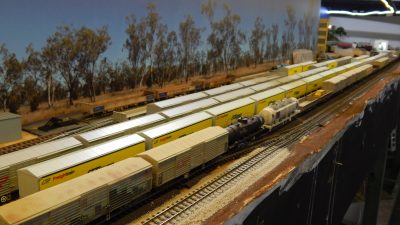 This time around we’ve done both the original Easiliner and Q-Link liveries that were so common around the state. Essentially, there are now 15 more wagons on the Wuiske Layout.
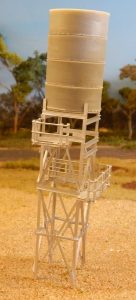
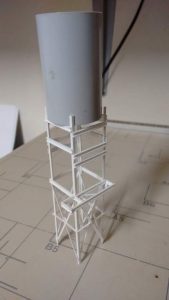 Some time ago, 4 paragraphs, I mentioned that I had finally gotten in and done some modelling. Well, even more time ago (about 6 months or more) I started making the load out bin for the grain silos on the layout.
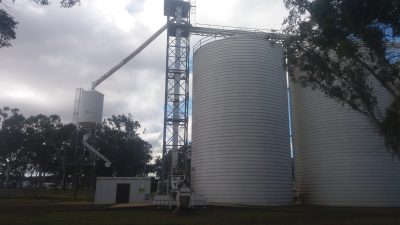 On a trip back from Rob’s house one day, I stopped off at the Kingaroy grain silos and took a few dozen photos. Eventually, I started building the frame work for the load out bin from Plastruct C channel.
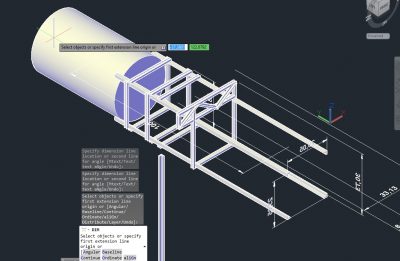 The first step I made was to draw out the basic shape in CAD to make the measuring and cutting a lot simpler. Then I just cut and glued the bits together until I had a basic frame.
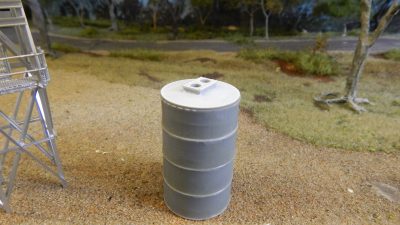 A quick trip (it is apparently possible, so I’m told) to Bunnings and I stumbled across some small joiner pieces of conduit. These were priced at about $1.50 or some similarly cheap price and so I bought two pair in two different diameters. In the end, I ended up printing this also.
After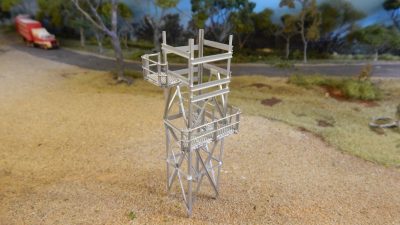 some time of the partially constructed frame work sitting on the bench, I decided to make use of my Anycubic Photon DLP printer (actually MY printer had a catastrophic issue where it developed amnisia and decided it could no longer remember where it’s Z axis is), thankfully my good neighbour Col has one too and was happy to volunteer it for my use.
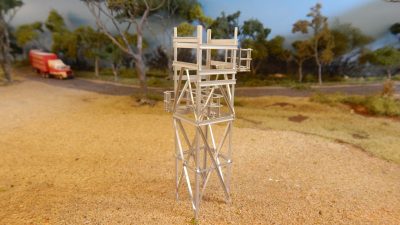 In any case, it was decided that we should make the detail parts and handrails using this little death machine. The results are pretty impressive and surprisingly strong.
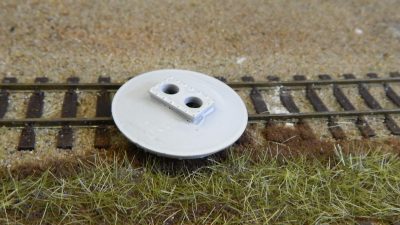 After this, I decided to build the conical base for the grain bin. After this was successful, I thought that perhaps I should design and build the actual bin on the printer as opposed to building it from the conduit I mentioned earlier.
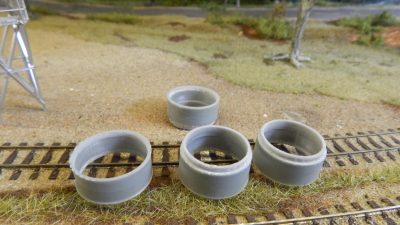 The bin was drawn as a simple series of four rings. Each ring had a small seam added to the edge which replicated the prototype weld lines but also helped to hide the joins in the parts.
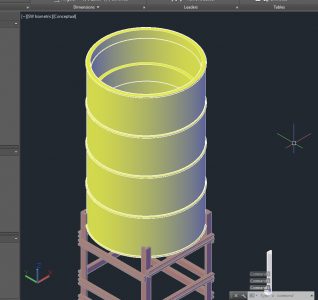 A smaller ring was subtracted from the bins to allow mounting rings to be added and make for a nice, straight fit. I should point out that I allowed a 0.1mm gap all around on this. This allowed for the shrinkage you will get due to the UV curing process on the printed resin.
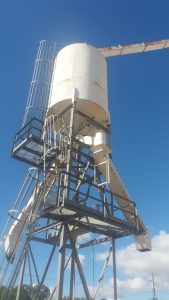 The next step is to draw and print the unloading pipes and their fittings and attach them.
Once this is done, the top of the bin can be made and the ladders can be made up out of brass and fitted.
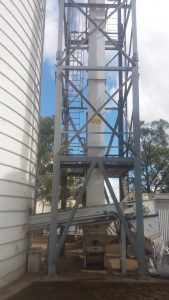 After that is all done (in about 17 years going by my time scale), it’s on to the silos themselves which will be made from 90mm PVC pipe and then the elevator itself.
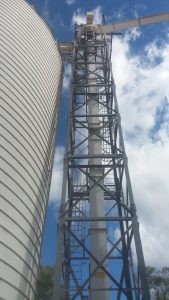 As a test for the Photon Death Machine as well as a modelling project, I am REALLY enjoying this one and hopefully I’ll be able to carry on with it at regular intervals. As ever though, we shall see how we go.
