 Now then, where was I at last time? Oh yes, I was showing off my personal fleet of models.
So here goes, in this chapter, I’ll show you the remaining six locomotives from my current roster.
 As most of you know, I don’t add ANY locomotives to my layout until they have been weathered and had sound fitted to them. This simple rule for myself helps to motivate me to pull my finger out and get more work done… Well that’s the theory at least.
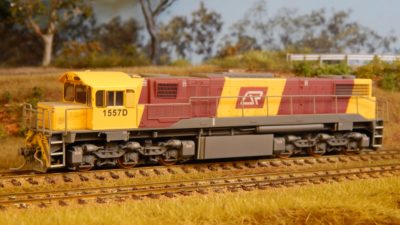
First up, 1557D.
This model has had no real weathering as yet. After adding the sound, I painted the wheels and gave it a very light mist of light grey, followed by Dullcoat.
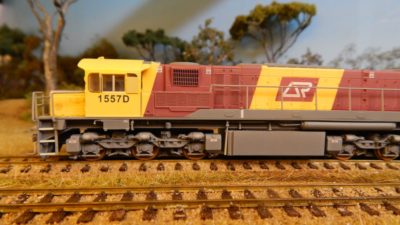 This just blends the colours a bit and dulls the entire model down. I may look at adding more weathering to this model at some point, but for now, 1557D is happy on the layout and working hard… Even if it doesn’t show in it’s weathering.
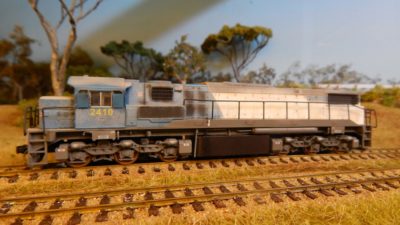
Next up is 2410.
2410 was a locomotive I had put aside to weather and then Wade McLaren offered me his… So we did a swap.
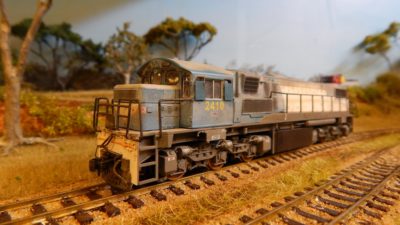
Wade has removed one of the window panes on the driver’s side and has made this locomotive look as though it was gainfully employed in the coal fields for many years… JUST like the prototype was.
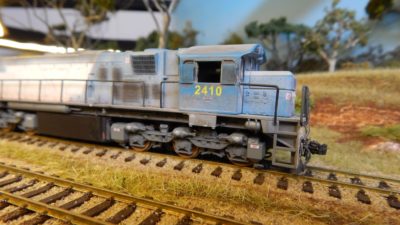
As with the blue liveried locos in my fleet, Wade has used white paint to fade the logo, almost out of existence.
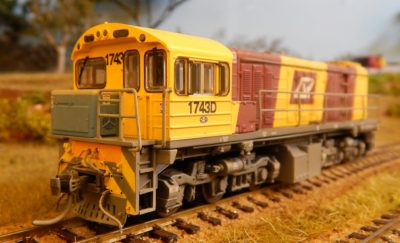 1743D is up next. Like 1557D, this model has had very little done to it.
I removed the bogie sideframes and painted the wheel faces then gave the entire model a very light misting of light grey enamel paint and a quick coat of dullcoat to seal everything in.
 I used the 3M Blue Painters Tape to mask the windows as always.
One lesson I have earned is that once the model has been dullcoated, remove the tape from the windows ASAP! Otherwise it will leave a gummy residue on the windows.
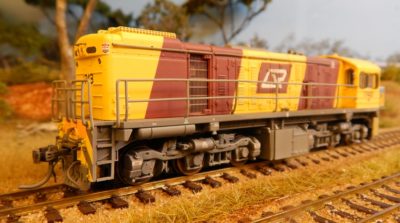
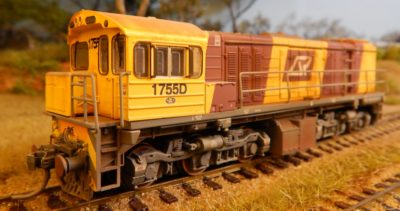 1755D is the next loco in the fleet. This model was begun with painting the wheels (as always) then had a light mist of grey and dullcoat added. The dullcoat not only gives you a nice matt finish but also provides some tooth for the weathering powders to adhere to.
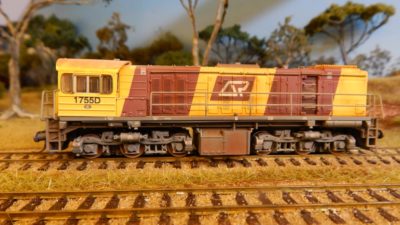 I used photos from the Prototype Photos section of the site as a guide for weathering this model. If you ever get any residue from masking tape on windows, just use a bit of rubbing alcohol on a cotton wool bud to carefully remove it.
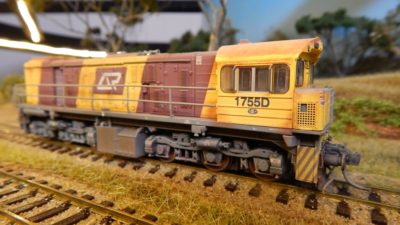 The sideframes were given a very light dusting with black powders on areas where the bogies would see grease and grime build up. The grills were given a very light application of dark brown powder (black stands out A LOT on the corporate livery).
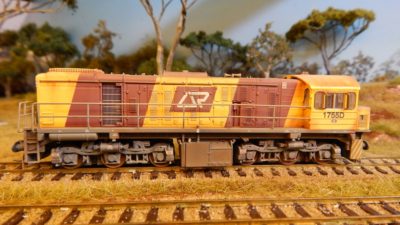 Small patches of Dark Rust were applied with a small stiff brush to areas such as the corner of the cab and in other areas where rust develops. Again, I used the prototype photos as a reference here.
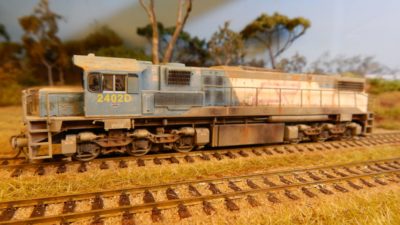 Next is 2402D. This model is my favourite 90 tonner thus far. As usual the weathering started off with a light mist of grey, painted wheel faces and dullcoat. From there, I applied white artist acrylics using dry brushing in a downward motion to give the logo a faded look.
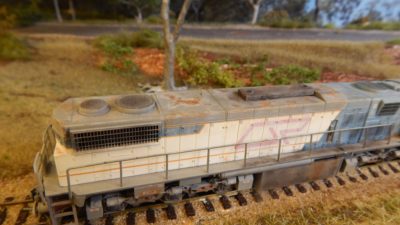
I applied small patches of white to the roof of the long hood. These next had powders (dark rust) added and gave a nice halo effect to the rusted areas.
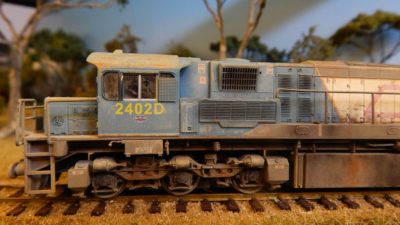
The white dry brushing was used on the cab sides and other areas of blue. This gave a very faded and battered look, just like the prototype.
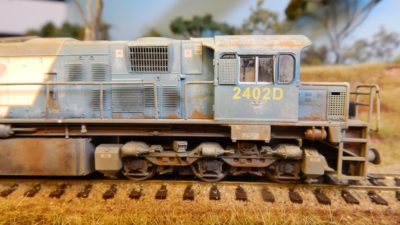
I redid this part a couple times until I got the result I was happy with. A small cotton wool bud dipped in water was used to rub off the unwanted paint.
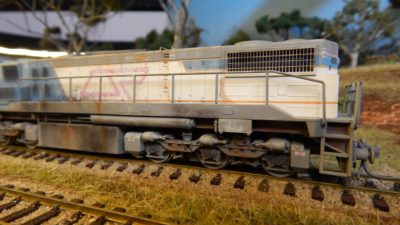 There were a few things I made mistakes on and ideas that didn’t turn out how I wanted on this model. One of the things I love about weathering is that you can always go back and change things.
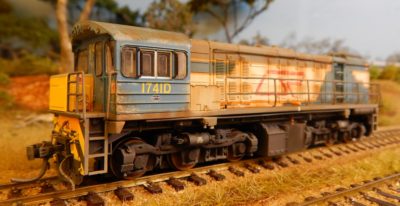 The last locomotive in my fleet (so far) is 1741D.
This model was weathered using the same techniques as the others… ie wheels pained, light grey mist etc.
 The dry brushing was again done on the blue sections as the prototype has white splashes on the paint there.
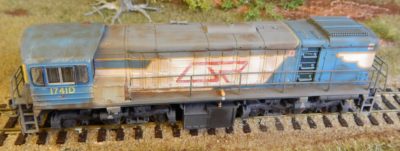 The roof was weathered using Dark Earth and Dark rust powders and these were worked into the dullcoated roof and the excess blown off.
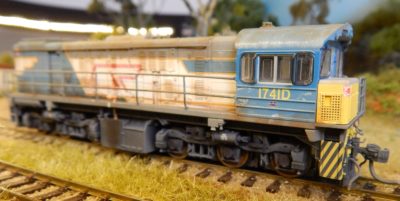 There is a pattern to how the roofs weather on these locomotives. Usually the areas where a brace or some other section is welded beneath the roof remains relatively clean.
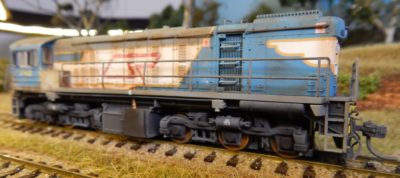 Getting the powders to leave a small semi straight line clean takes a bit of practice to get right. And then, once you get comfortable with being able to do it, you will make a mistake and have to redo it again… and again… then swear and repeat.
 Overall, I am happy with my fleet of locomotives, thus far. But, I do need to add more locomotives to my fleet. Then again, I also need to continue weathering some more wagons. Those new HWO wagons need a bit of weathering too. I should really look at getting more done on my lights also.
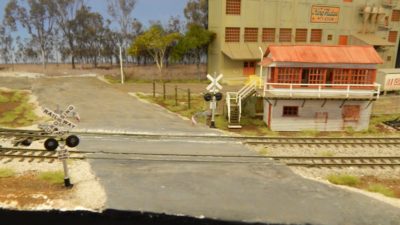
Ahhh the list is never ending. Gotta love this hobby. I guess I’d better get a move on and tick some things from my list… Or I could just see how we go.

