chapter 128 – 23/12/2019

Since our first steps into the world of mass produced Ready To Run models for the Queensland market back in 2012, we’ve had a small mountain of emails, messages and phone calls regarding “how it’s done” and things of that nature.


At the same time, we’ve heard lots of misleading information from people based on how they believe these models are made or from companies blaming “the Chinese” or “the Factory” for their problems. We’d like to set that straight.


Hopefully, in this chapter, we’ll explain exactly how the process works and how it differs from the conventional methods used for the production of kits and the like for the Australian model railway market.


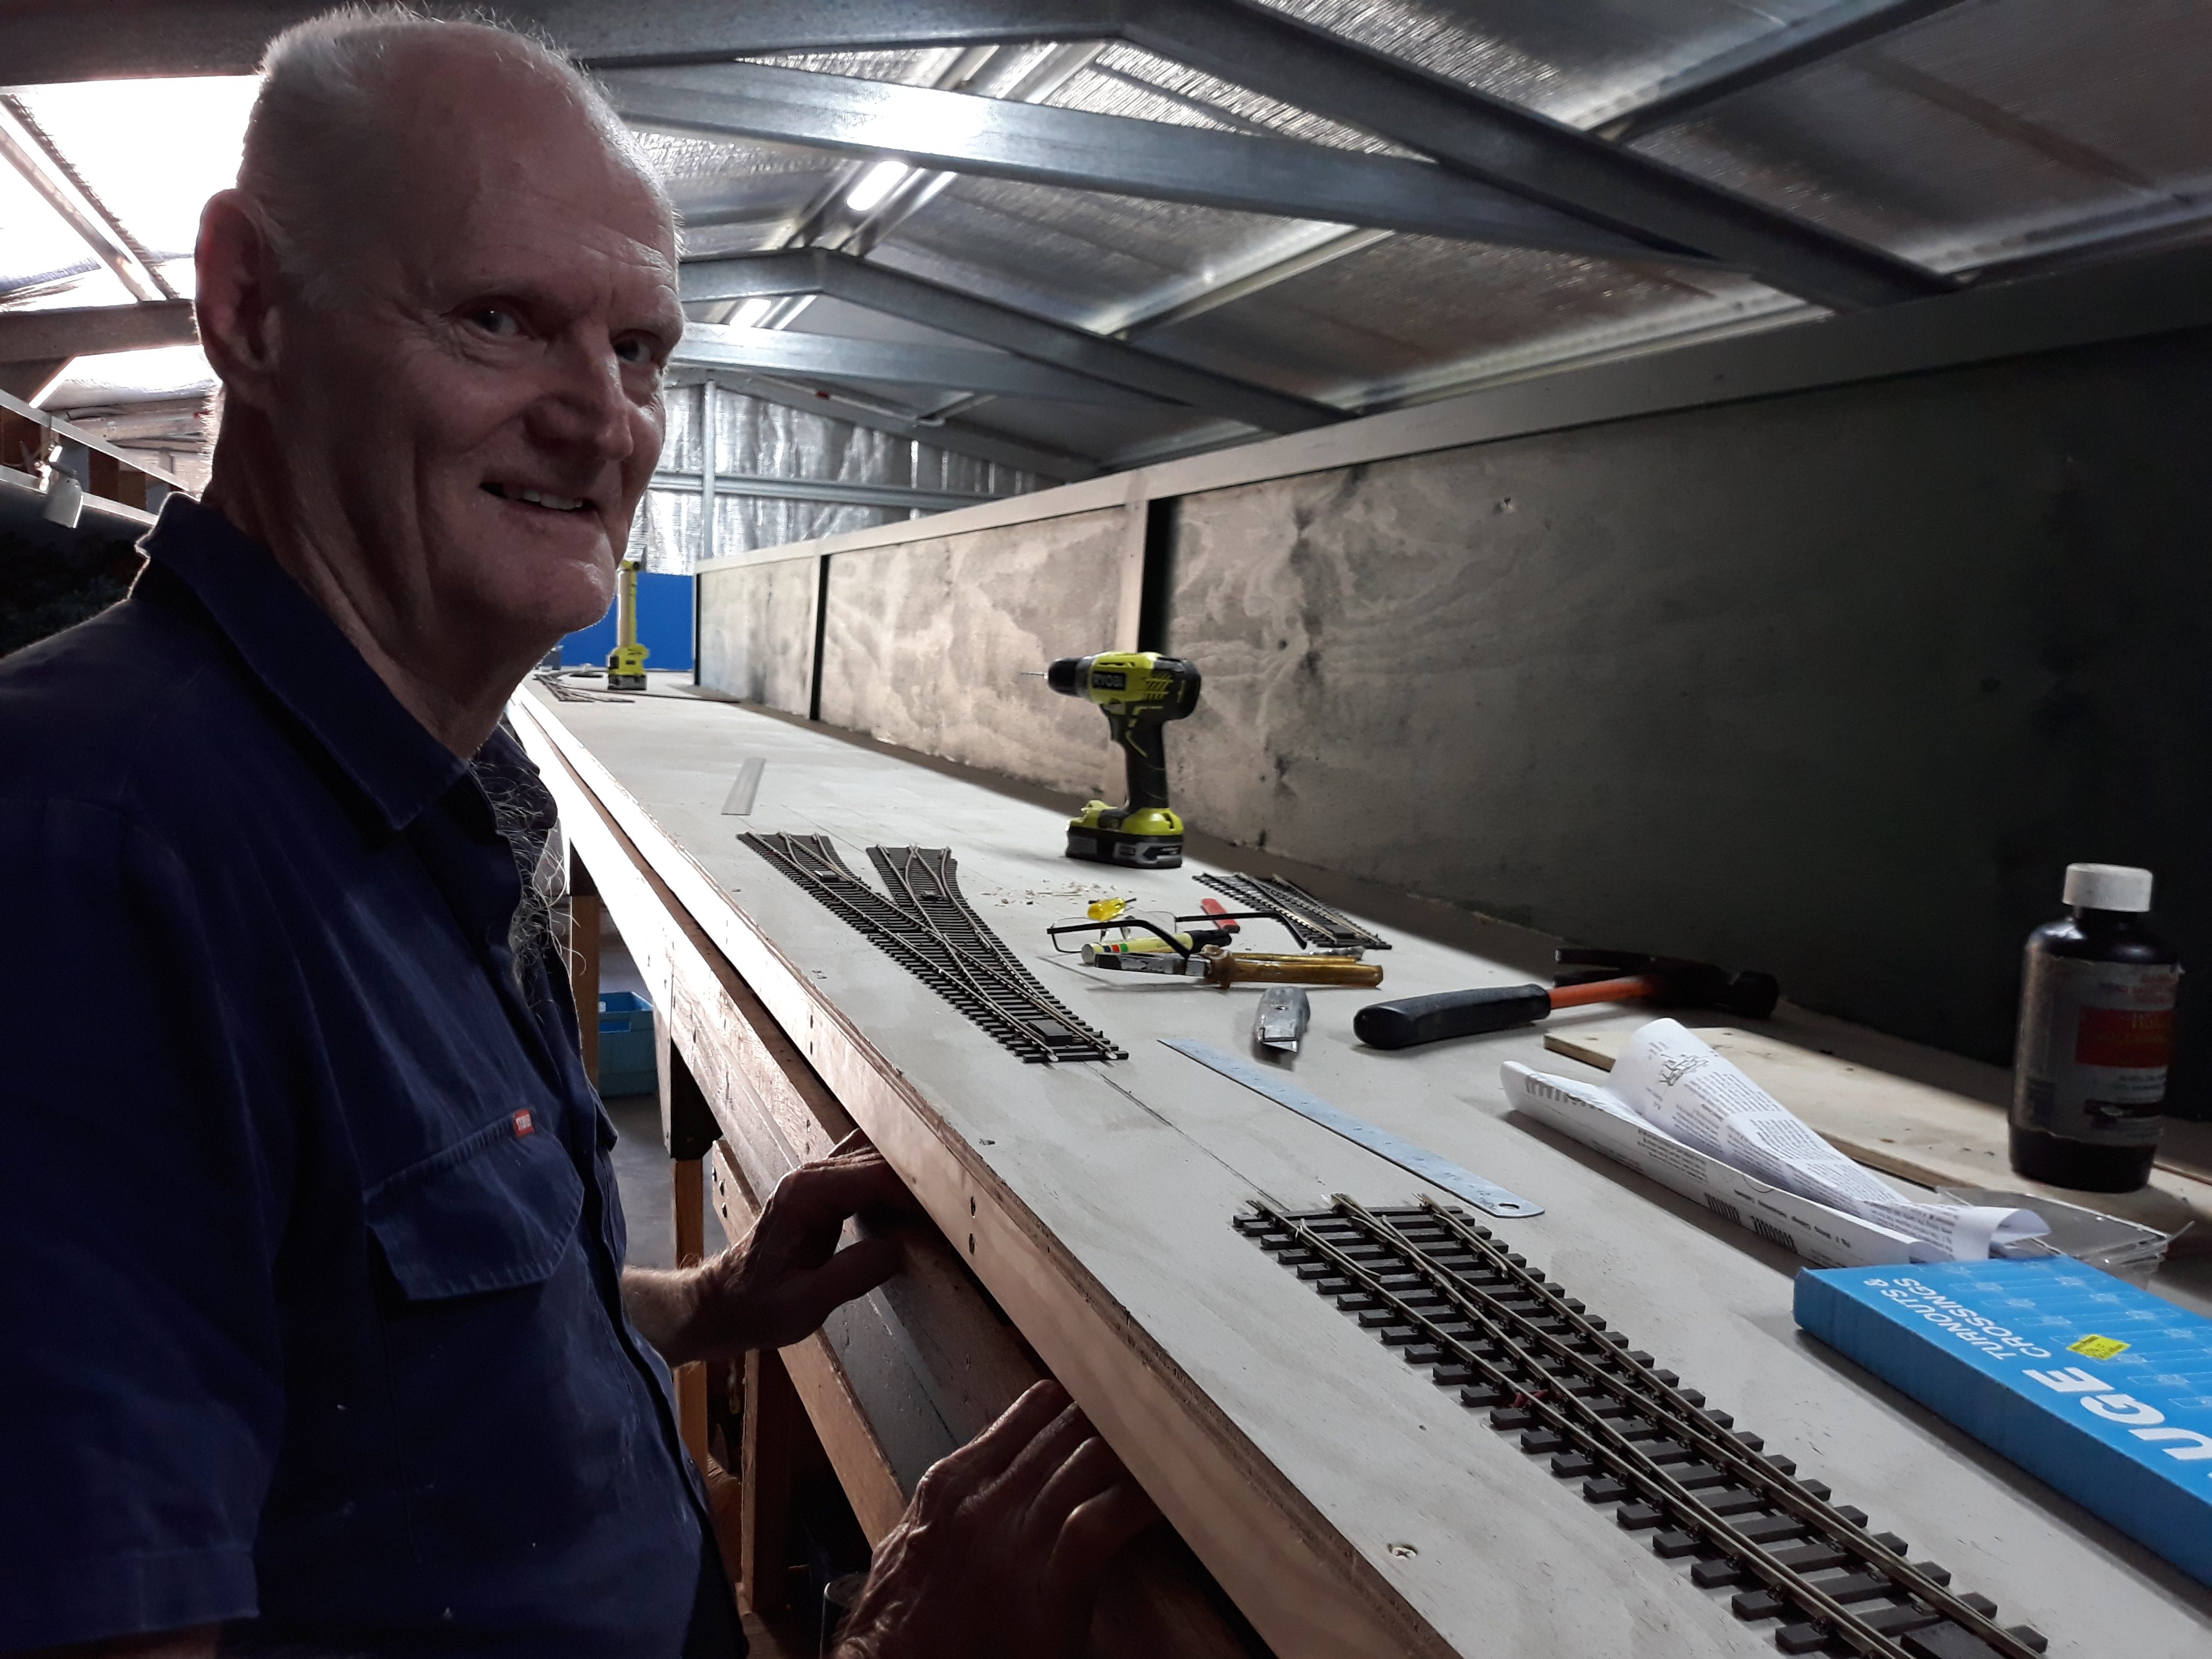
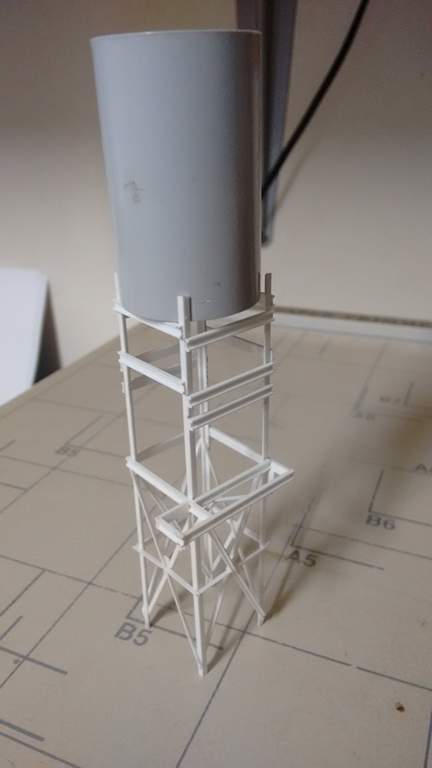
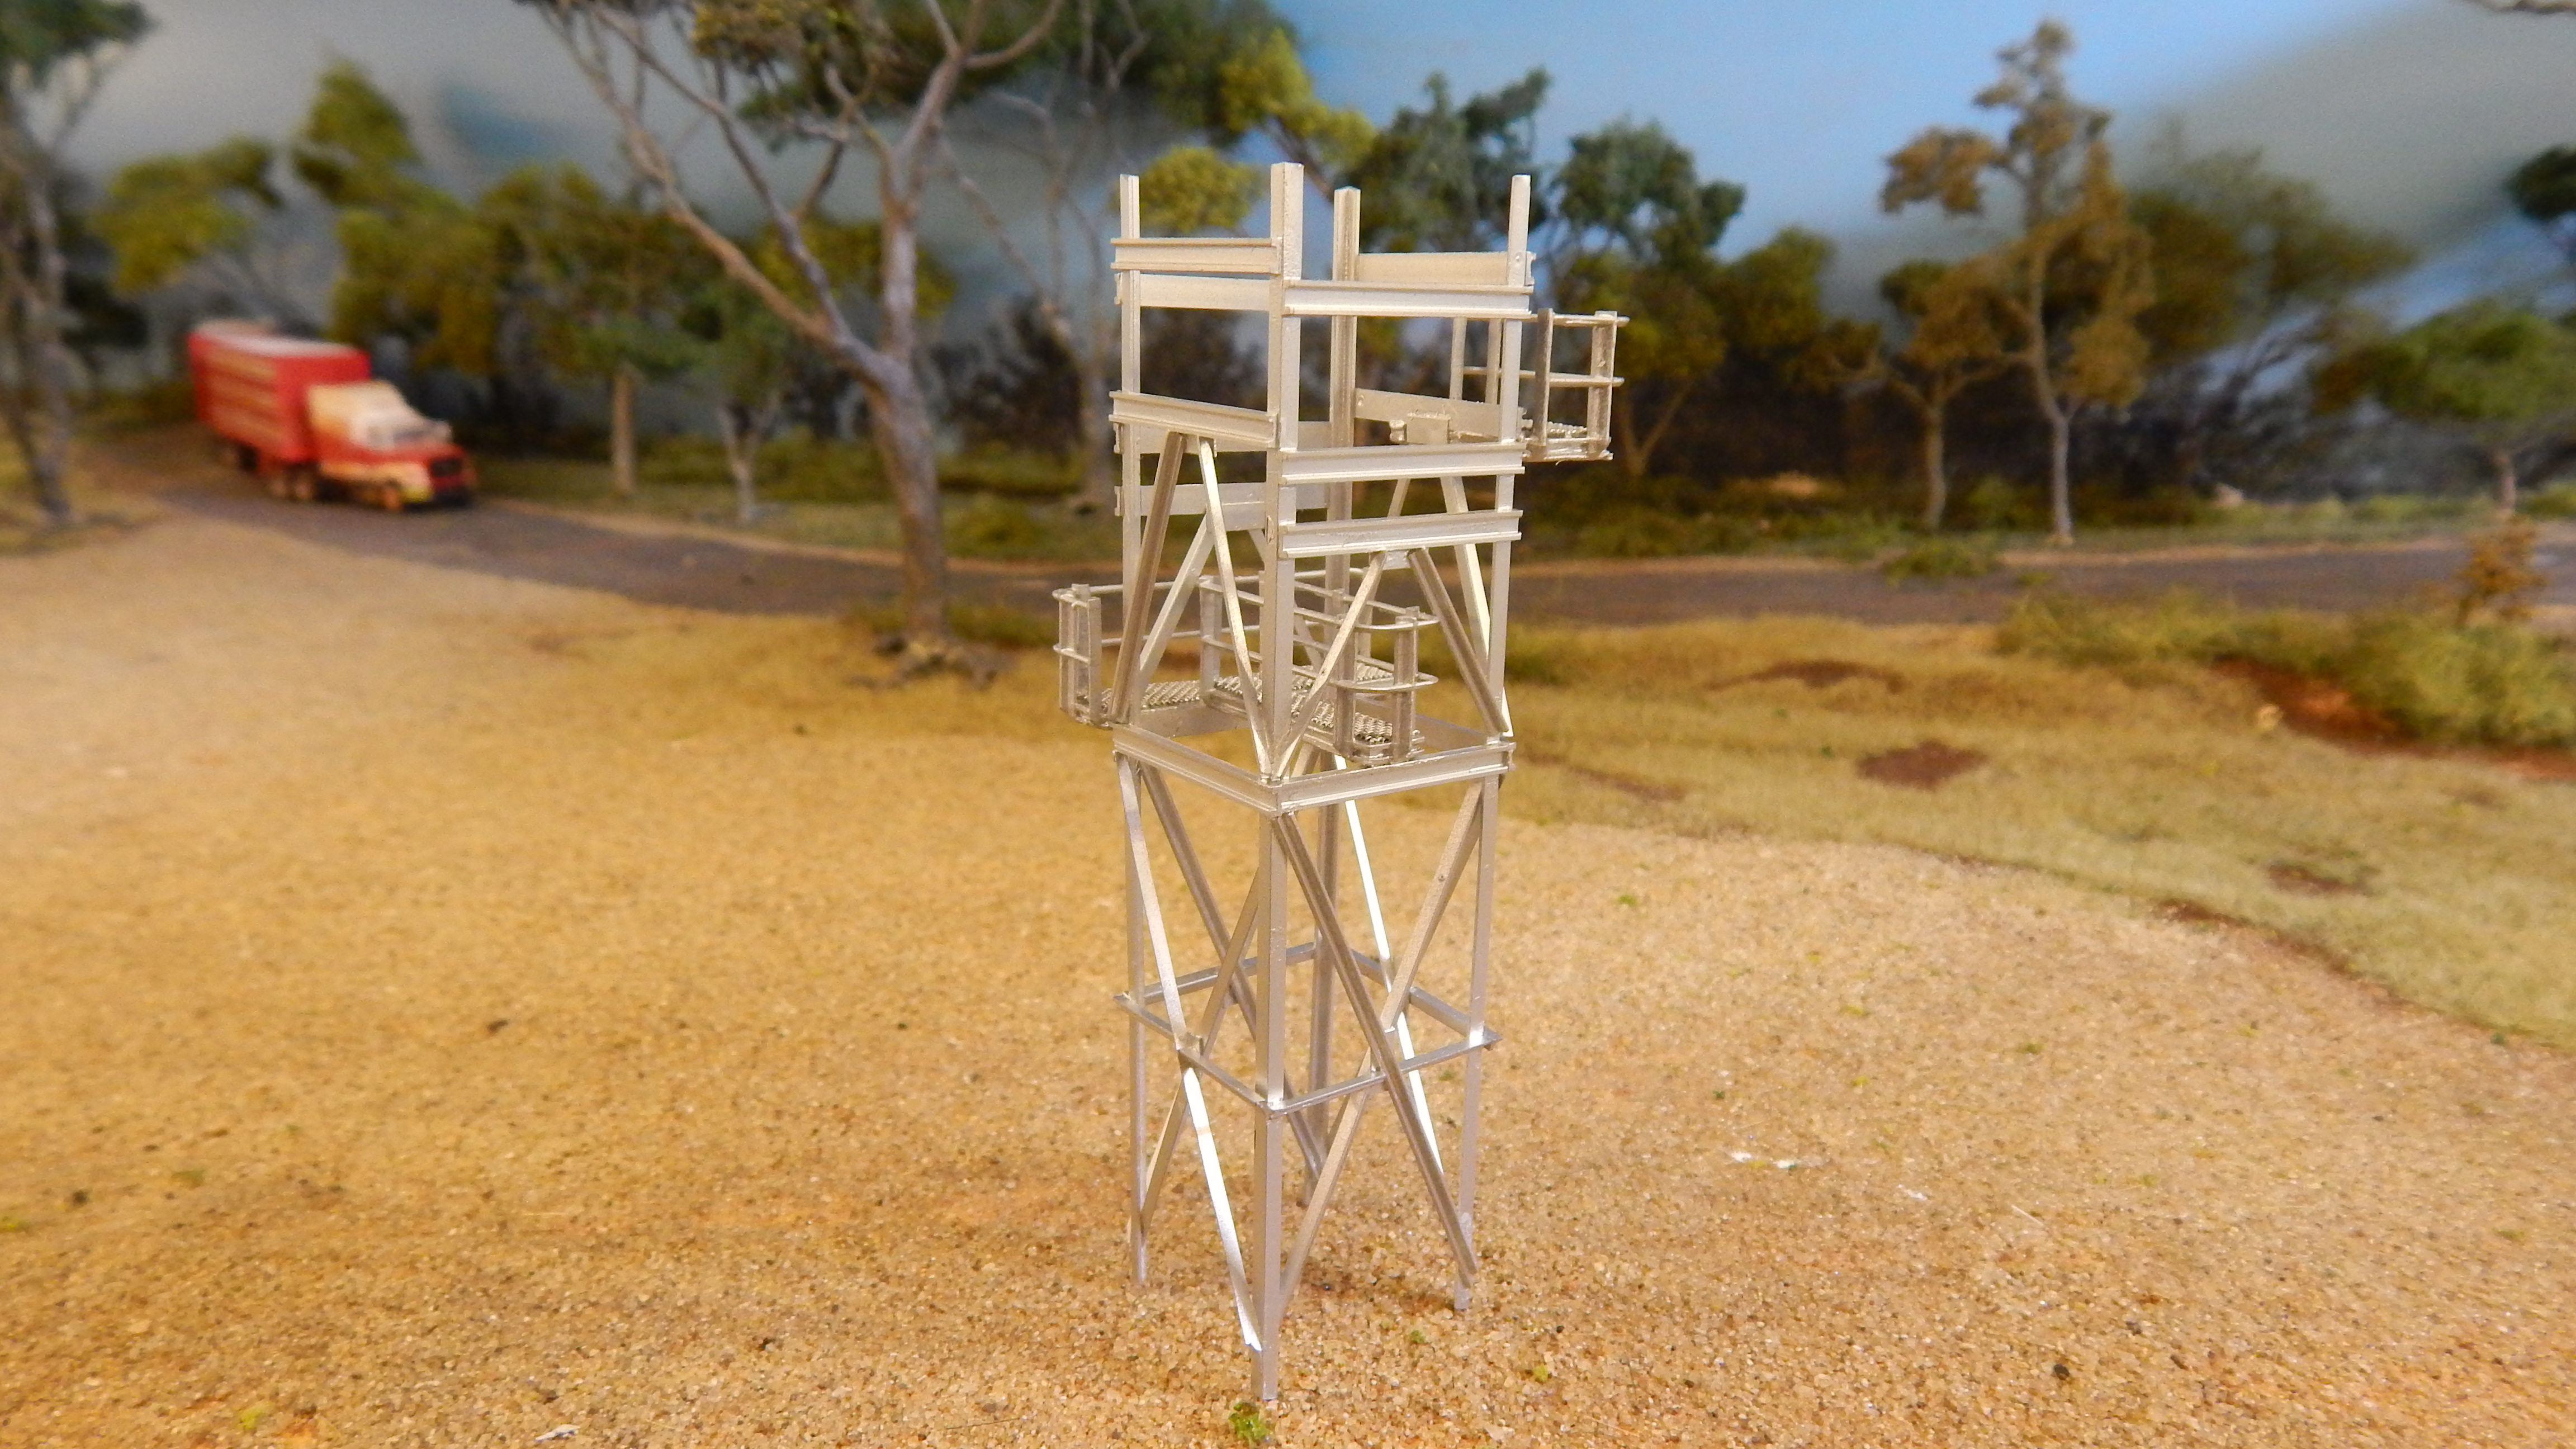
Prior to 2012 Wuiske Models manufactured kits… about 350 of them! All of these kits first began as a master or pattern. The patterns were either a hand made pattern (usually made from styrene) and taking months to produce or they were made from a rapid prototyped pattern.


The process for rapid prototyping these patterns sped up the process but also meant we could achieve far higher levels of detail because we were no longer limited to what could actually be made by hand.


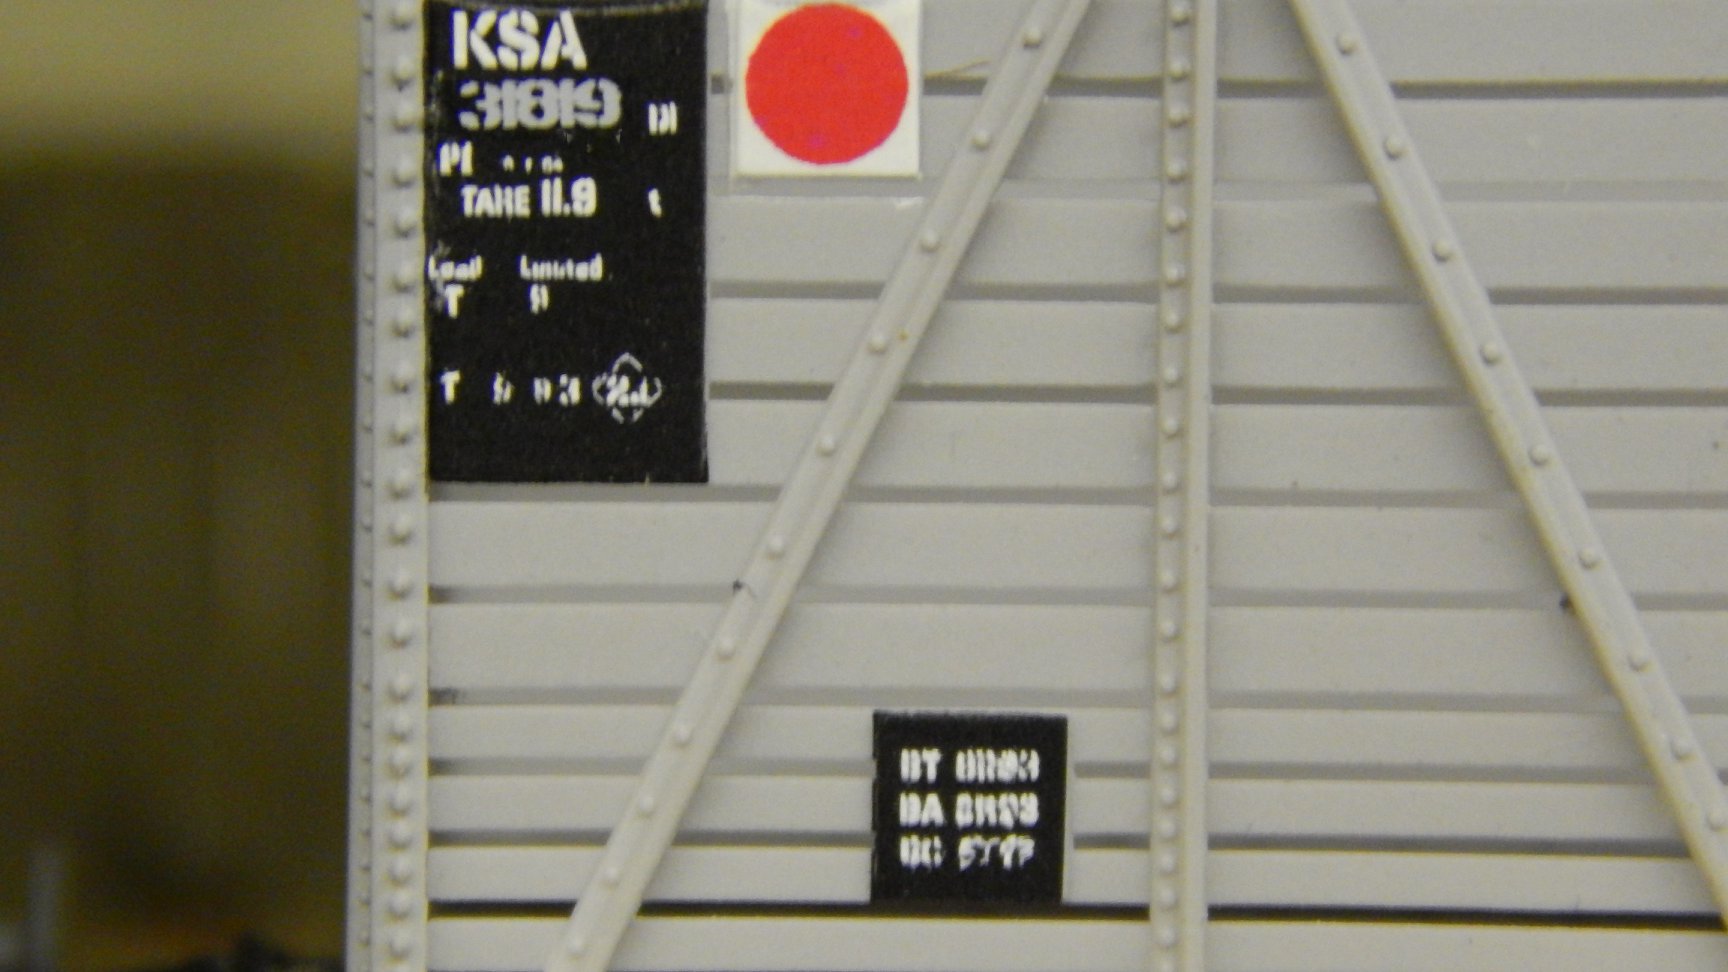
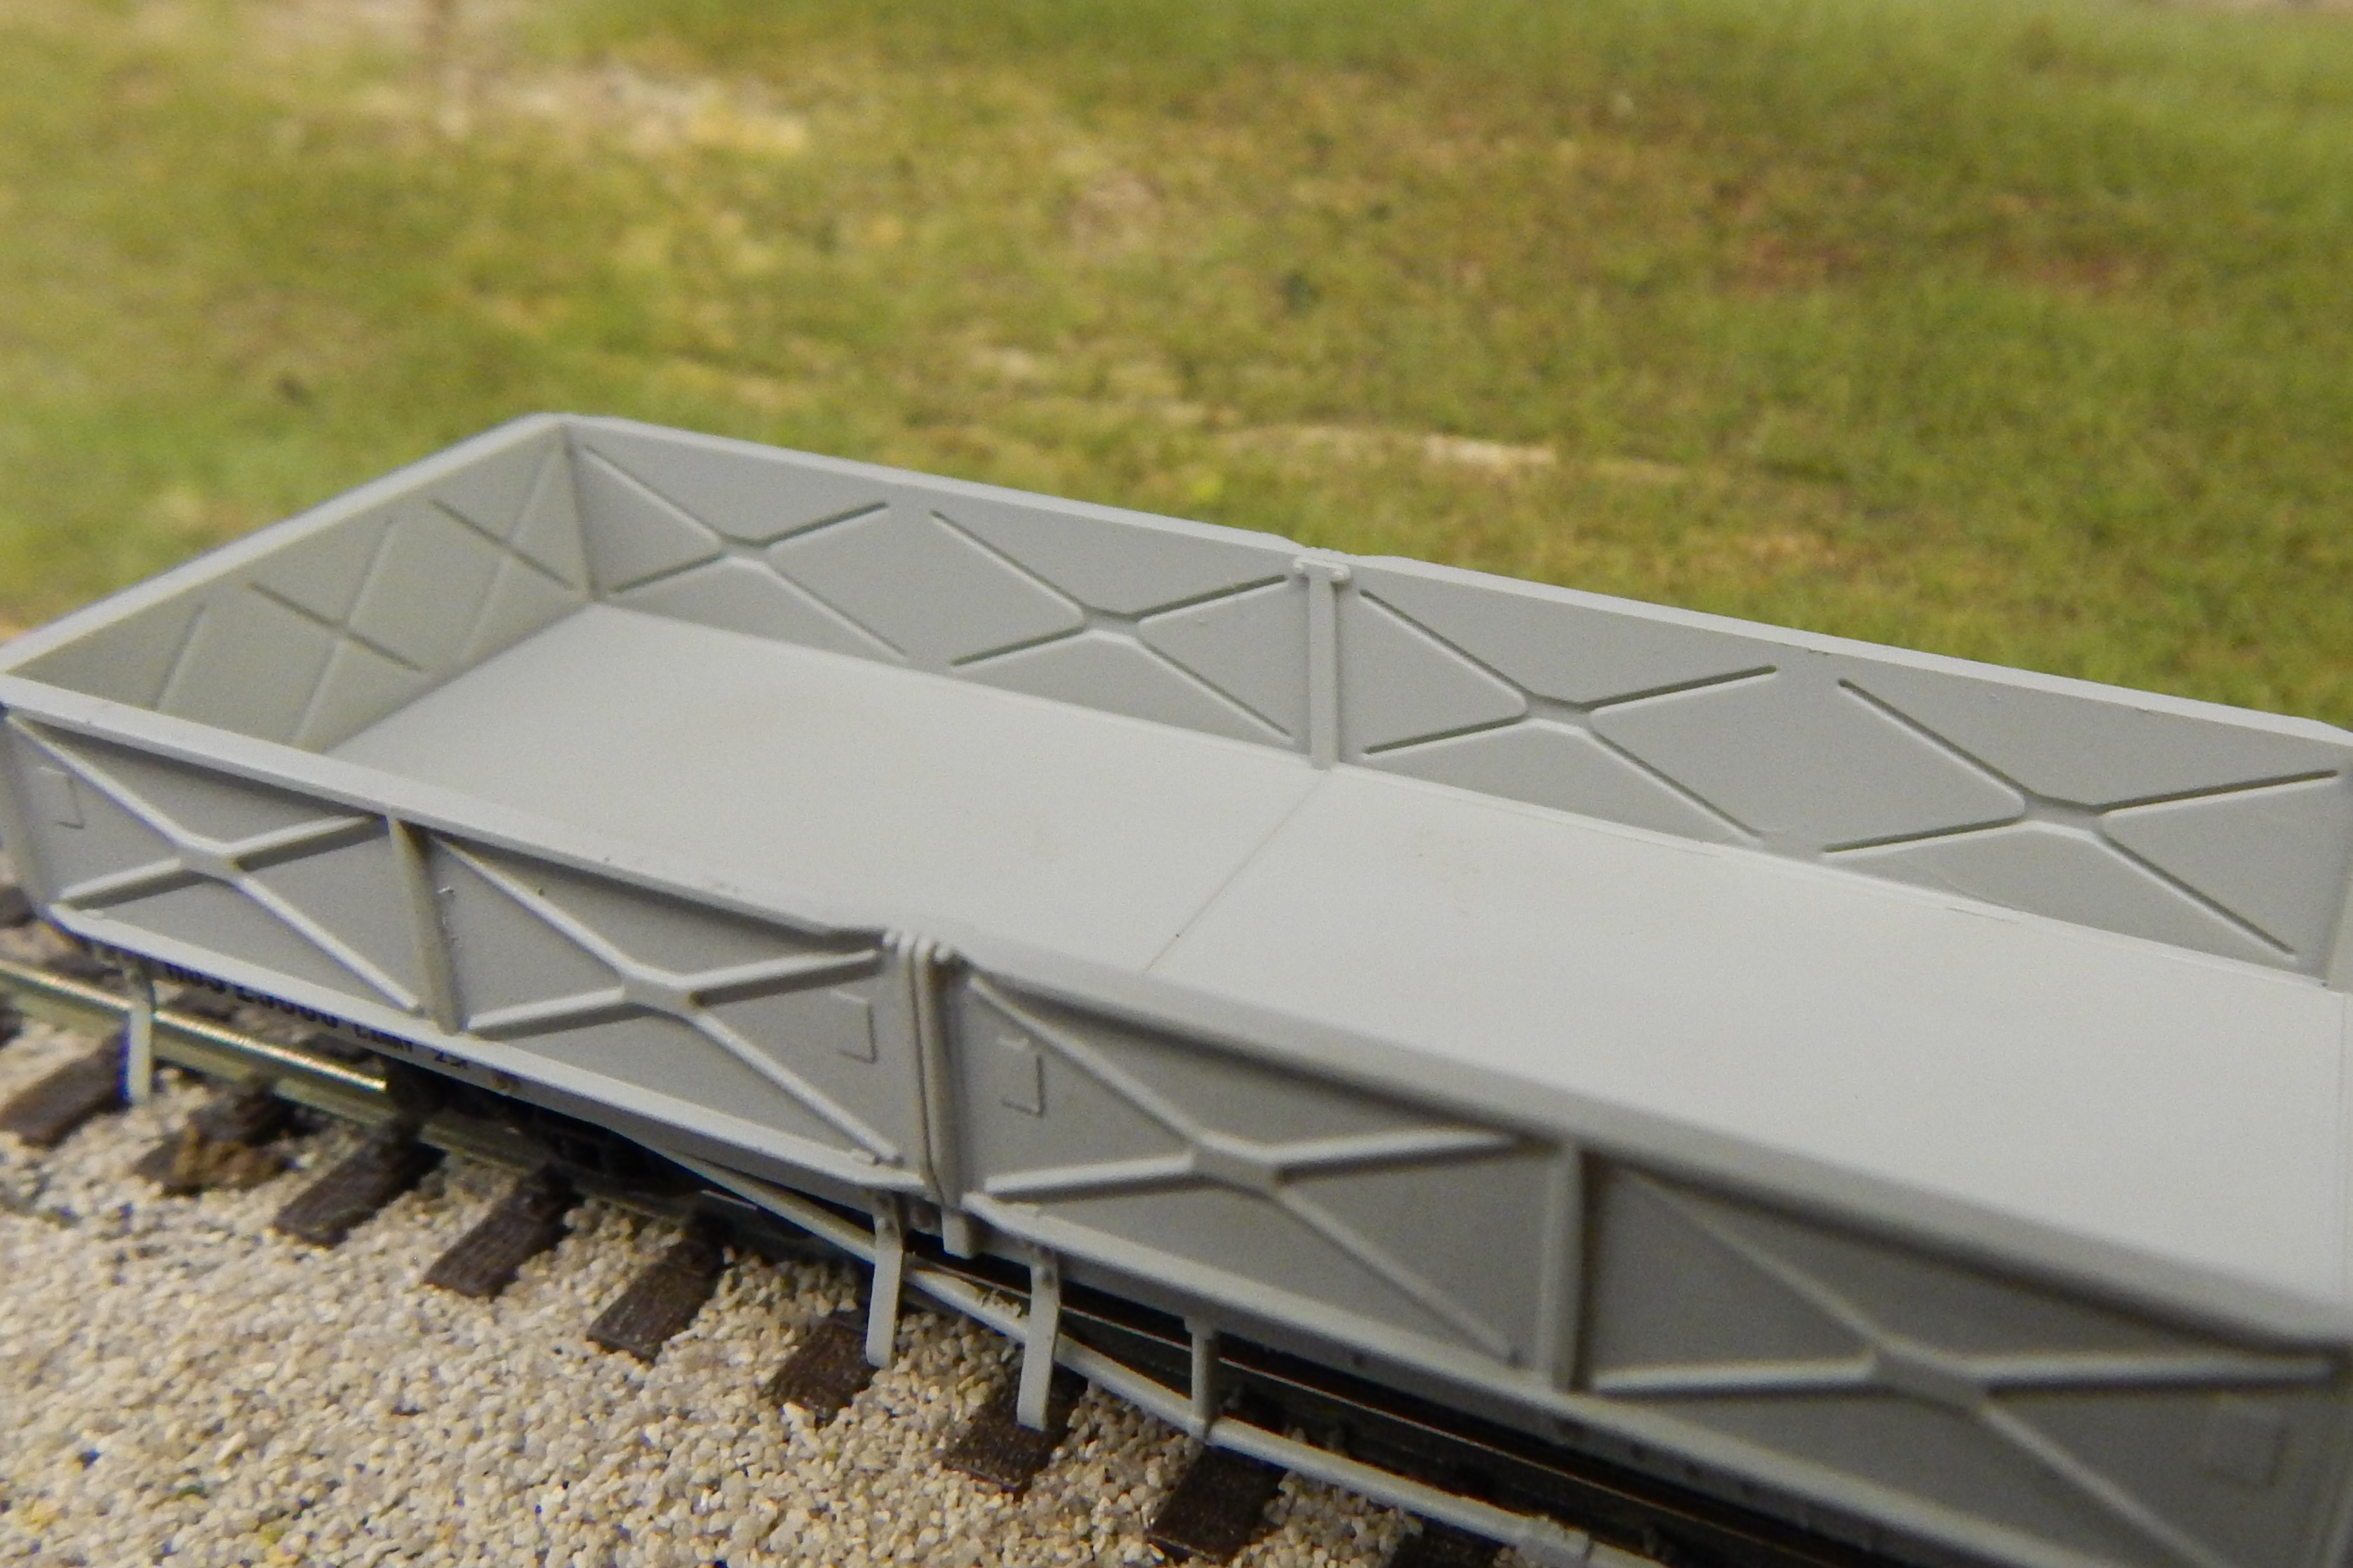
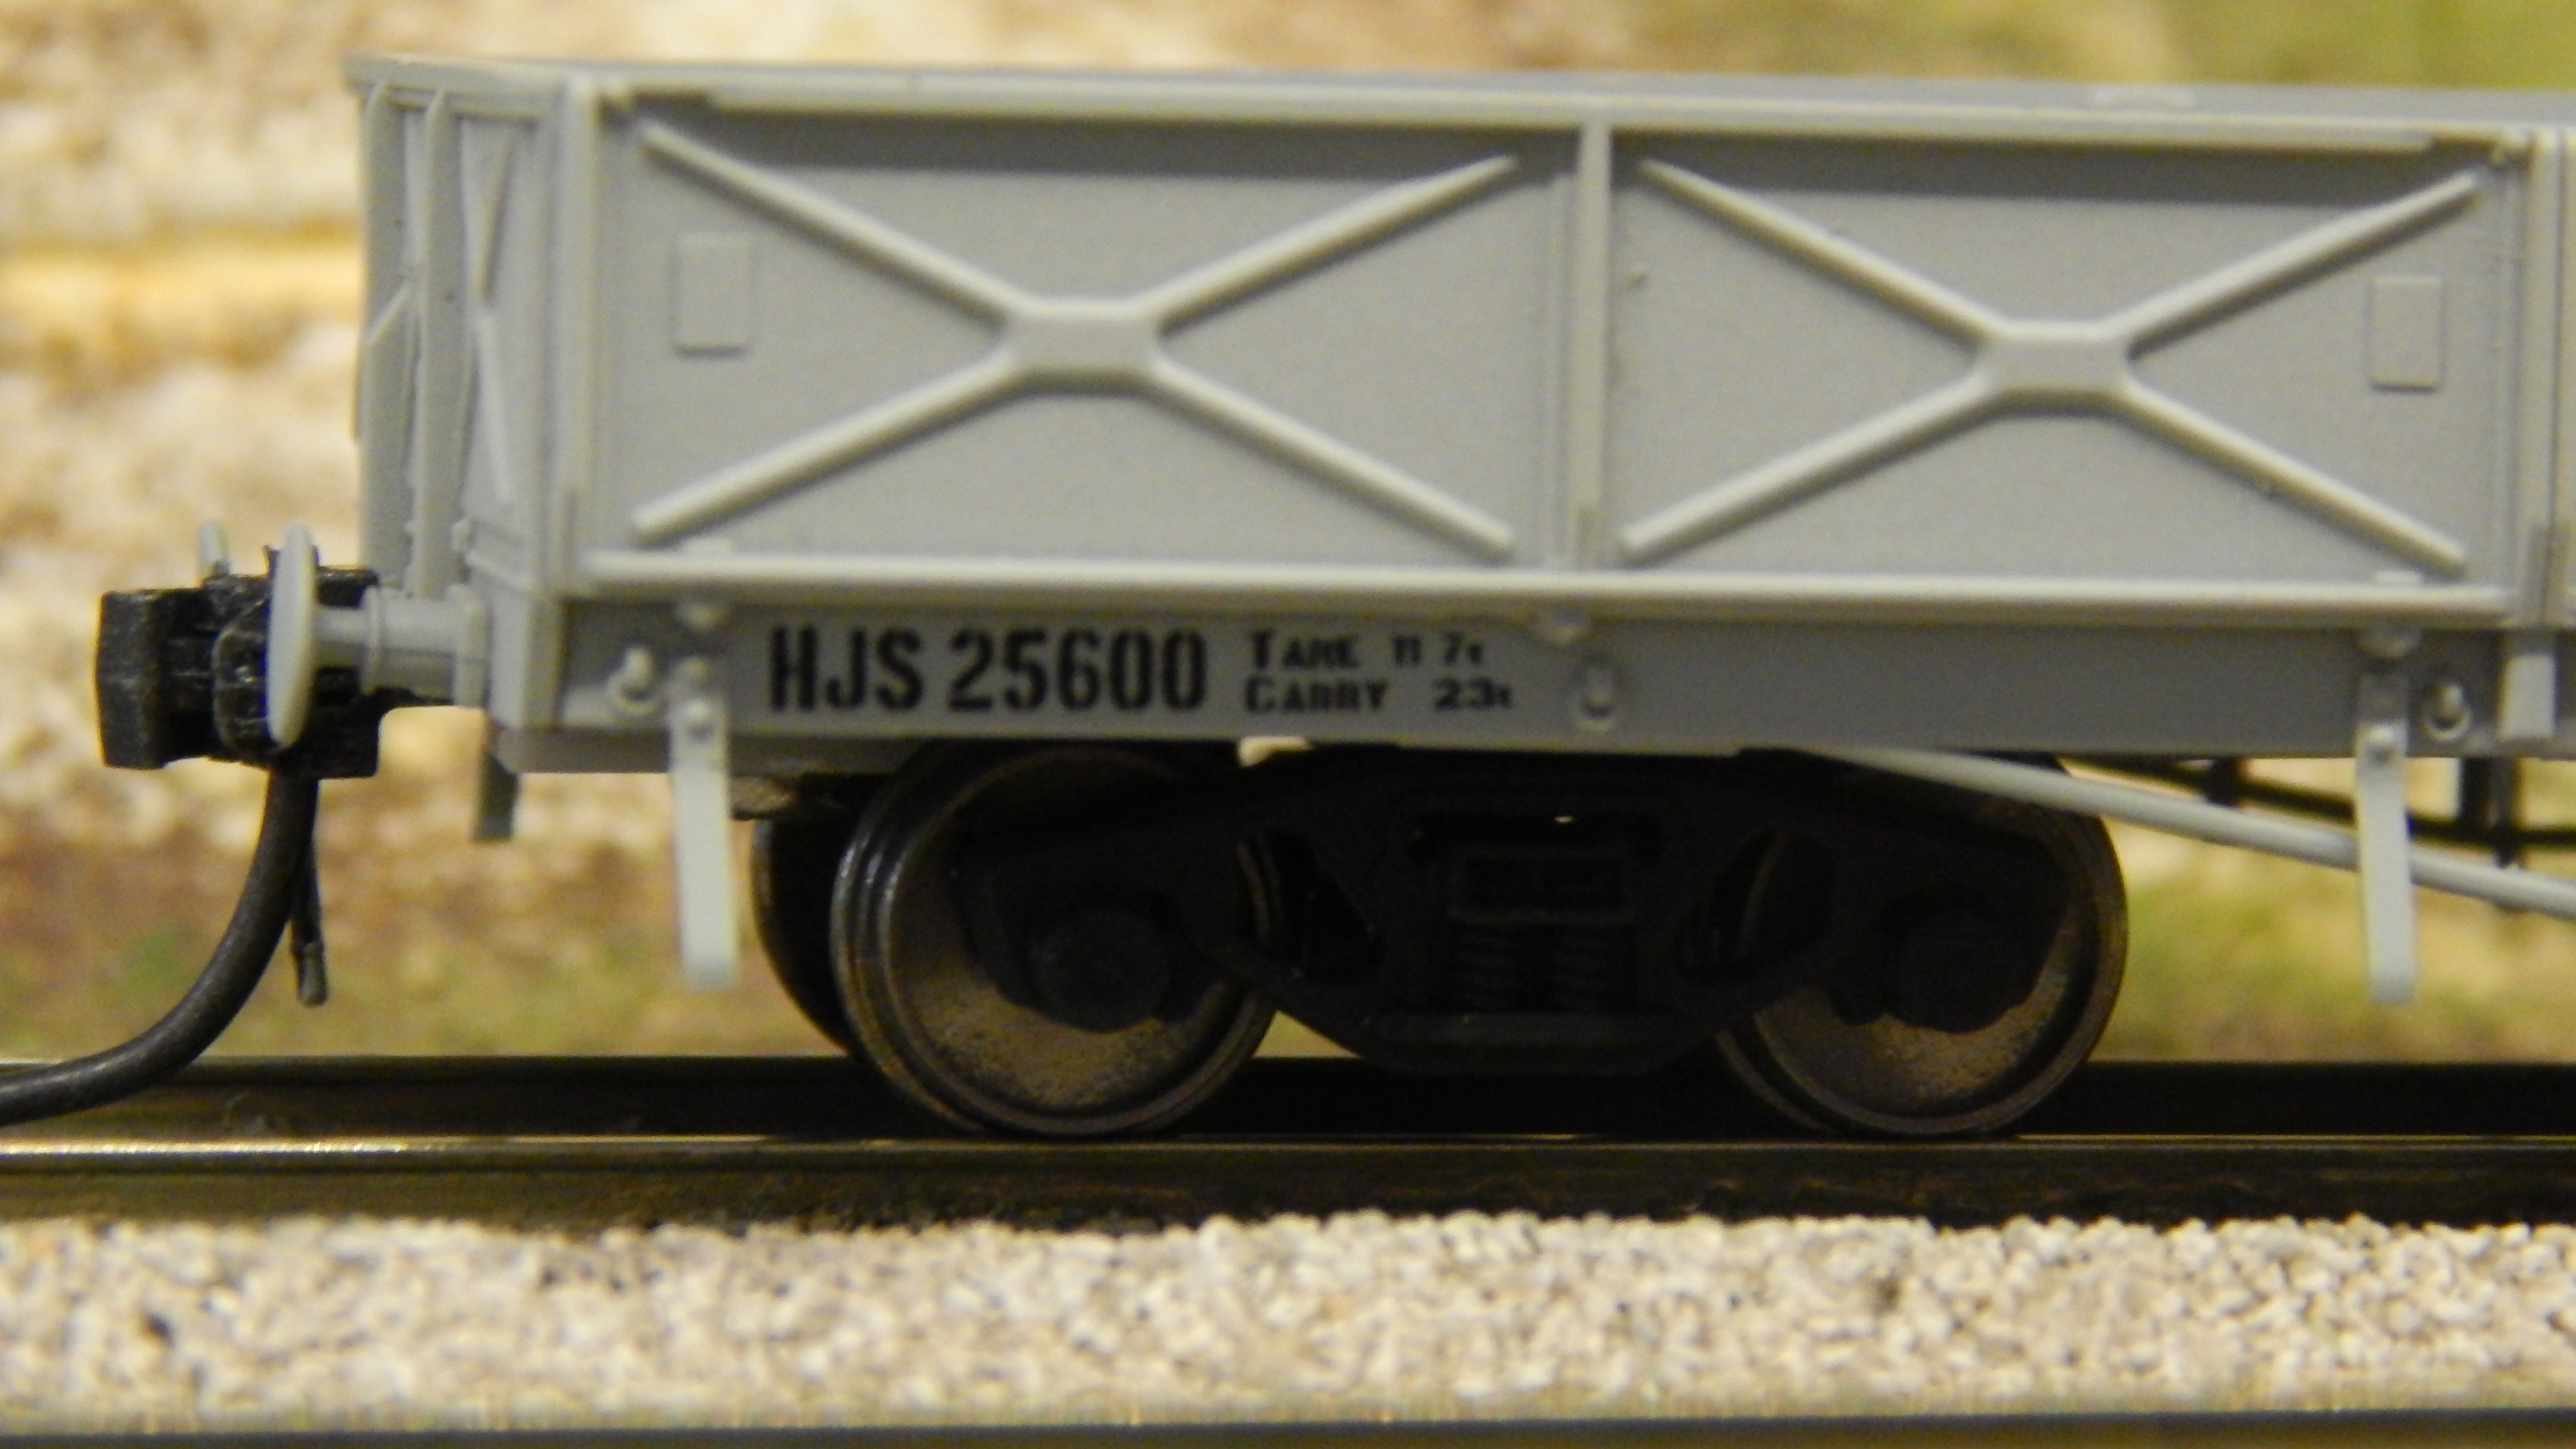
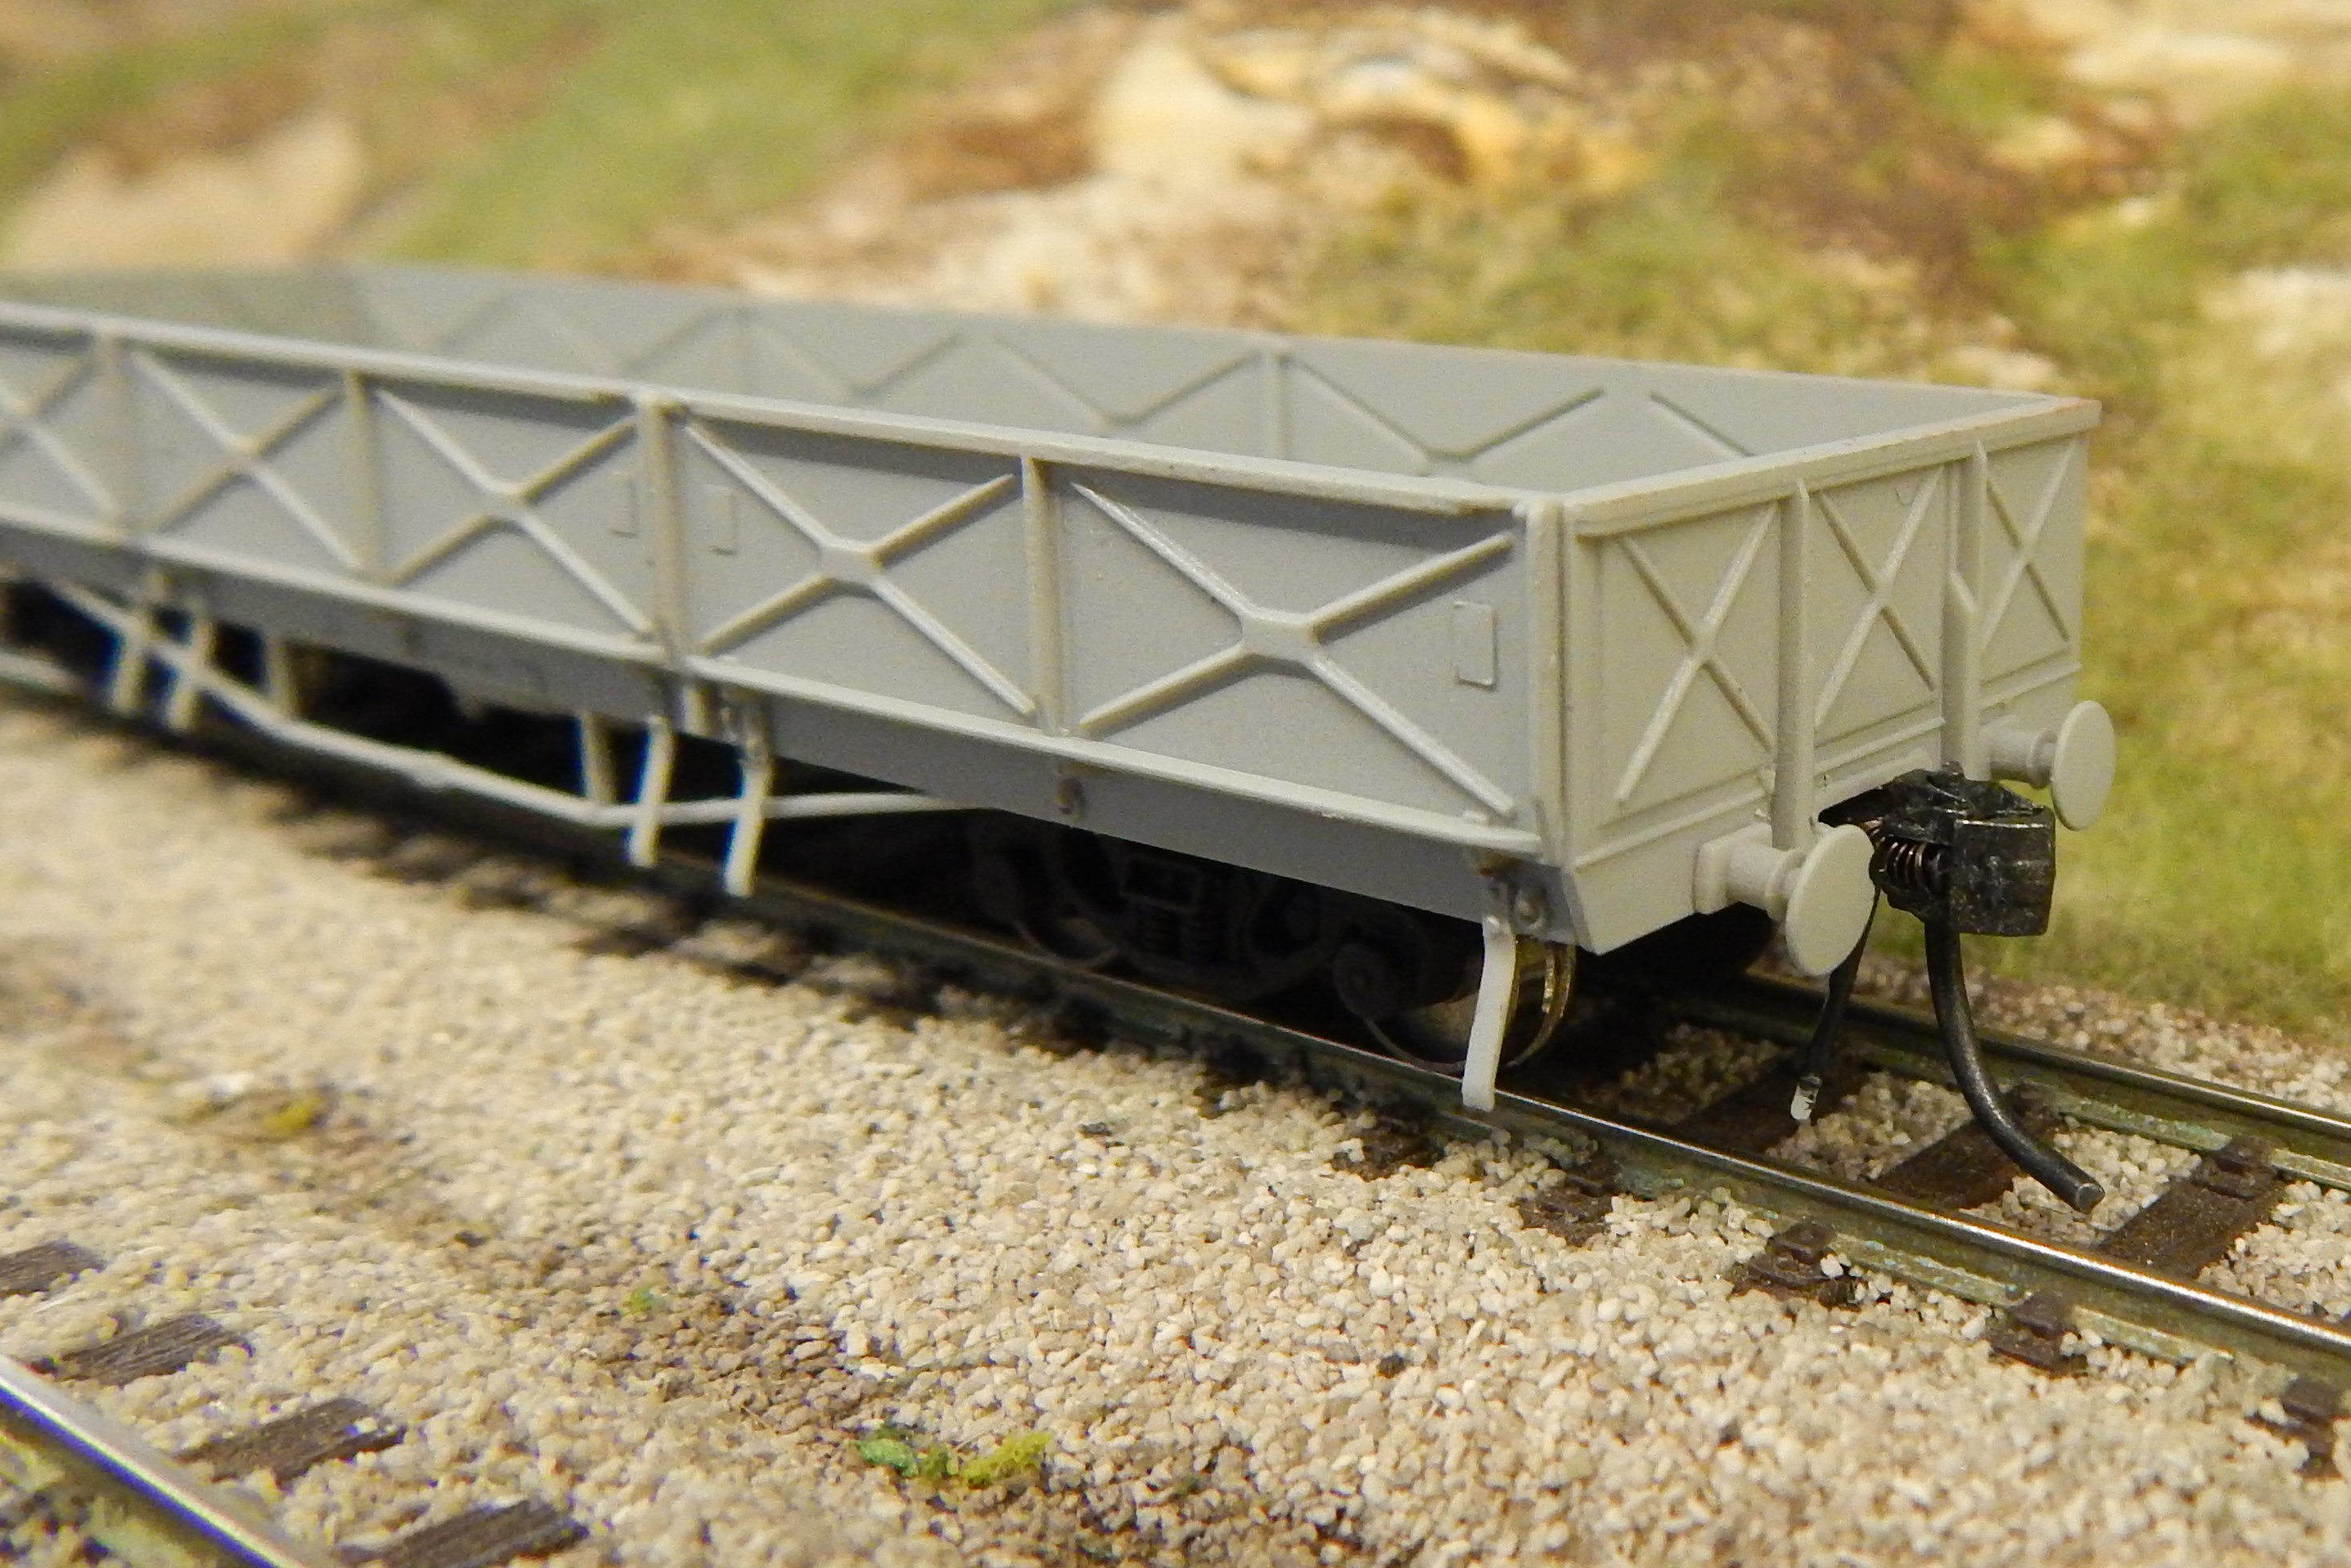
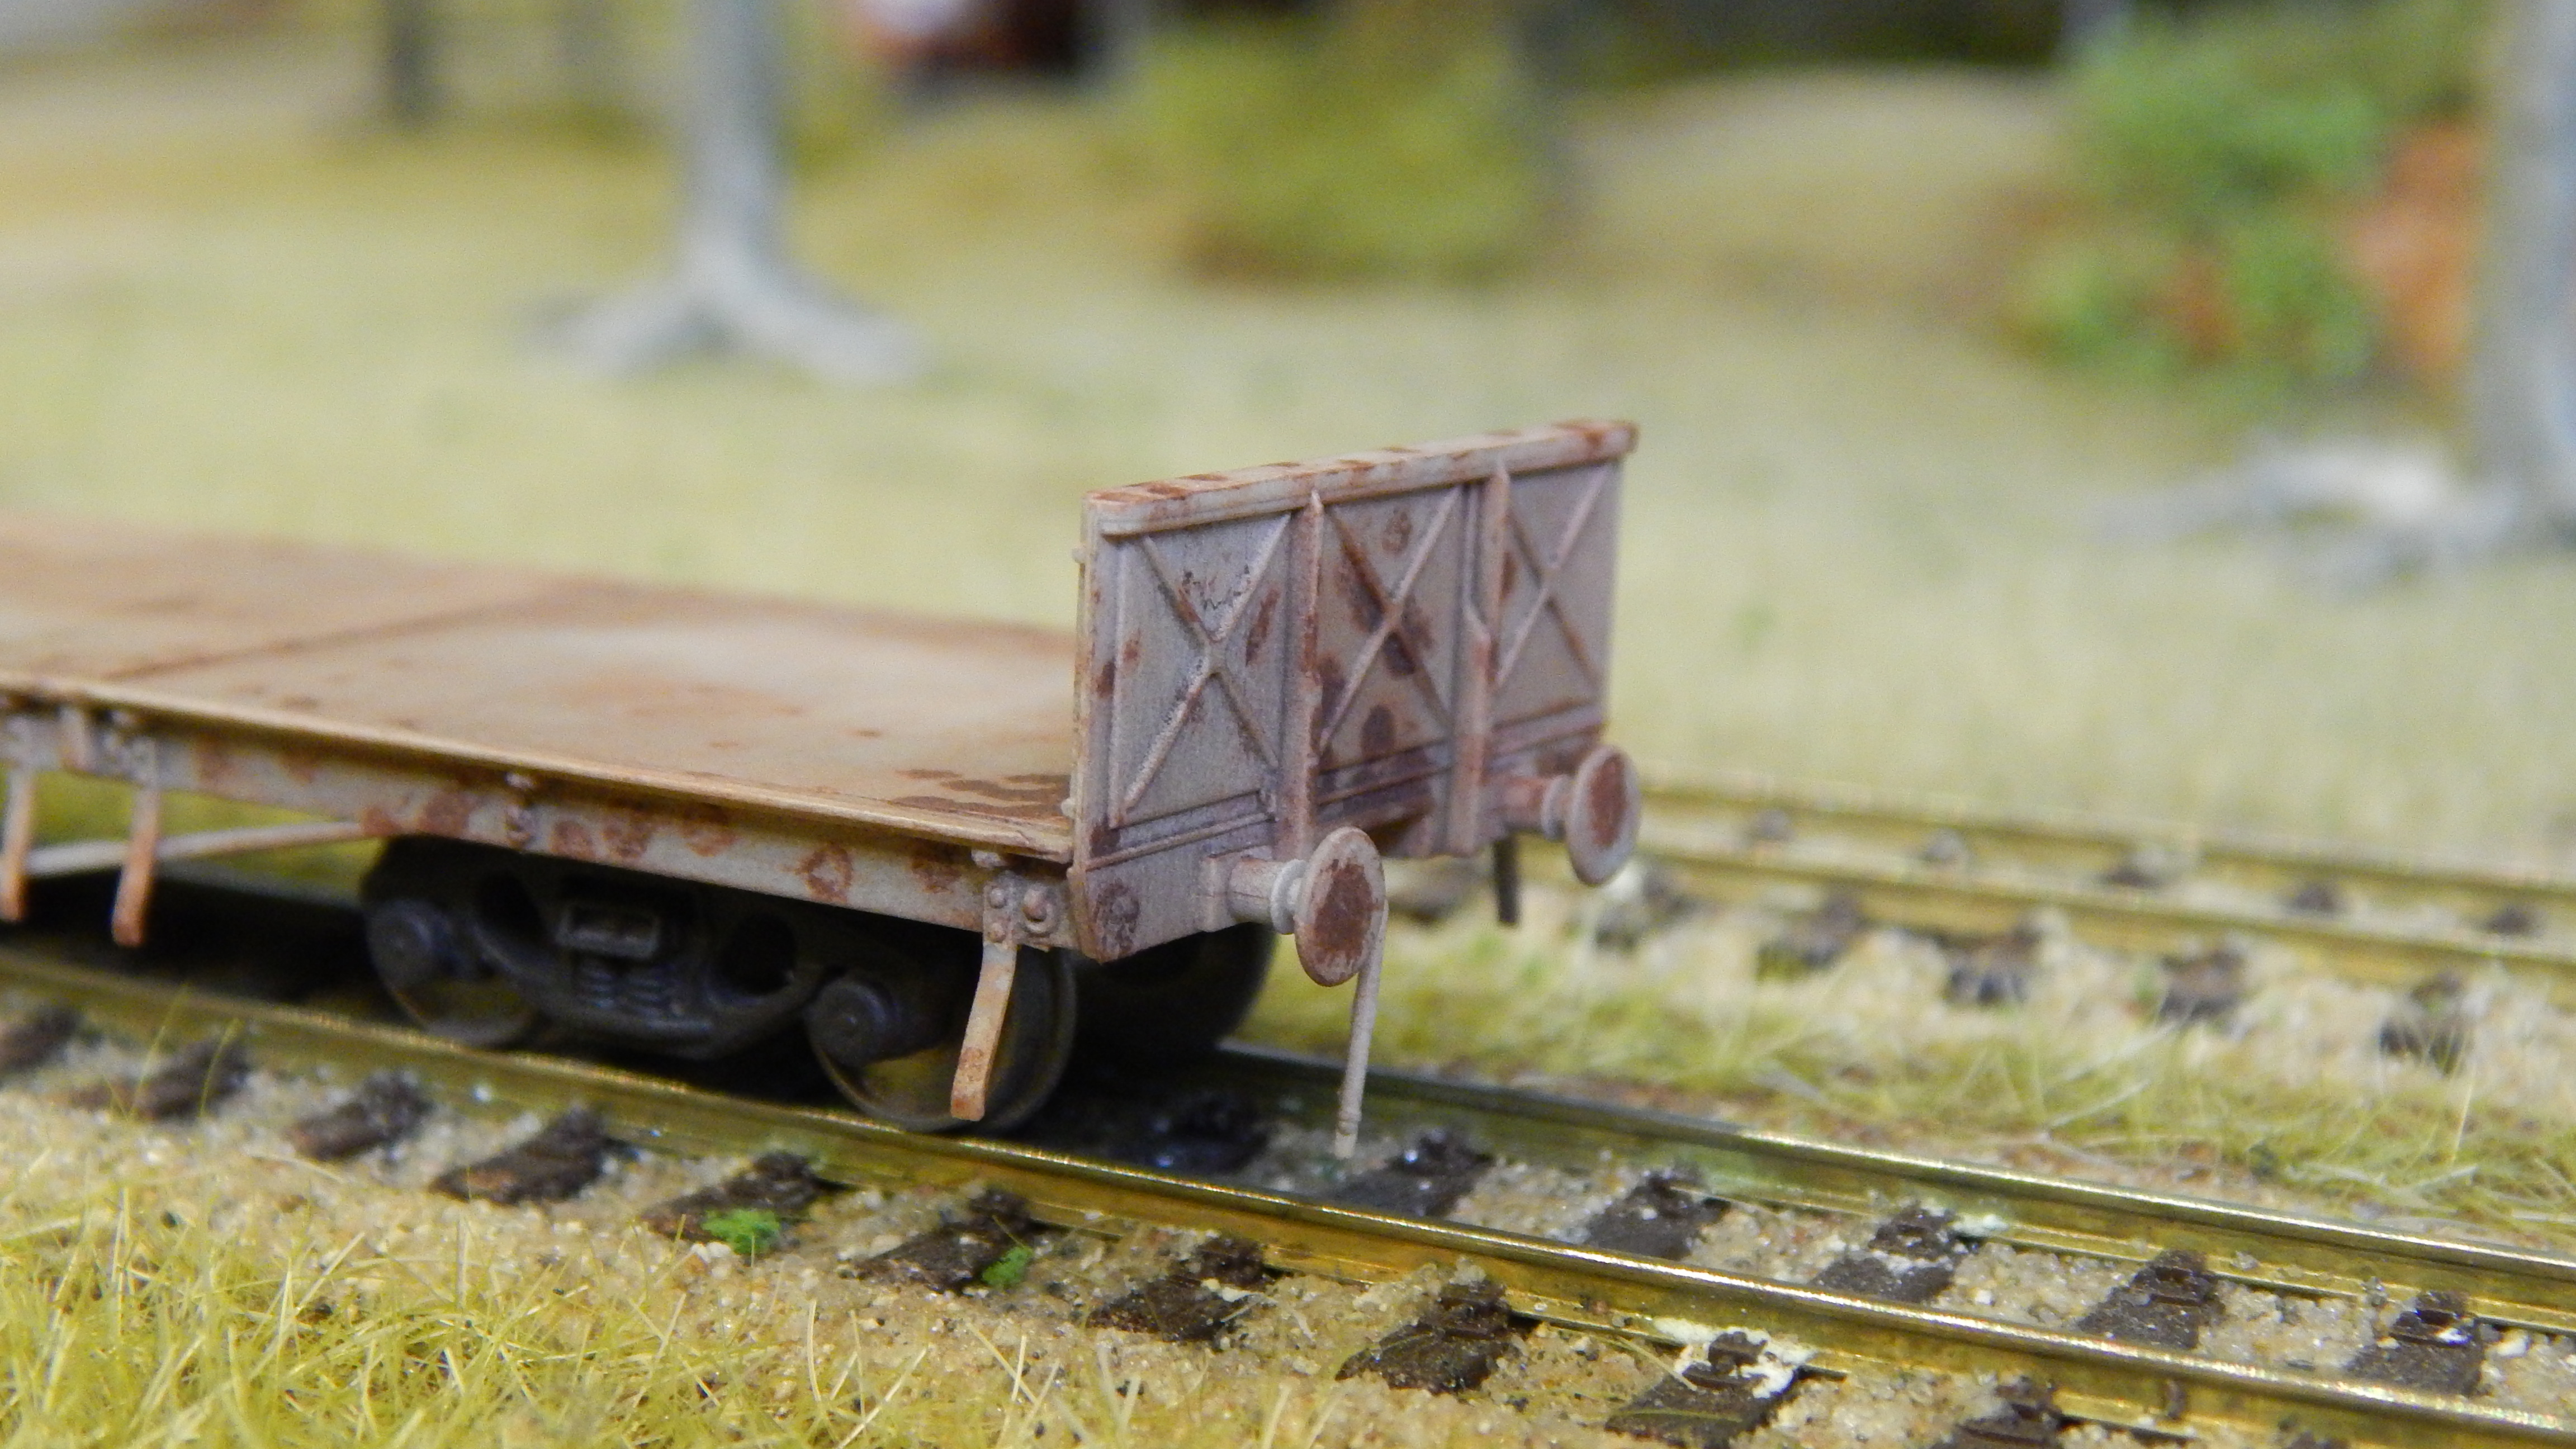
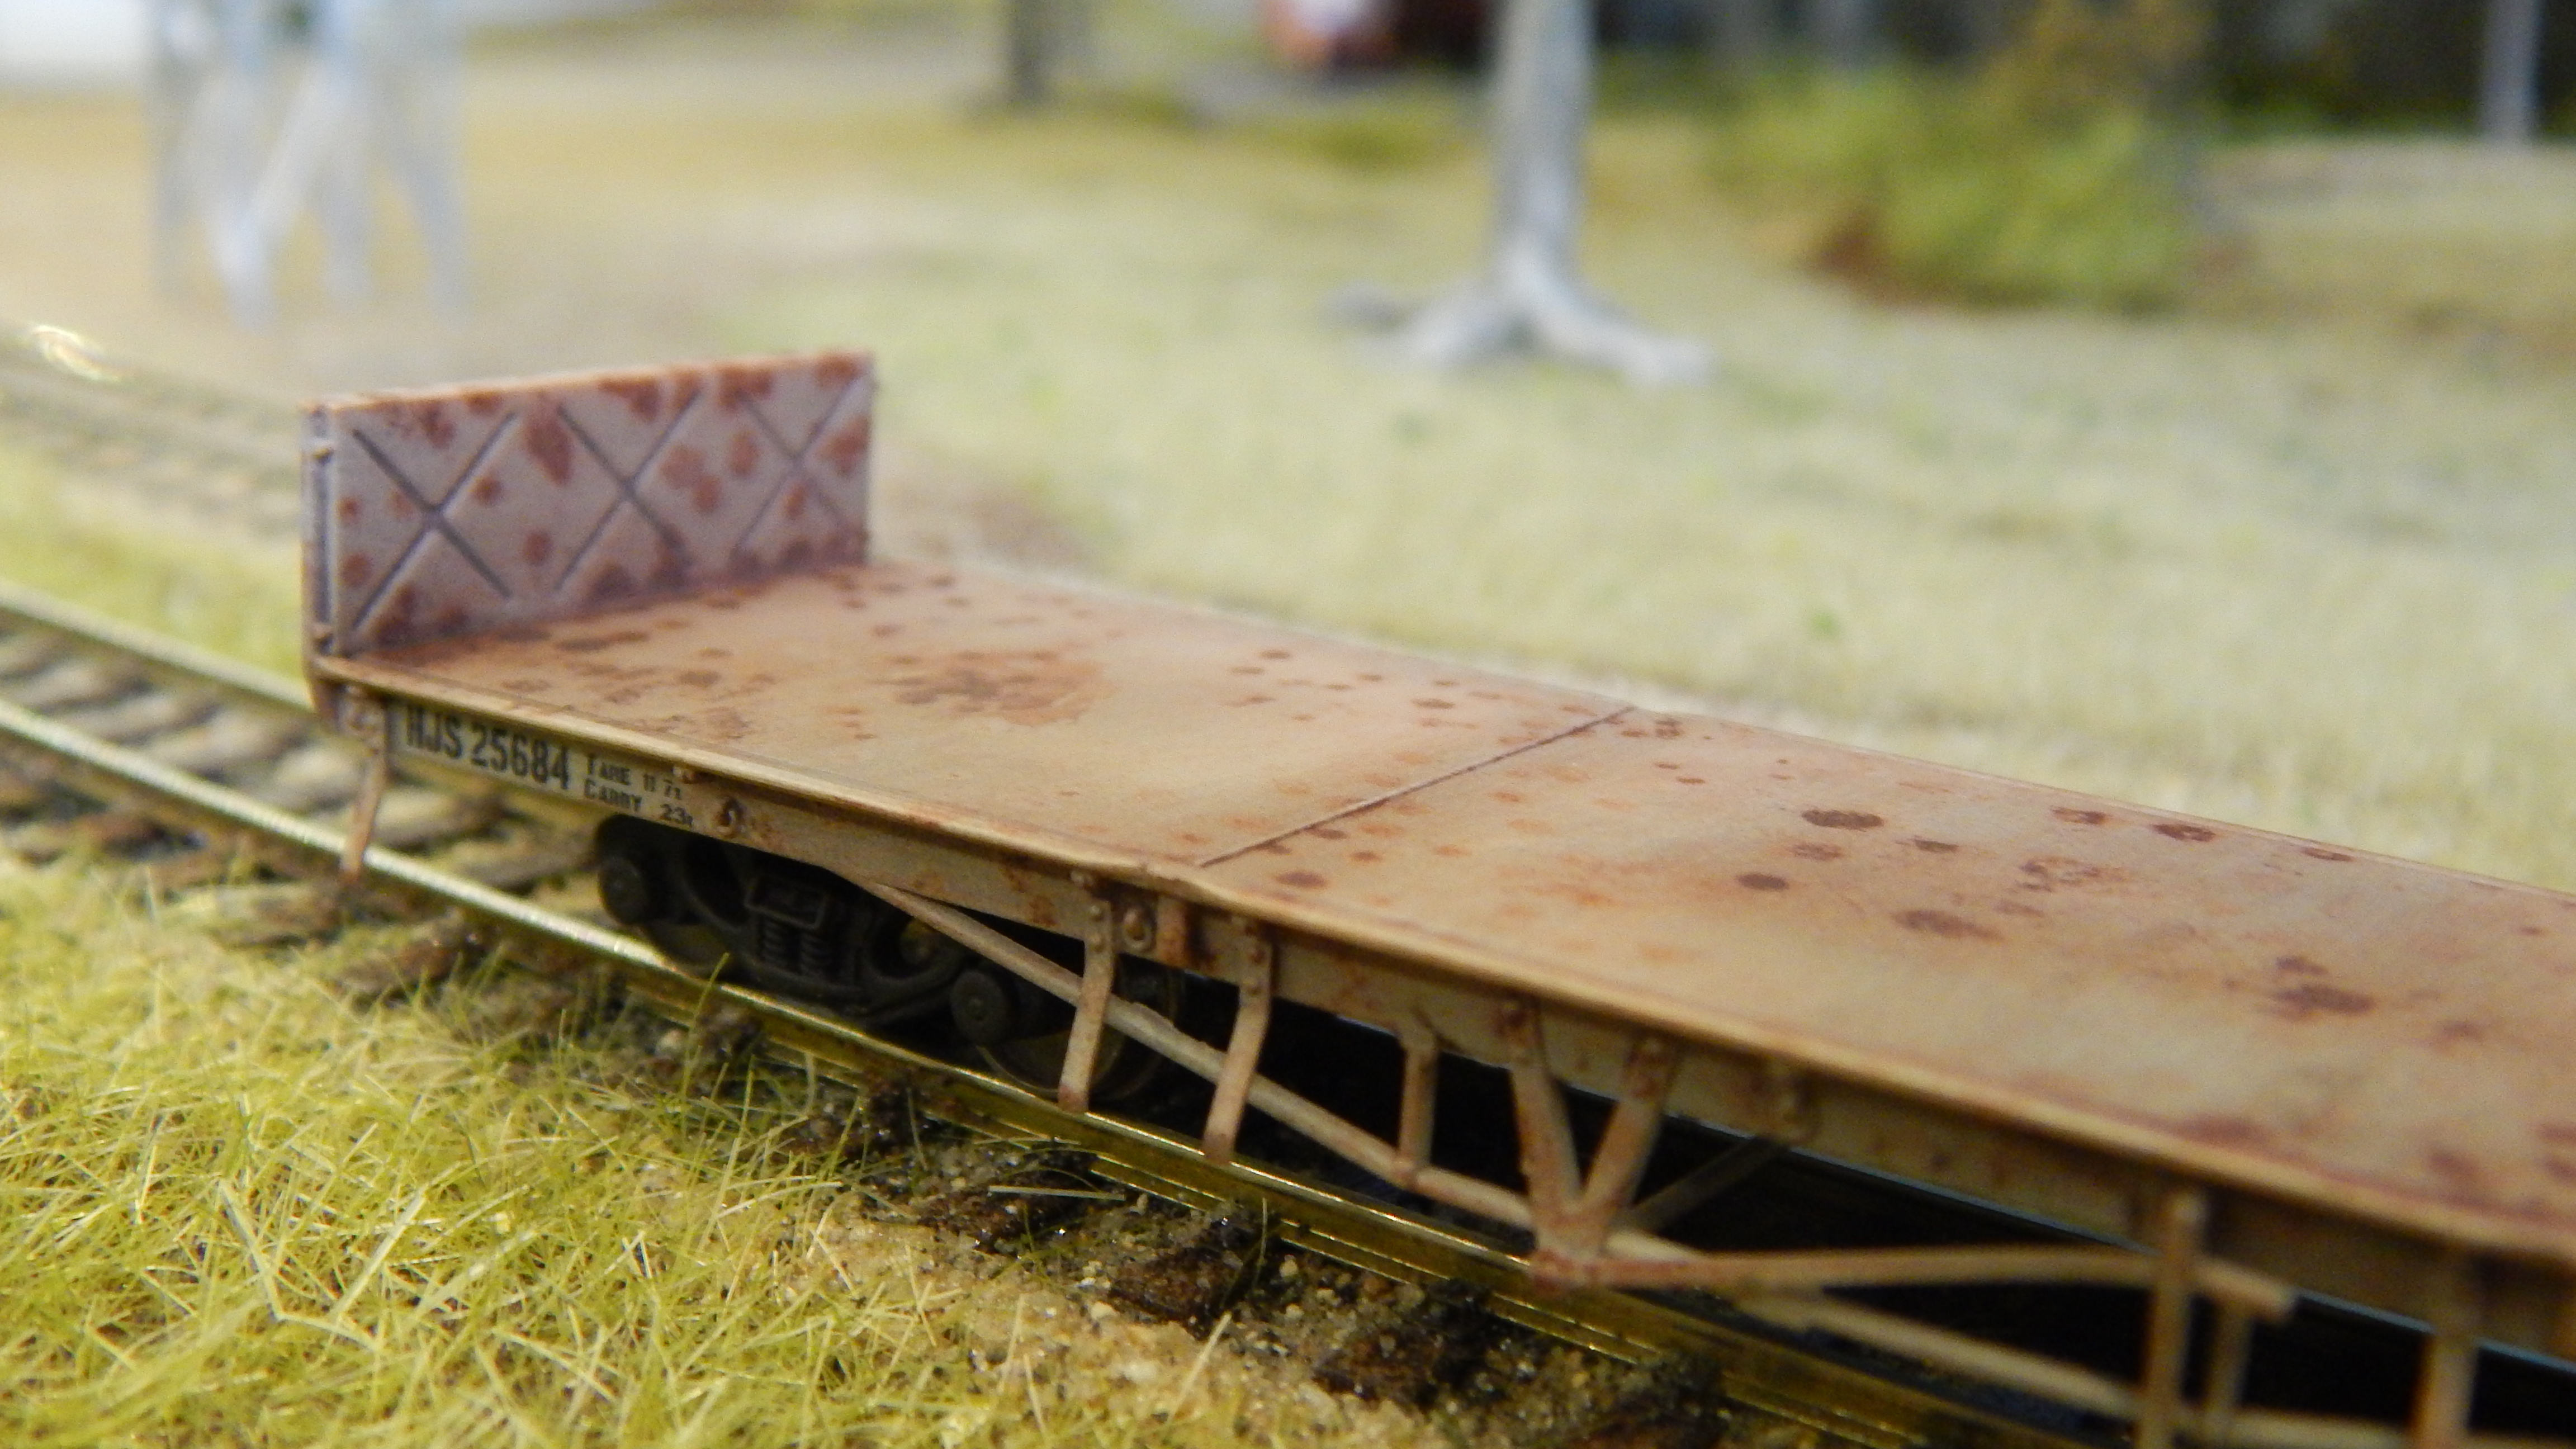
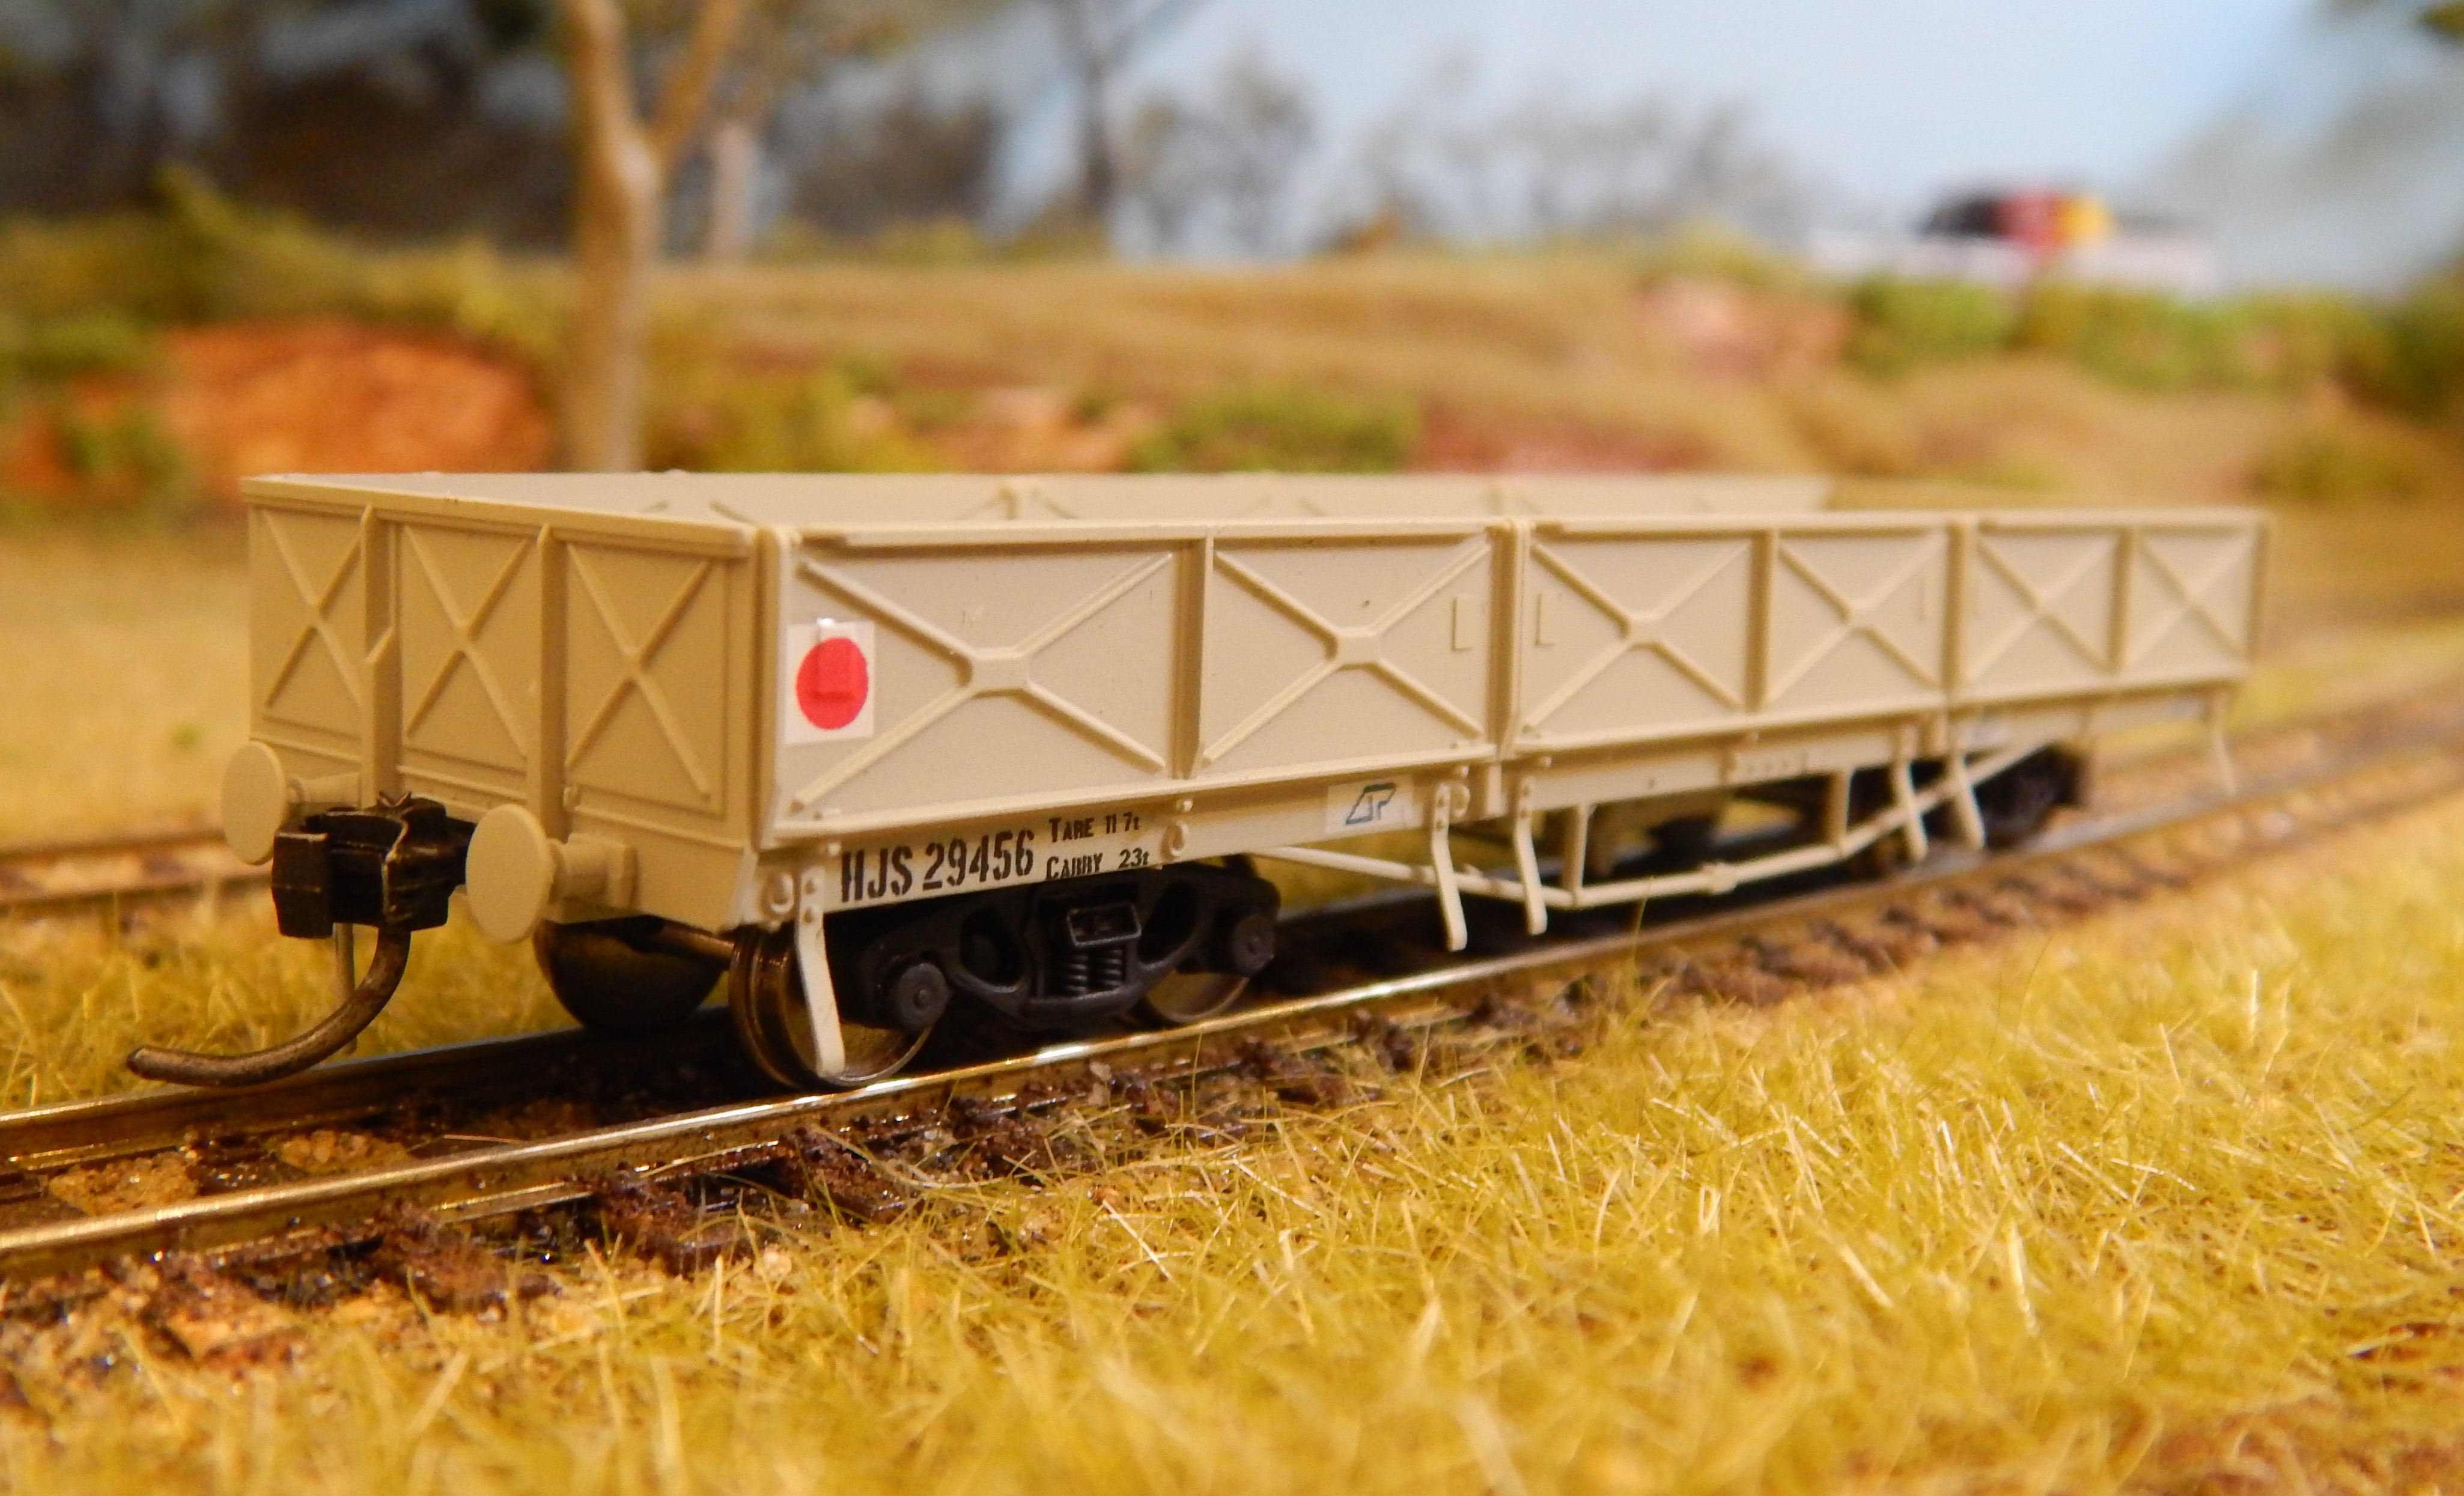
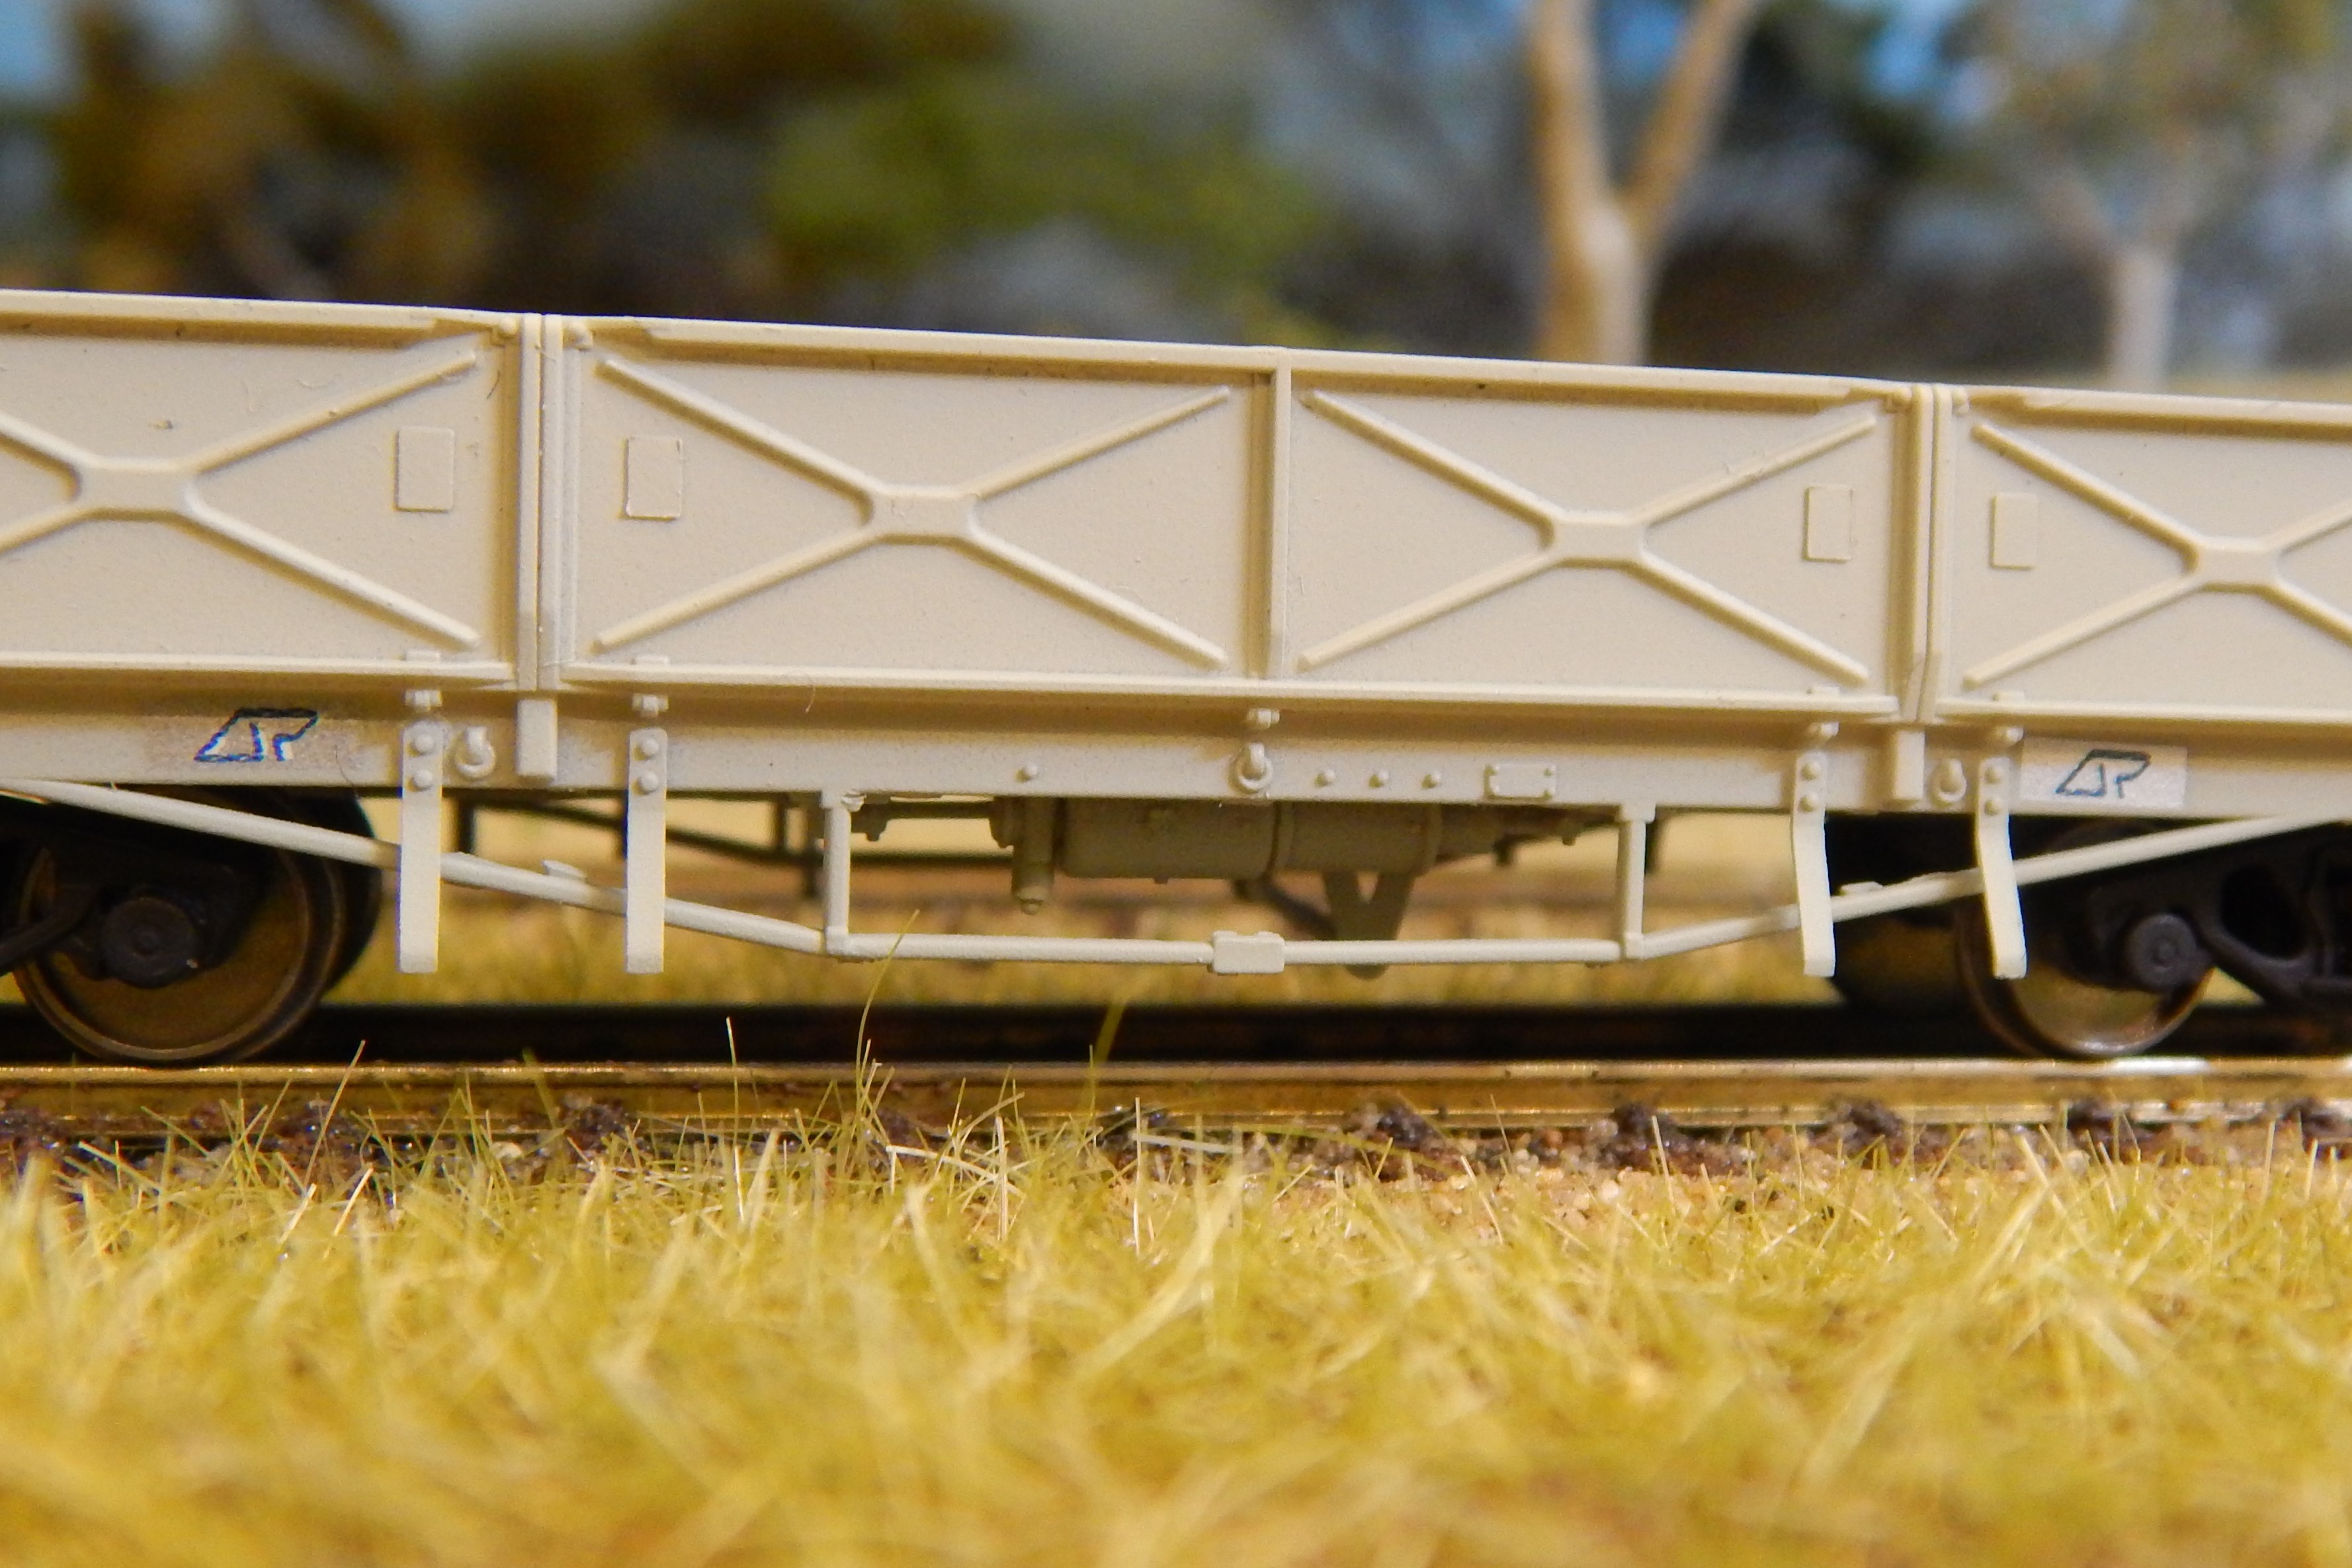
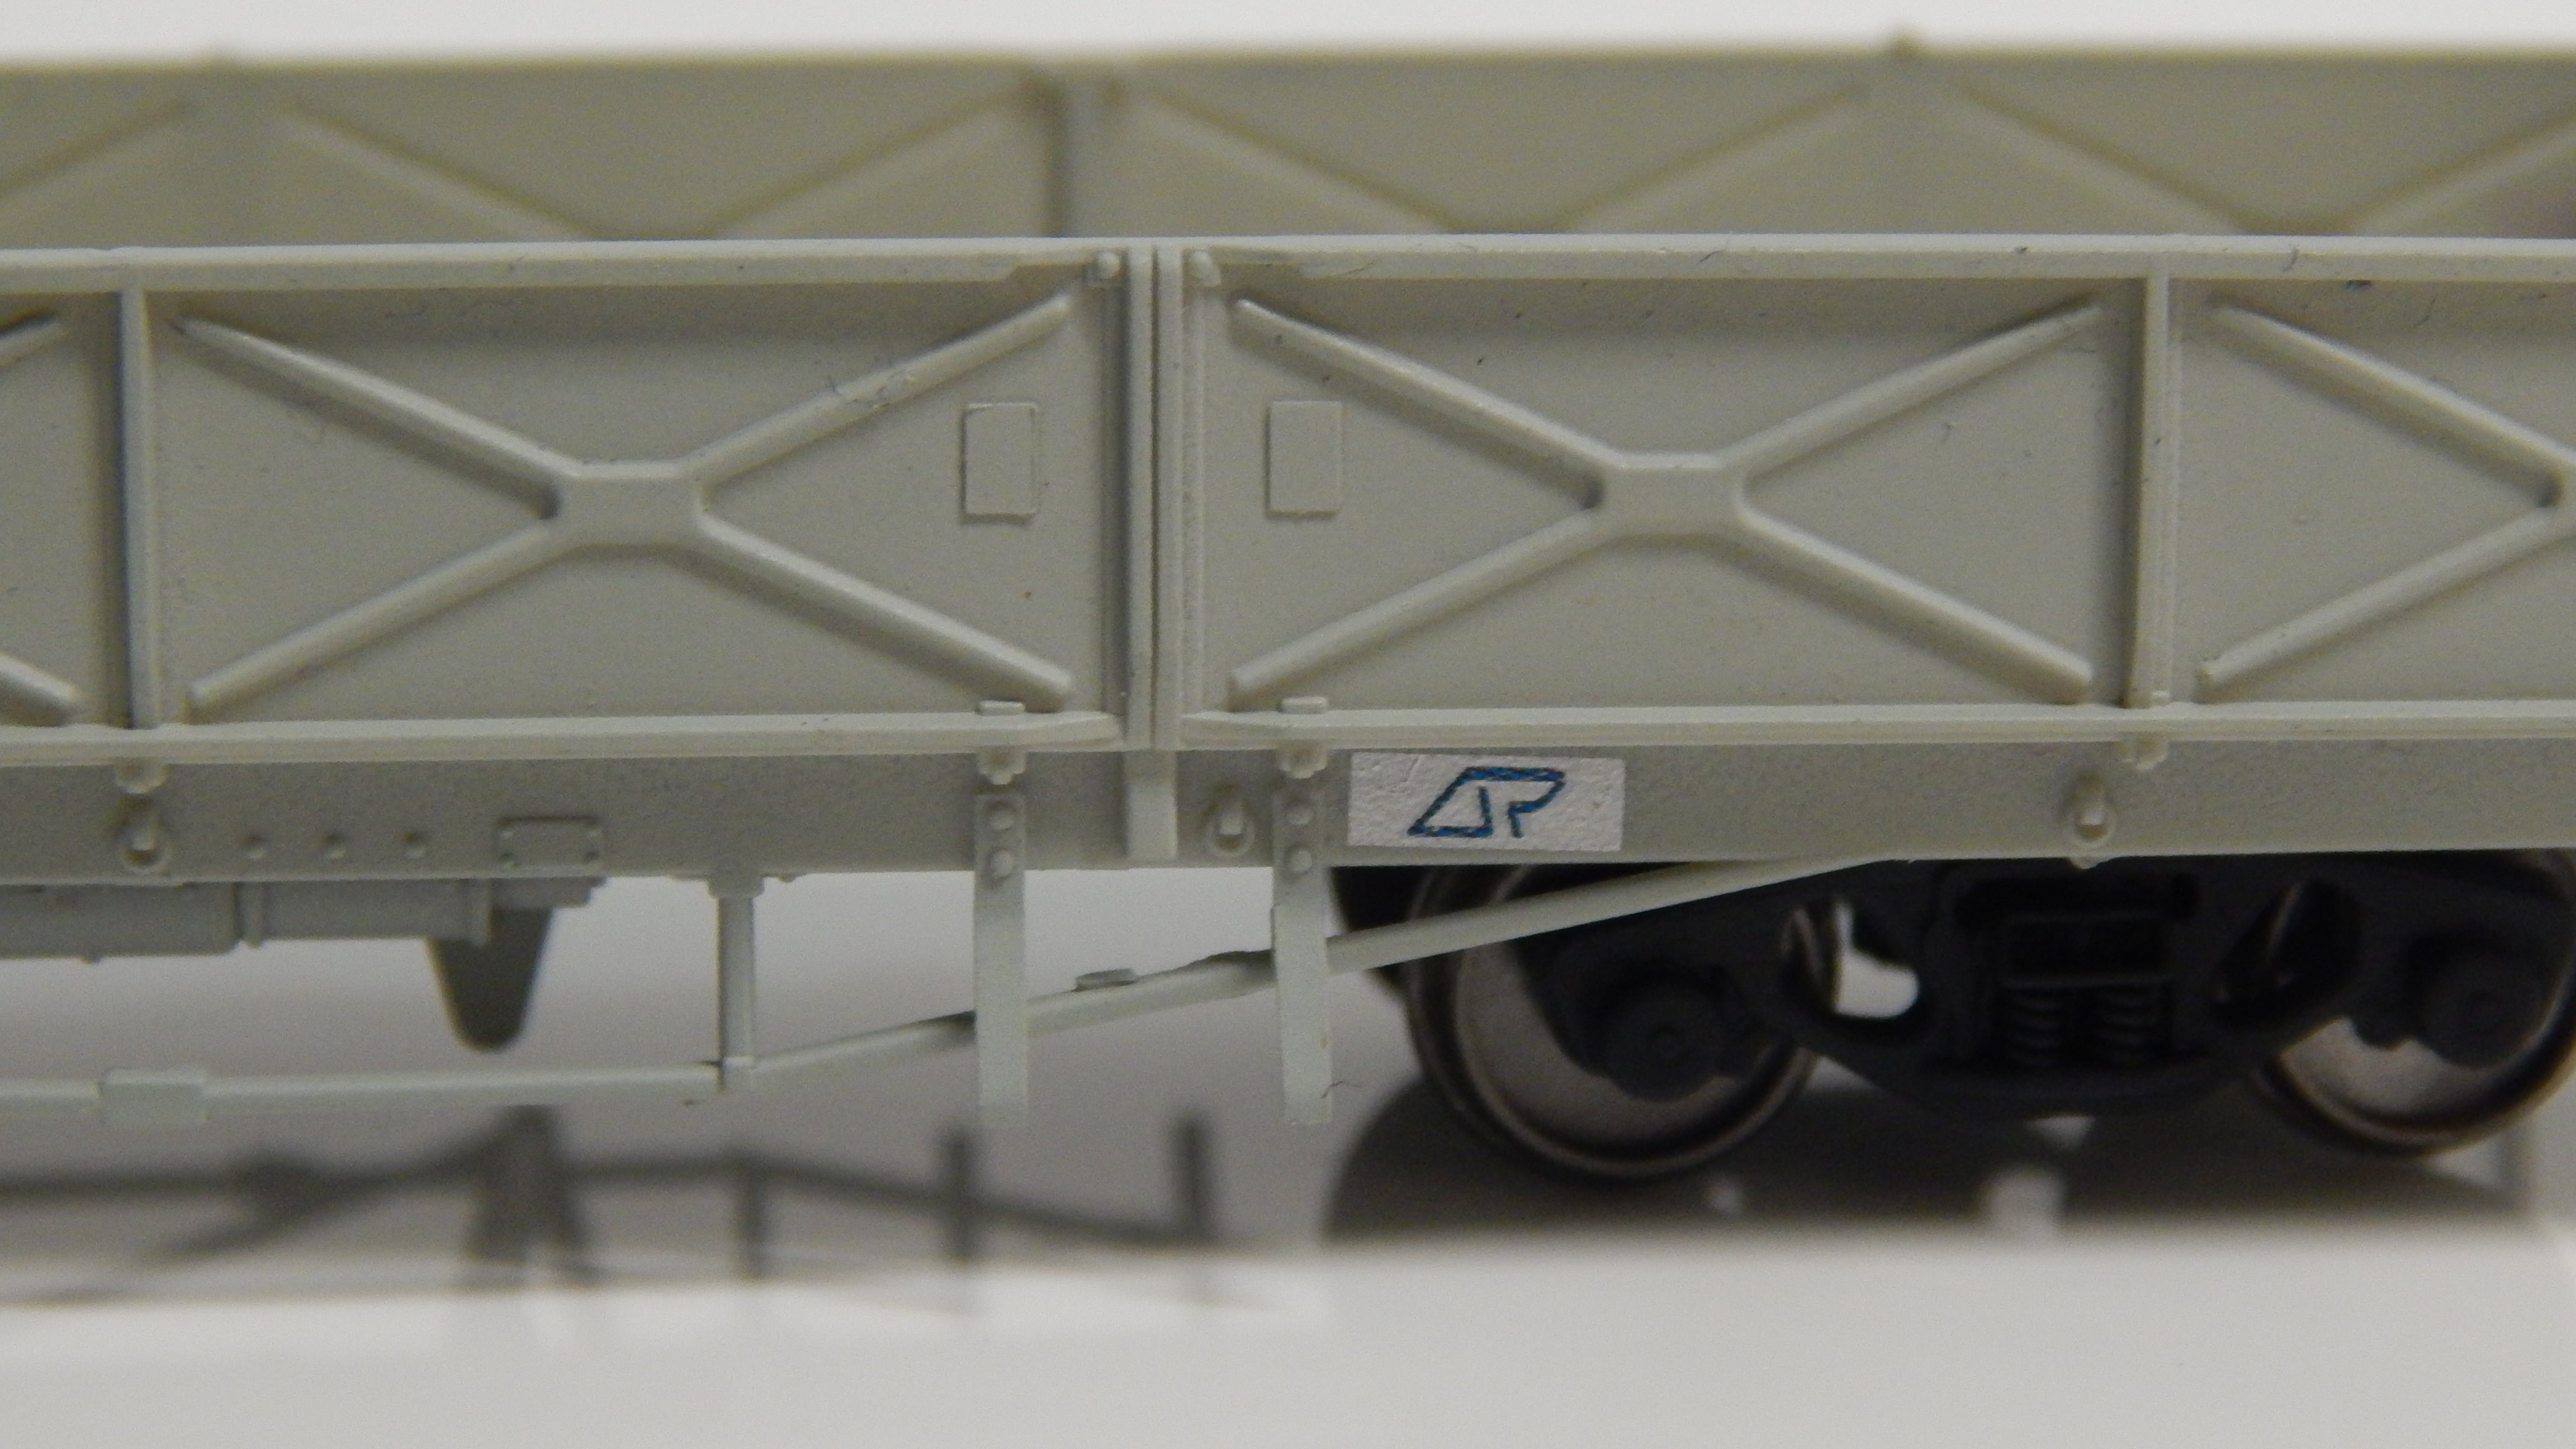
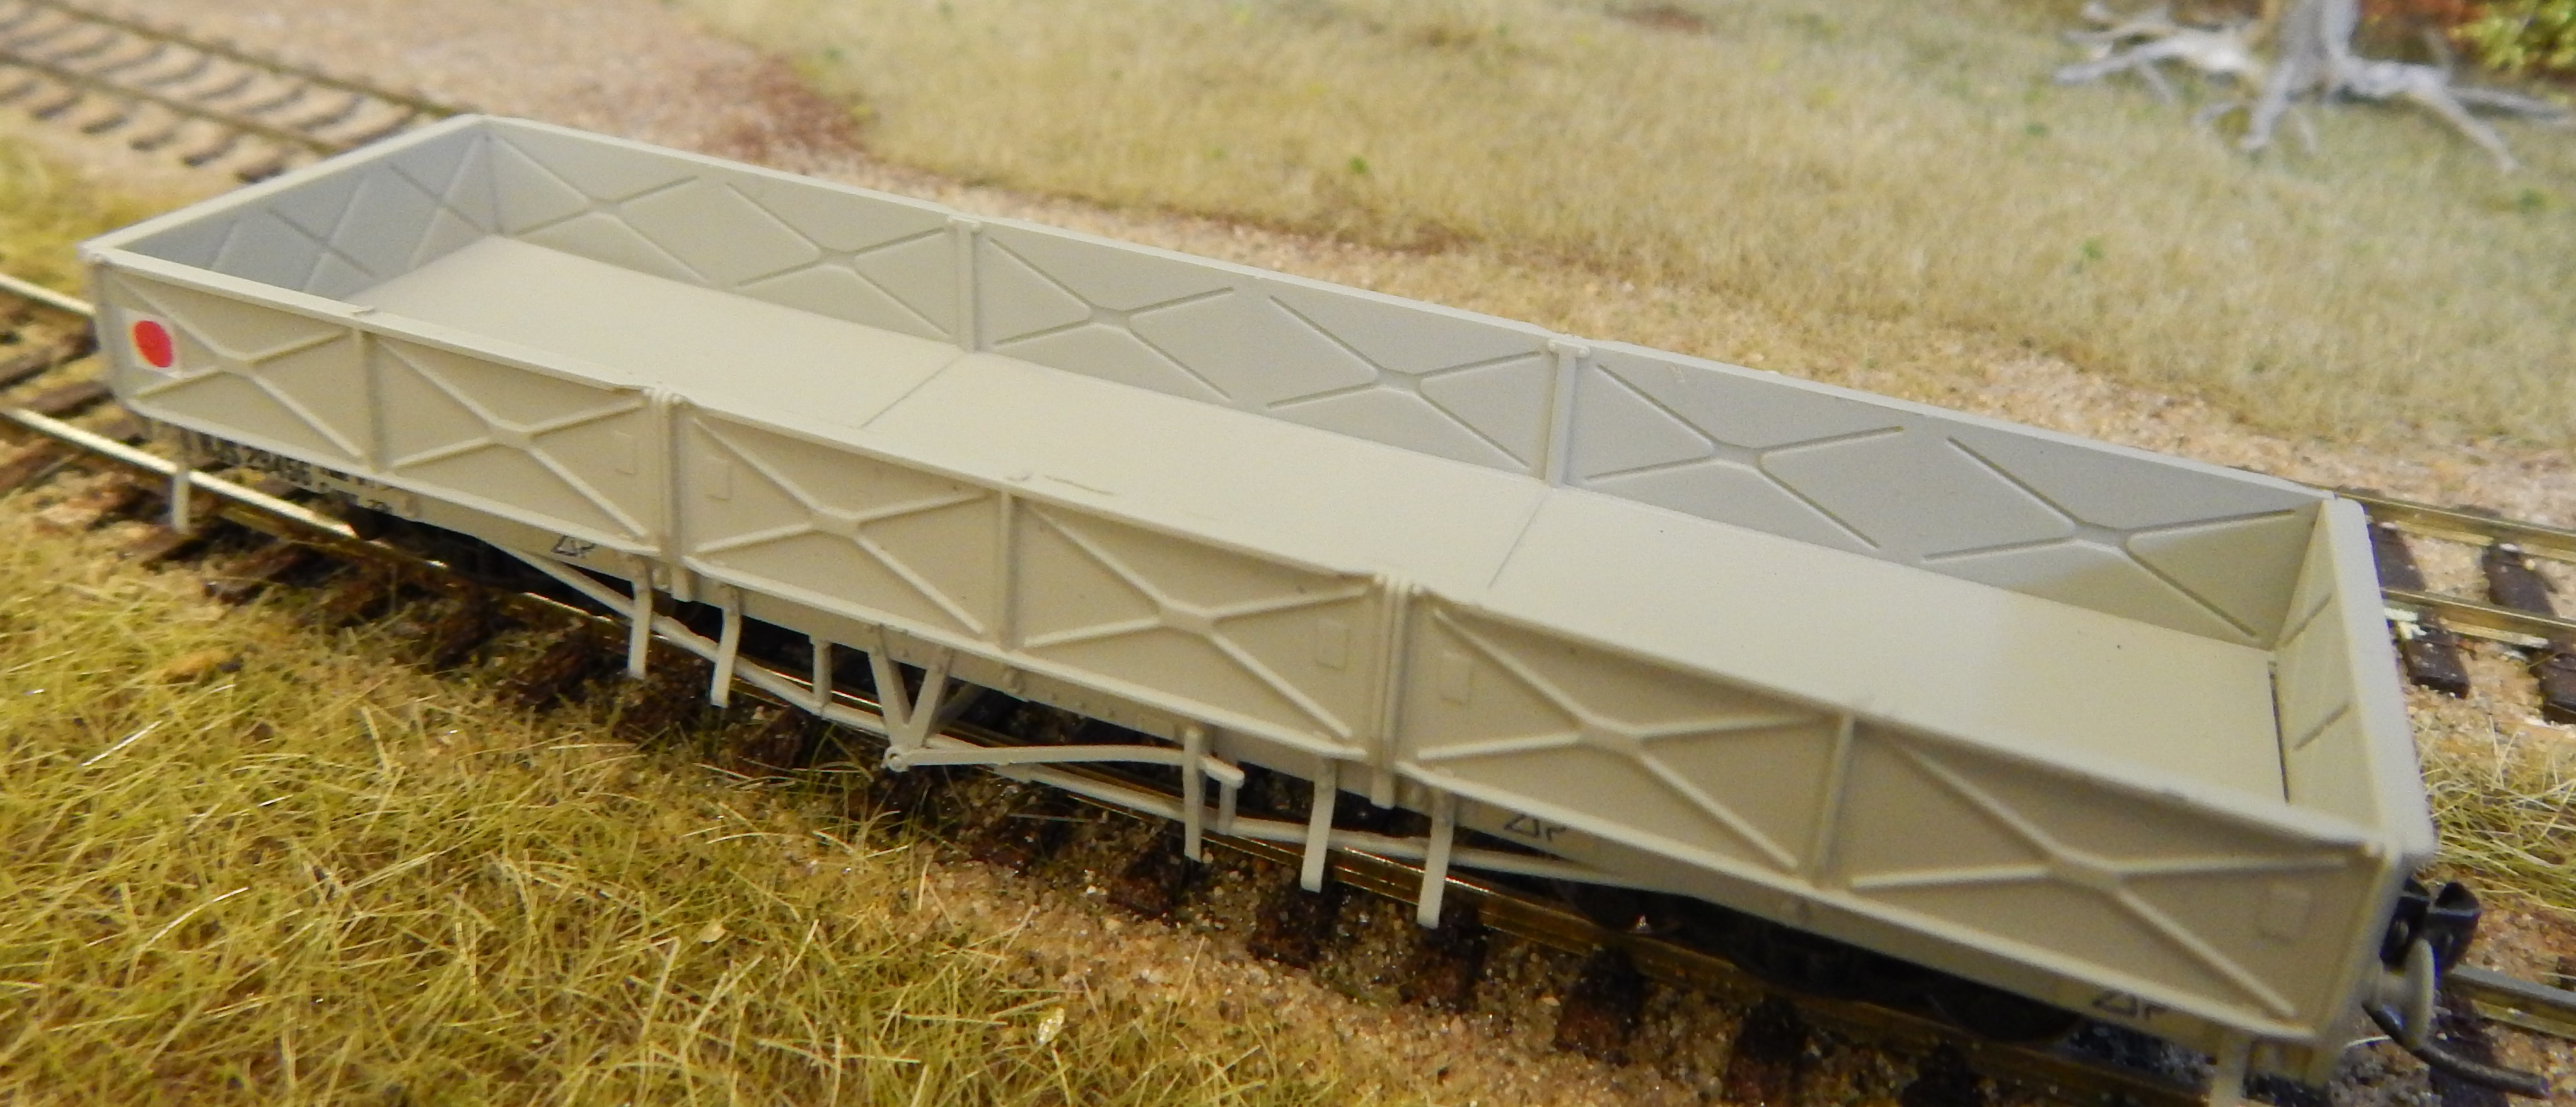
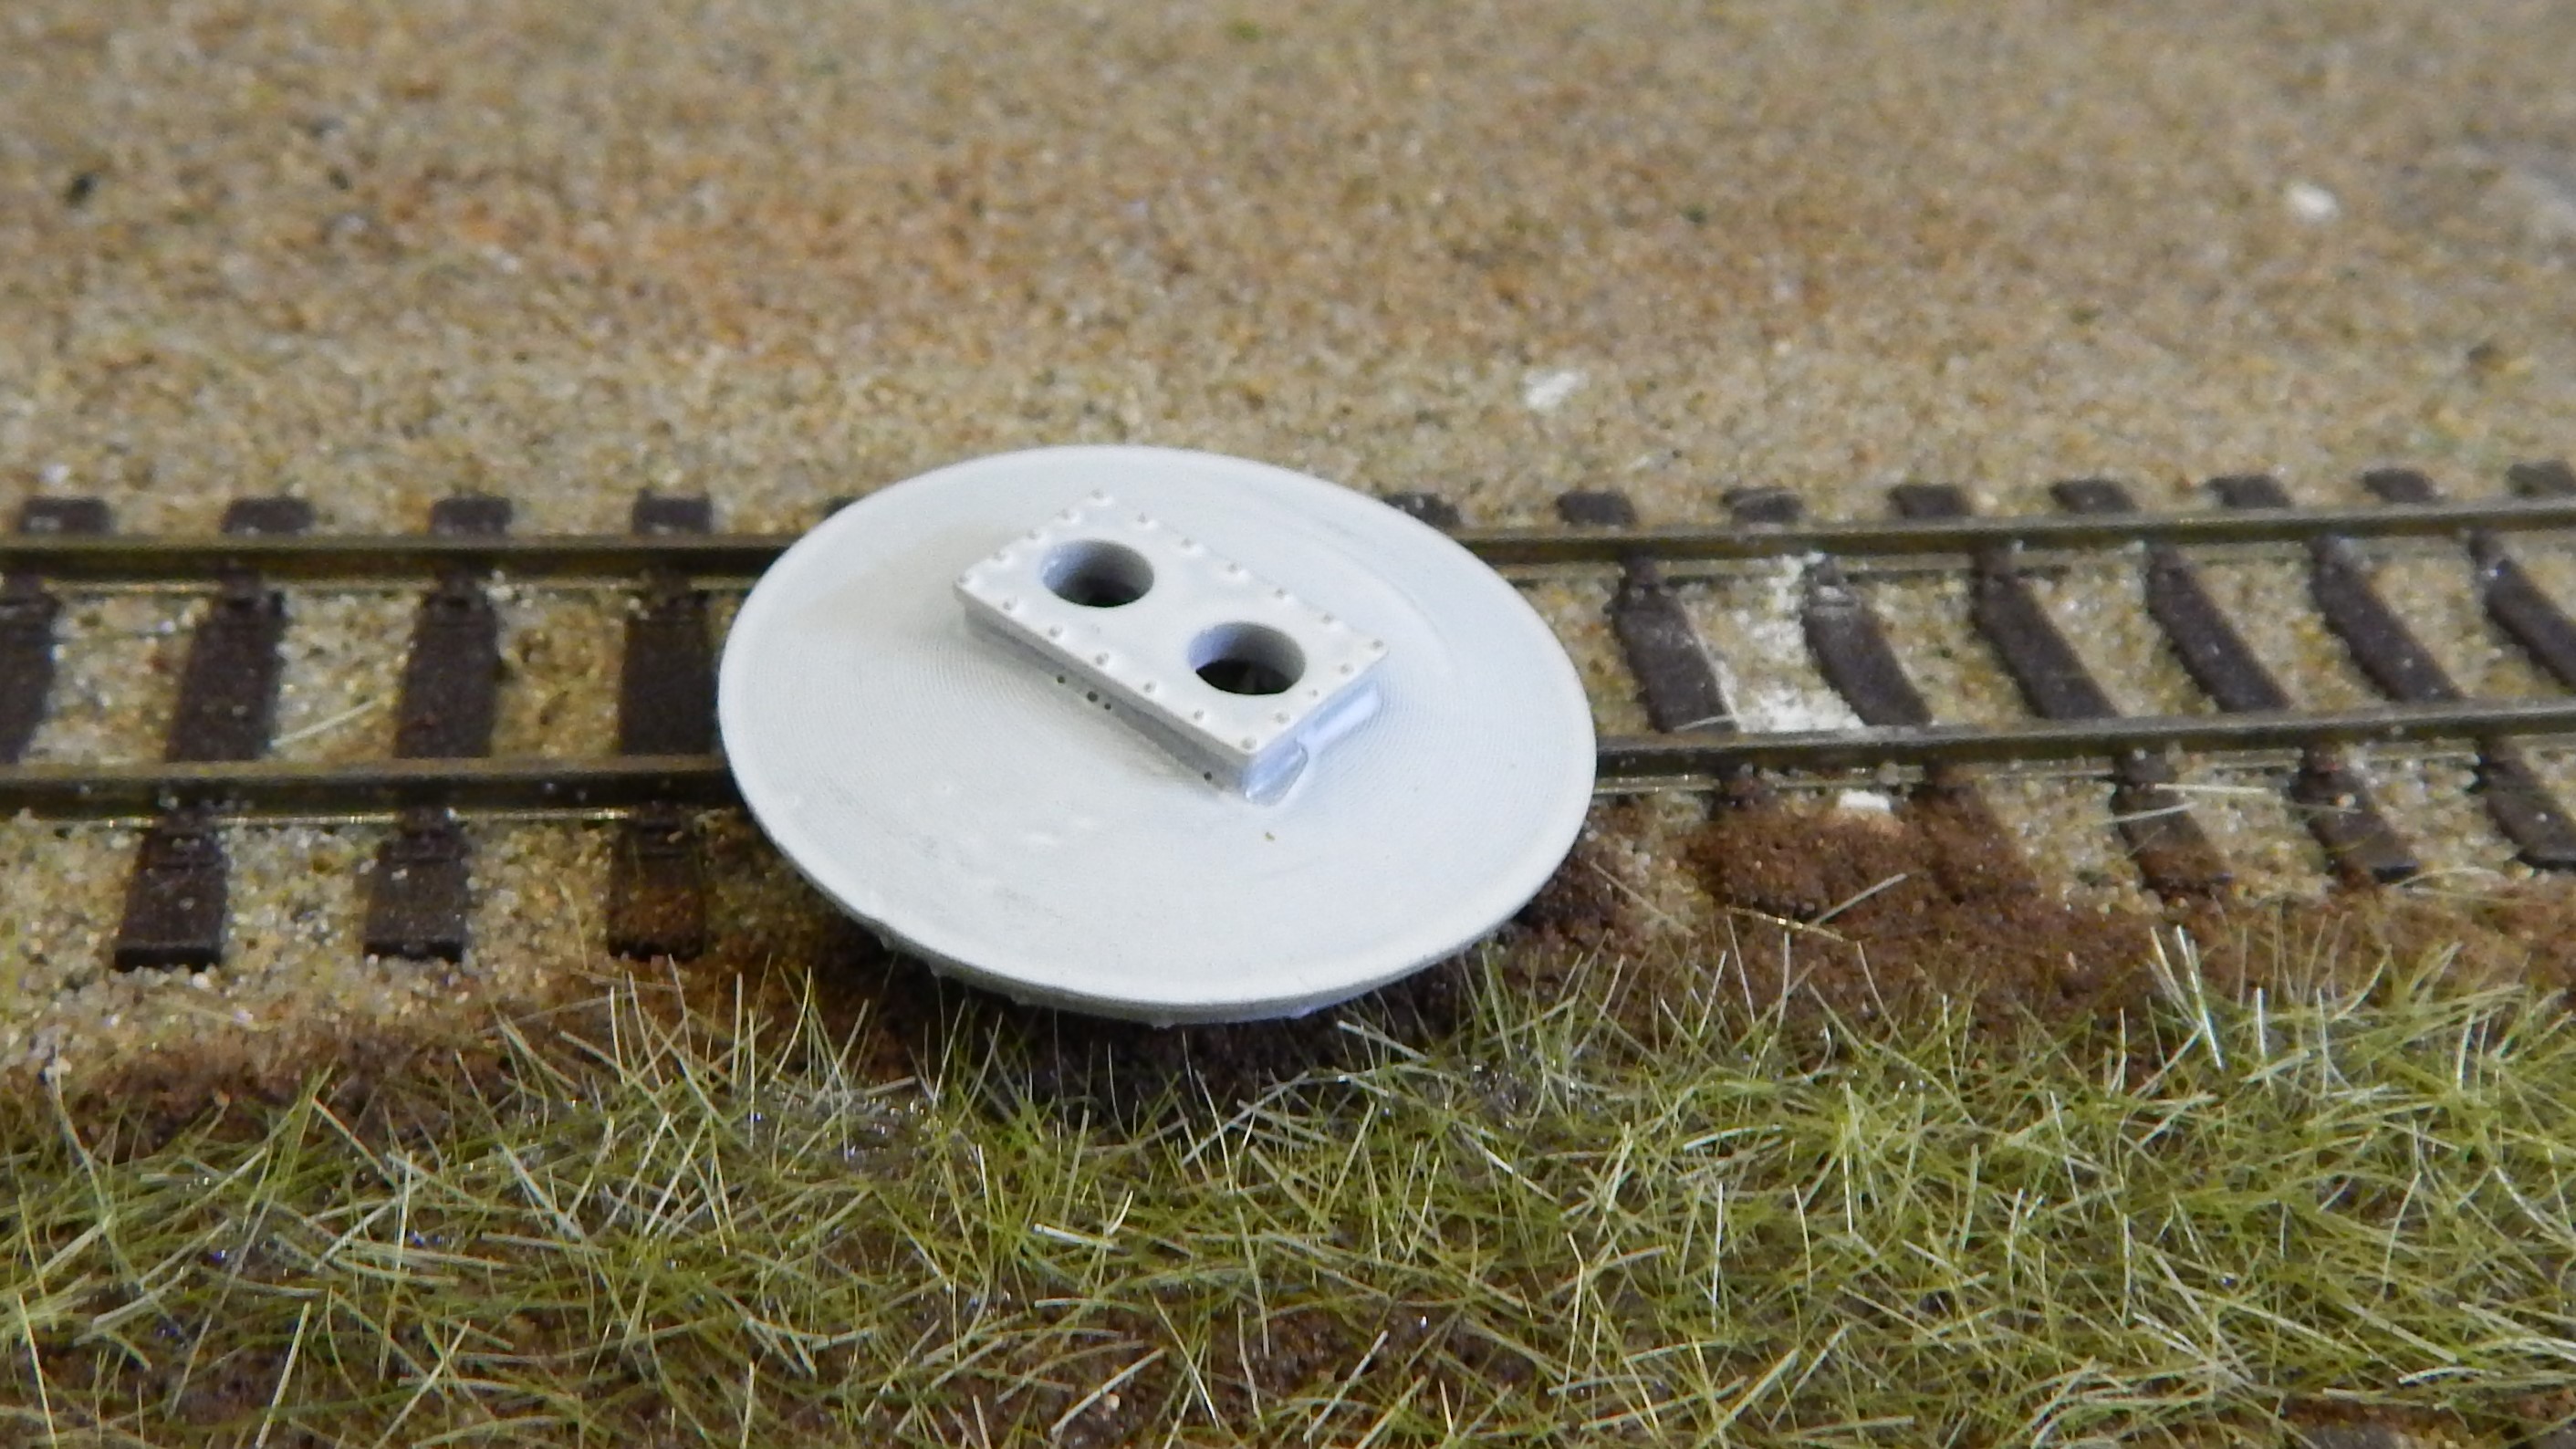
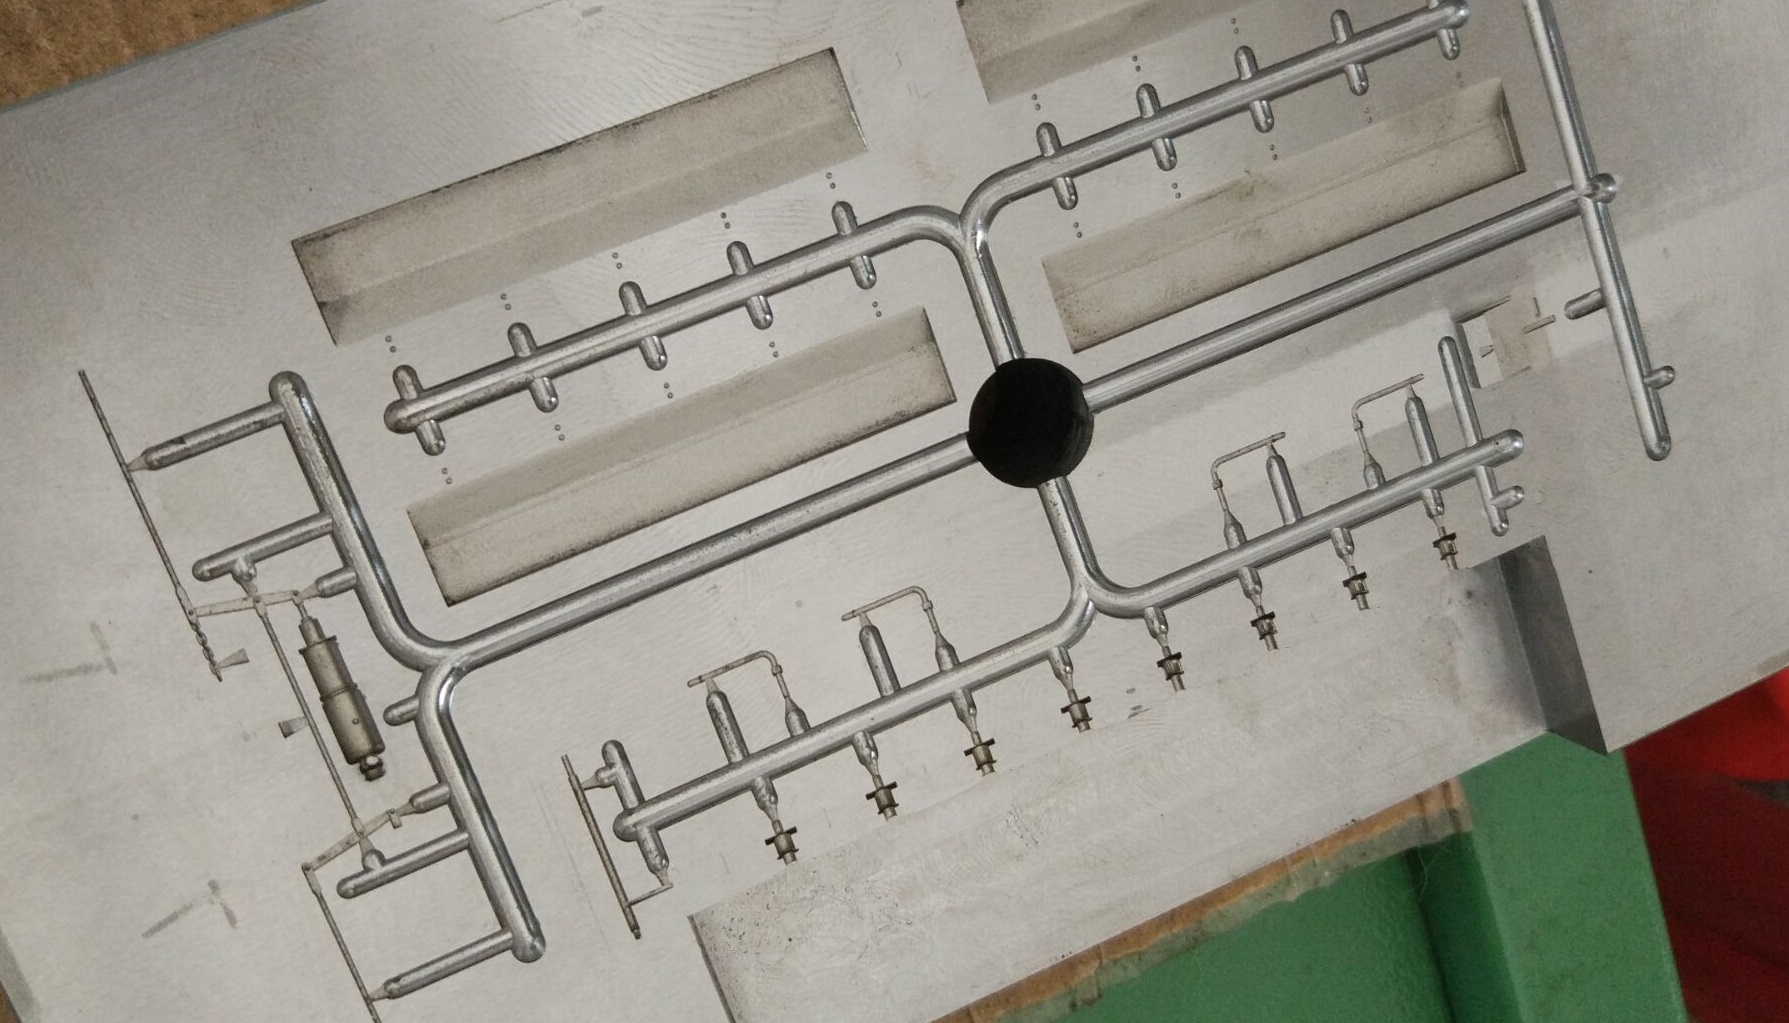
The end result was a pattern being made using the SLS process of printing that produced a very nice model but one that was INCREDIBLY fragile, not to mention expensive (the A wagon pattern here cost around $600 just for the printed pattern). this system worked well and was then sent to our caster to be reproduced in silicone rubber molds.


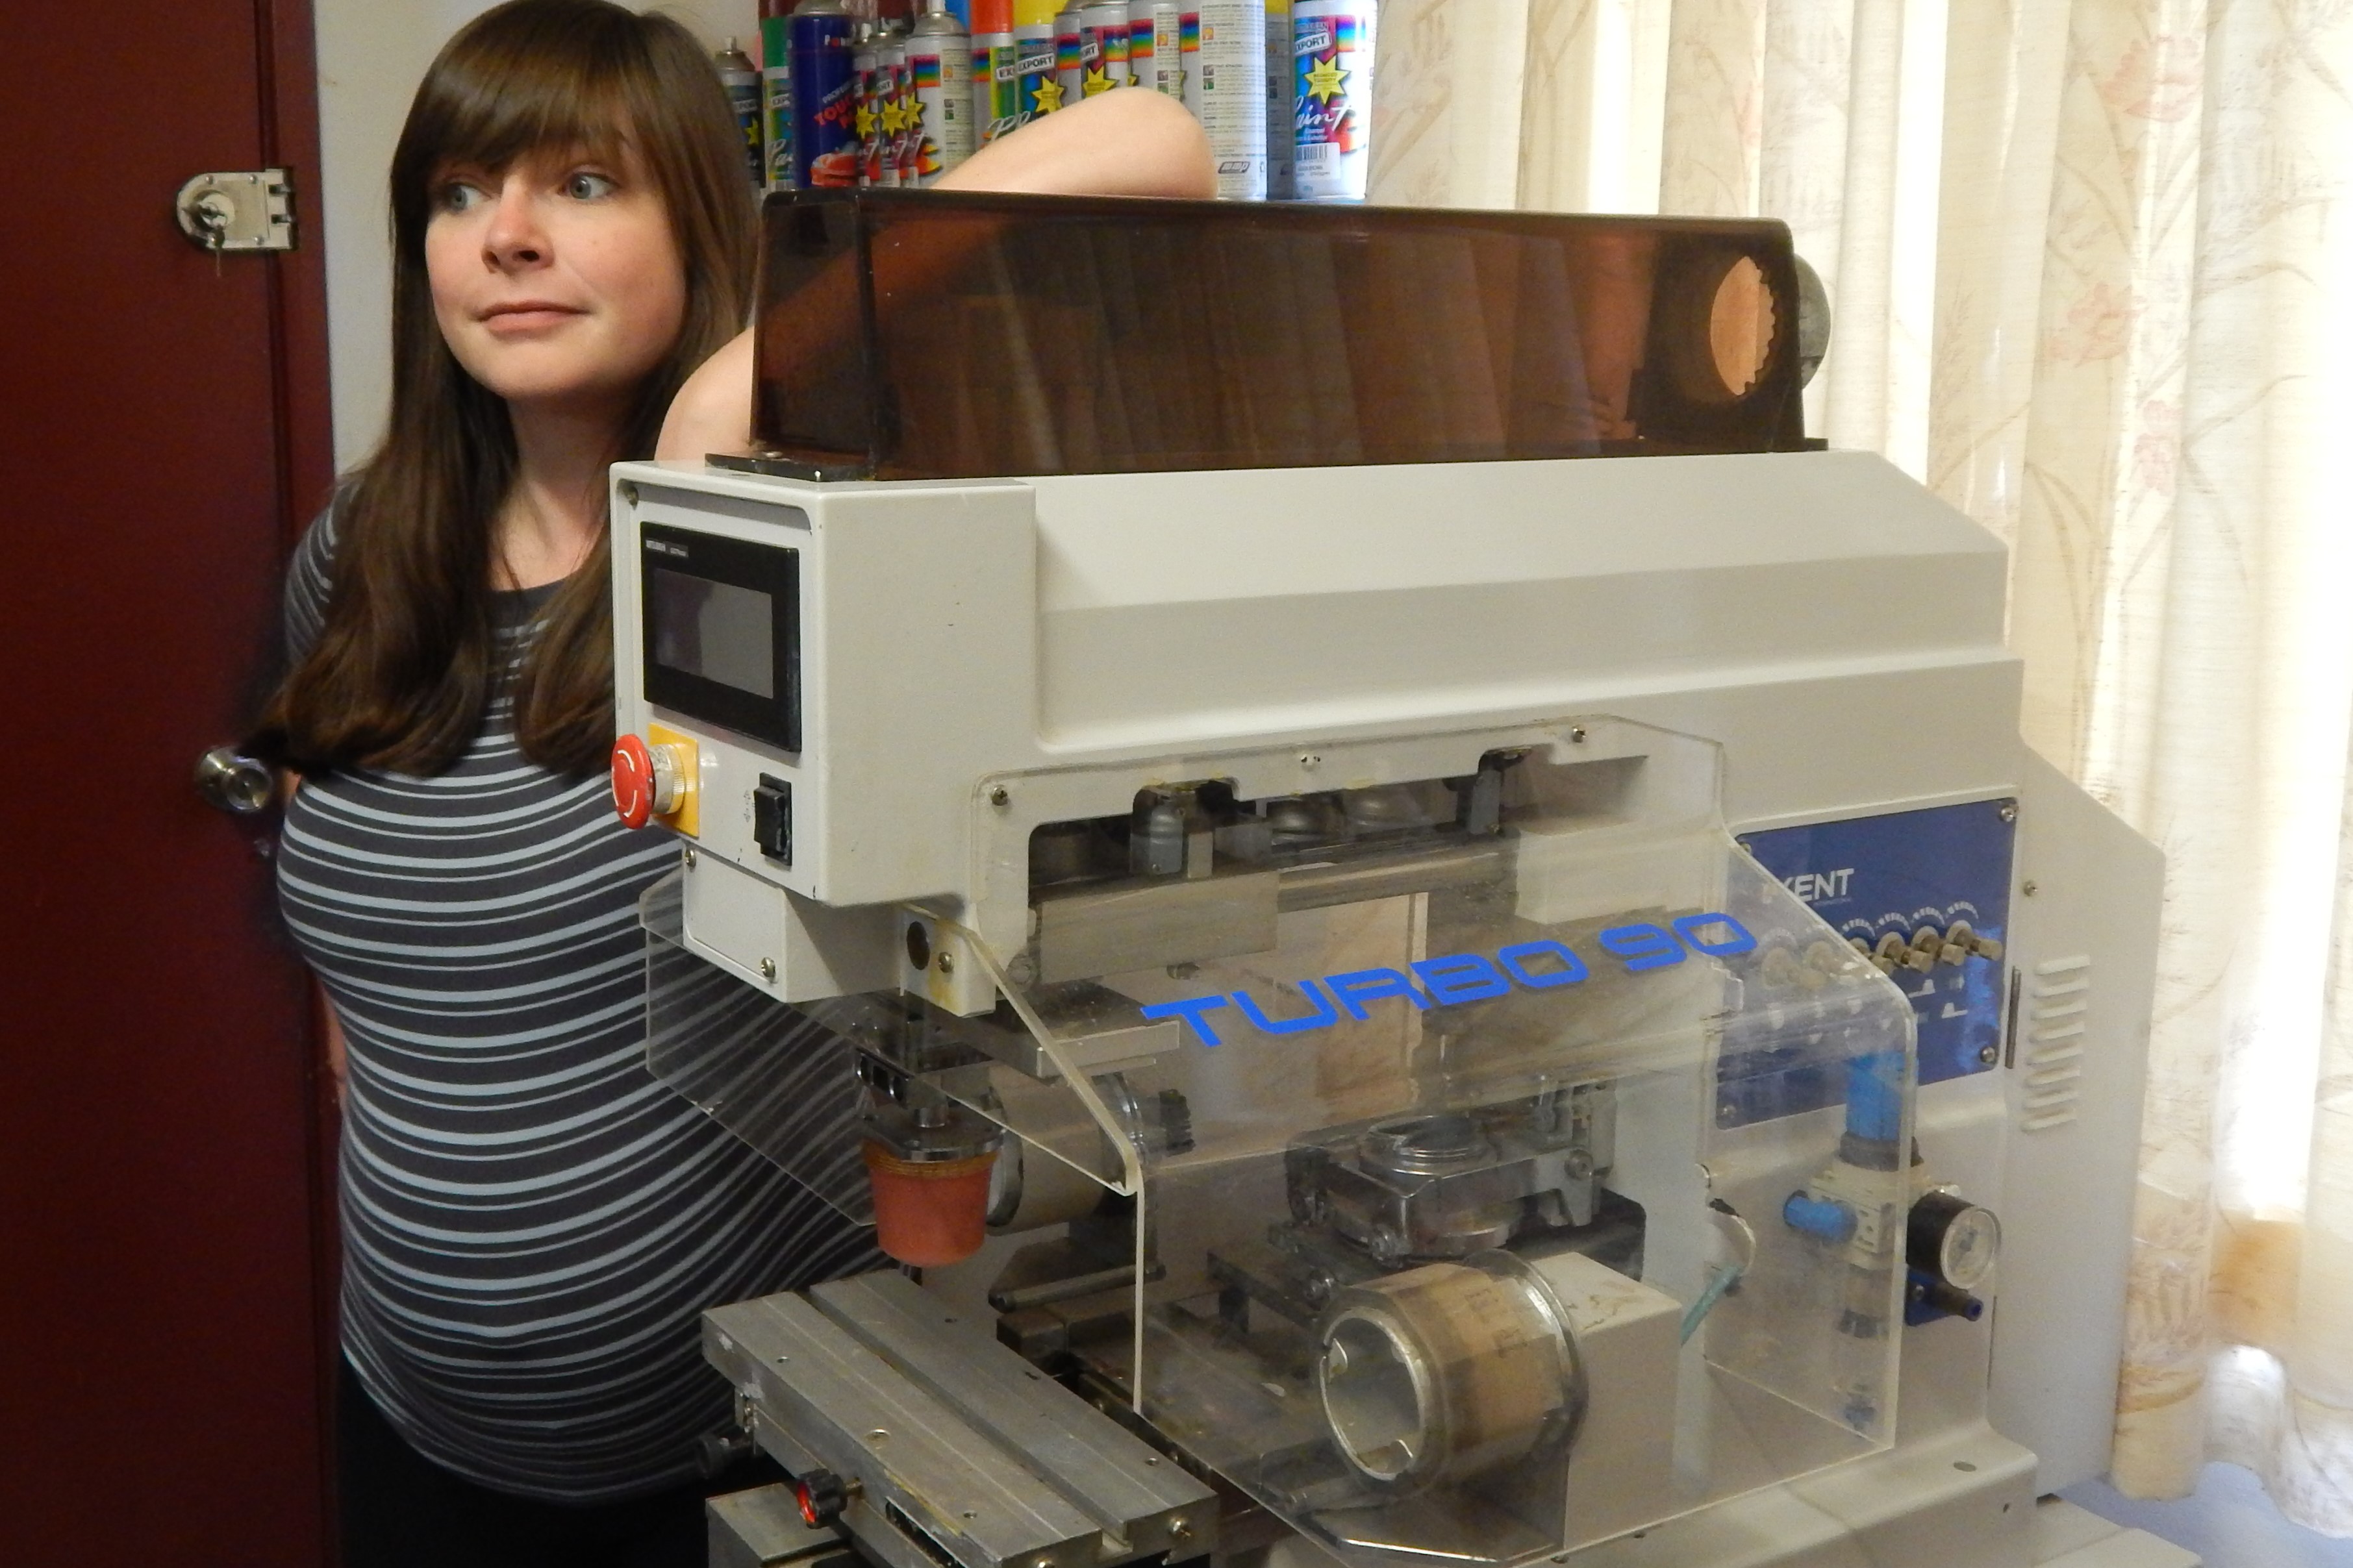
The problem with this process is that it is very labour intensive. Each kit takes at least one hour to produce the components. The silicone rubber molds have a very short lifespan of about 20 kits and they are HIGHLY affected by changes in weather. As if that wasn’t bad enough, the urethane material as well as the rubber tend to shrink (or sometimes grow) over time. In other words, you could buy a kit today that is 100mm long and but another one a month or so later and it is 102mm long.


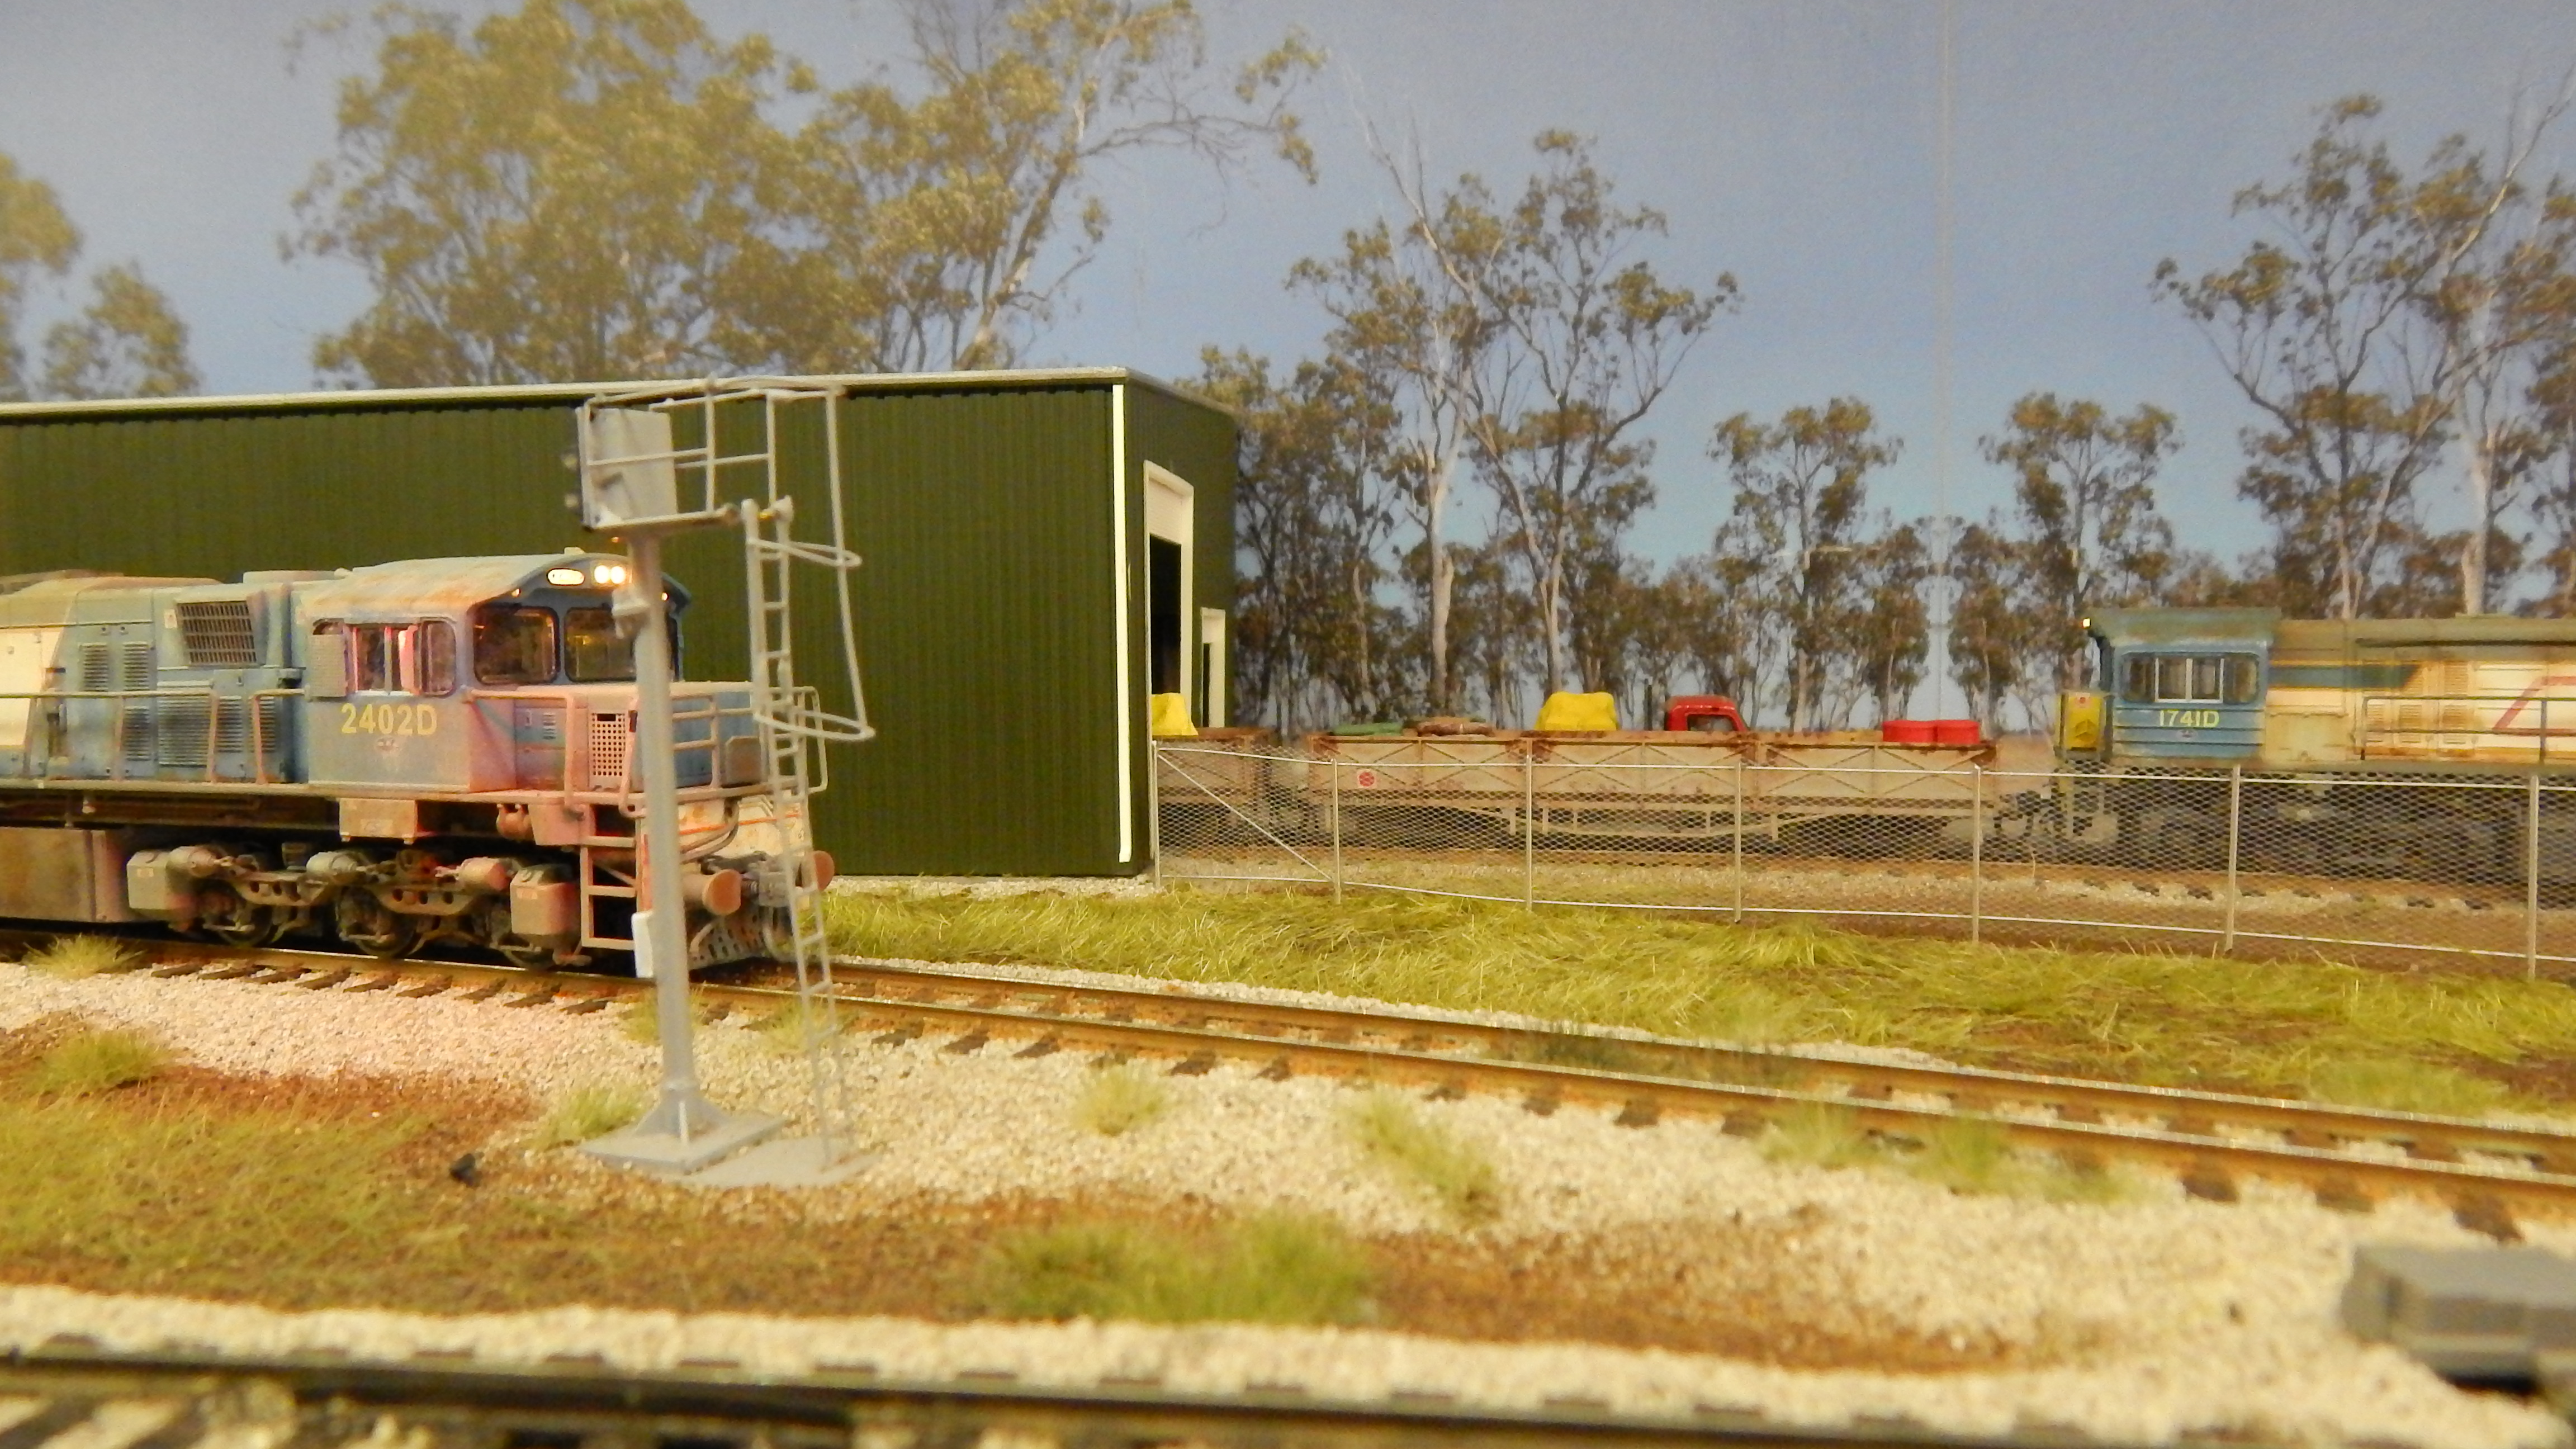
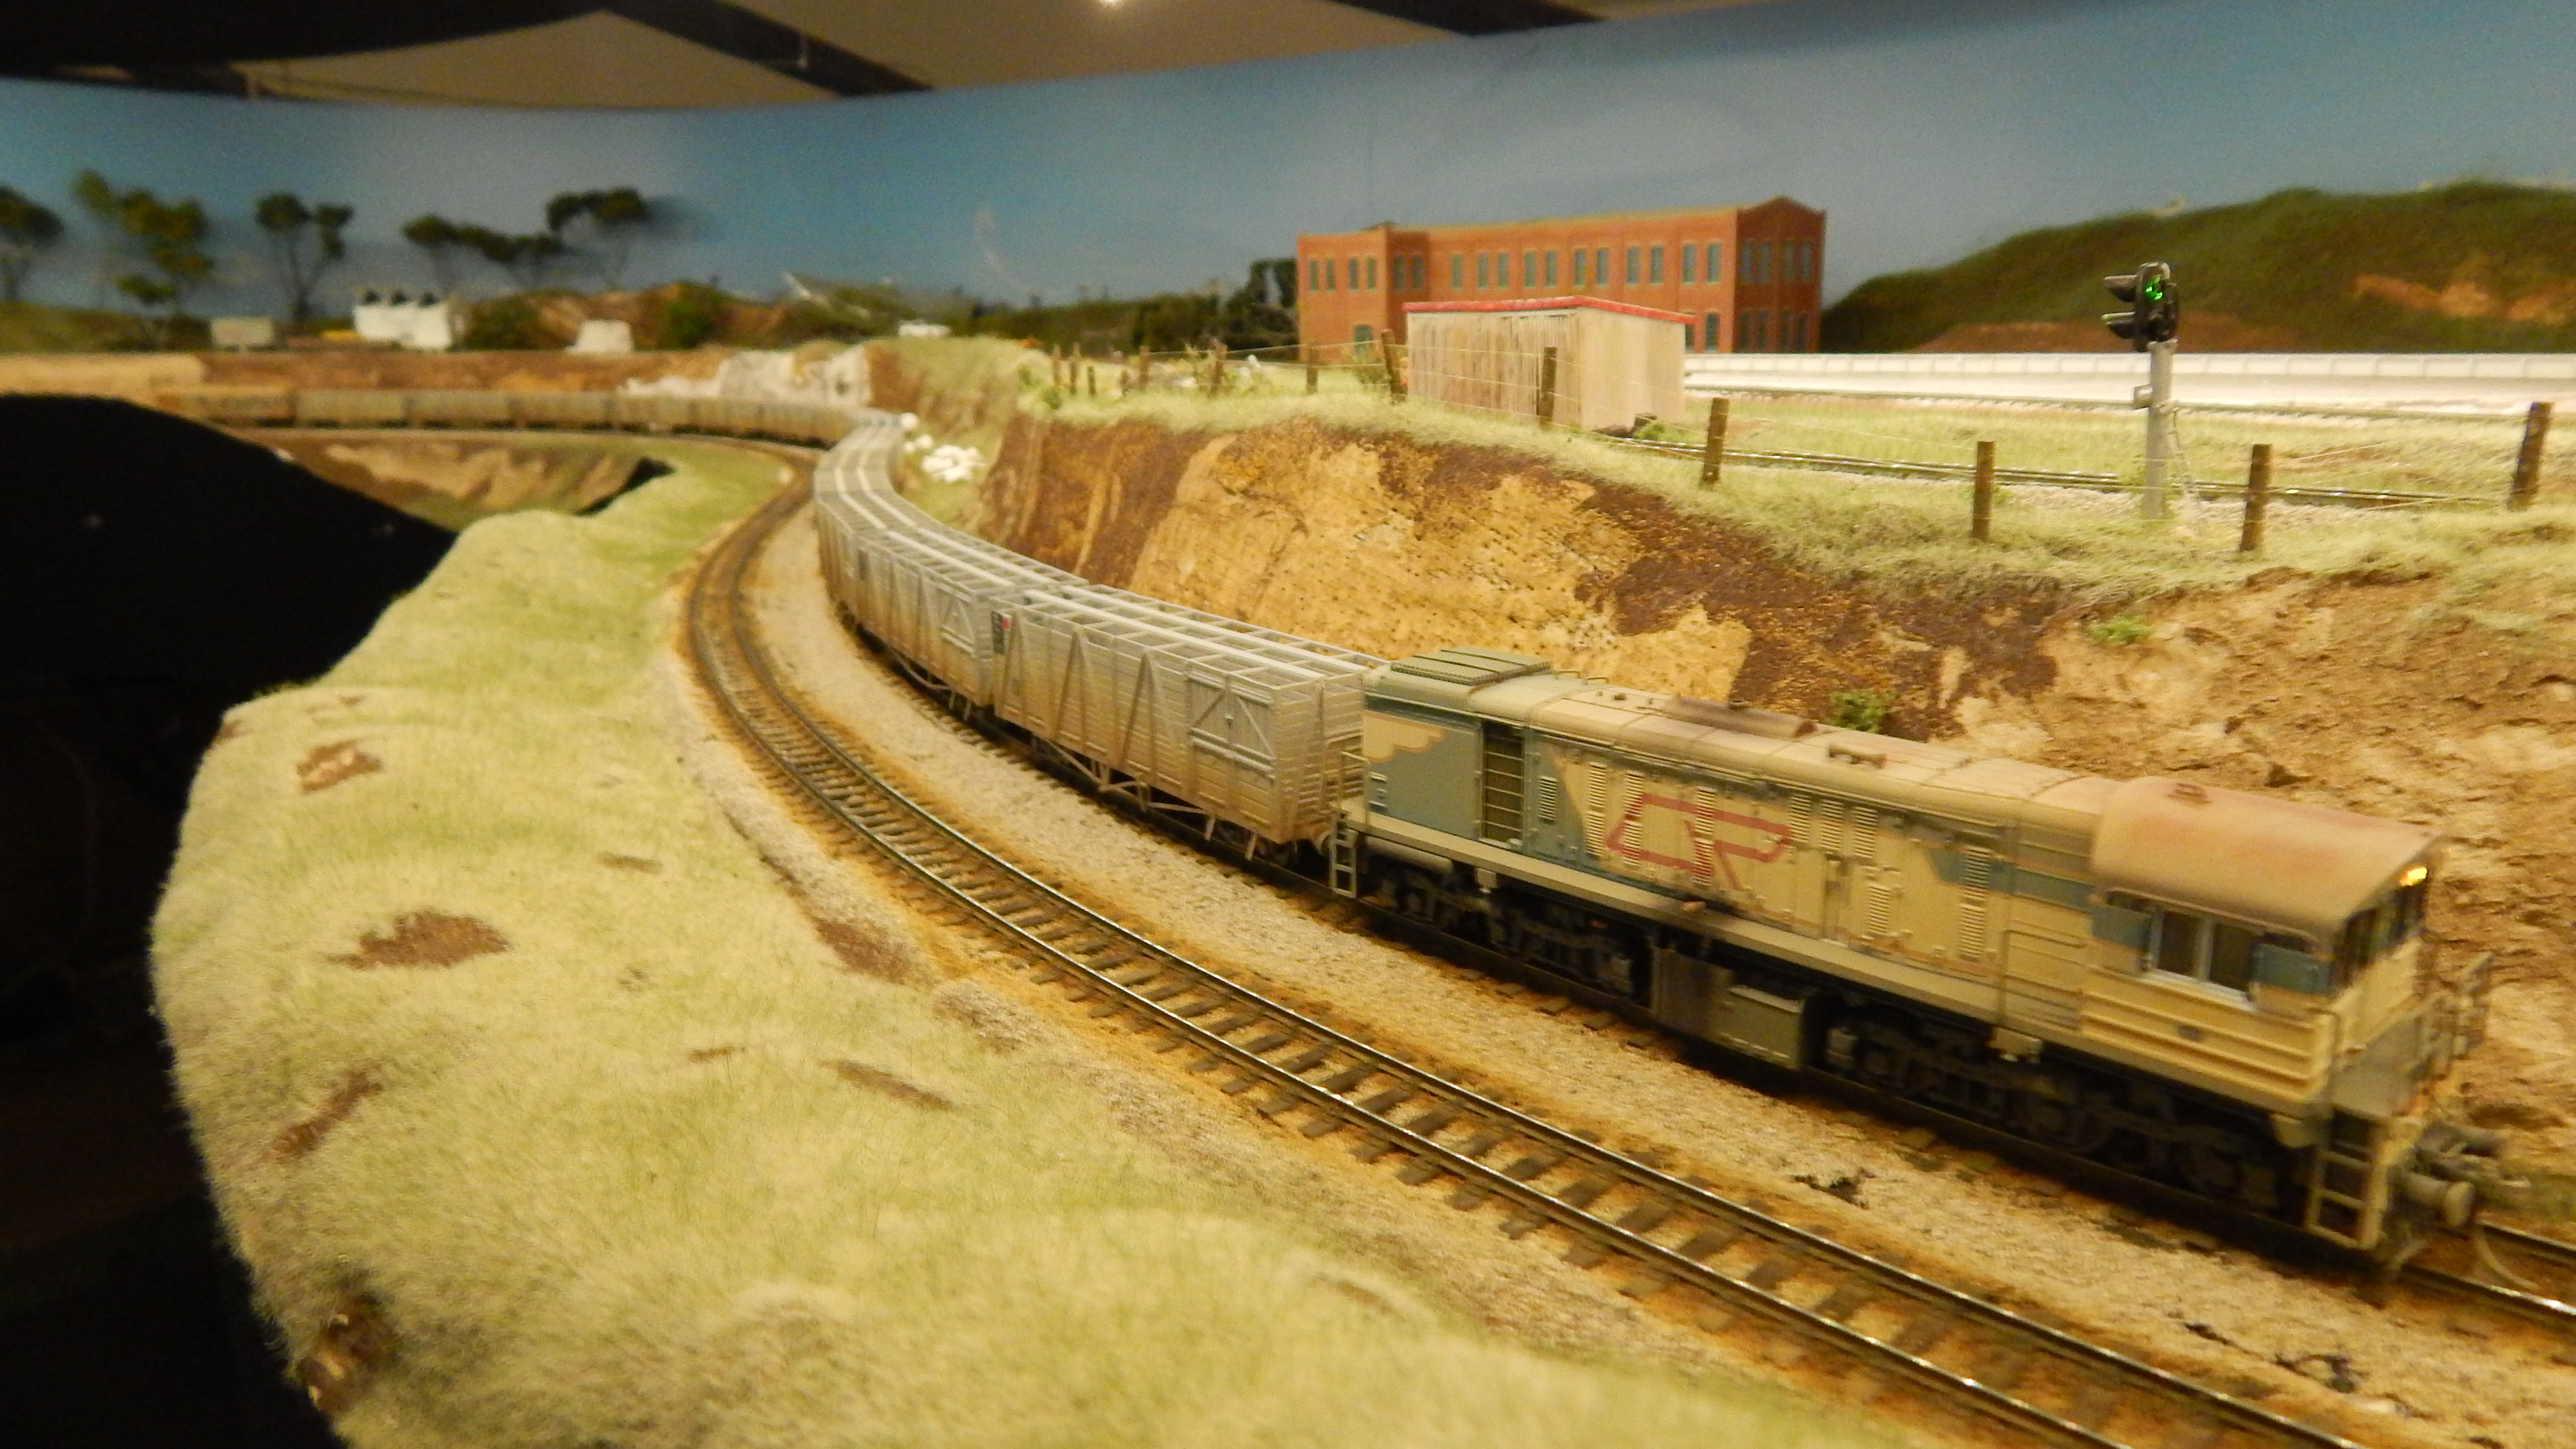
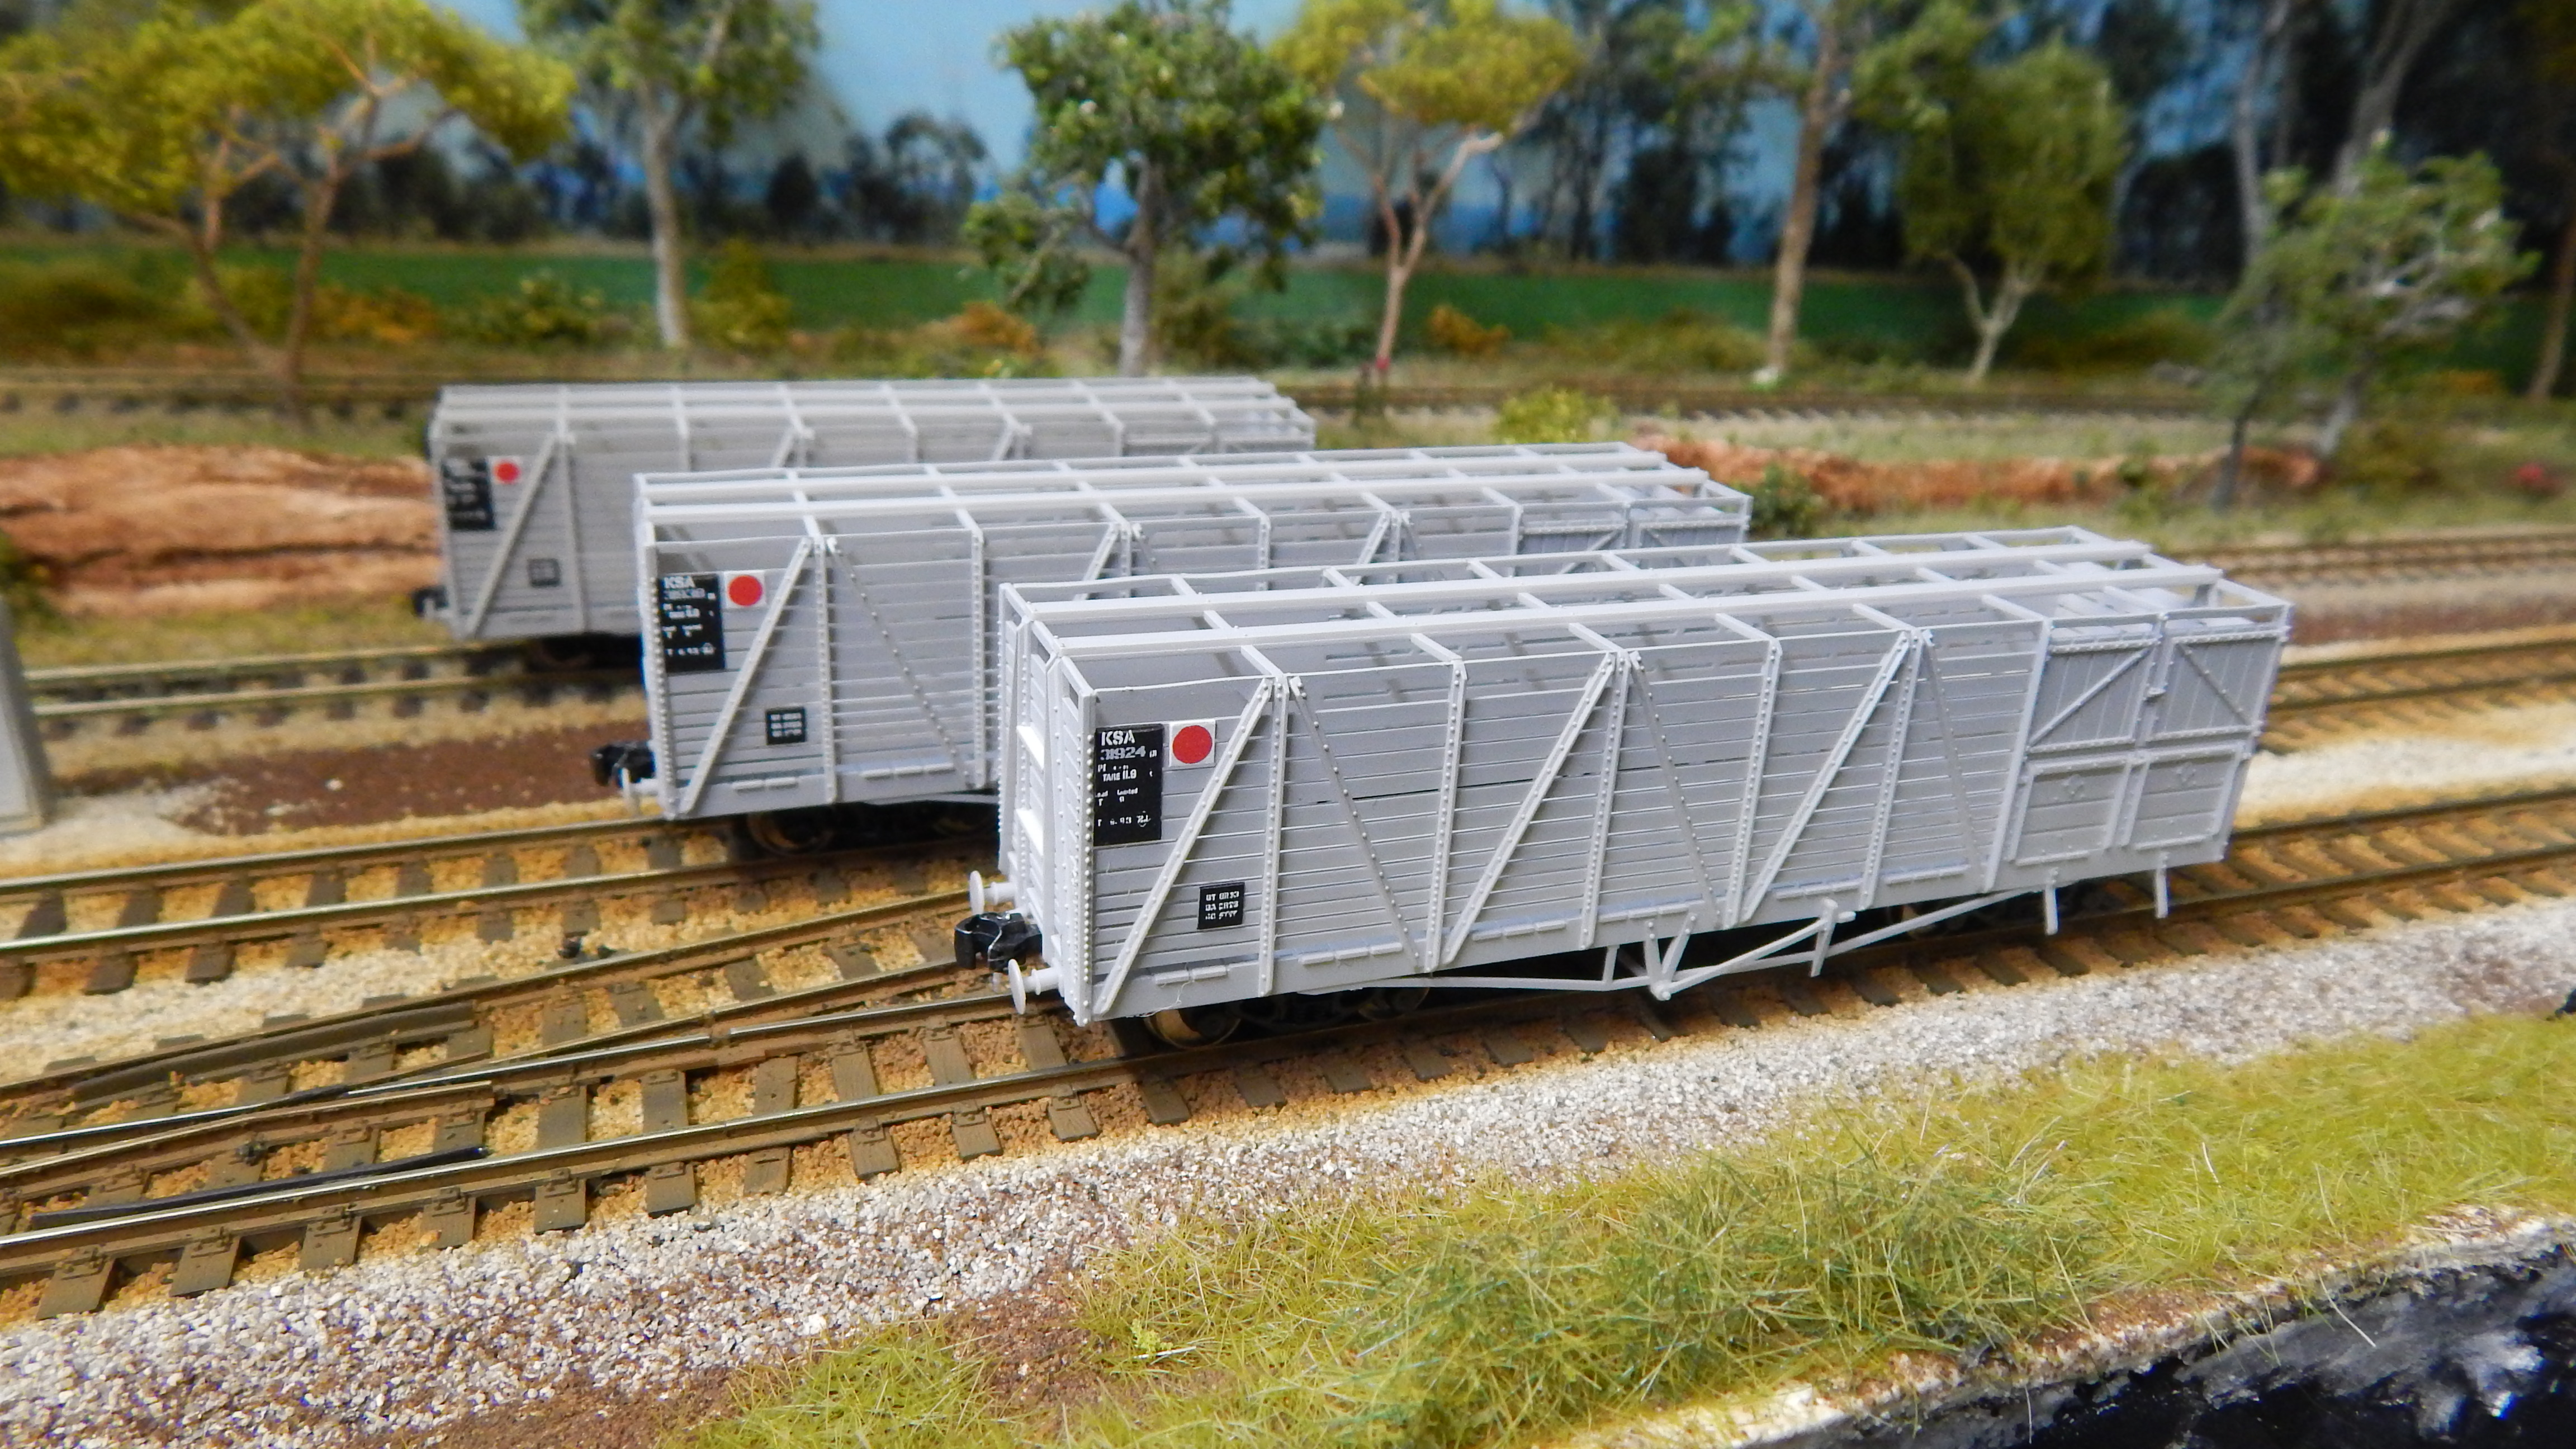
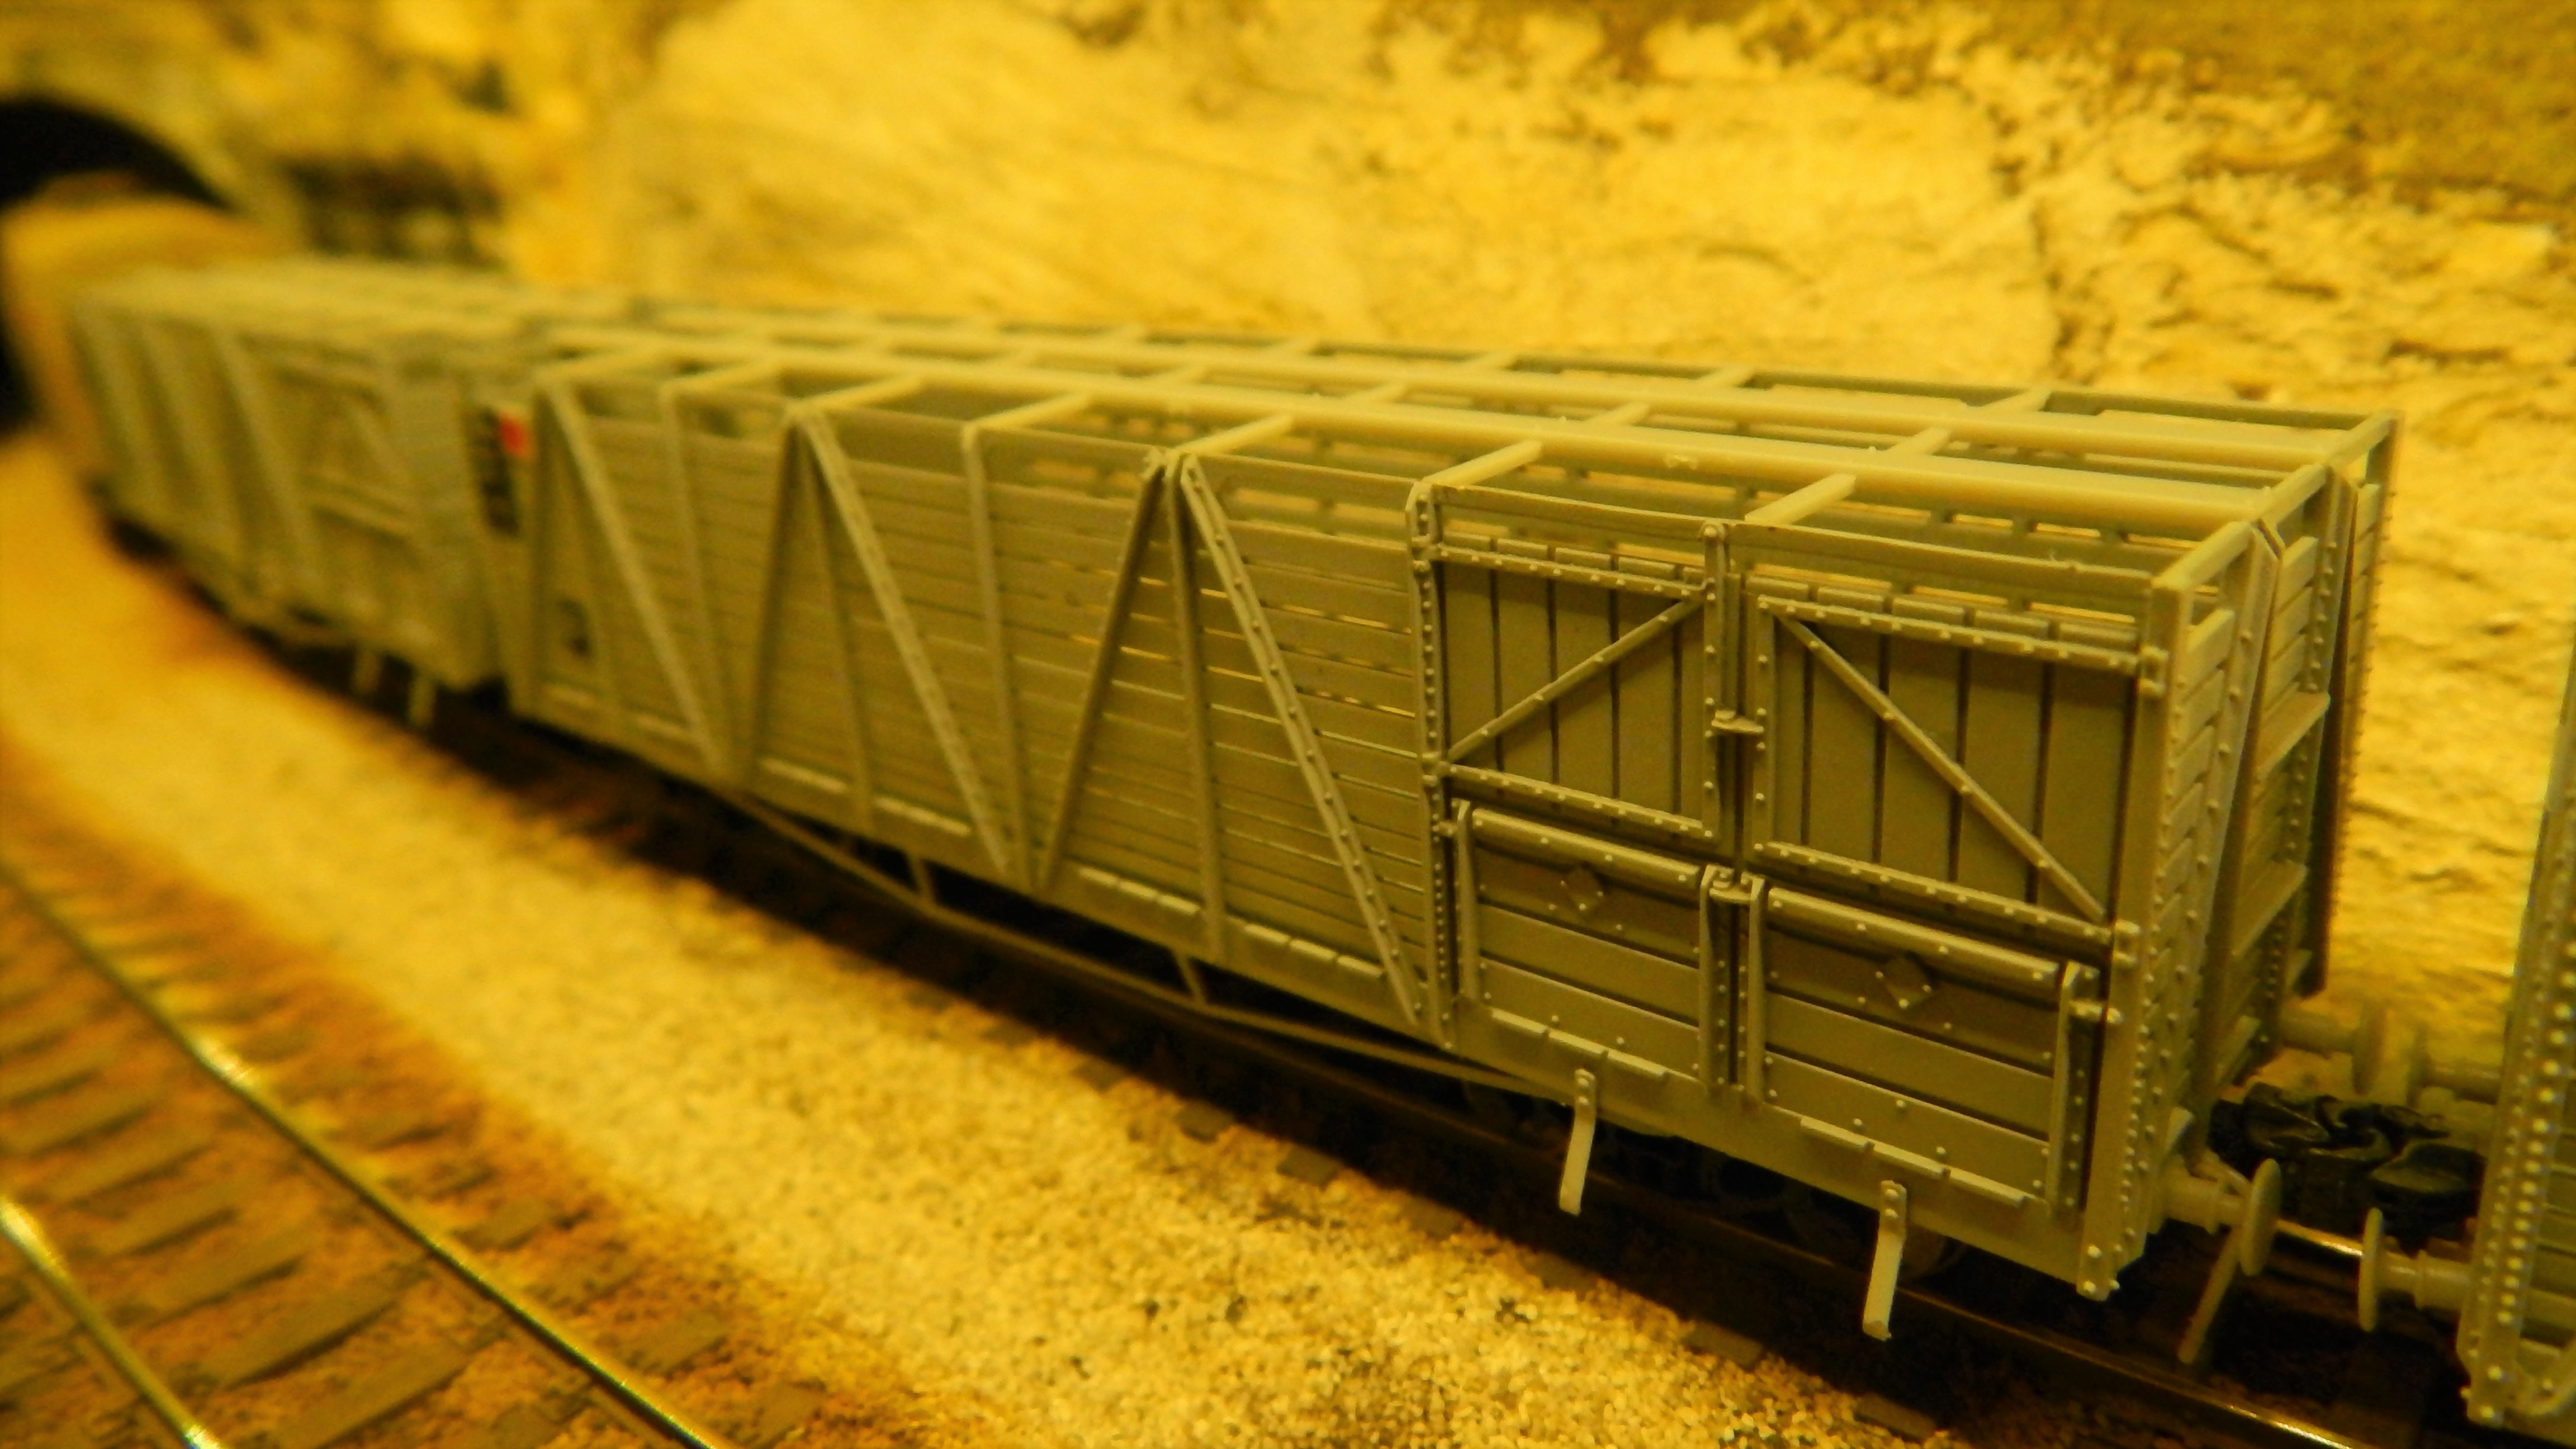
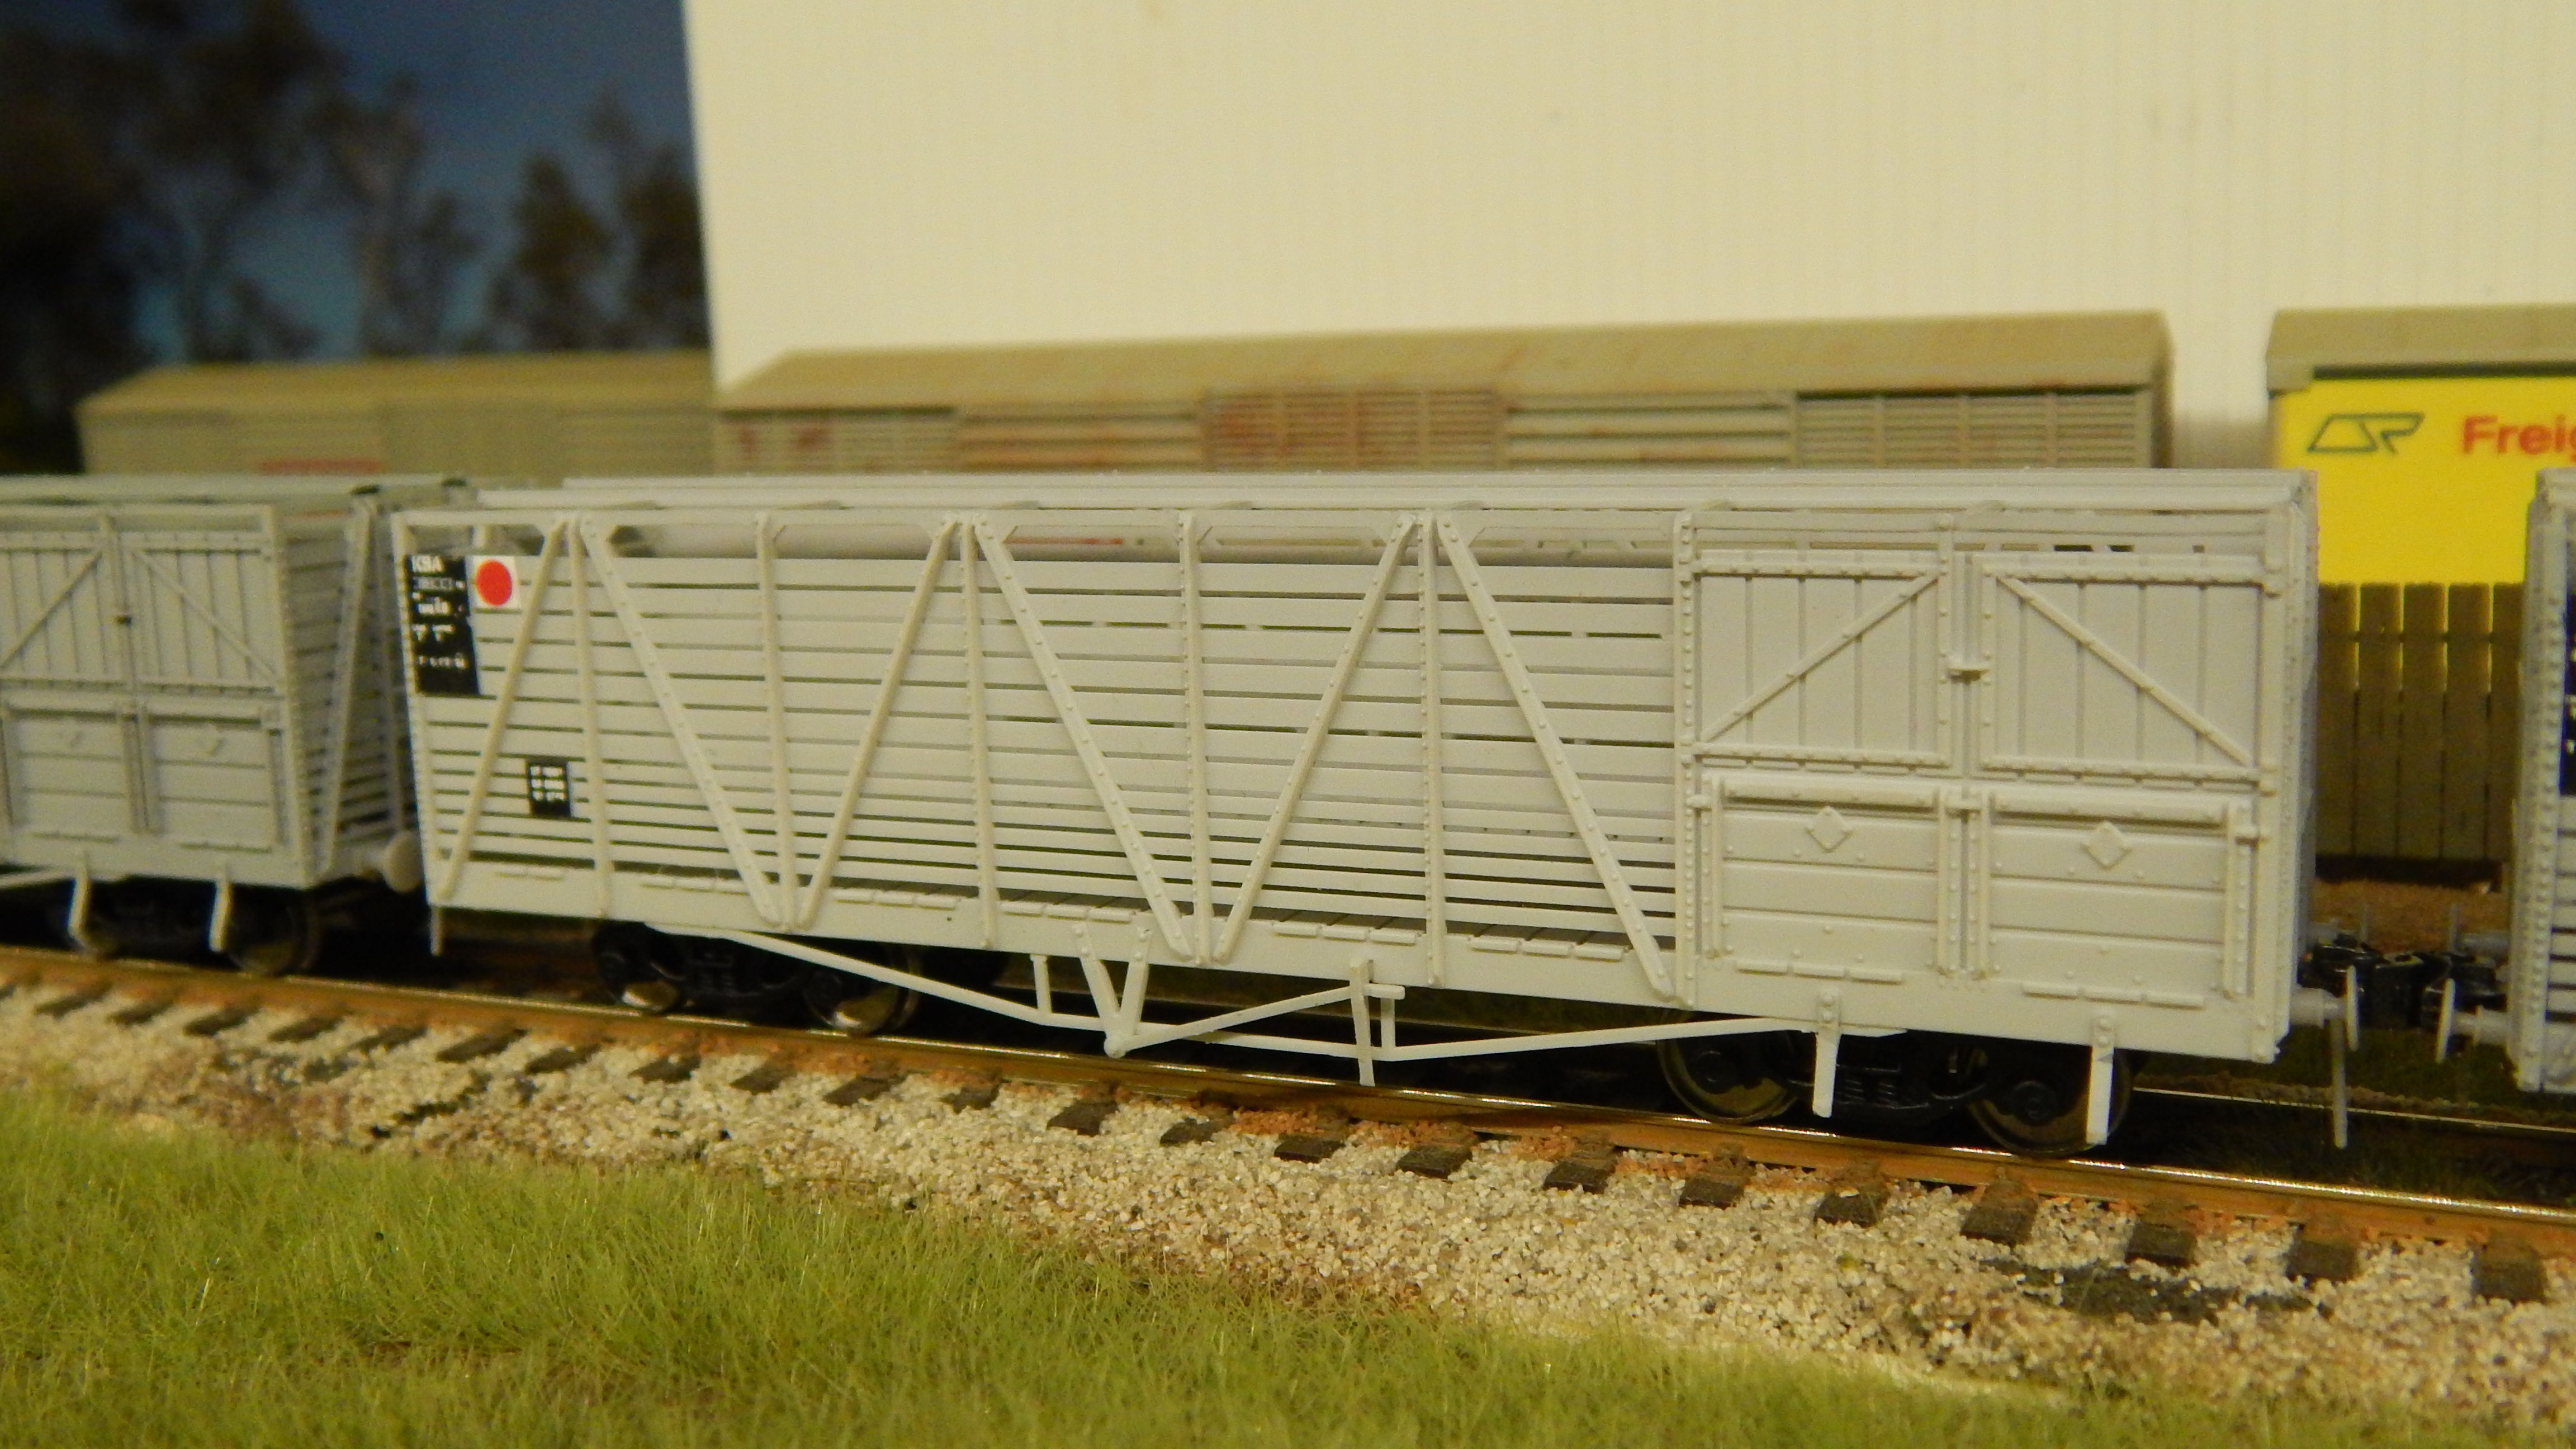
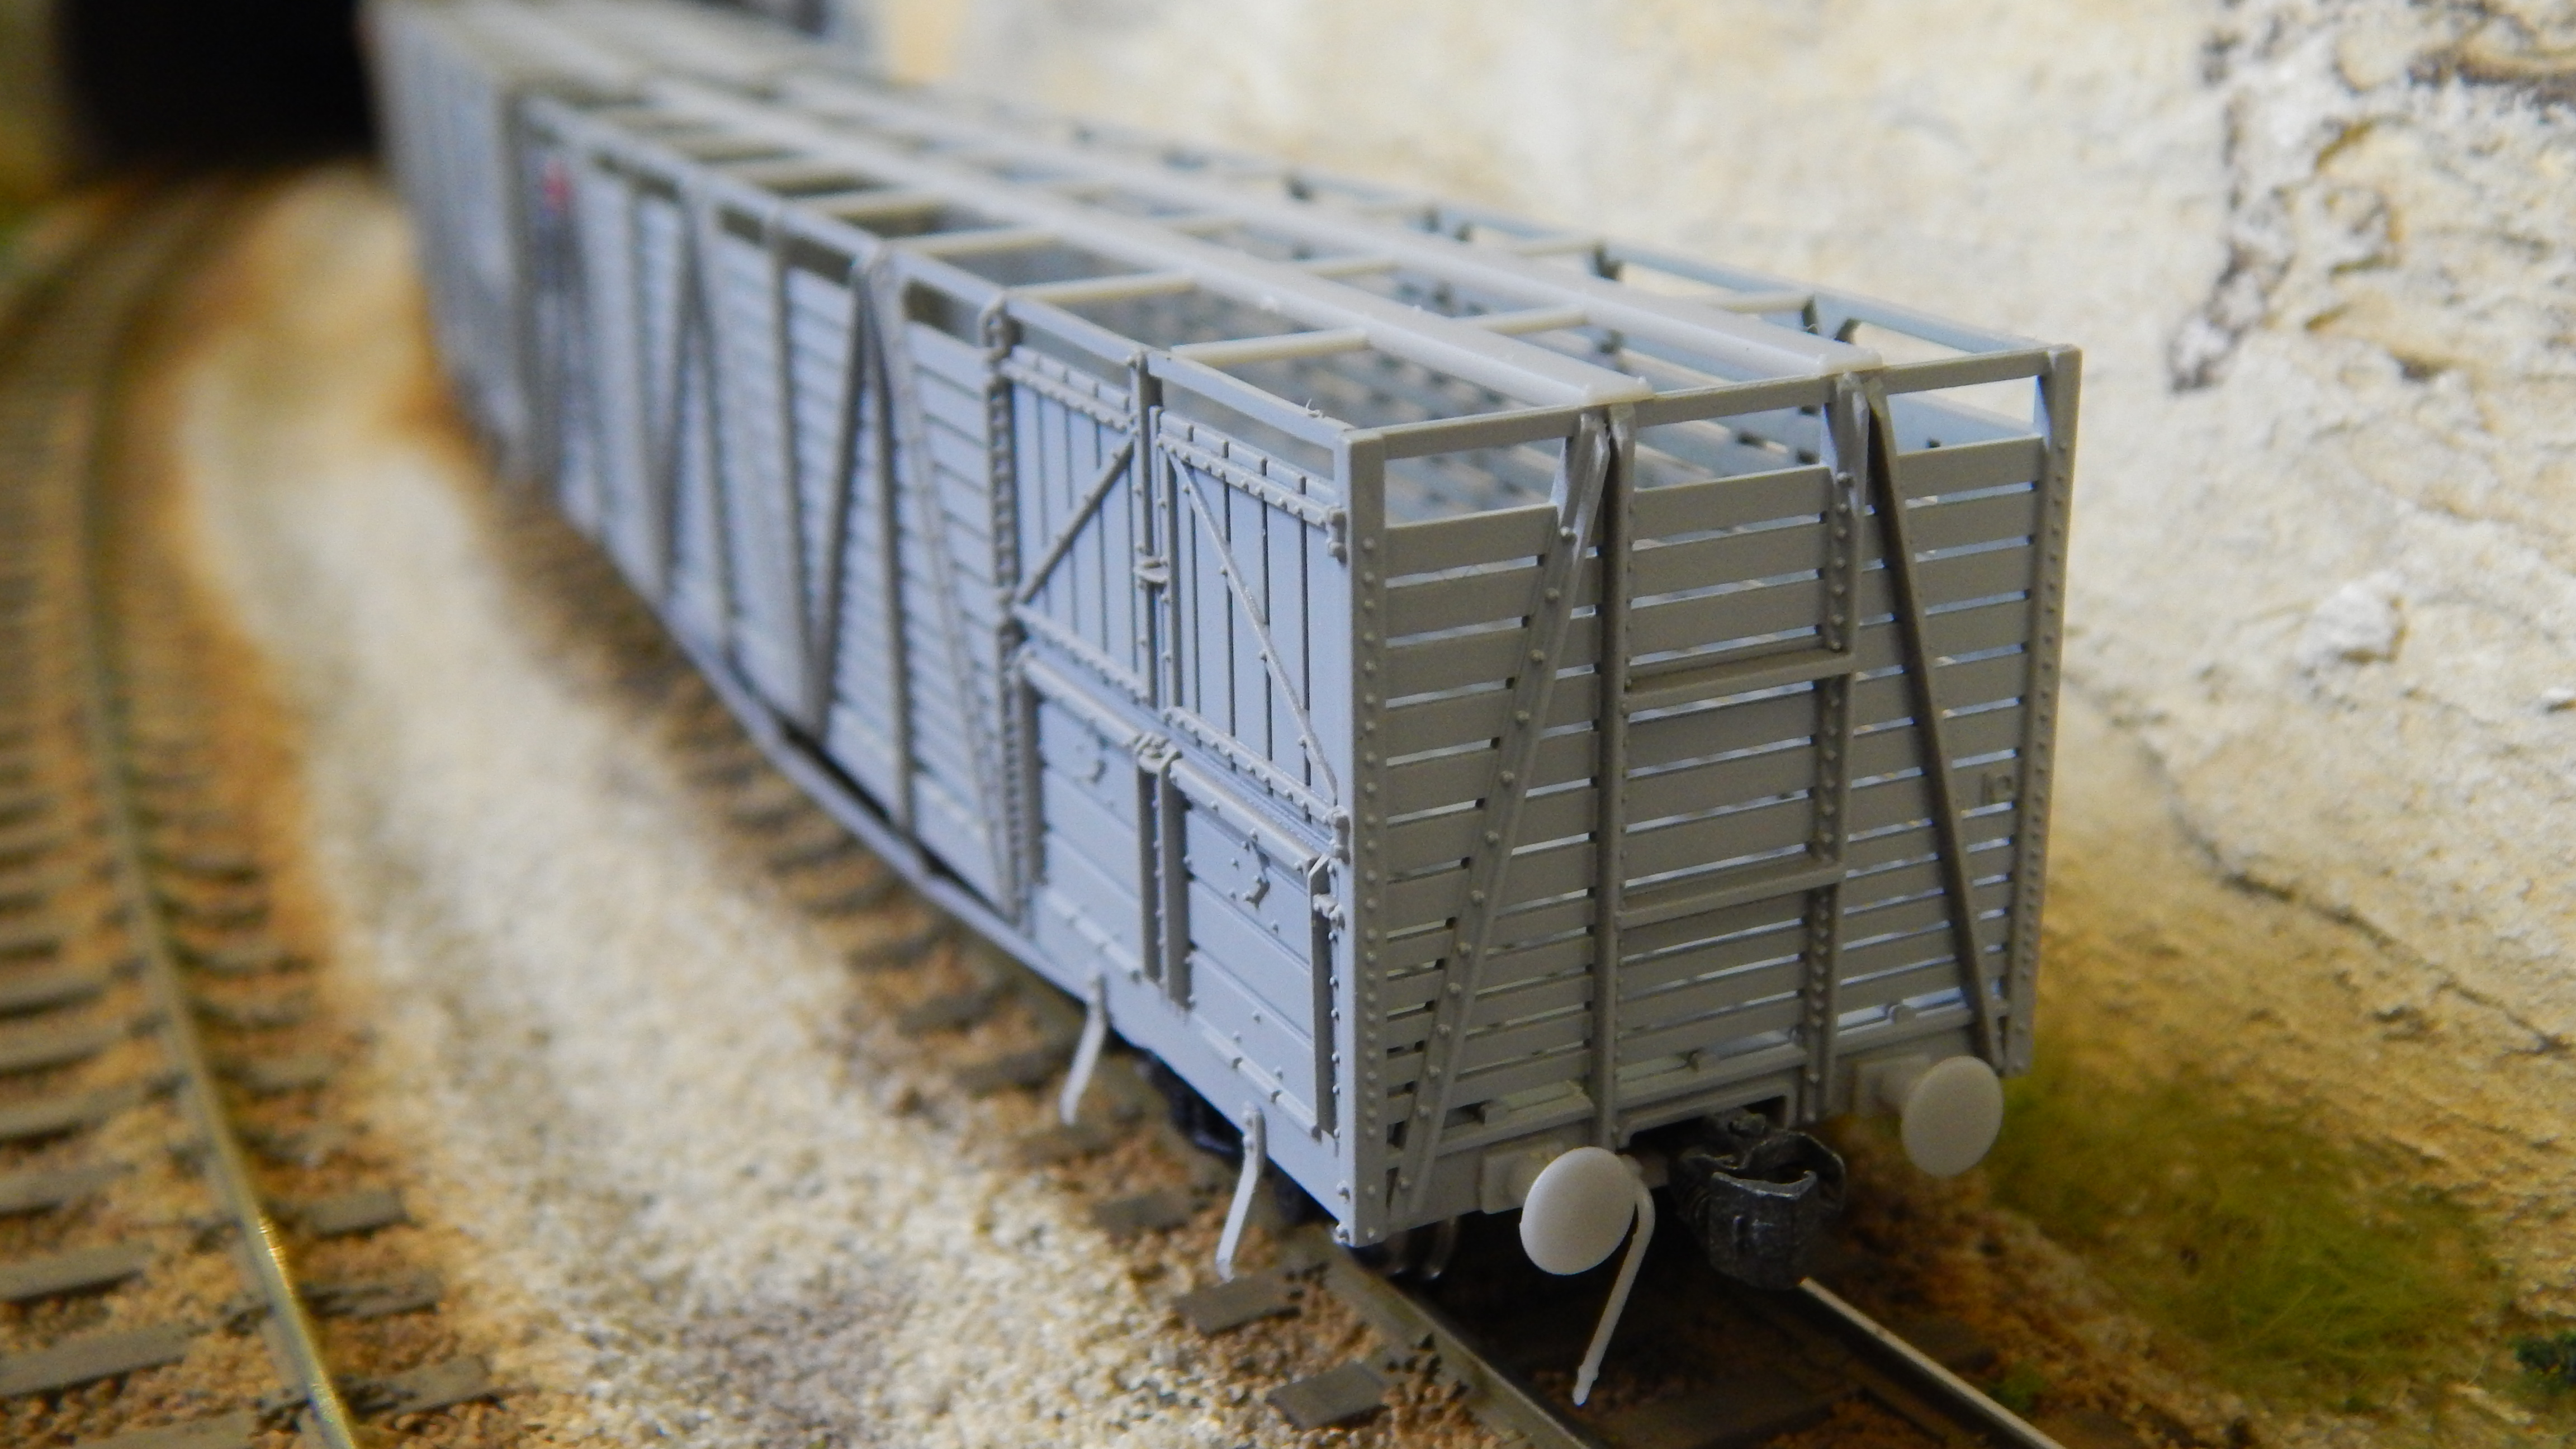
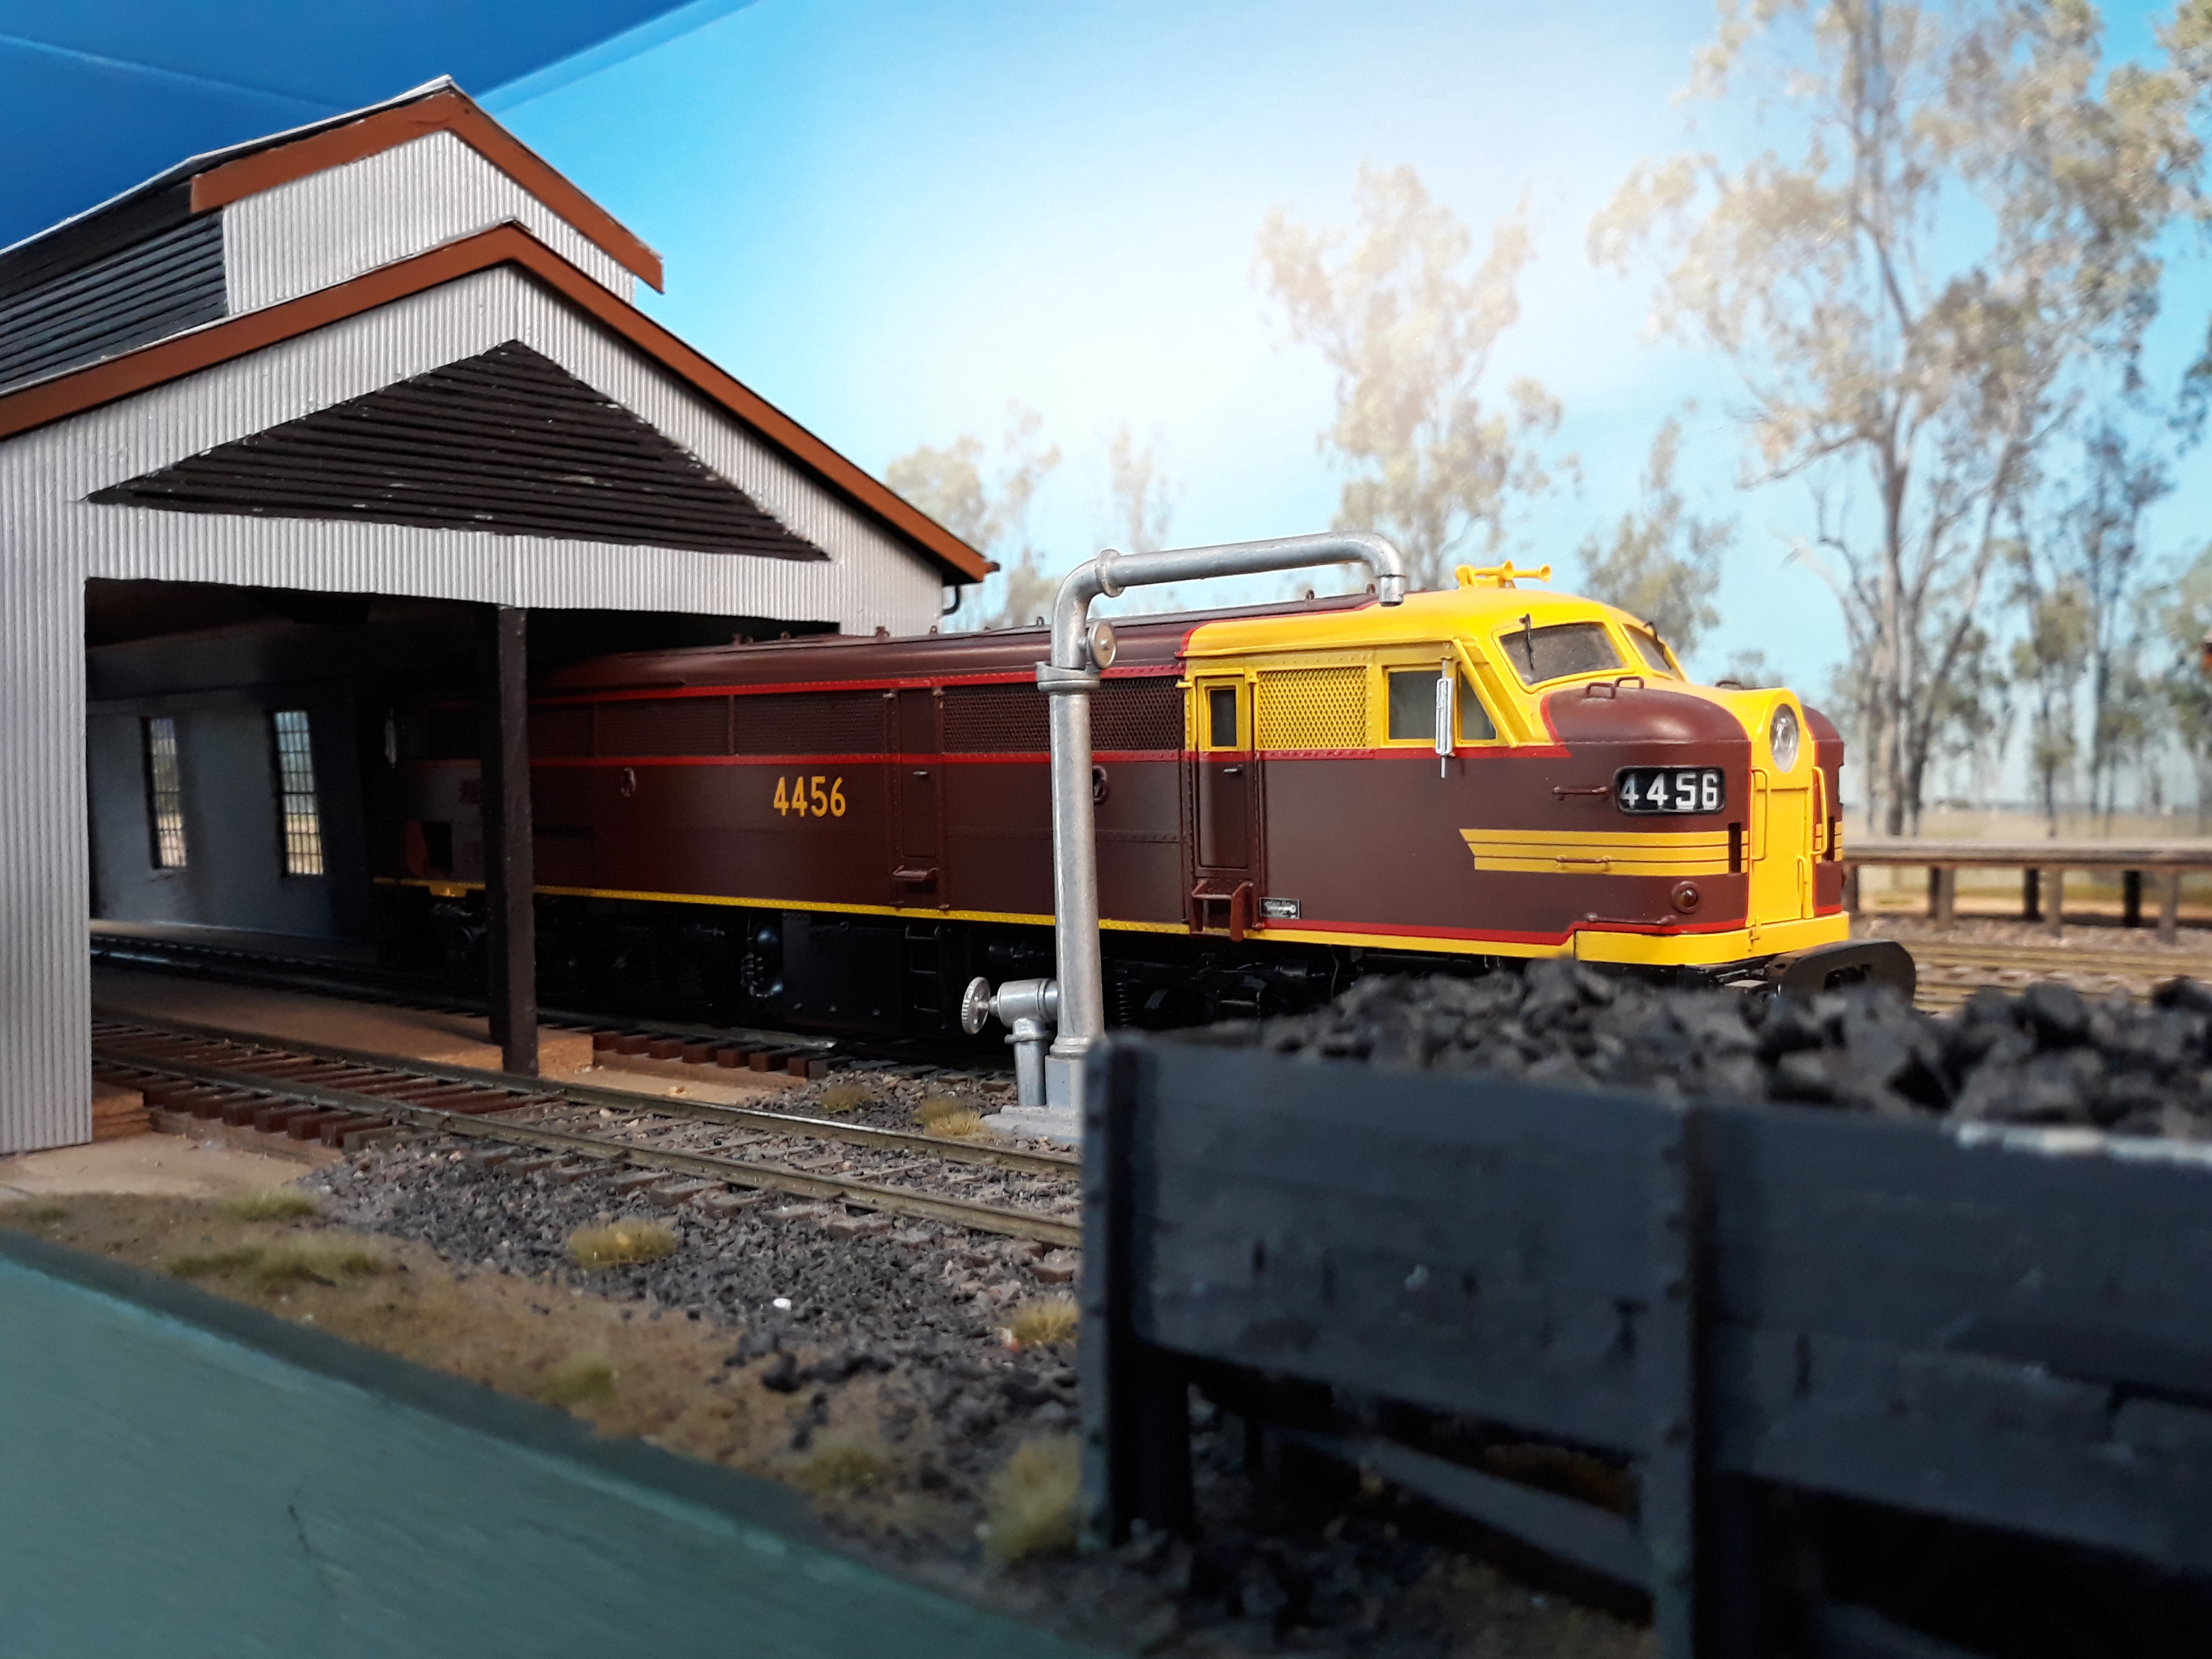
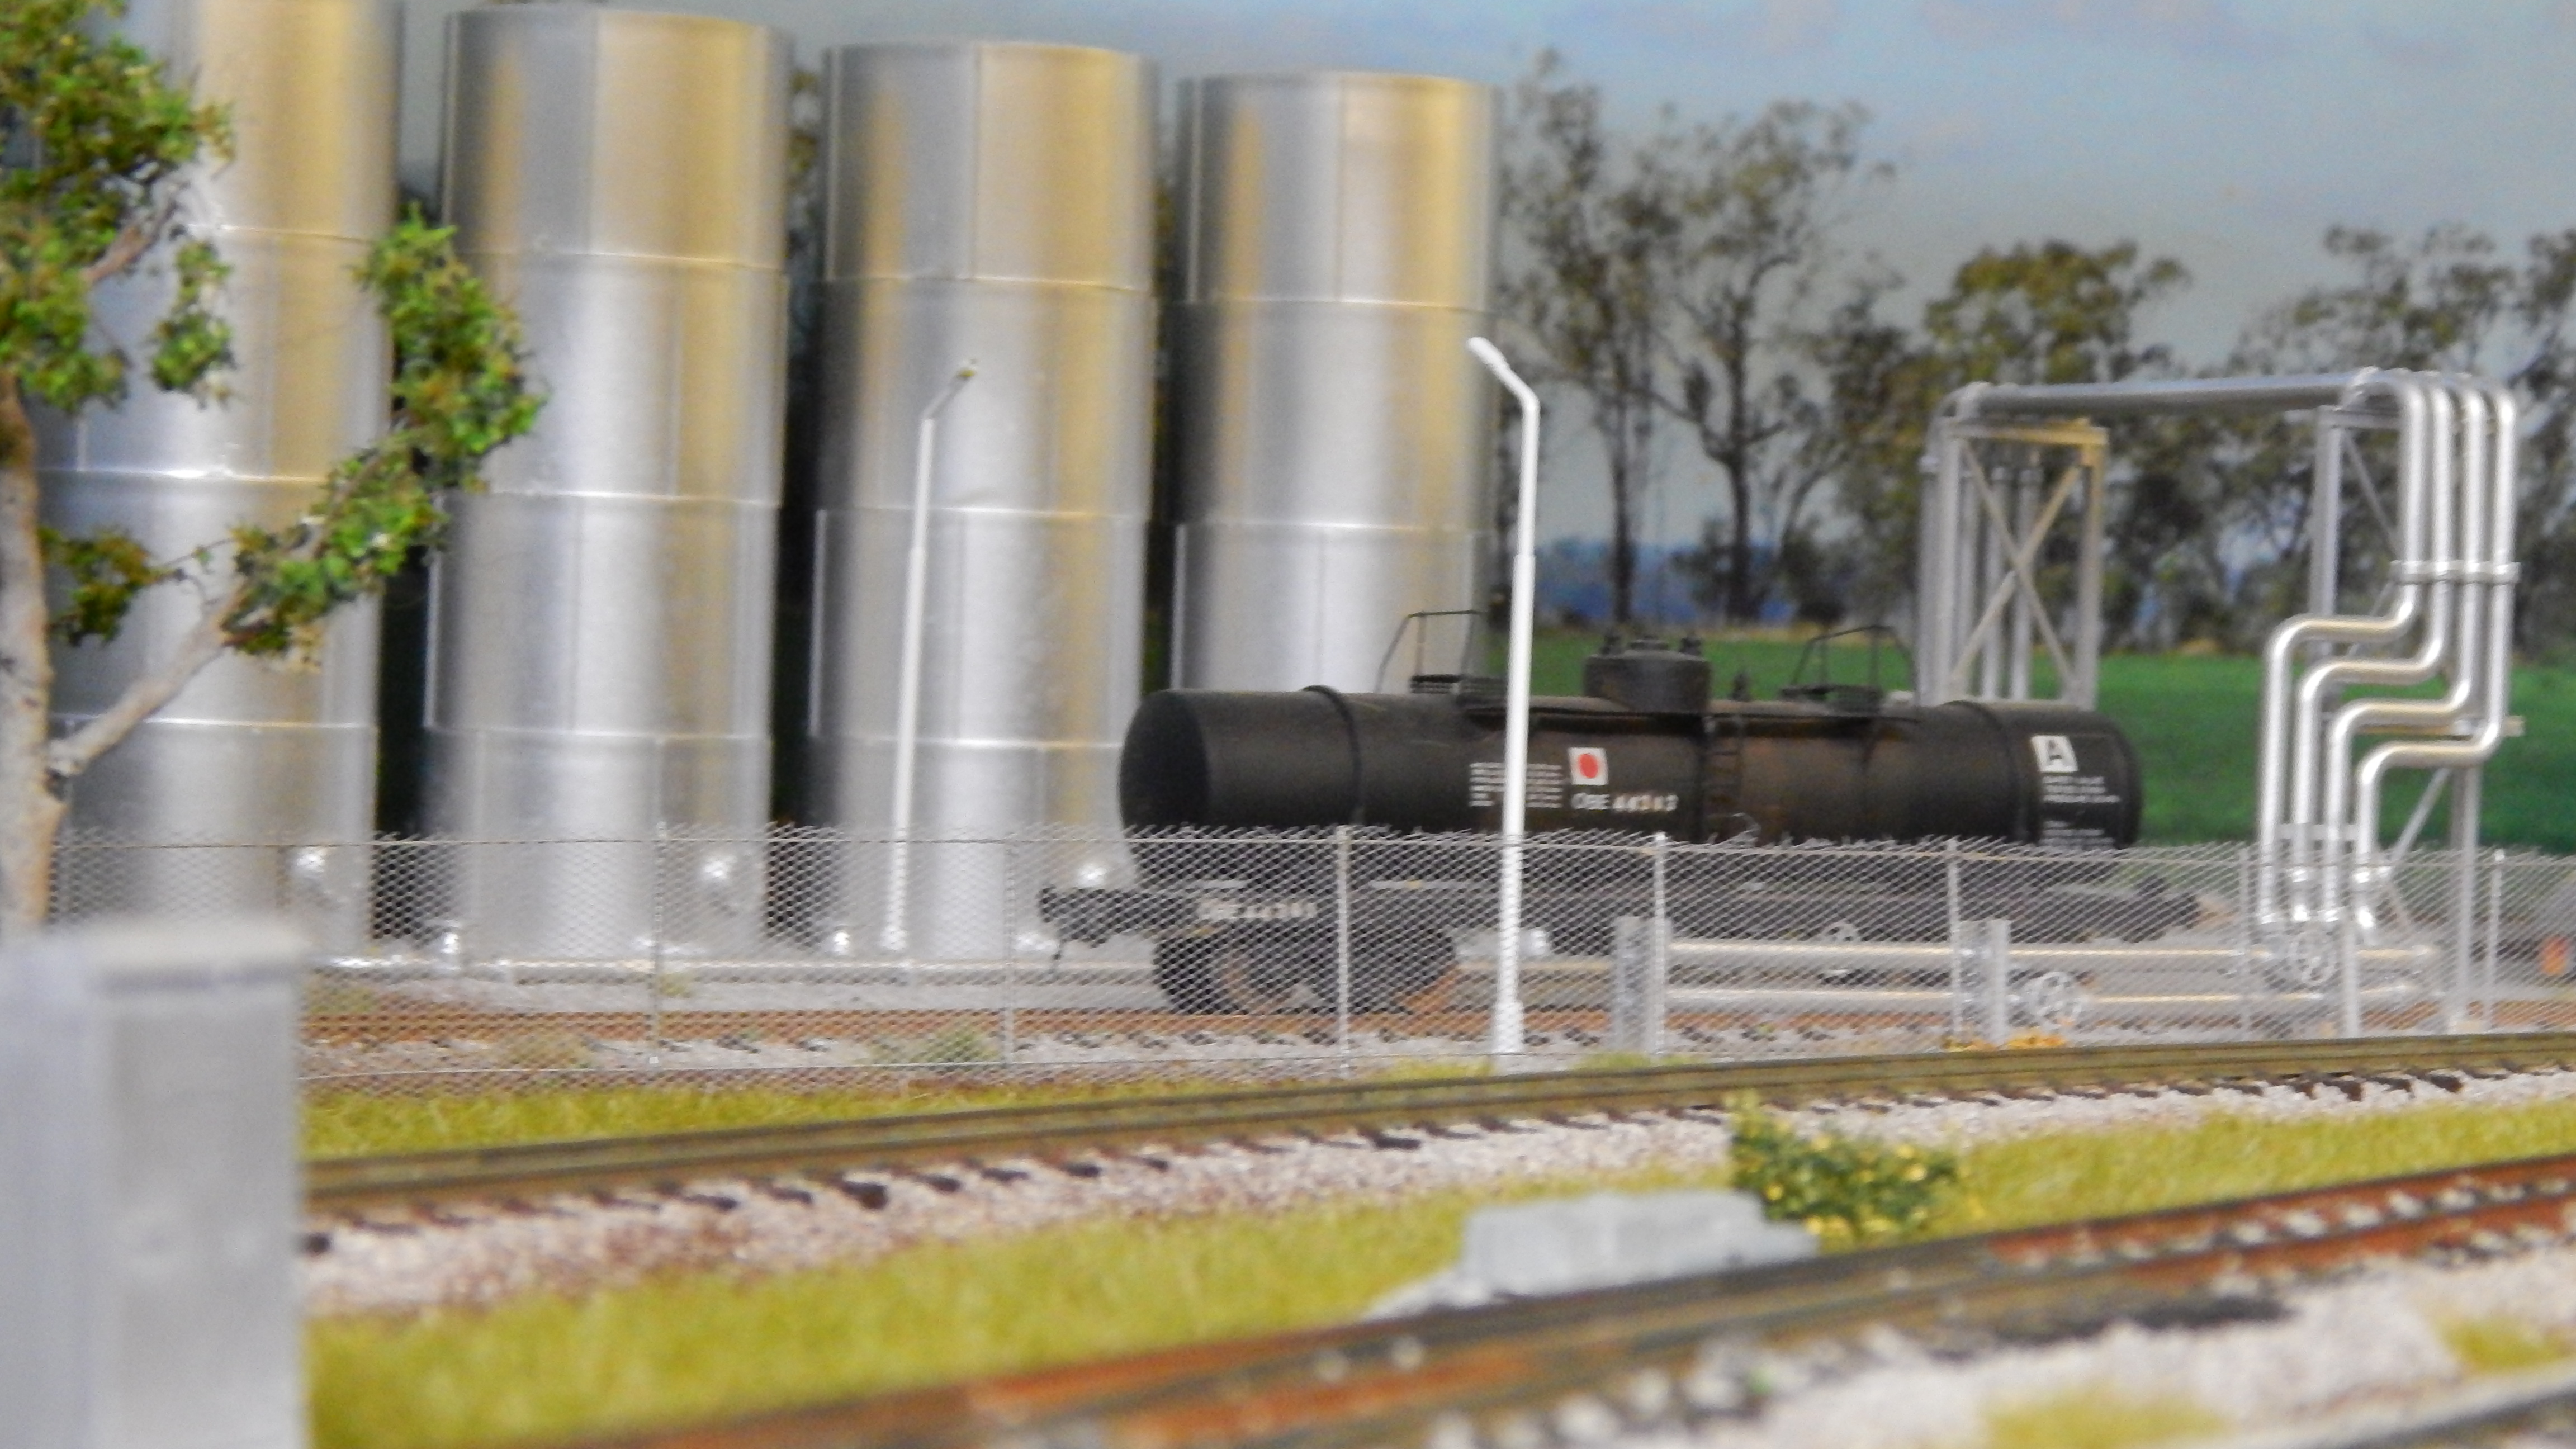
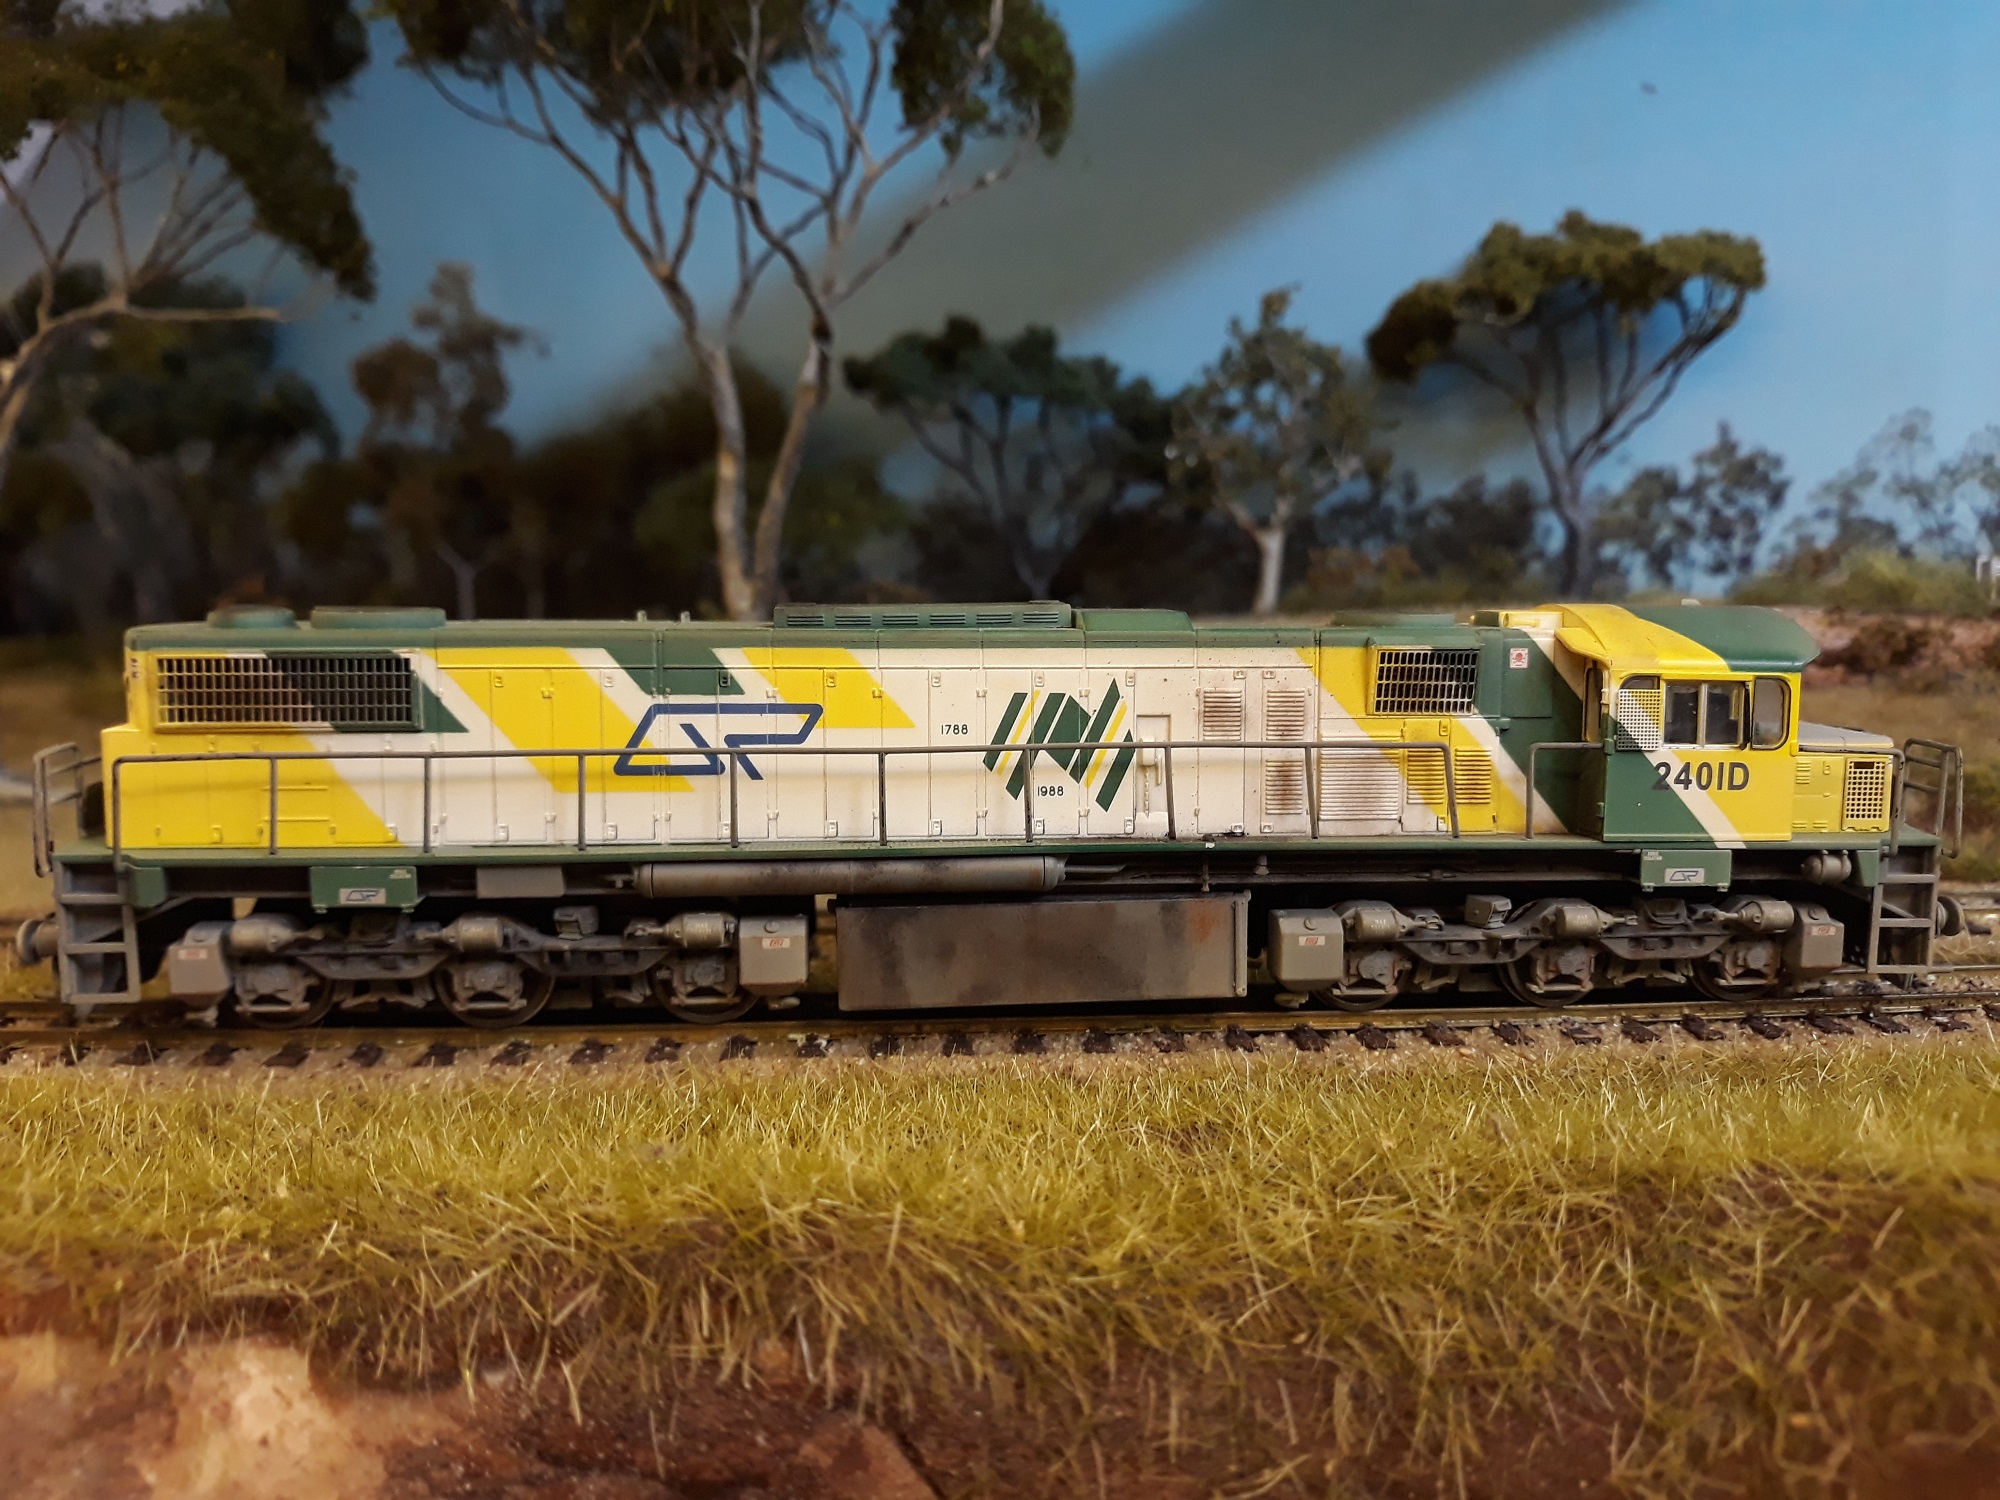
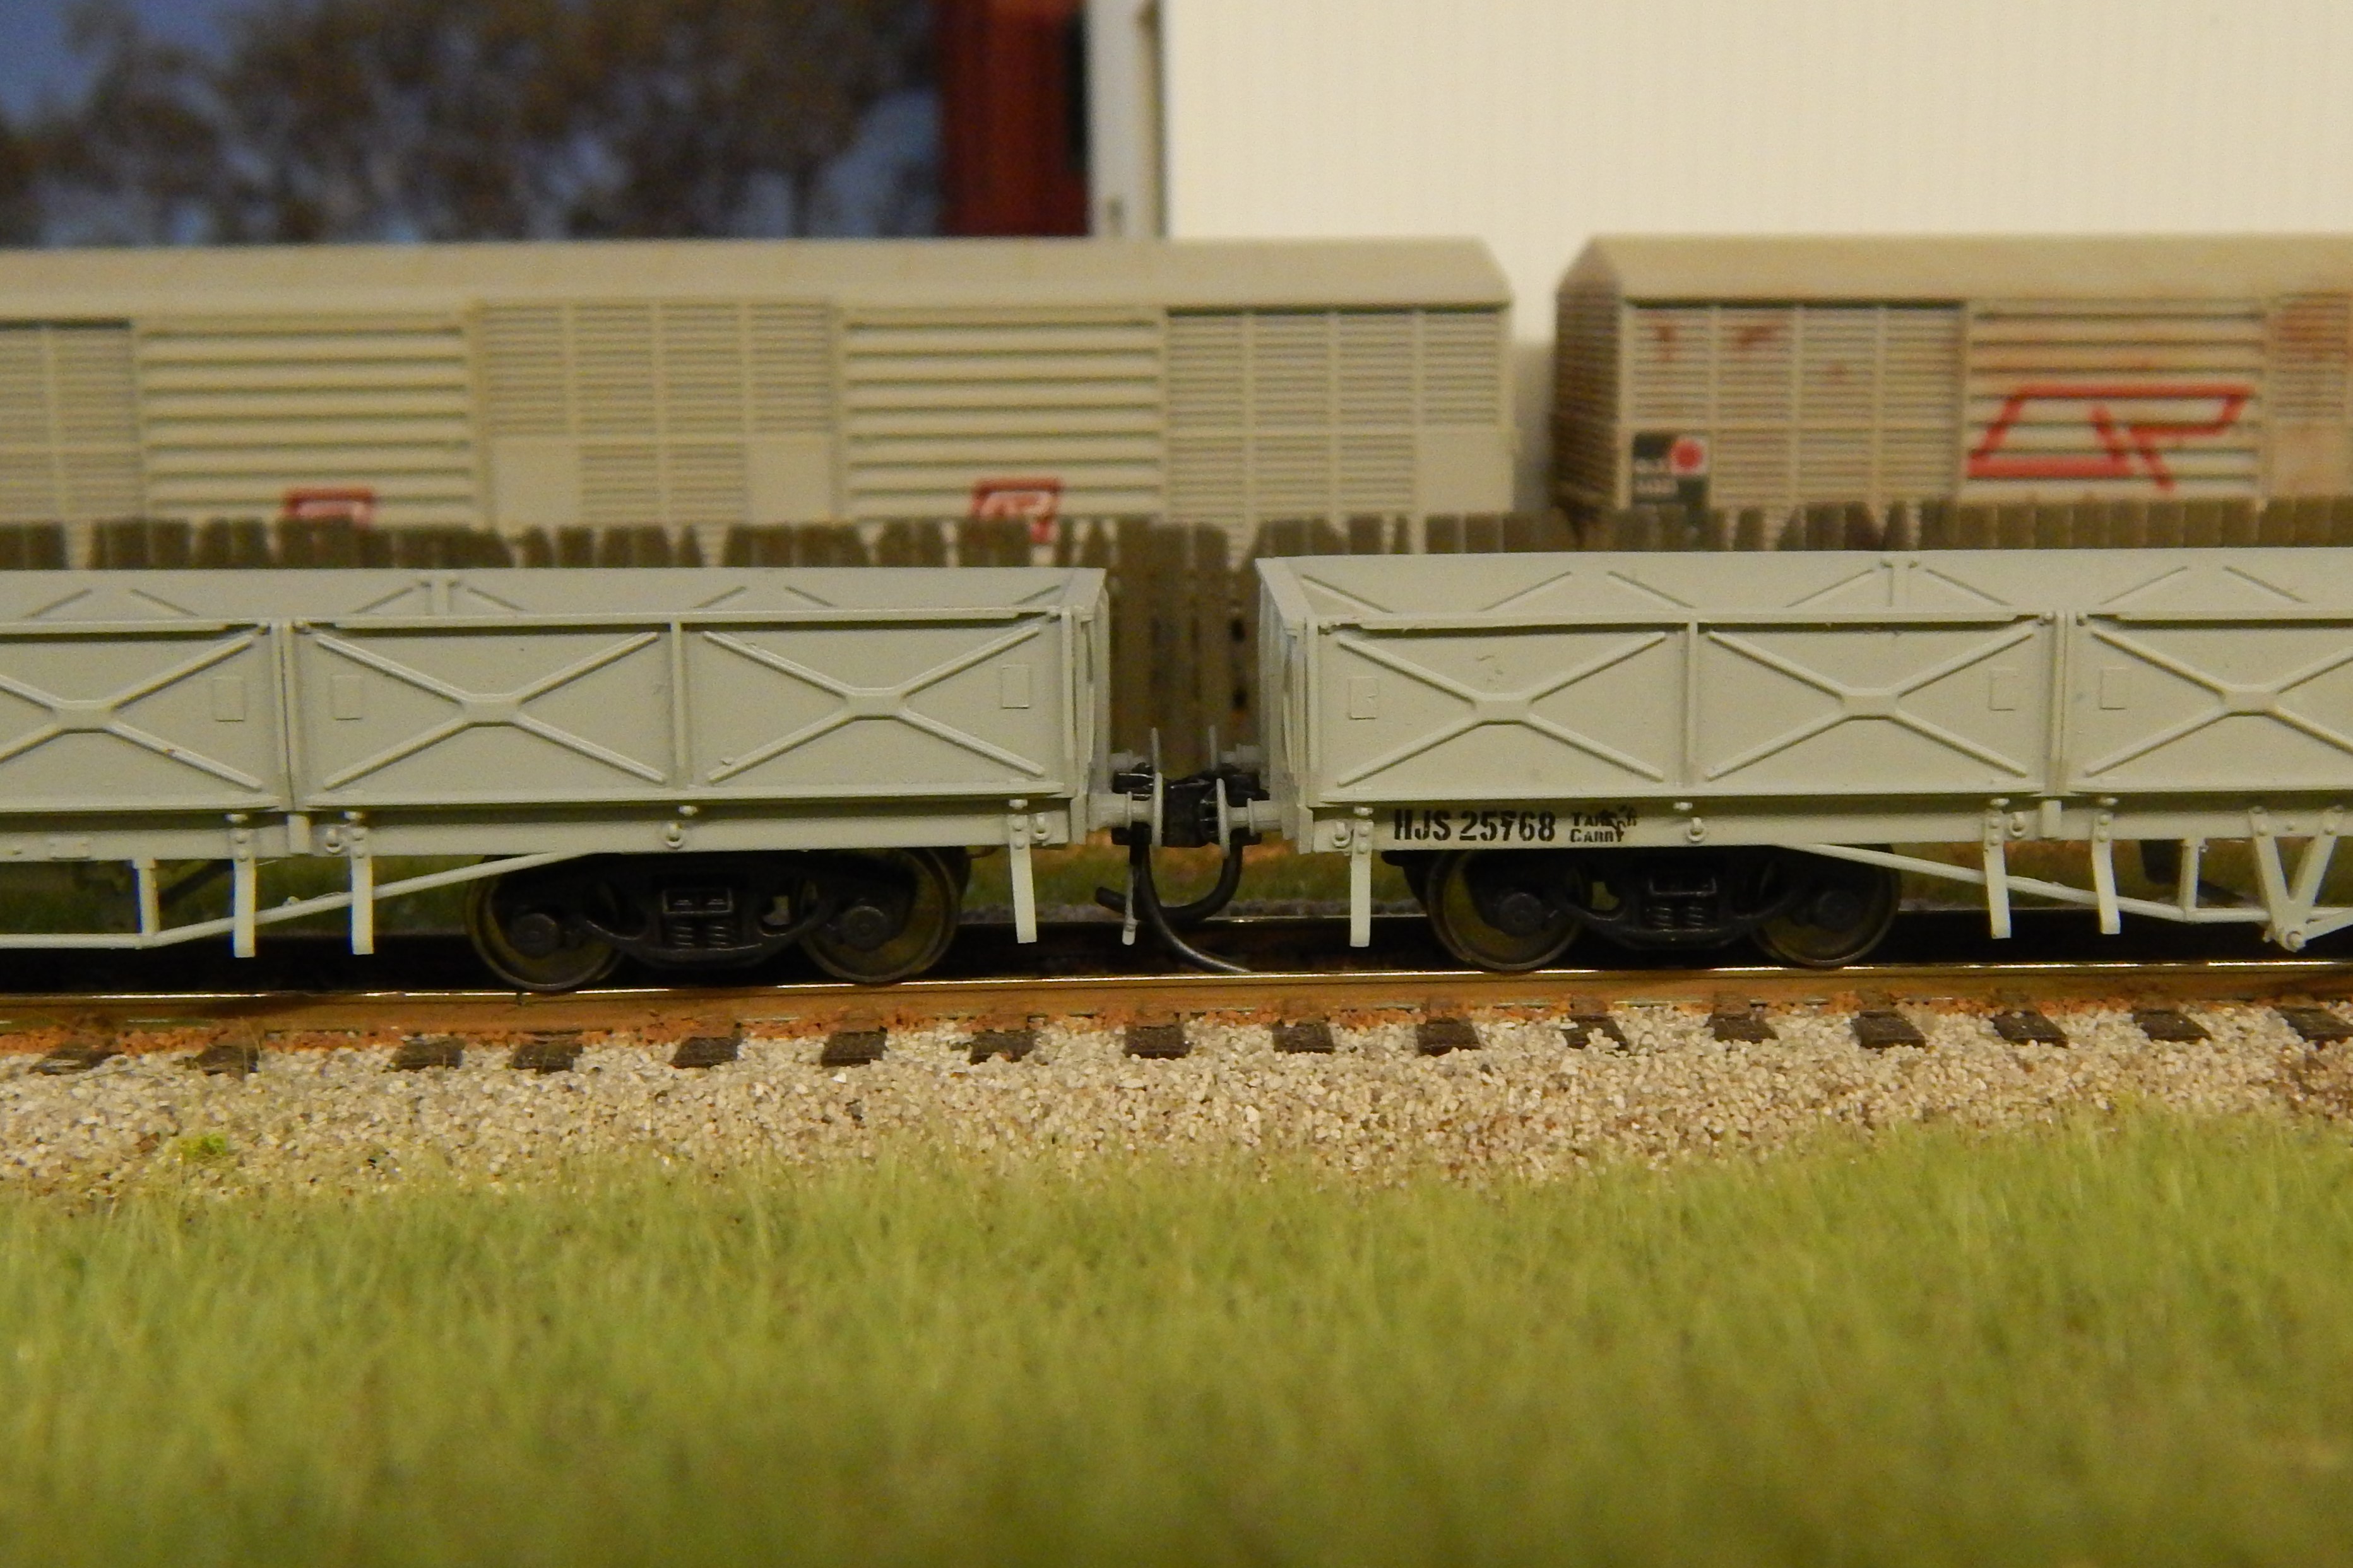
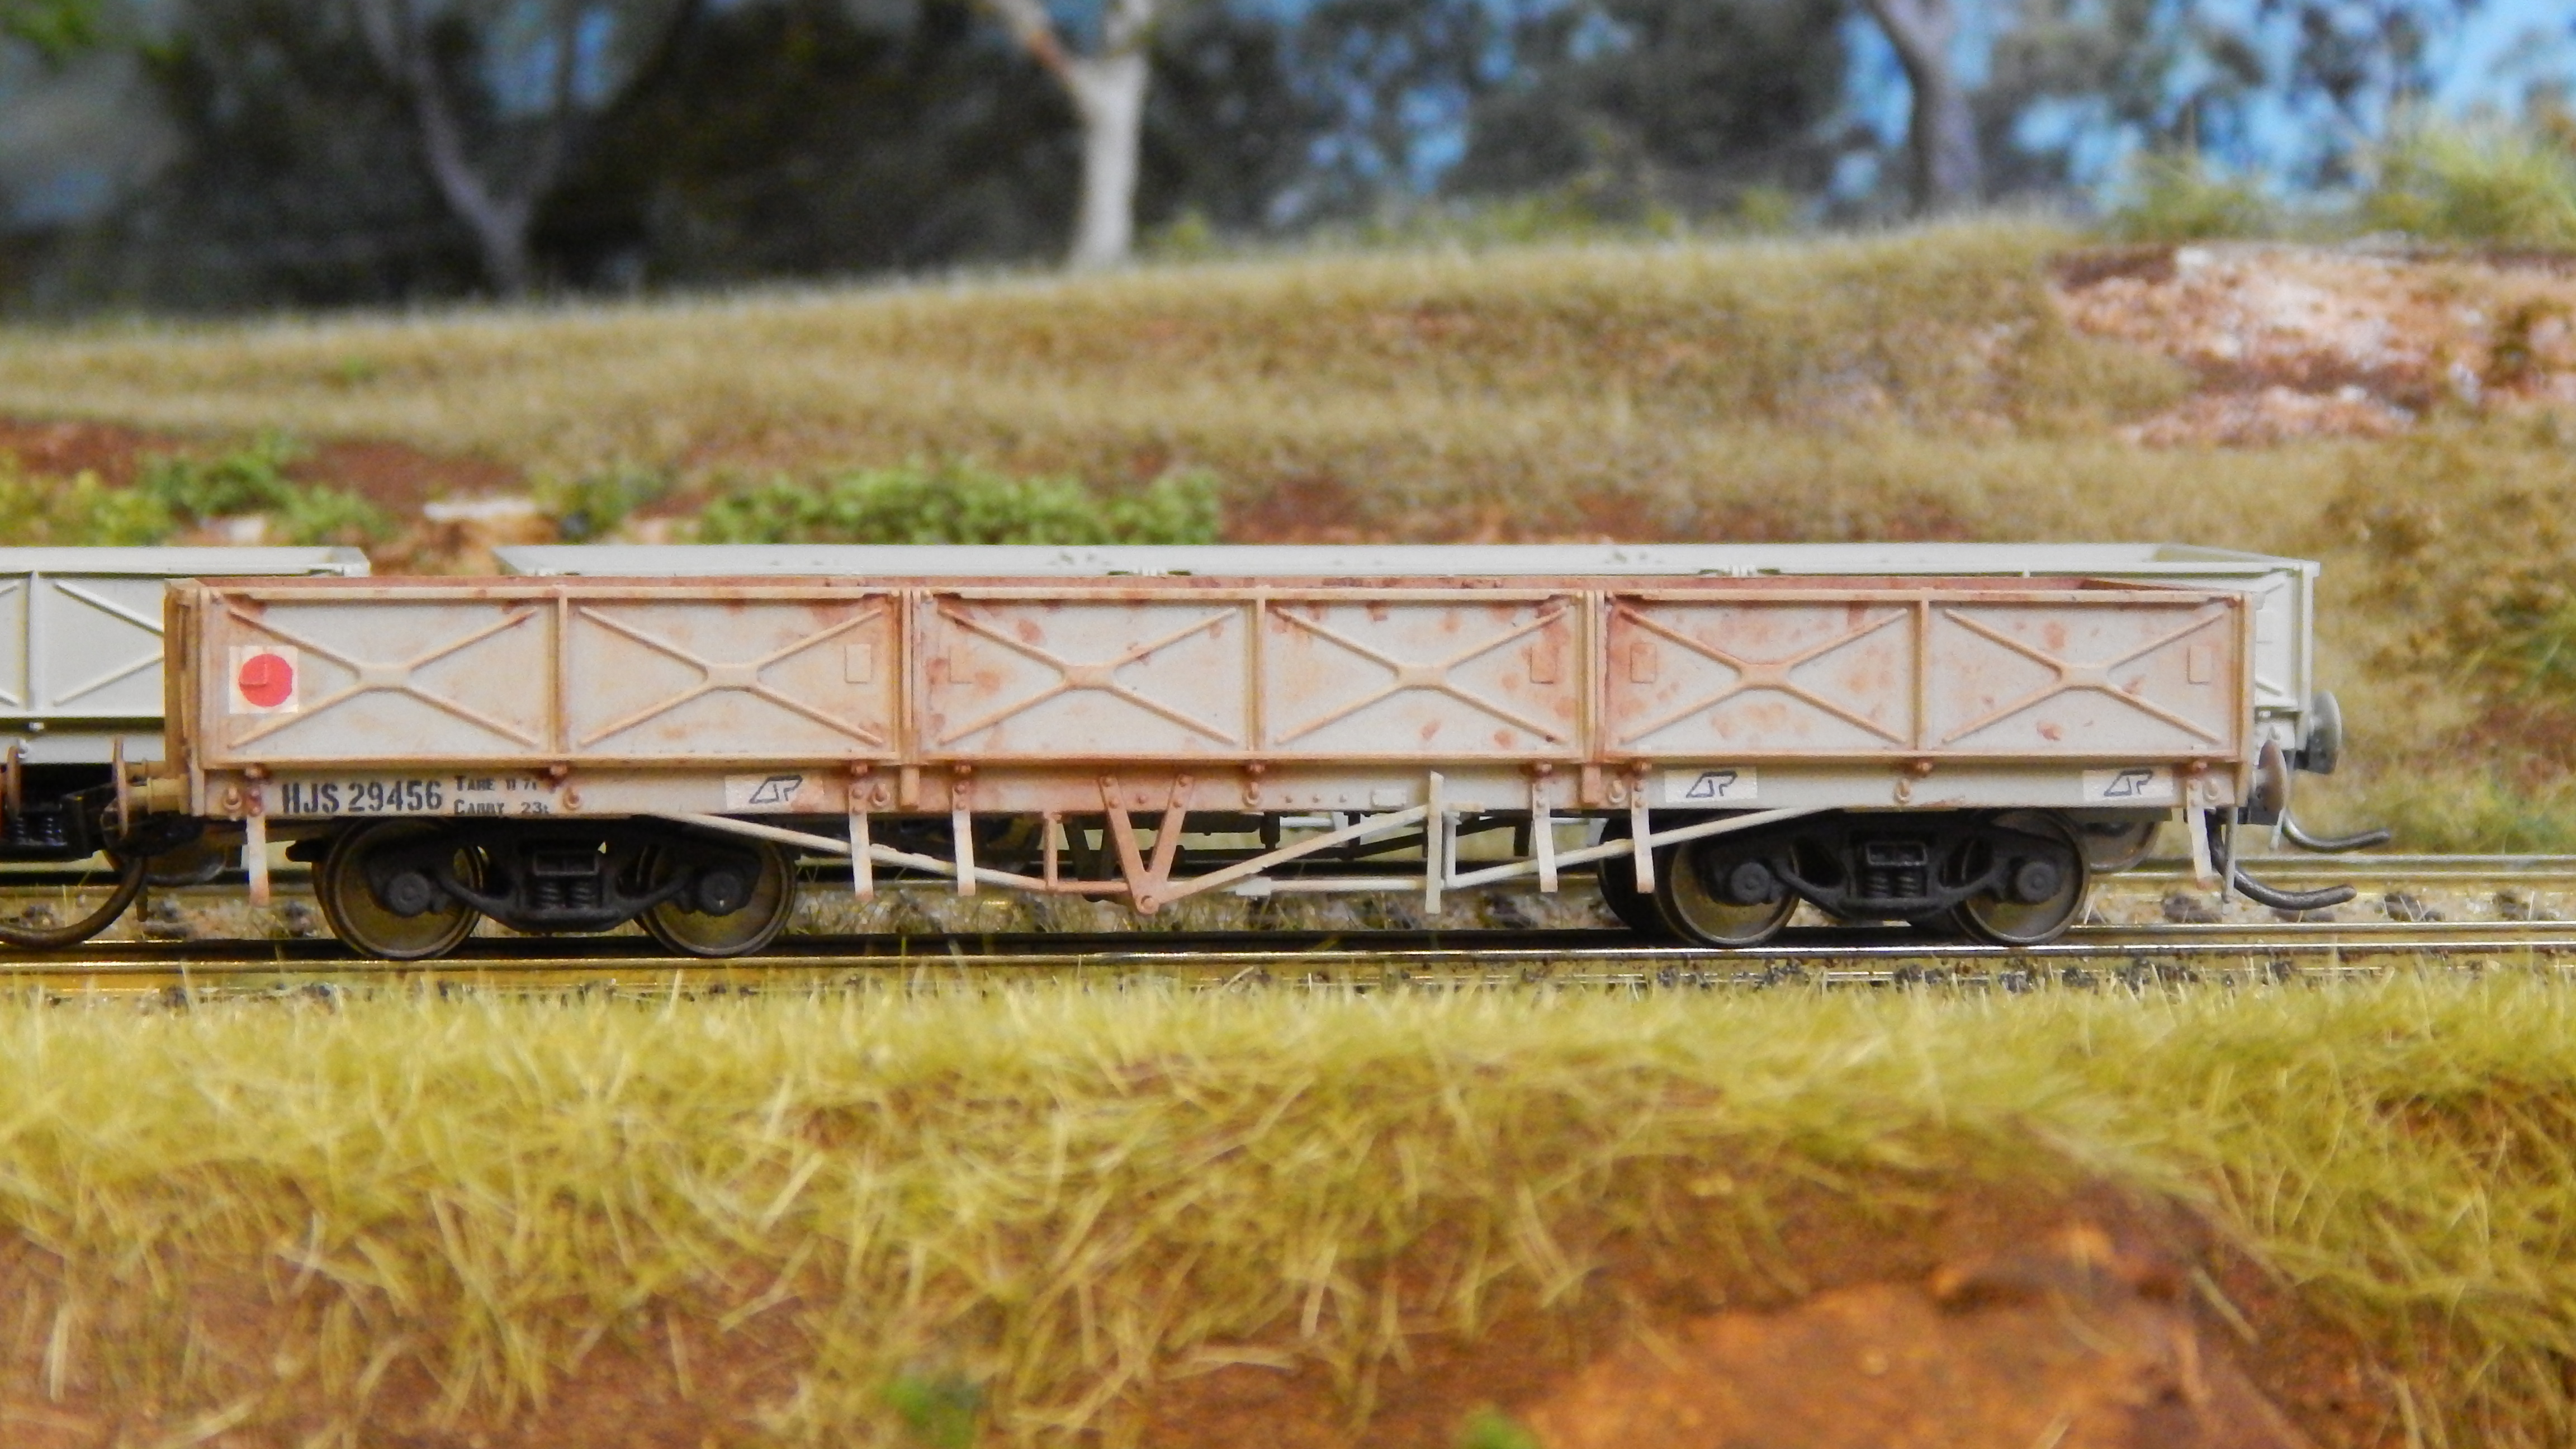
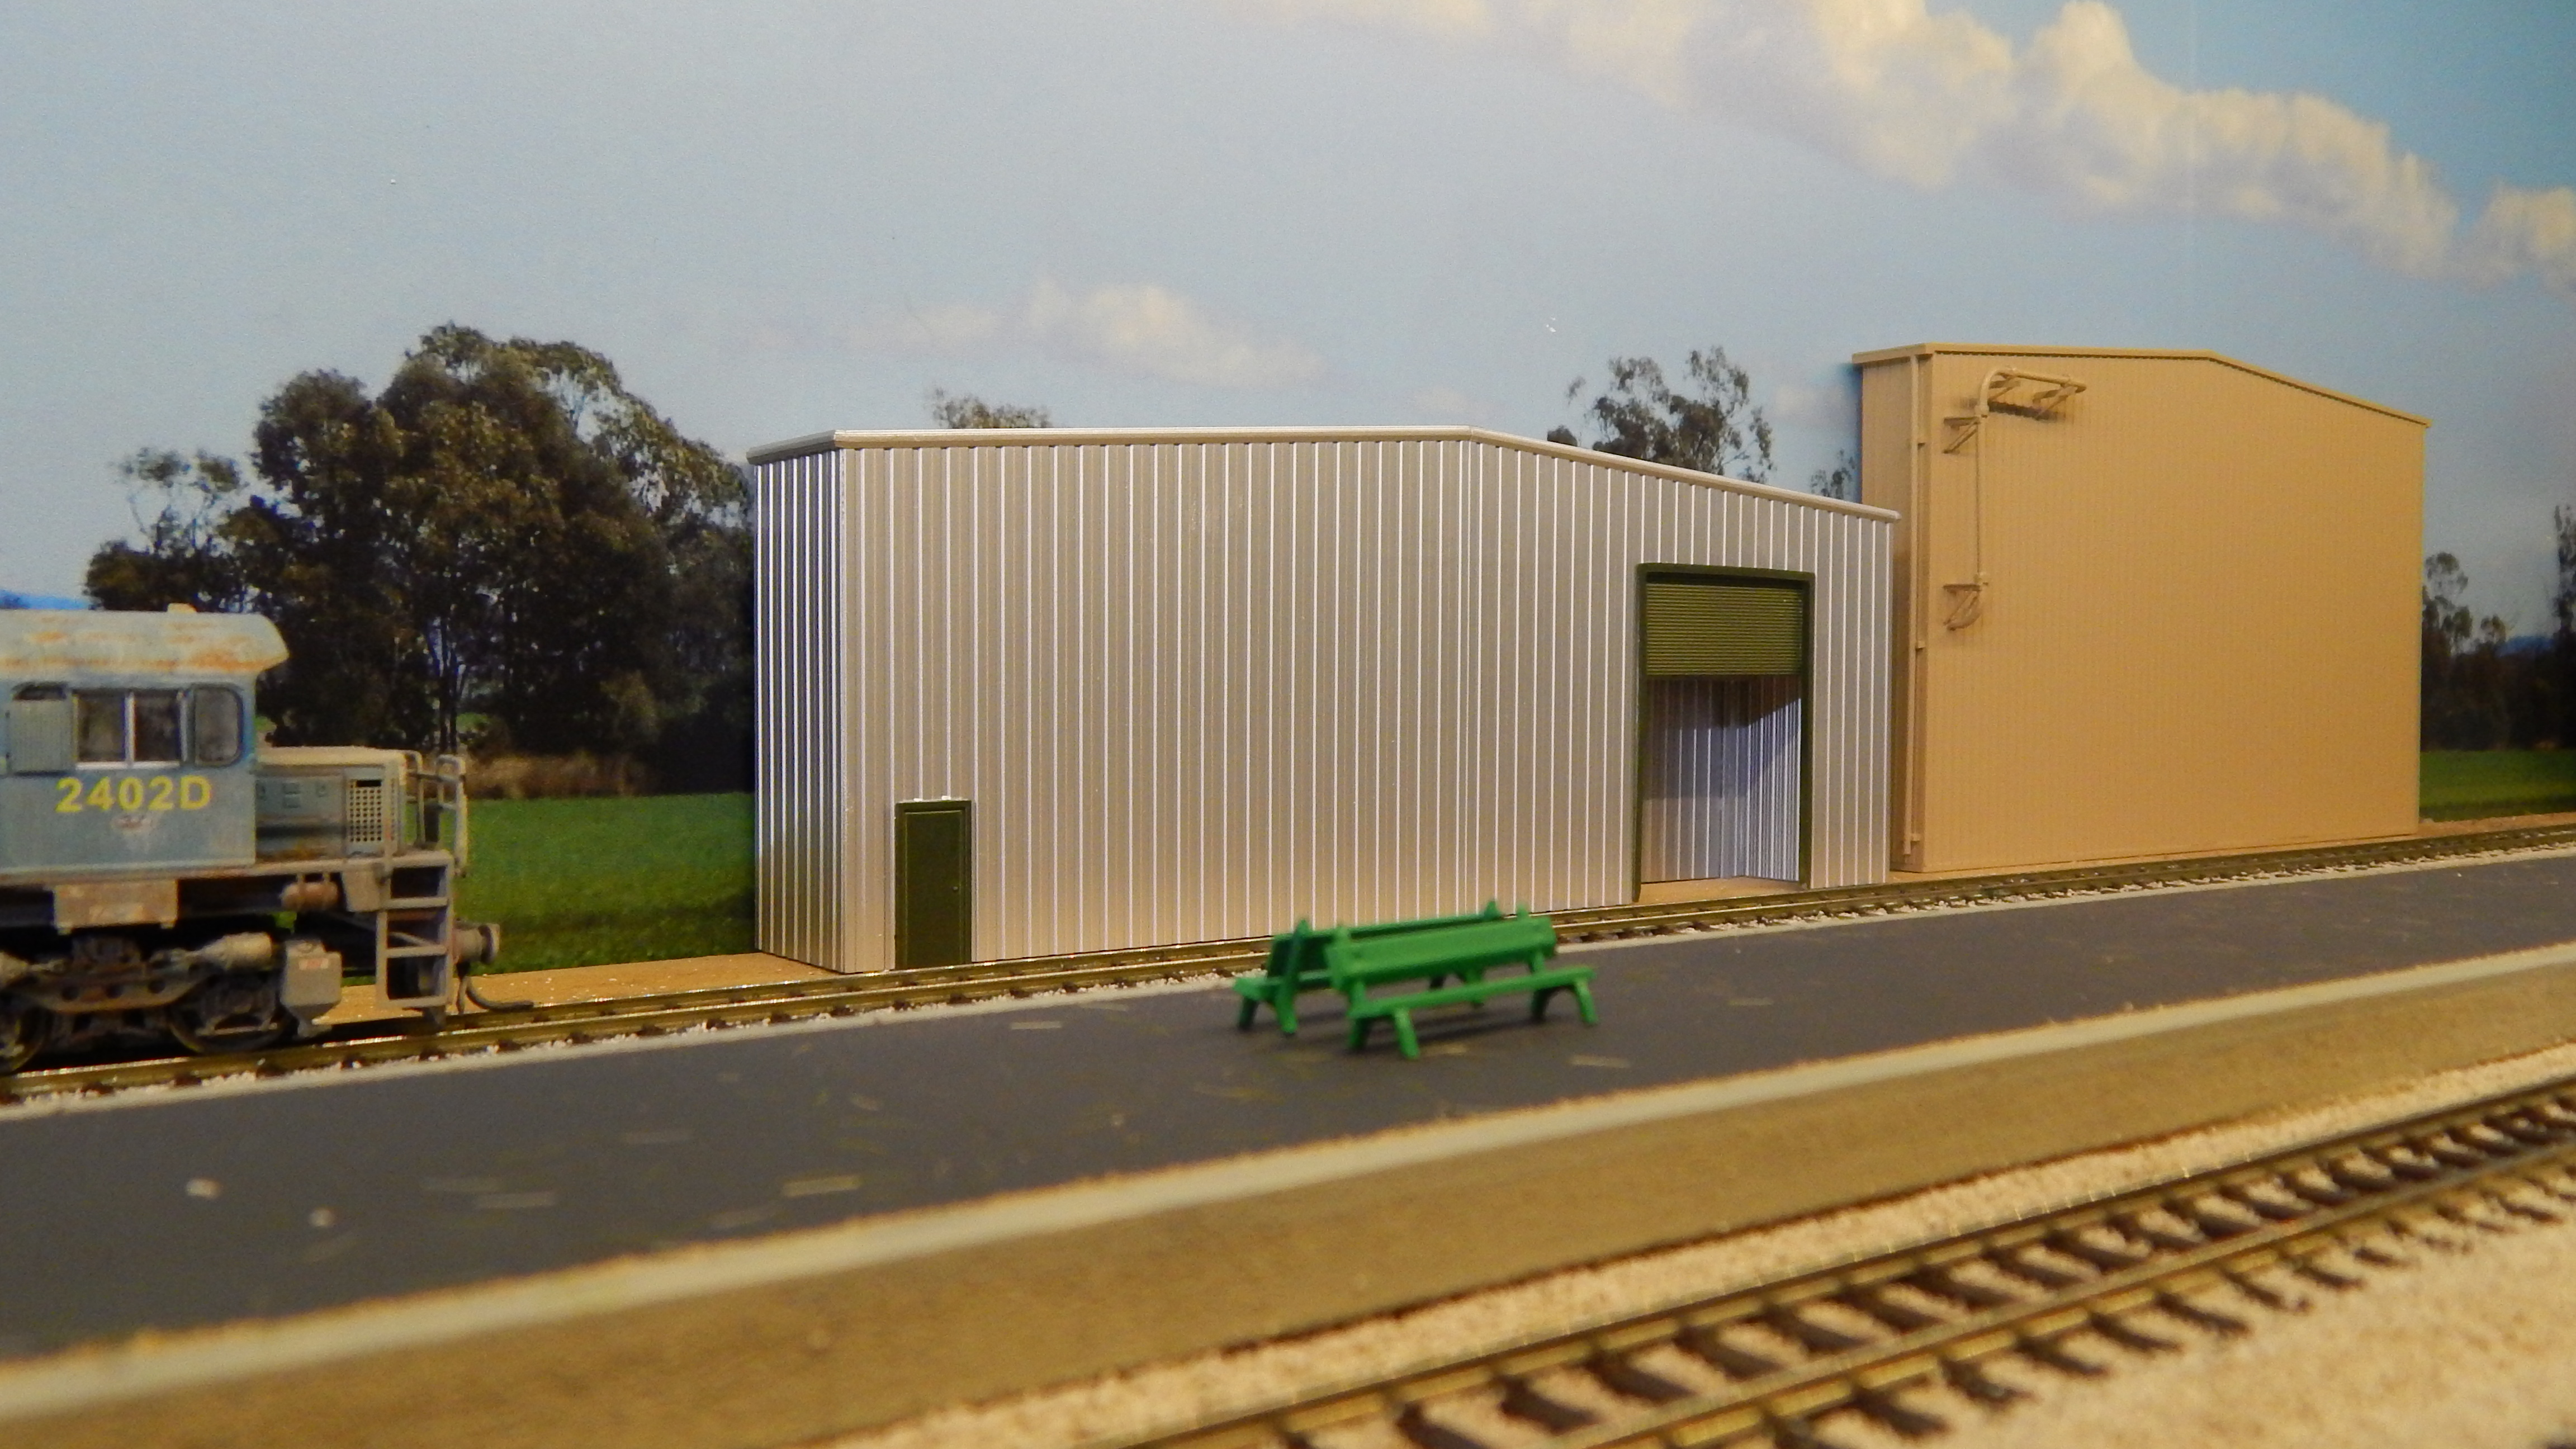
Enter 2012, where Wuiske models decided to take the plunge and attempt to release the QLX louvre wagon as the first step into RTR Queensland models. The attitude taken was that we would either sink or swim (the project cost not that much less than our house in Jandaowae so if we sank it would have been impressive).


In order to produce this model (or any other for that matter), the first step was to identify if it is worthwhile to produce. As an example, how many dining cars do you need? One you say? Well our minimum run is between 1500 and 2500 units. Hopefully this answers why the Lander coaches have not been done… yet.


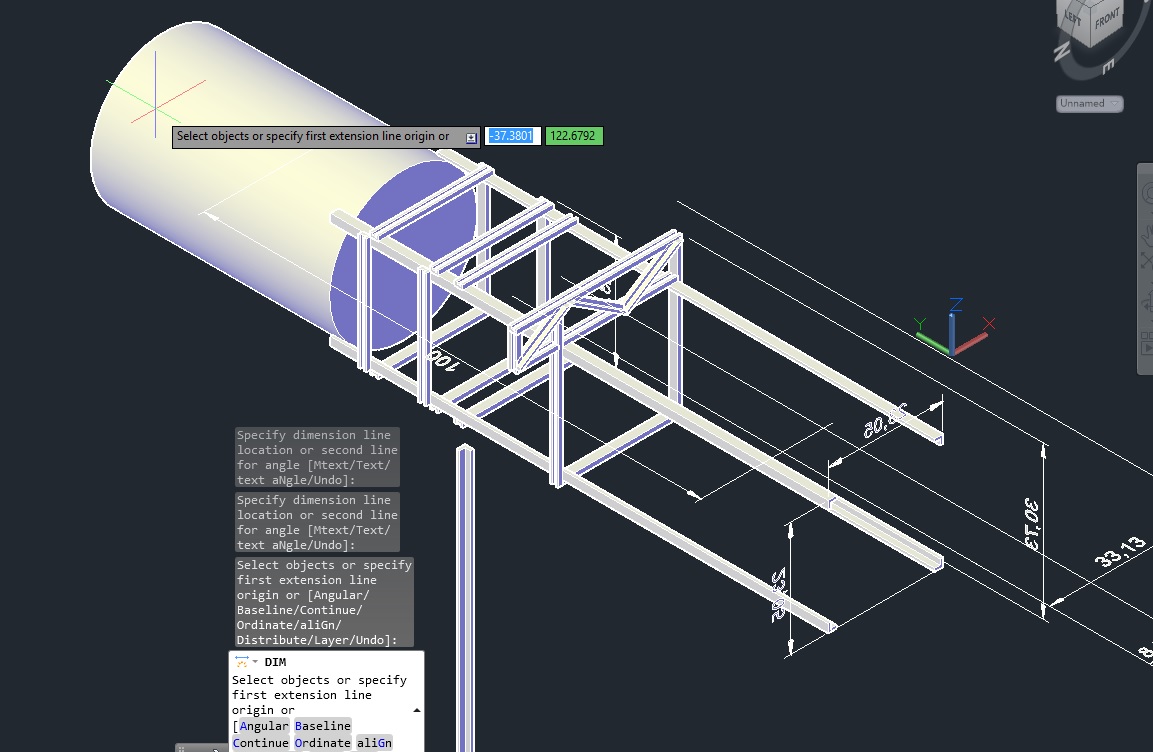
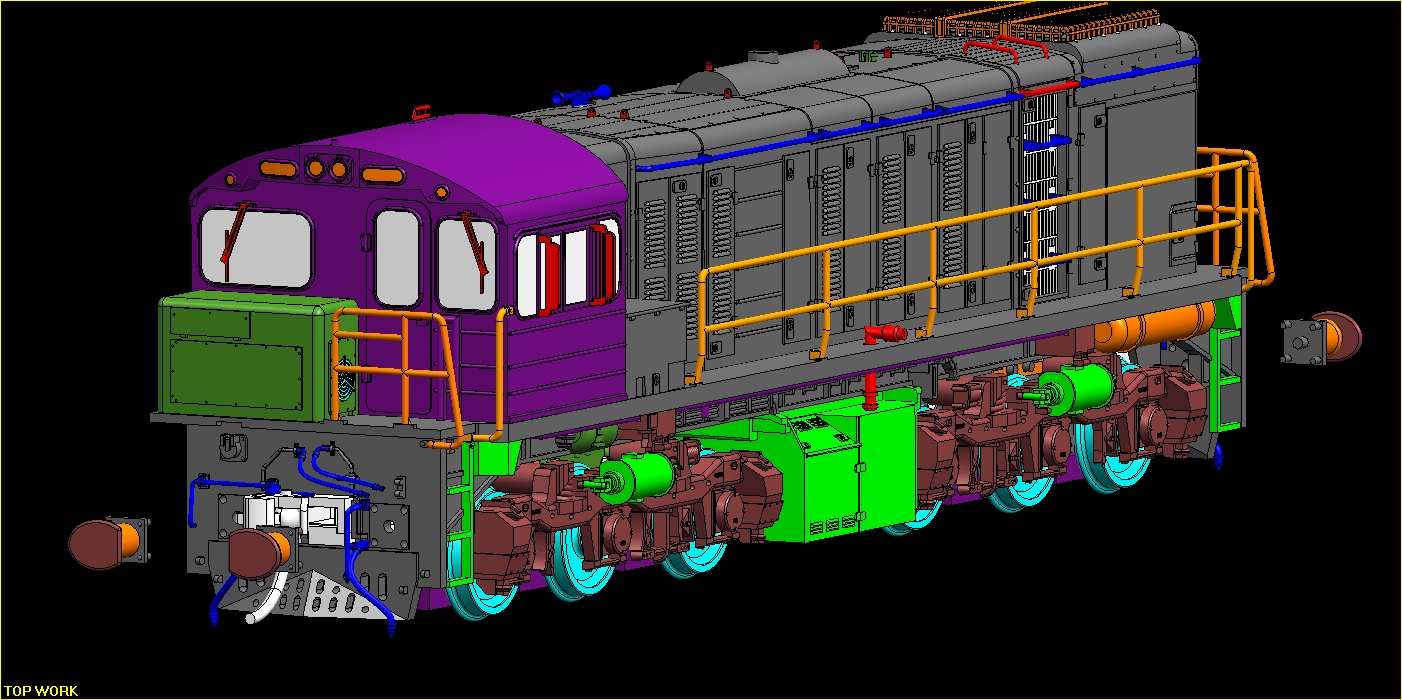
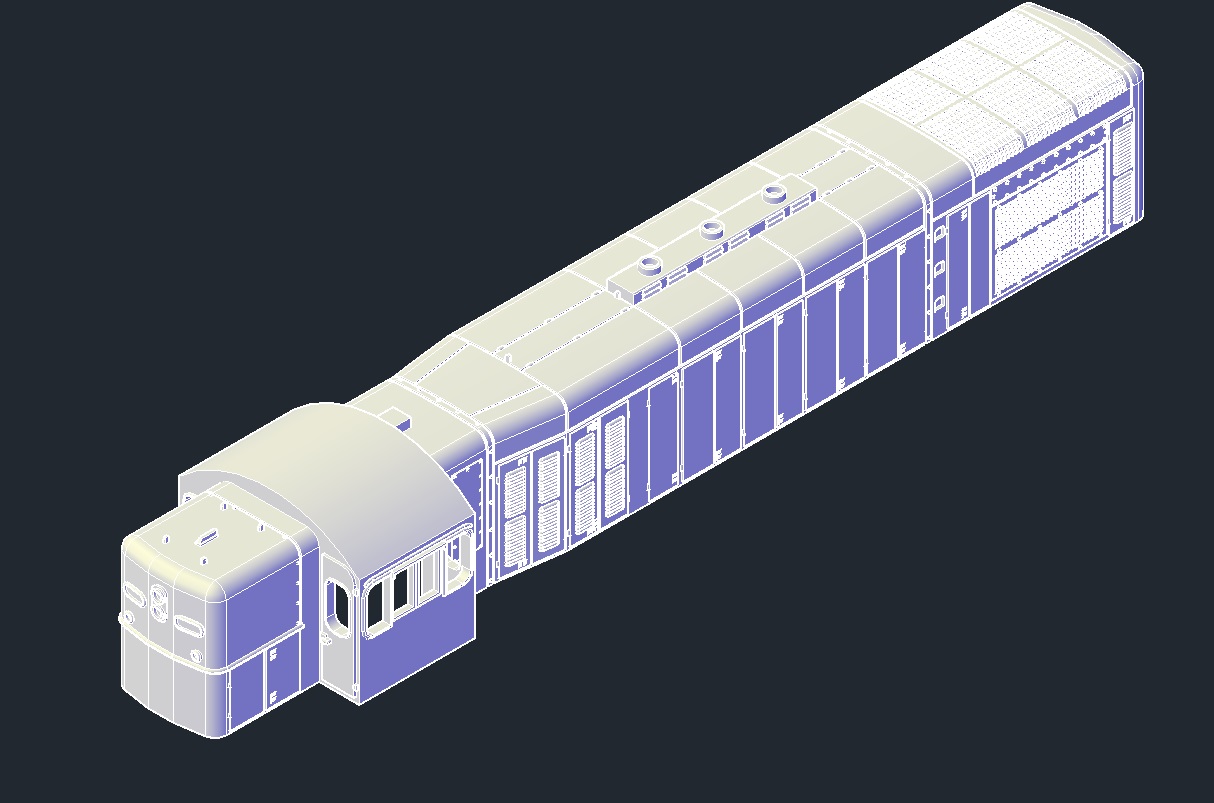
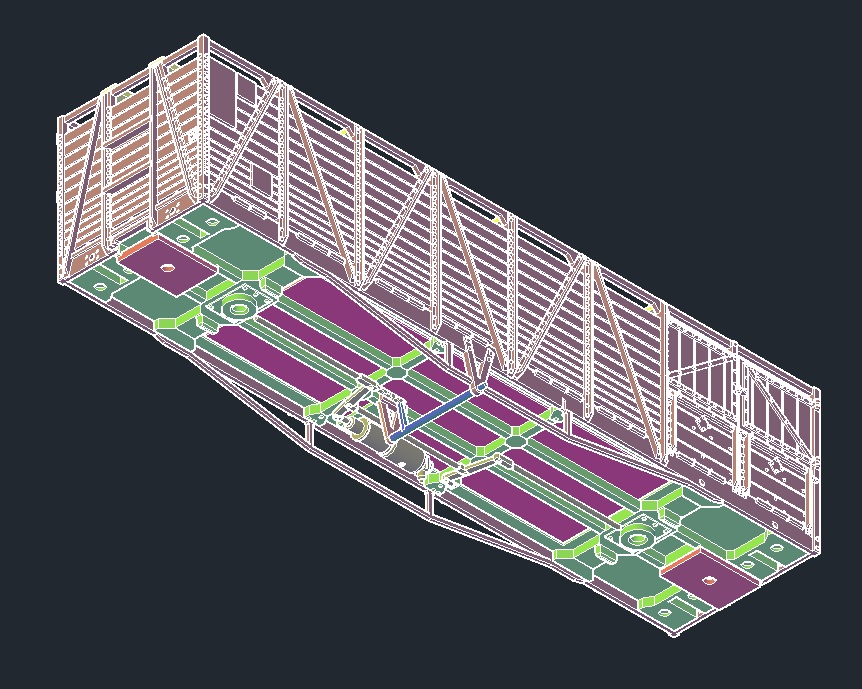
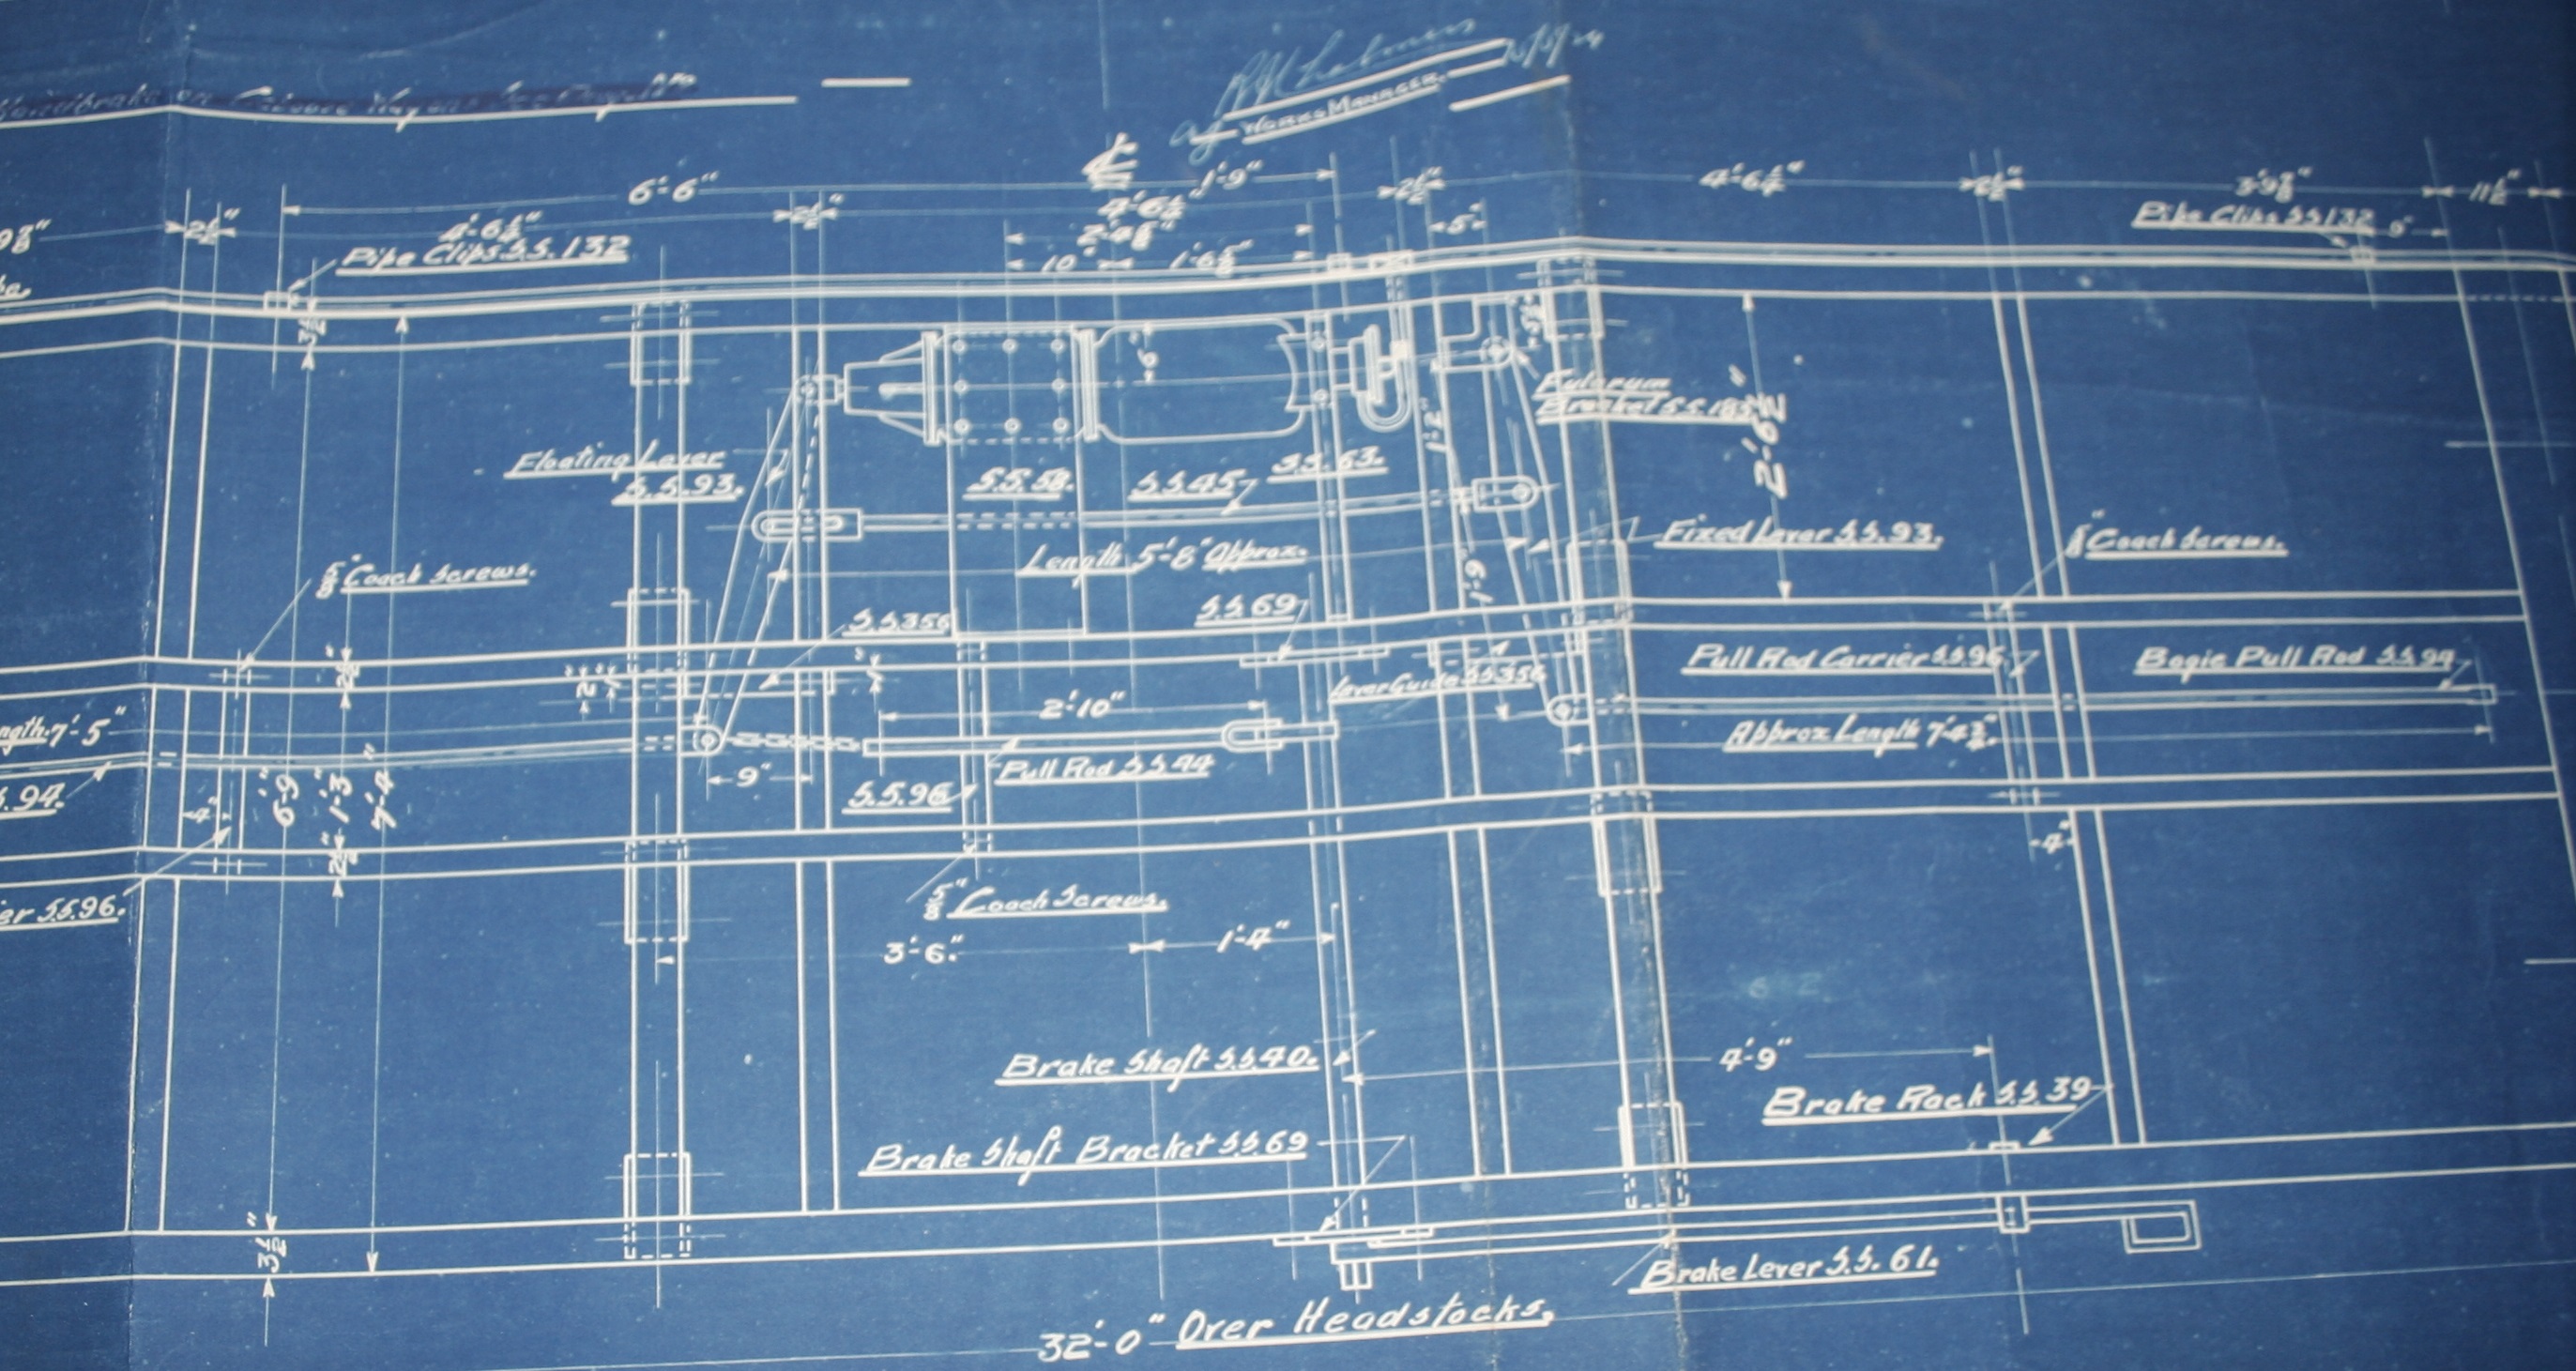
Once the prototype has been chosen, it’s time to start drawing. Most companies outsource this to their factory and pay a few thousand US Dollars for the privilege.  Wuiske Models do our own design work in house.


This is simply because we are familiar with the prototype and we can get access to complete plans and the prototype (usually). In other words, we don’t really have many revisions to be made (those things are expensive).


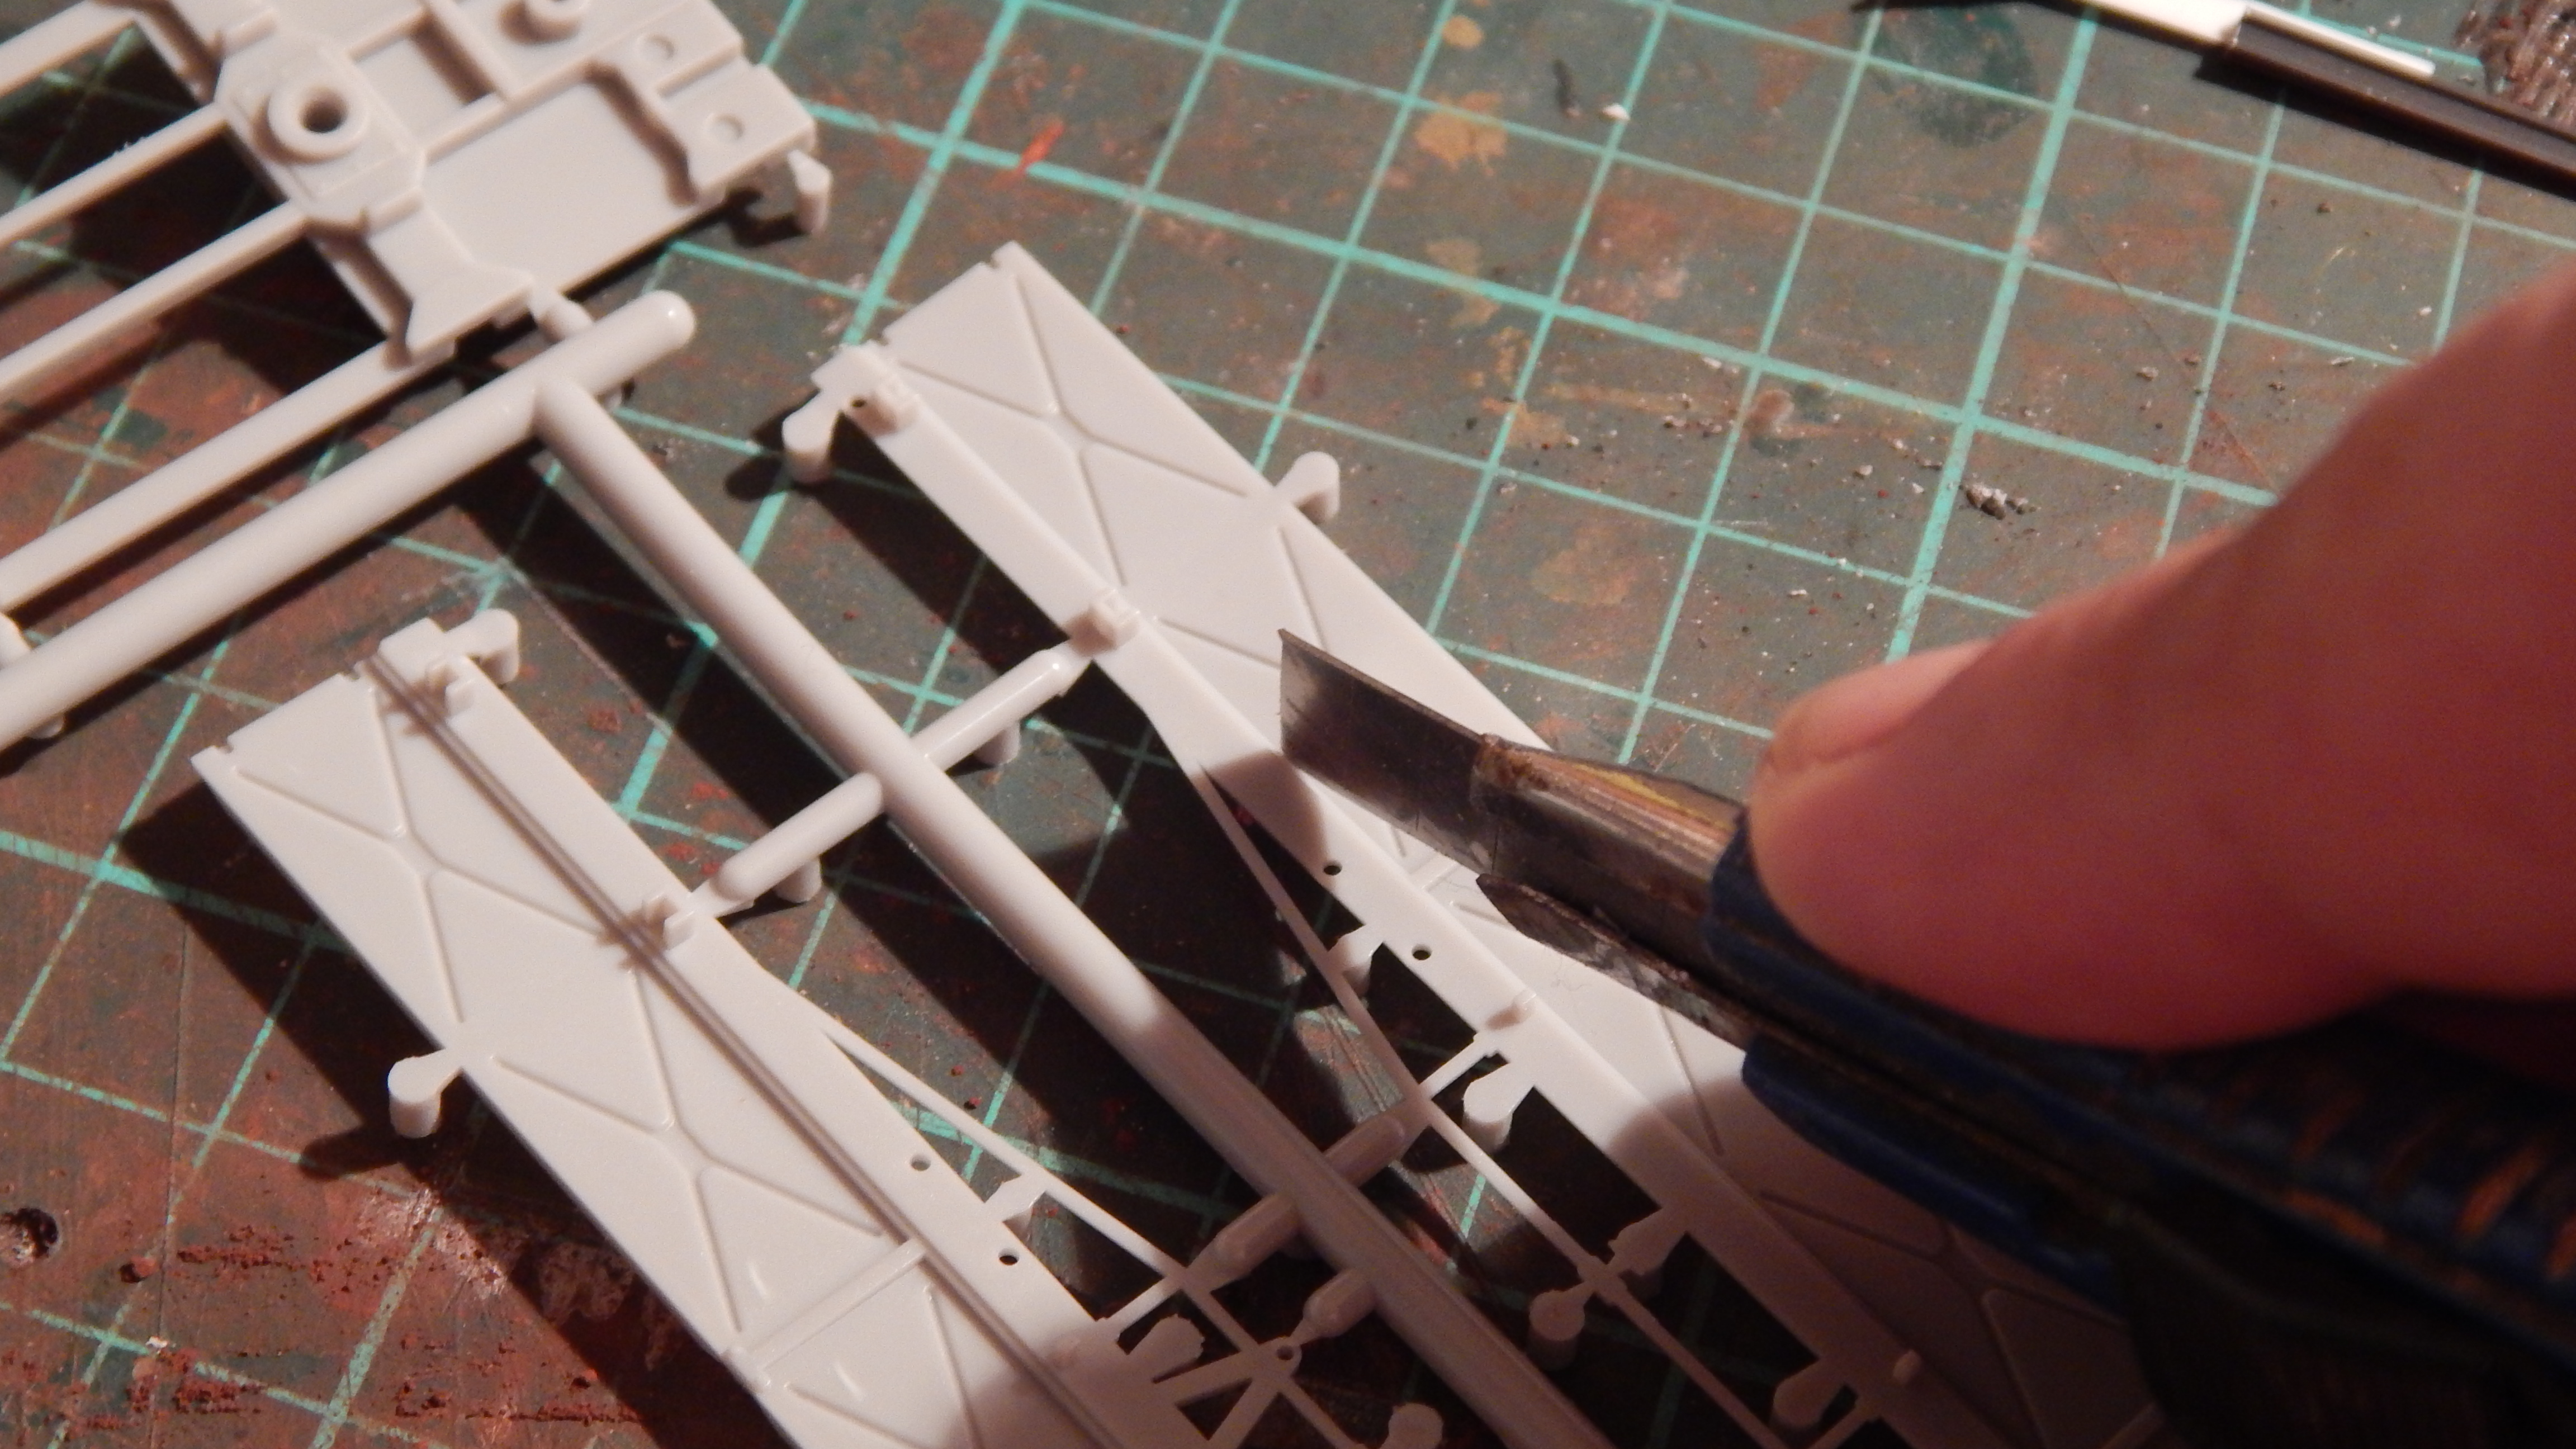
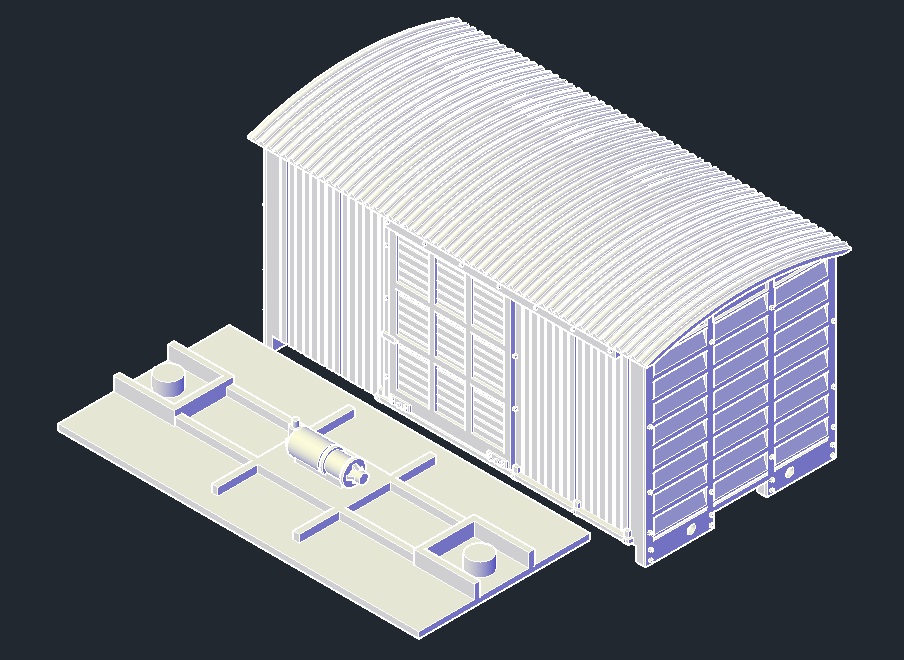
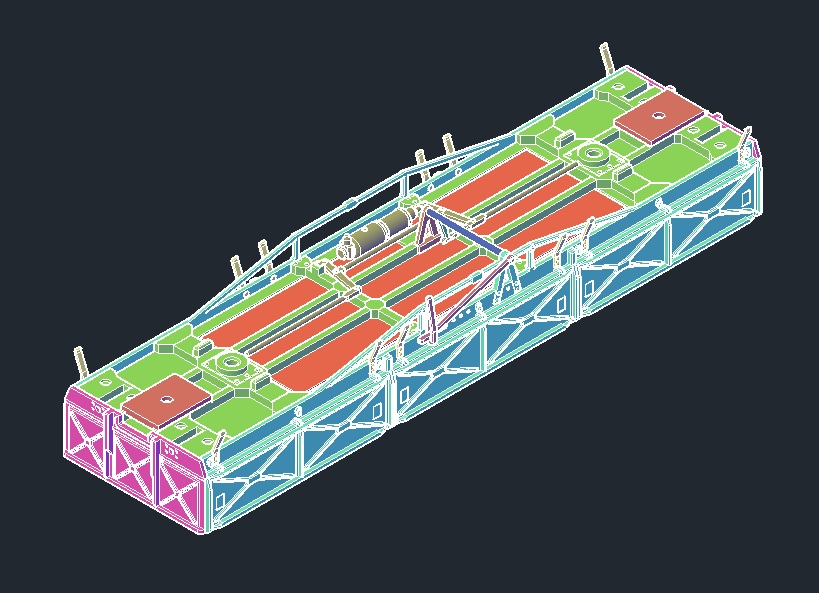
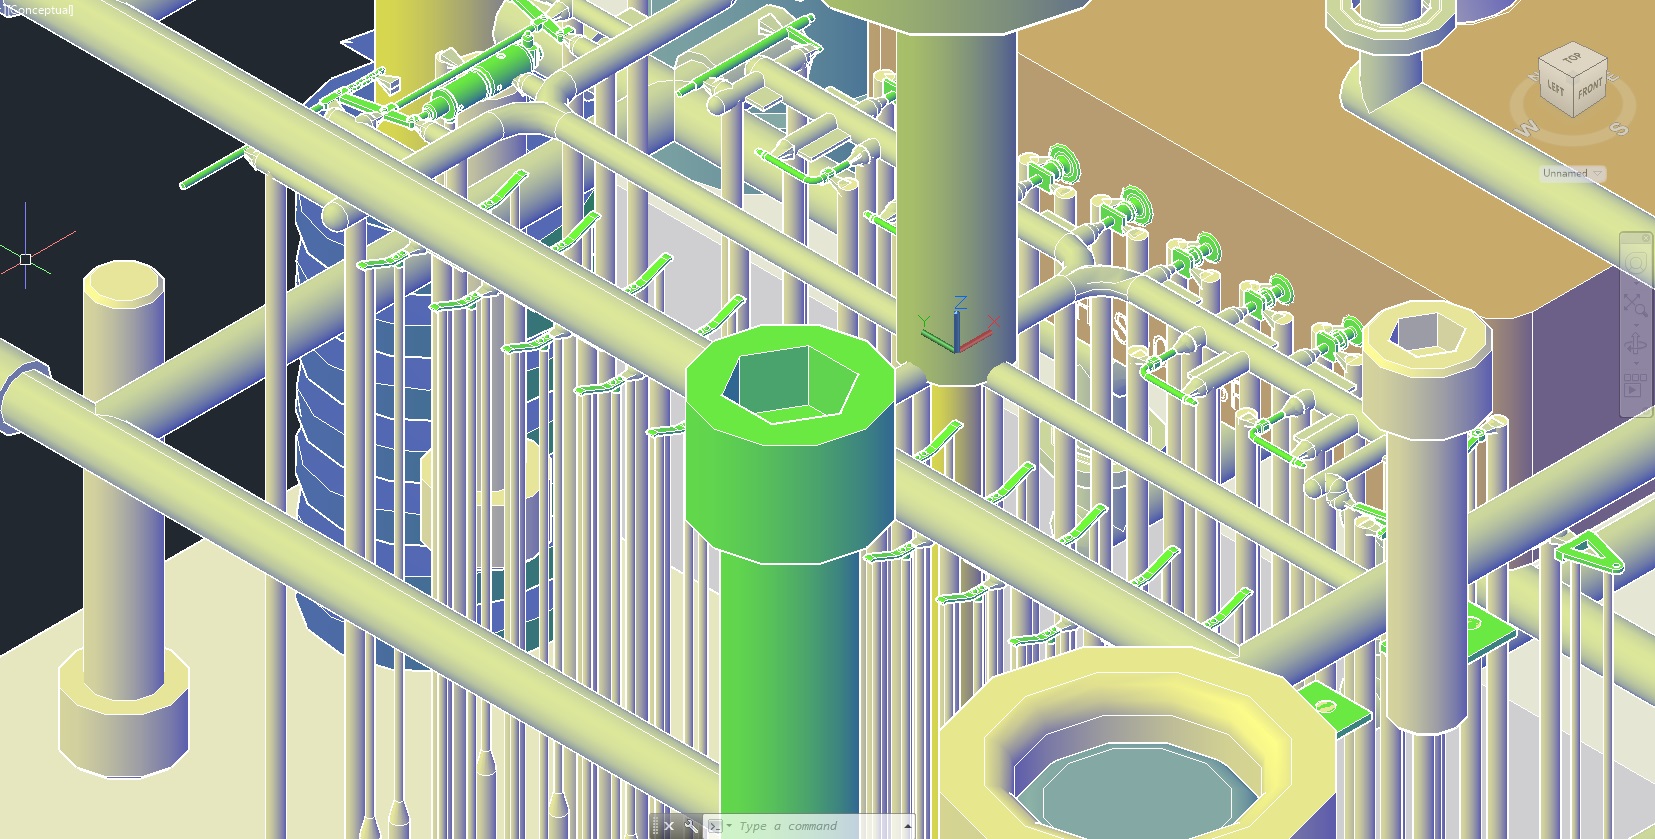
The next step is to discuss the project and the design with the tool maker. They will lay the items out depending on what sort of plastic it needs to be made from or if it would be better made from an etch for instance.


Once this is done, we get a Tooling Drawing… and a bill. A BIG BILL!
So, this is crunch time, this is the part where Bridget and I take a very deep breath and part with a large chunk of our collection of modern currency.


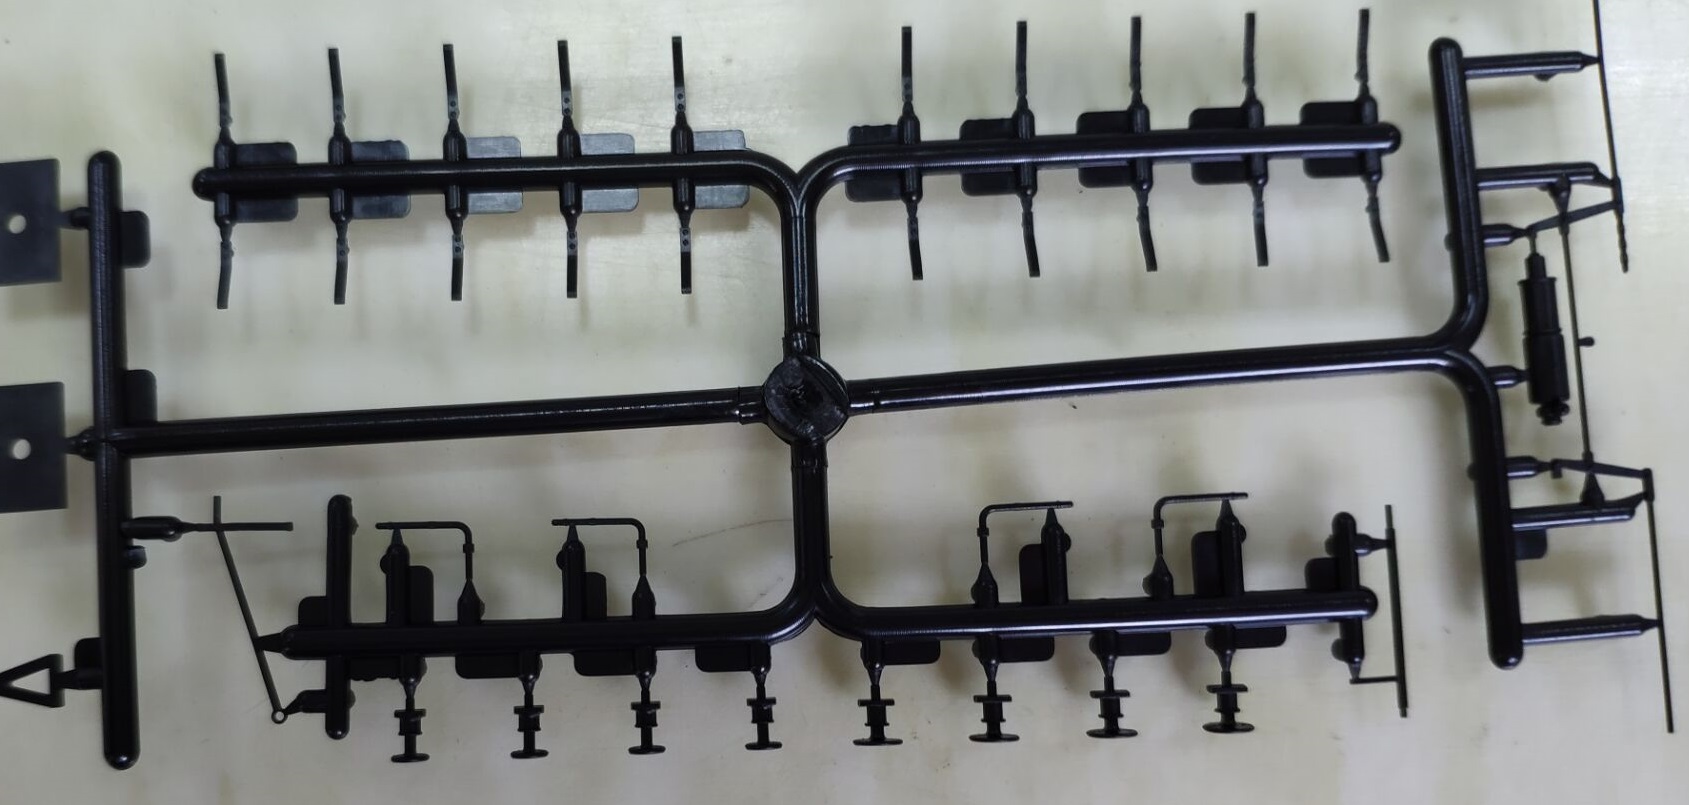
Usually the tooling process will take one to three months. once it’s done, we get a “test shot”. Test shots serve to tell us if there is anything that has been made incorrectly from the drawing (we actually had a bolt head forgotten on one model) and where you can make any changes.


Once we’ve approved the test shots, we get another bill. Another BIG BILL! But we have a working high pressure mold.


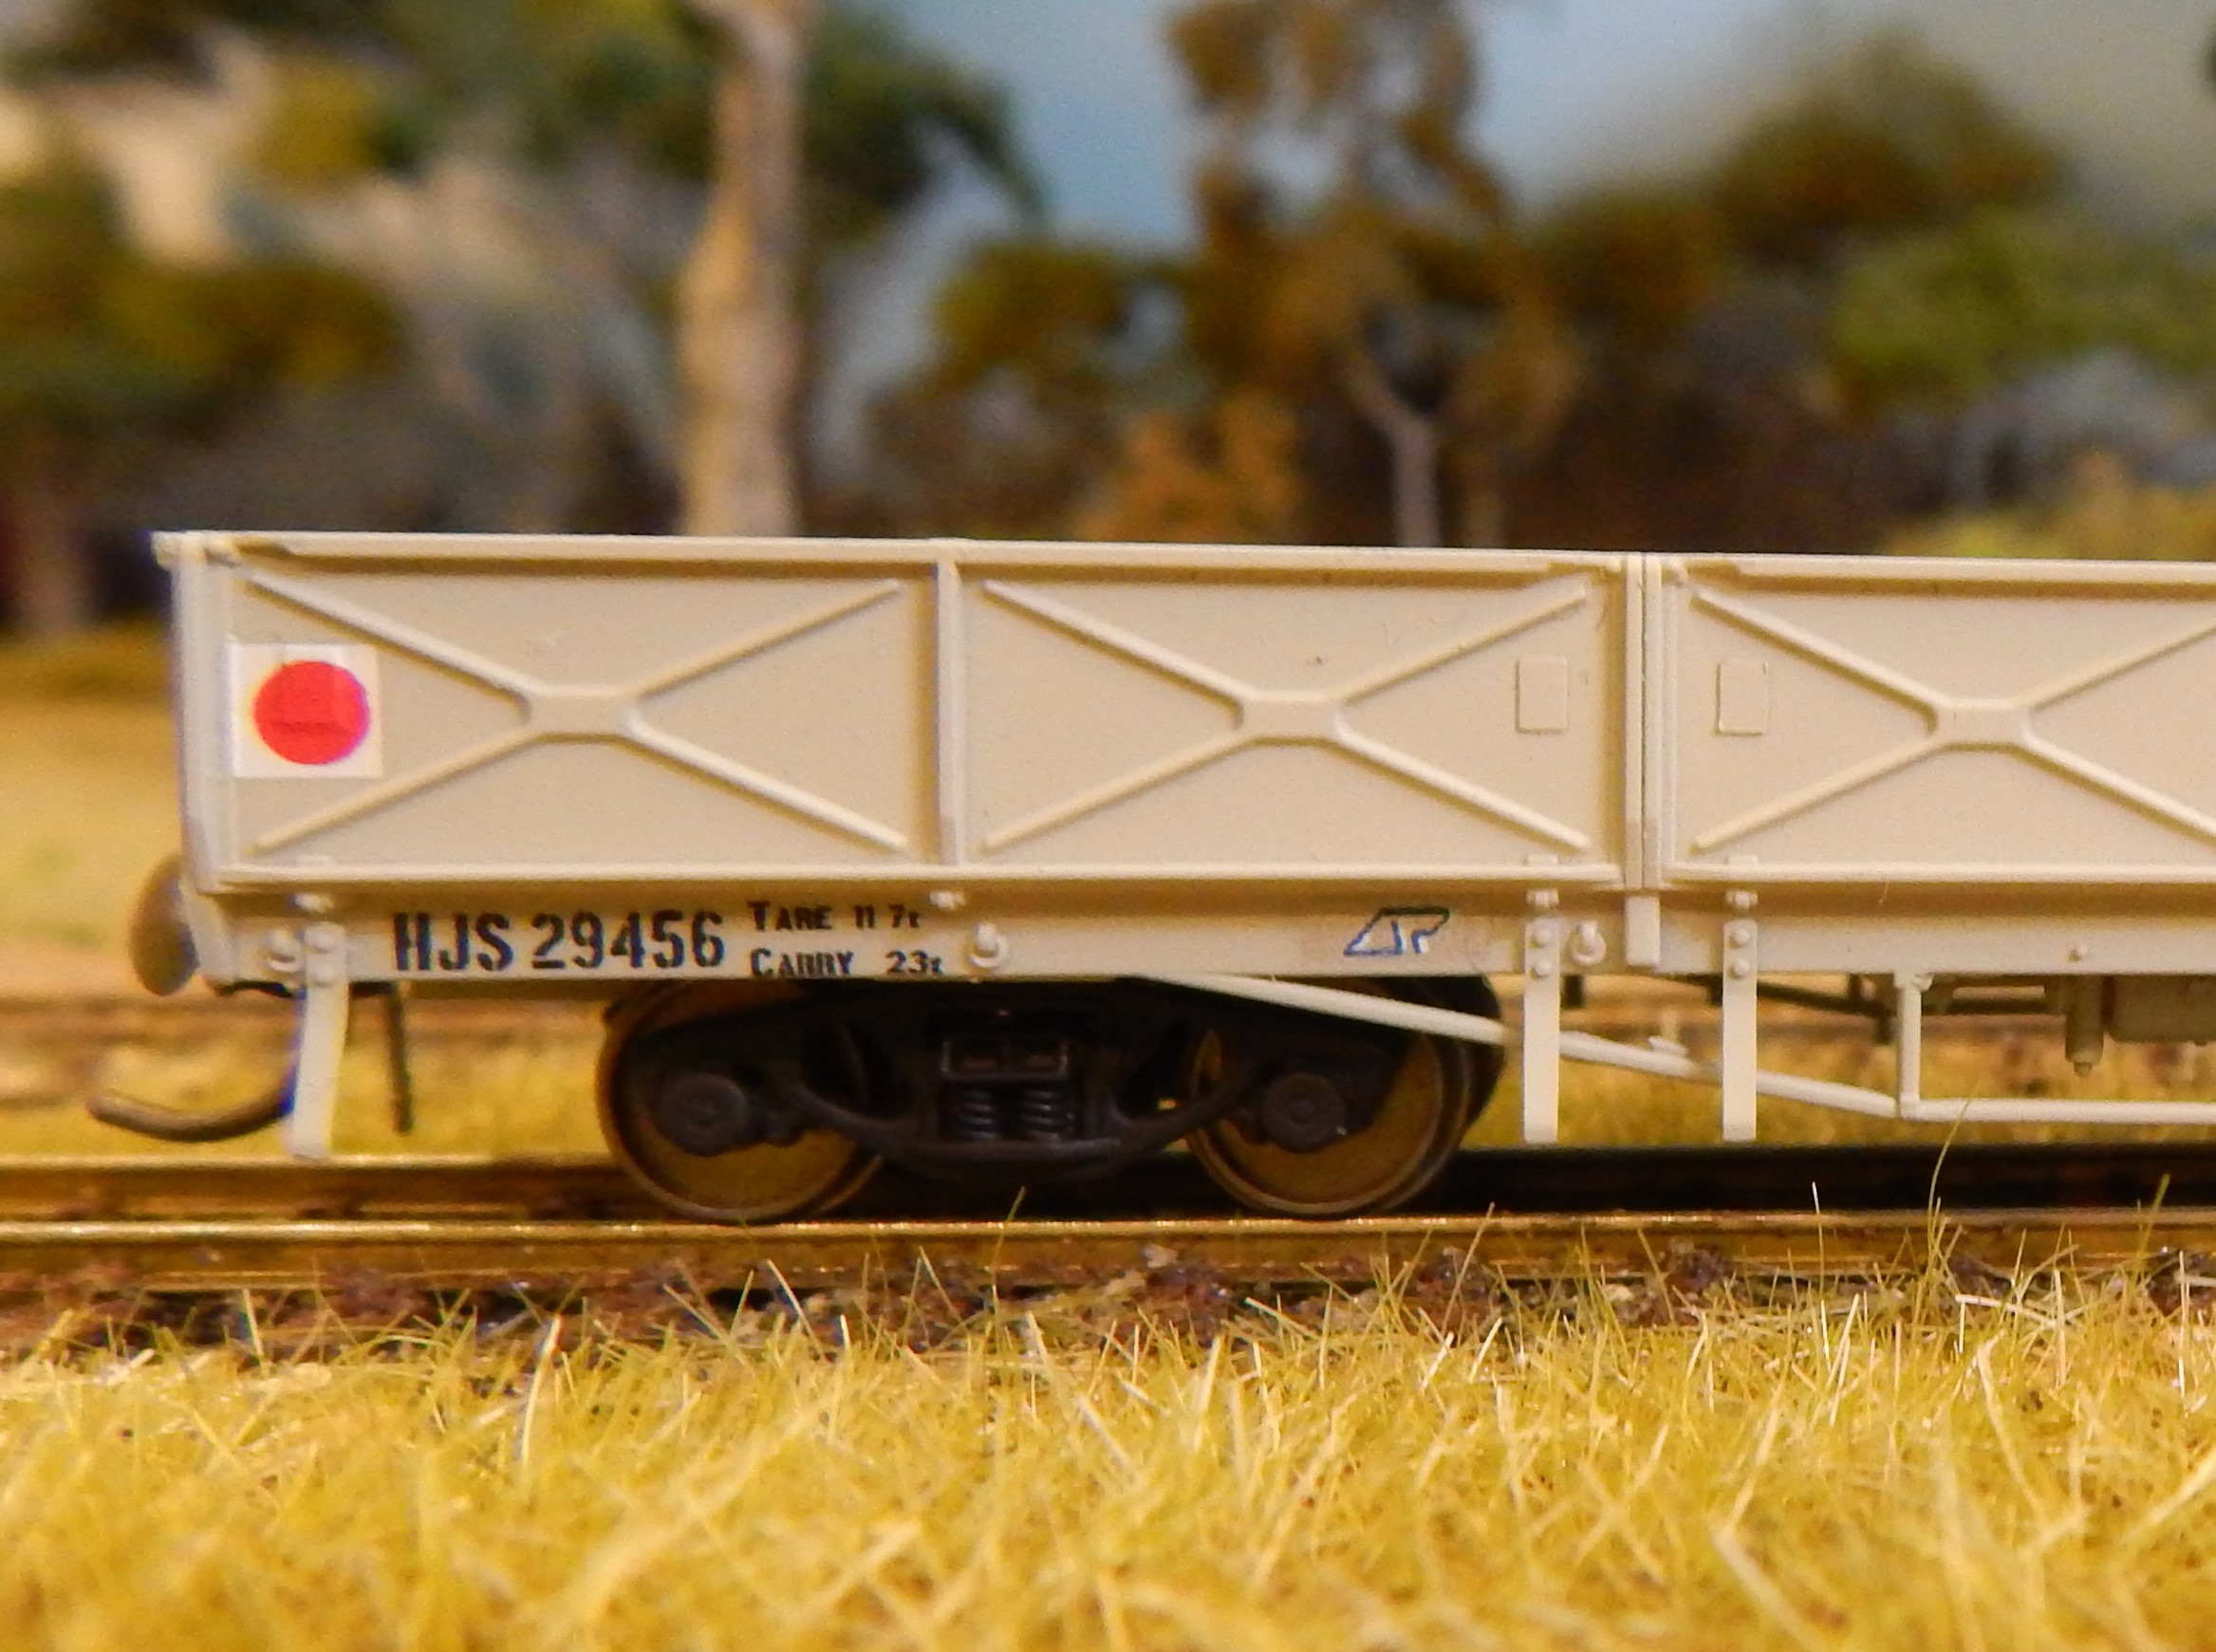
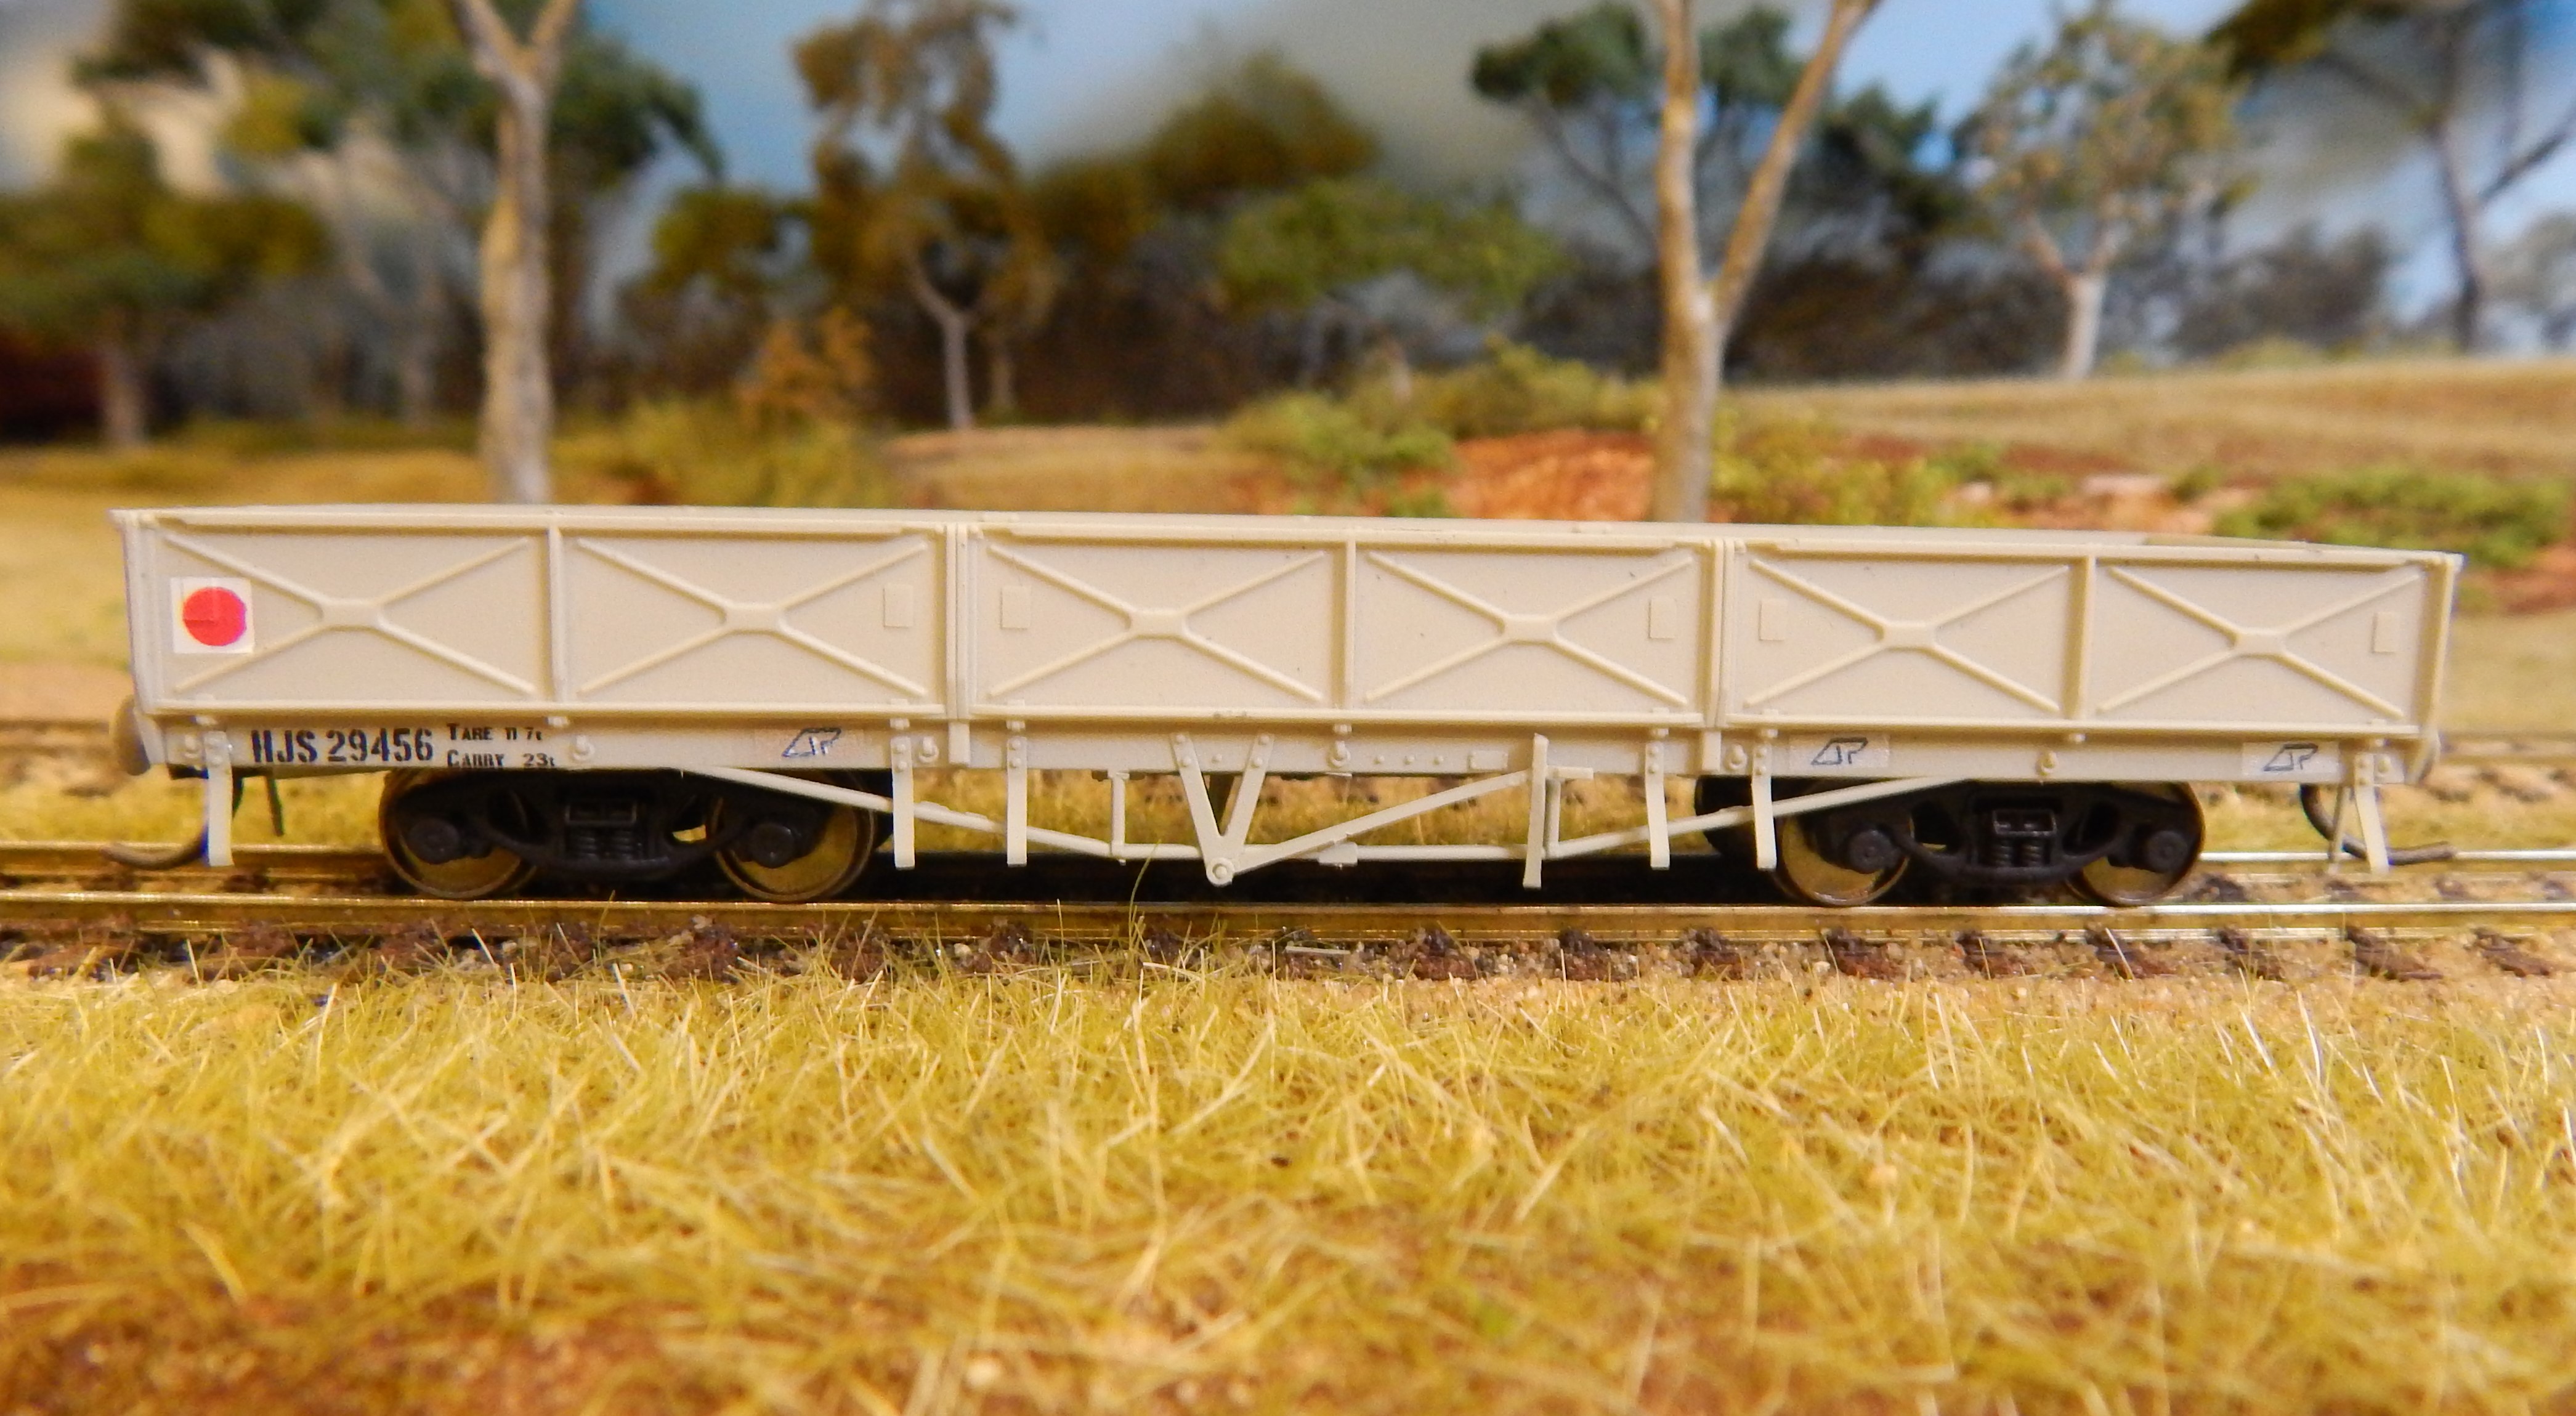
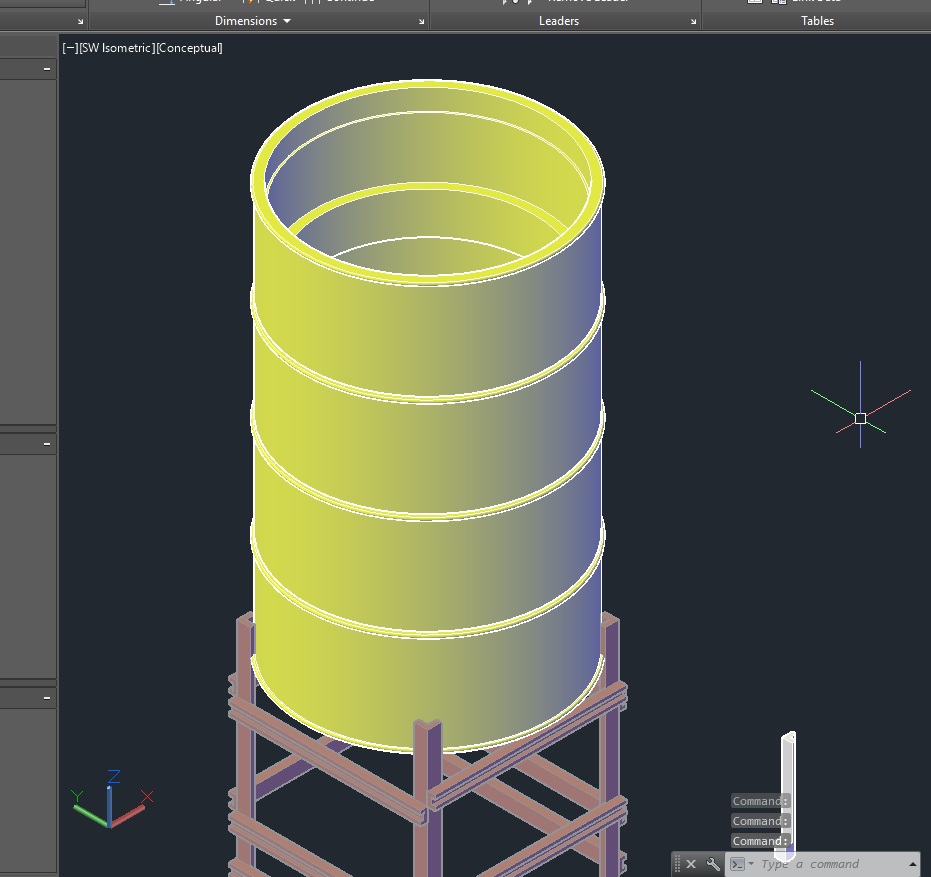
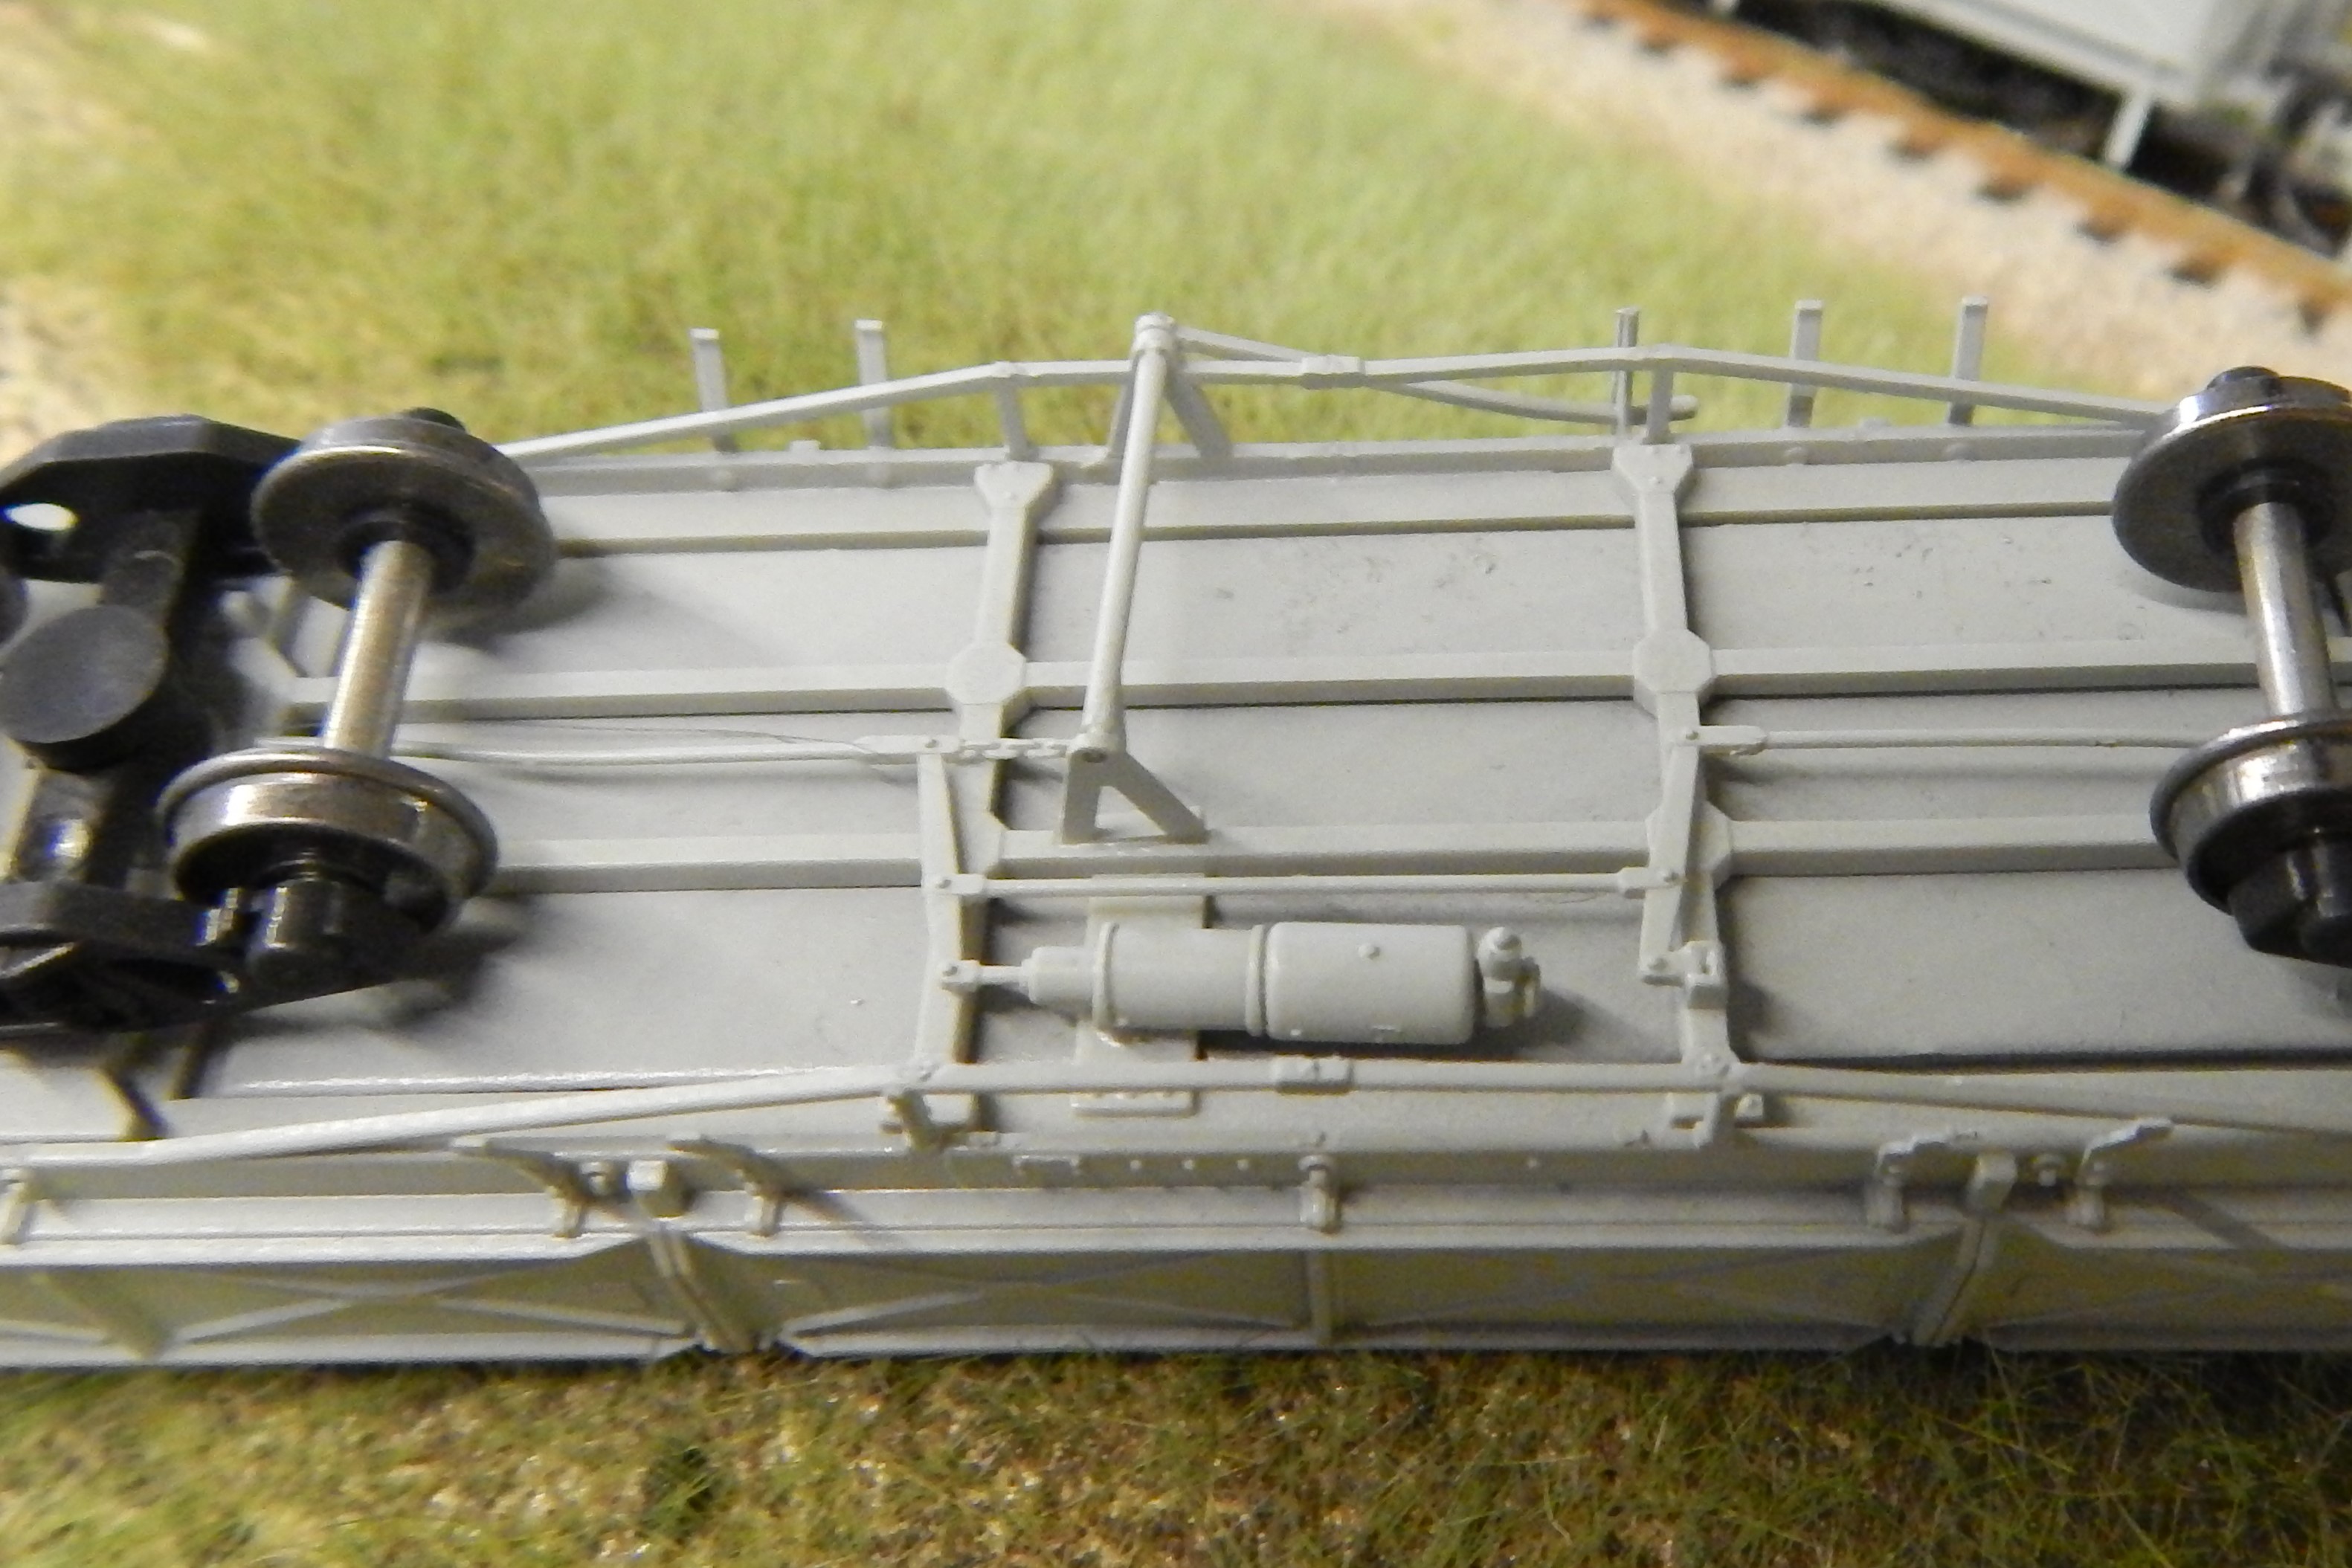
I feel I should point out the difference between high and low pressure molds here. Low pressure molds are a cheaper alternative (about 1/10th the price) and will give you a mold life of around 1,000 products (this can vary wildly). Where as a high pressure mold will give you a MINIMUM of 300,000 products as well as a severe injury if your foot goes underneath it.


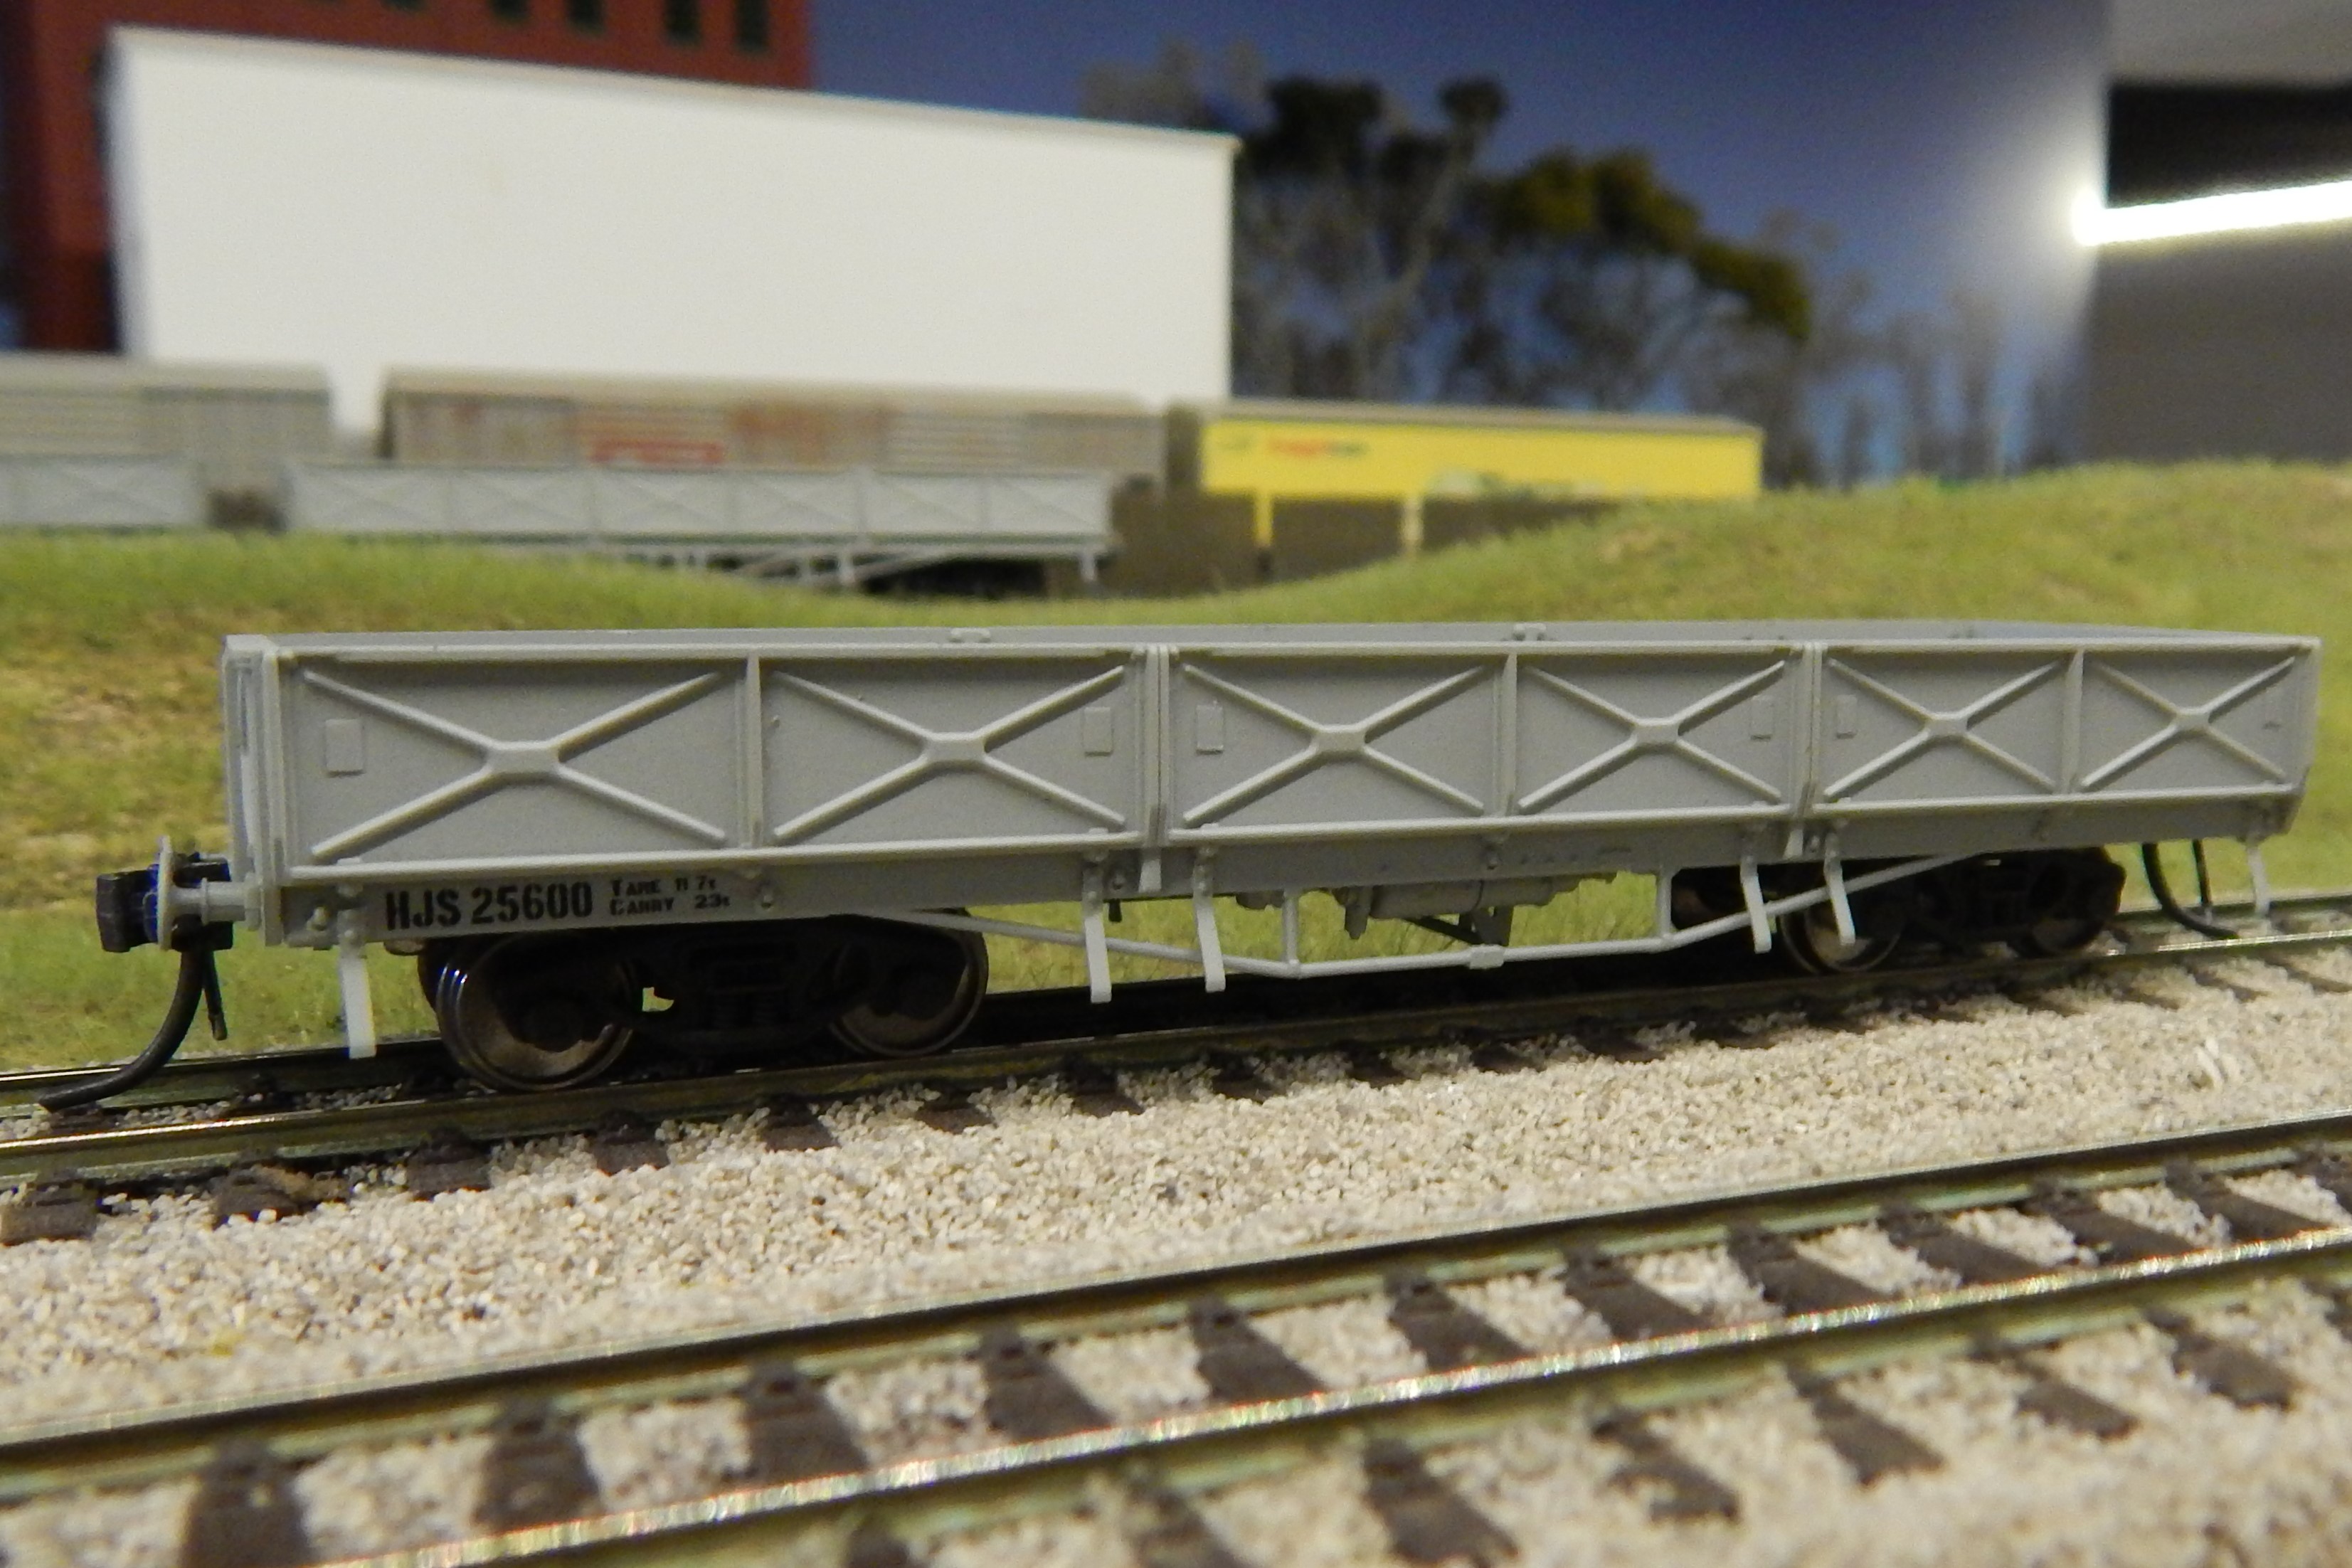
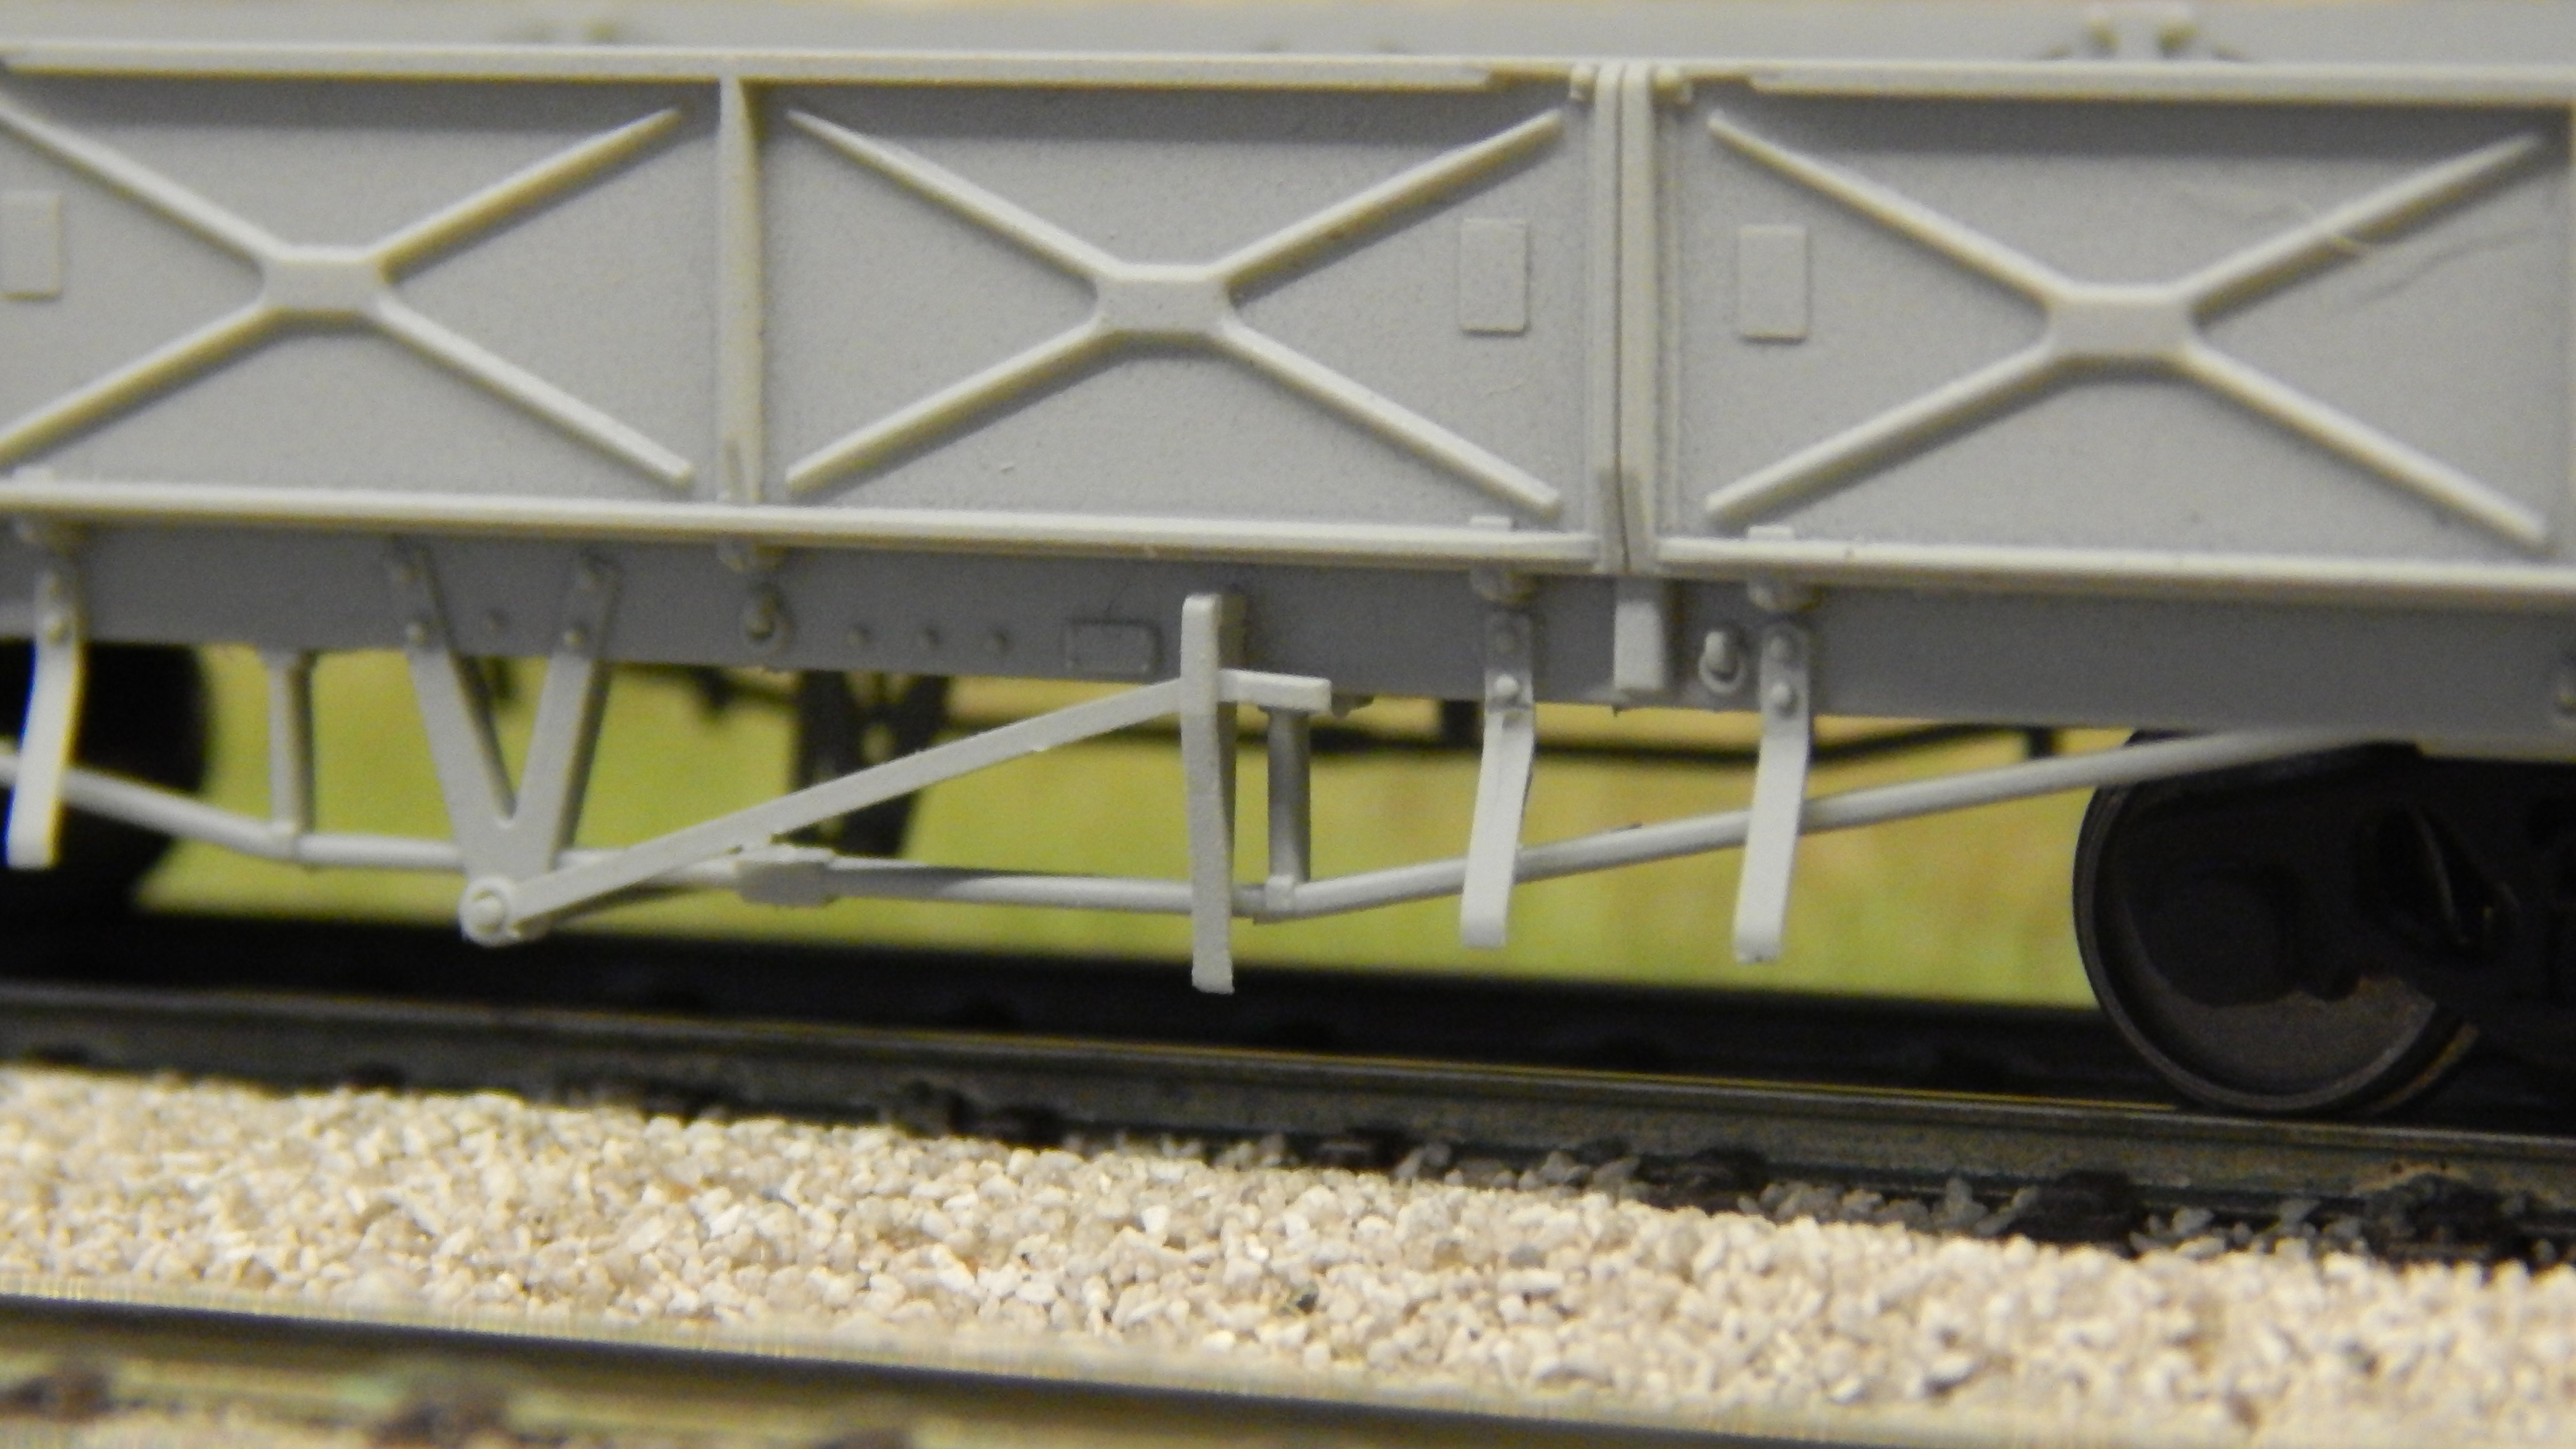
Some examples of low pressure molds are things like the Wuiske Models W irons used on our old four wheel wagon kits as well as the Chivers Fineline model kits produced in the 1990s. The reason for going with higher pressure (aside from the mold life) is that you can make MUCH finer and more detailed items when they are injected at 250 tonne of pressure than 2-8 tonne.


Once we have our molds, the next job is to prepare our artwork designs. This is where the painting and printing is arranged. This means the factory can be one step ahead with all processes.


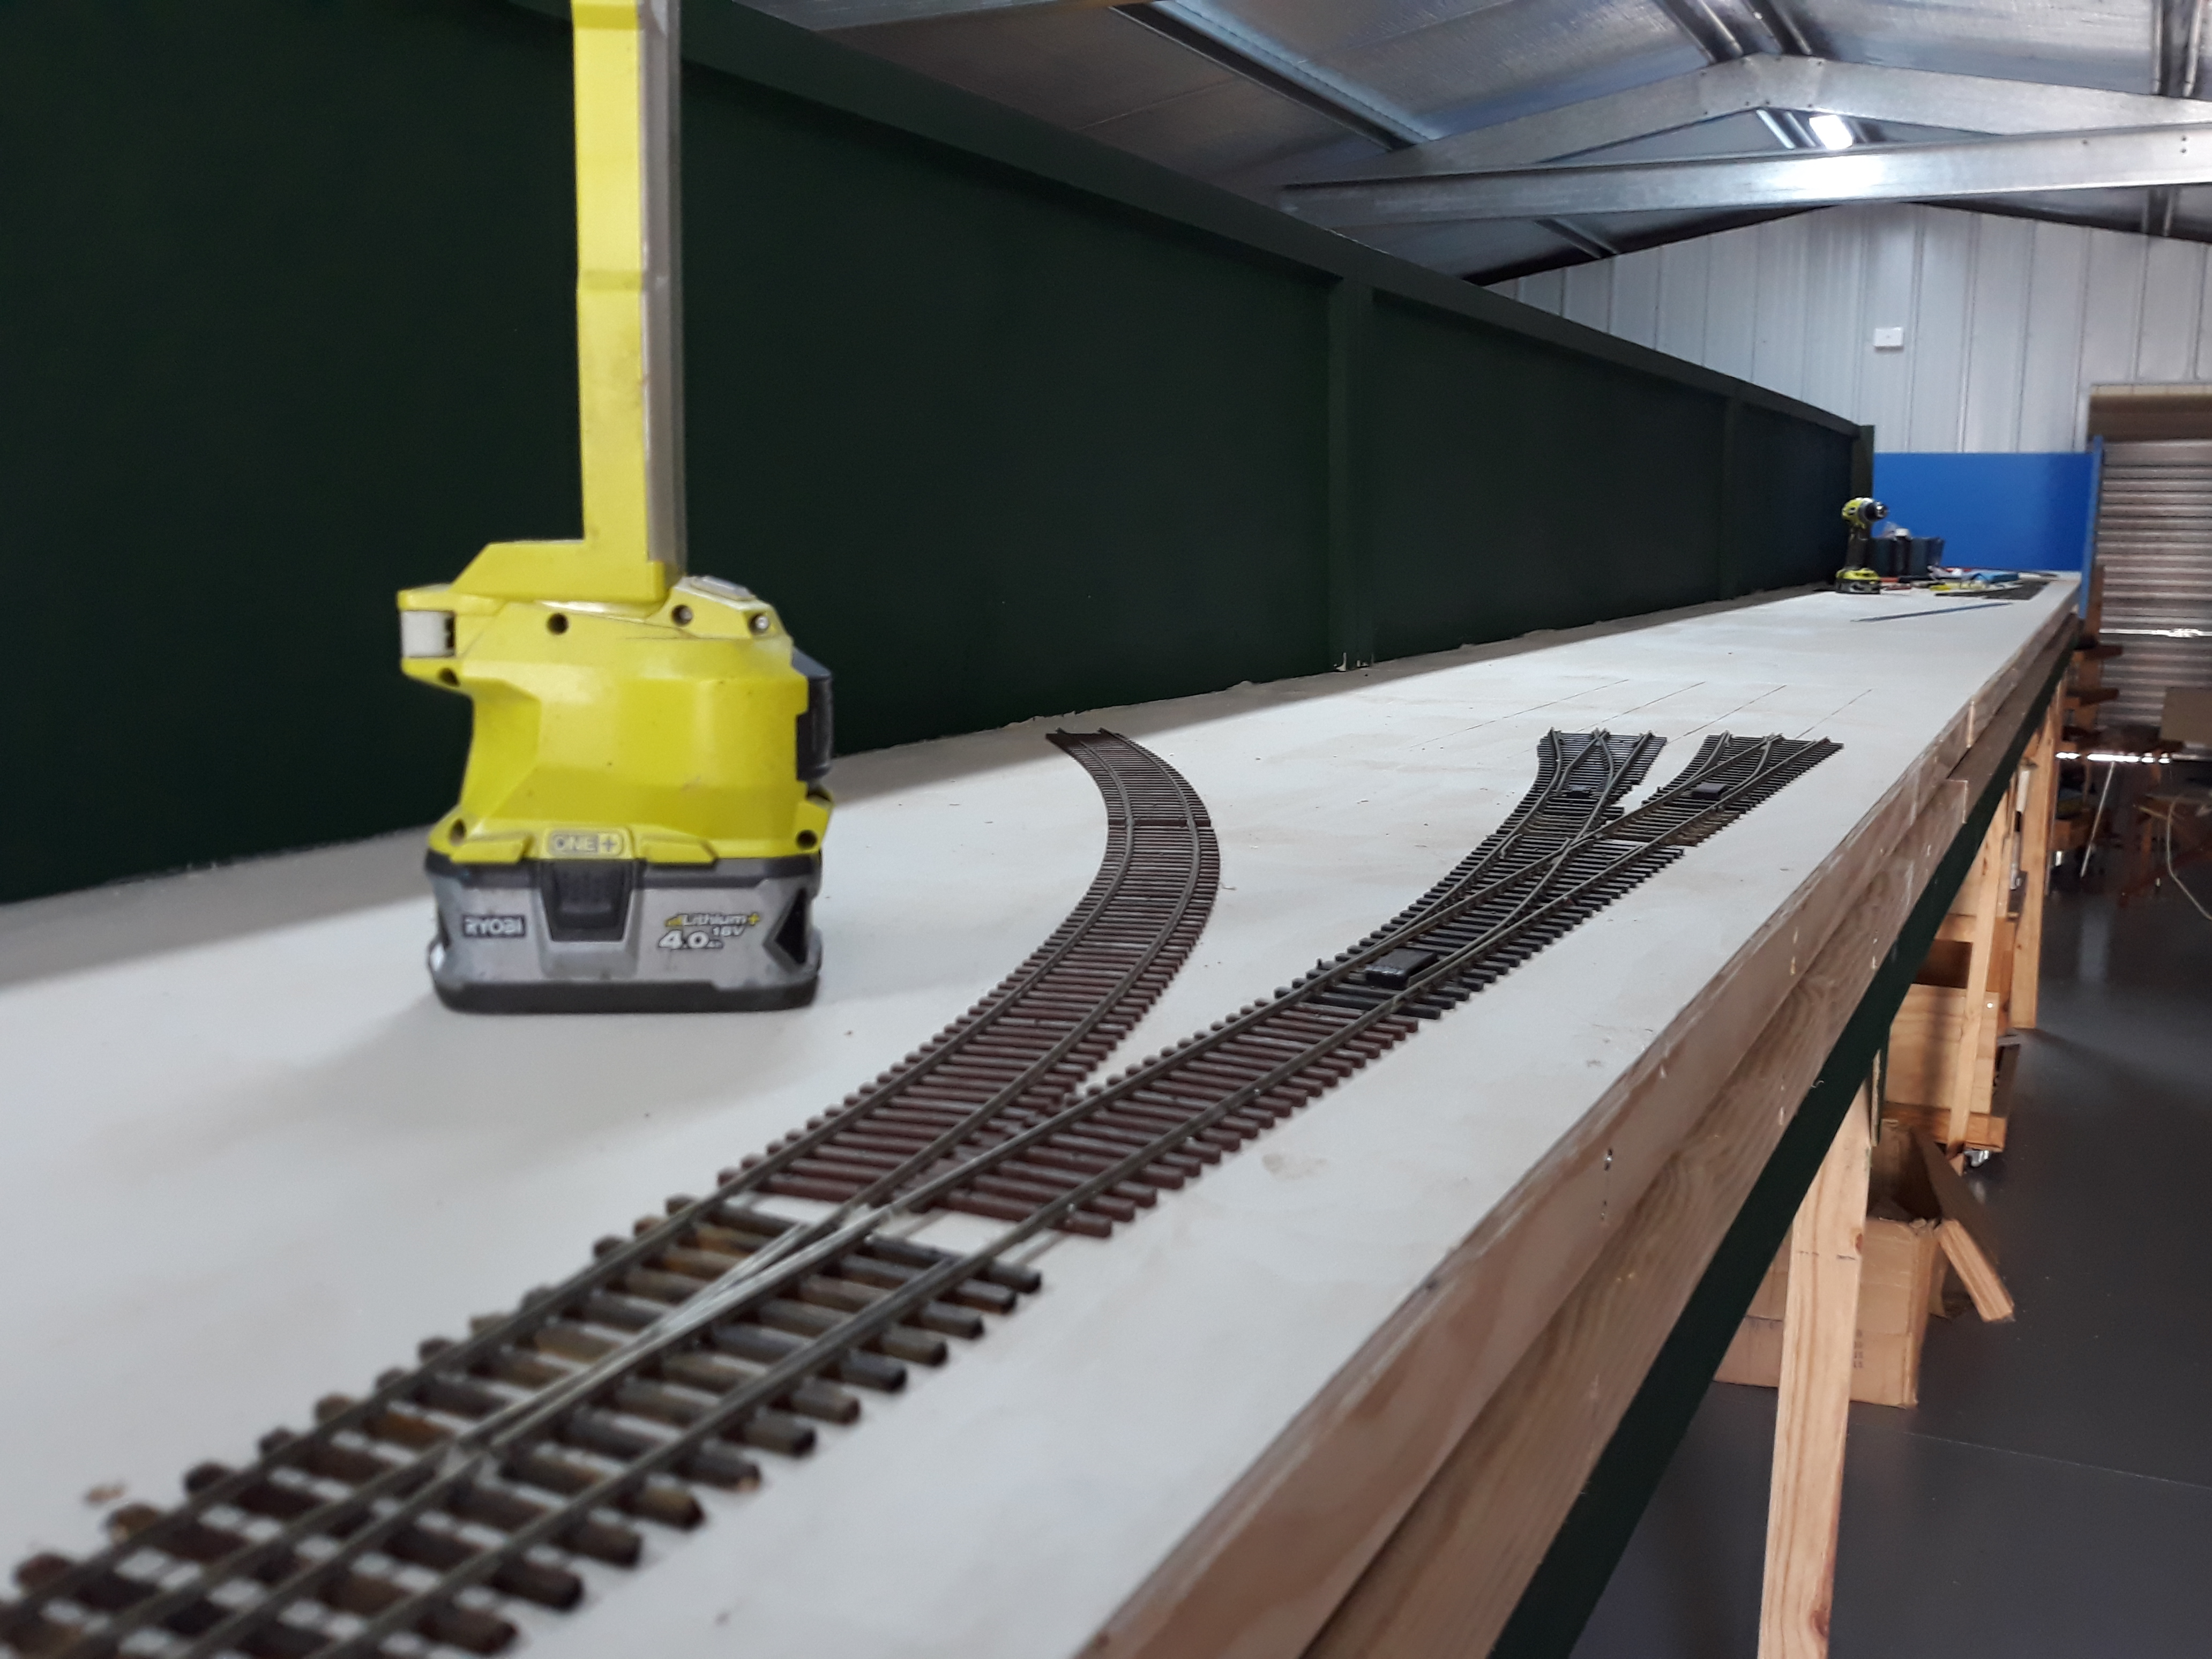
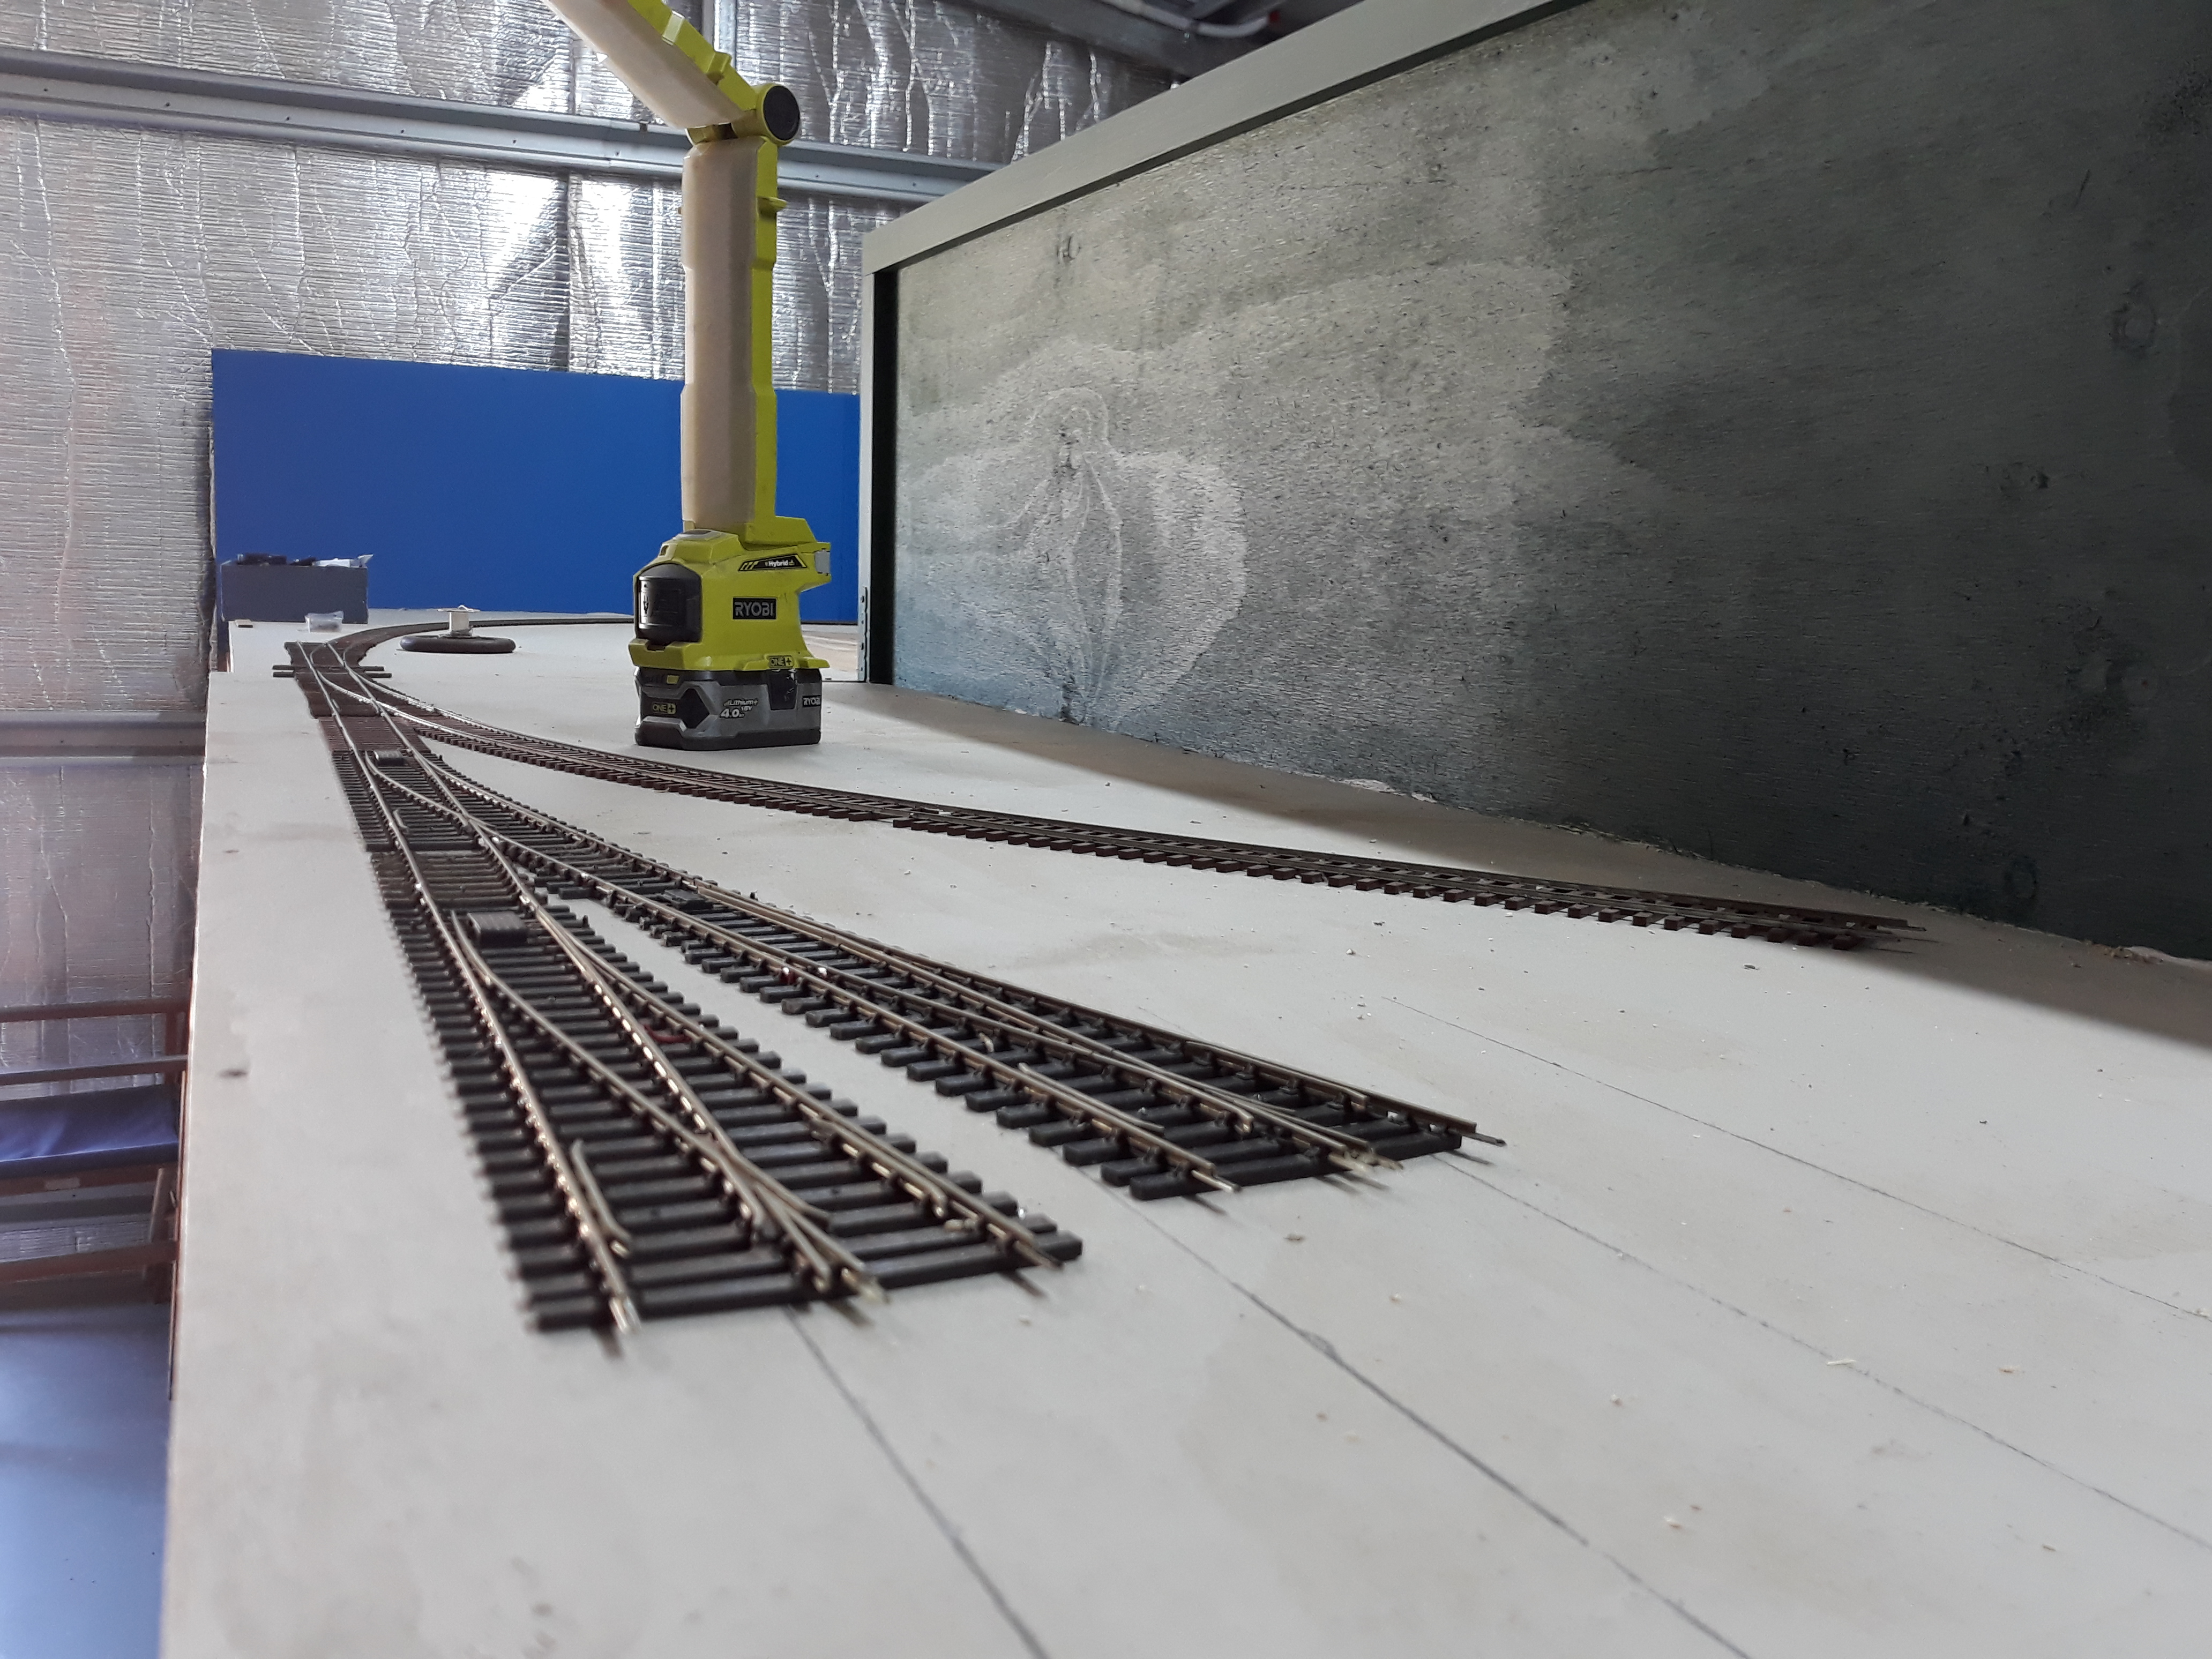
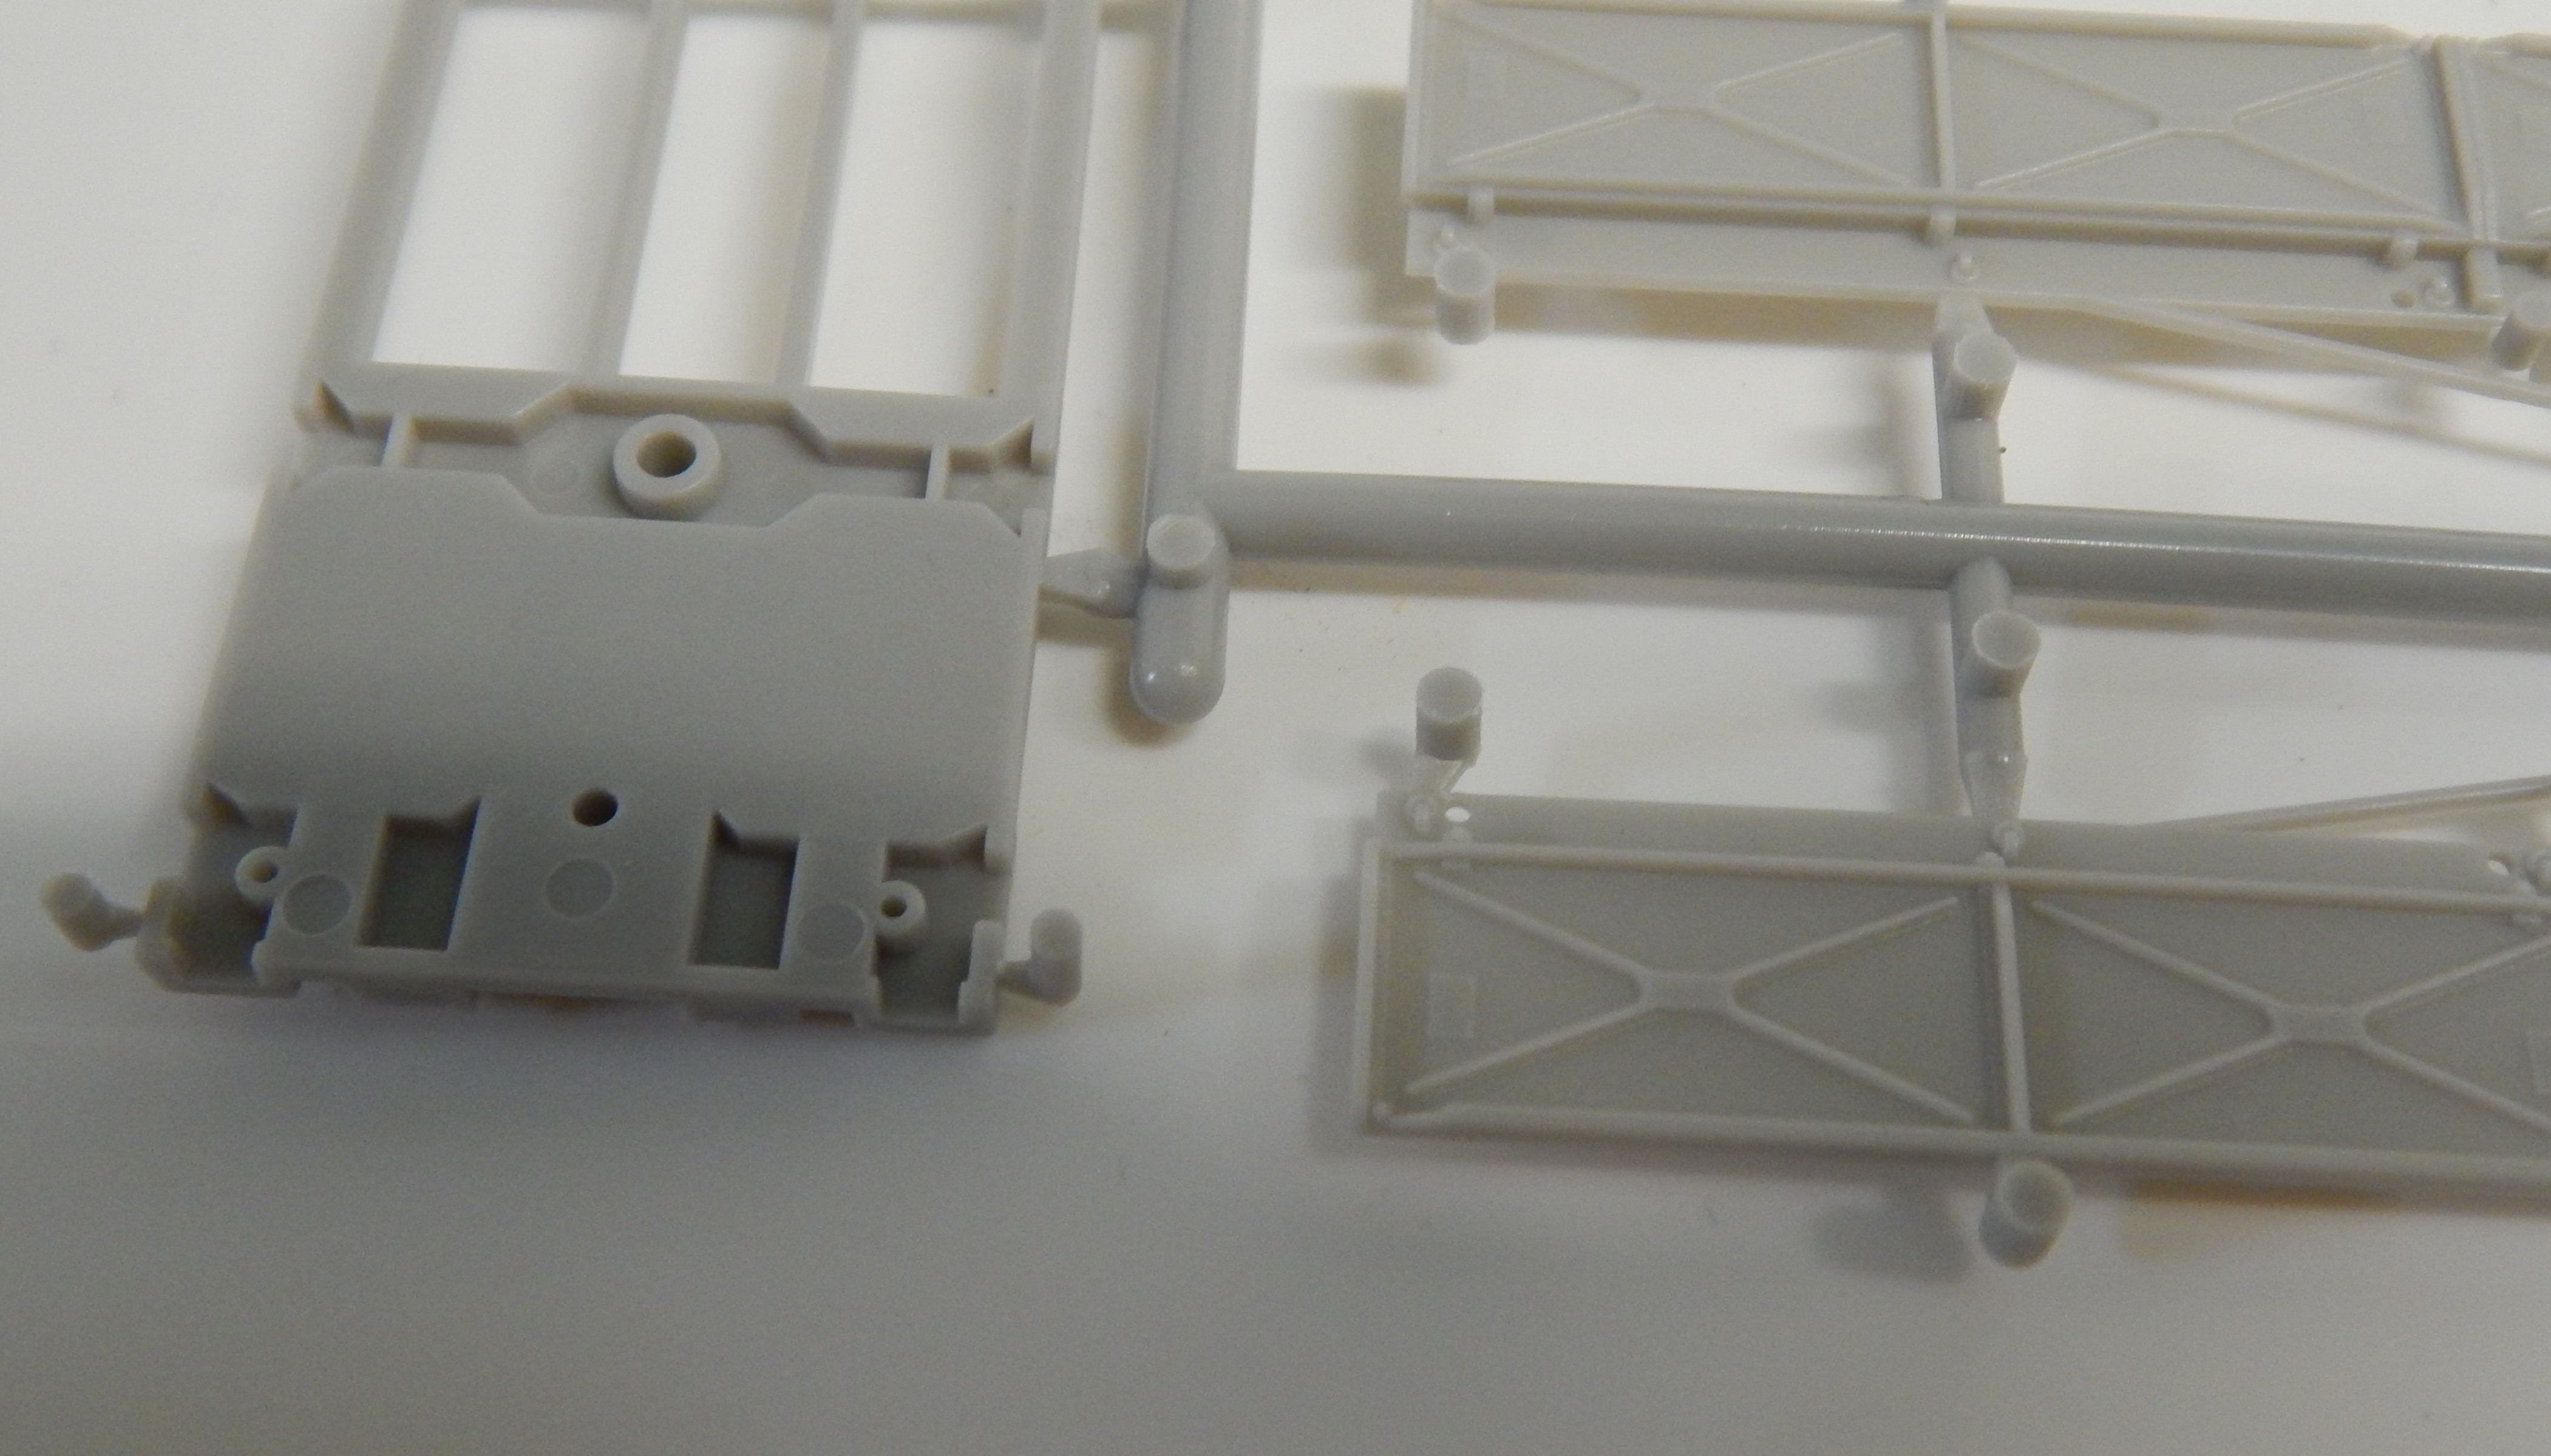
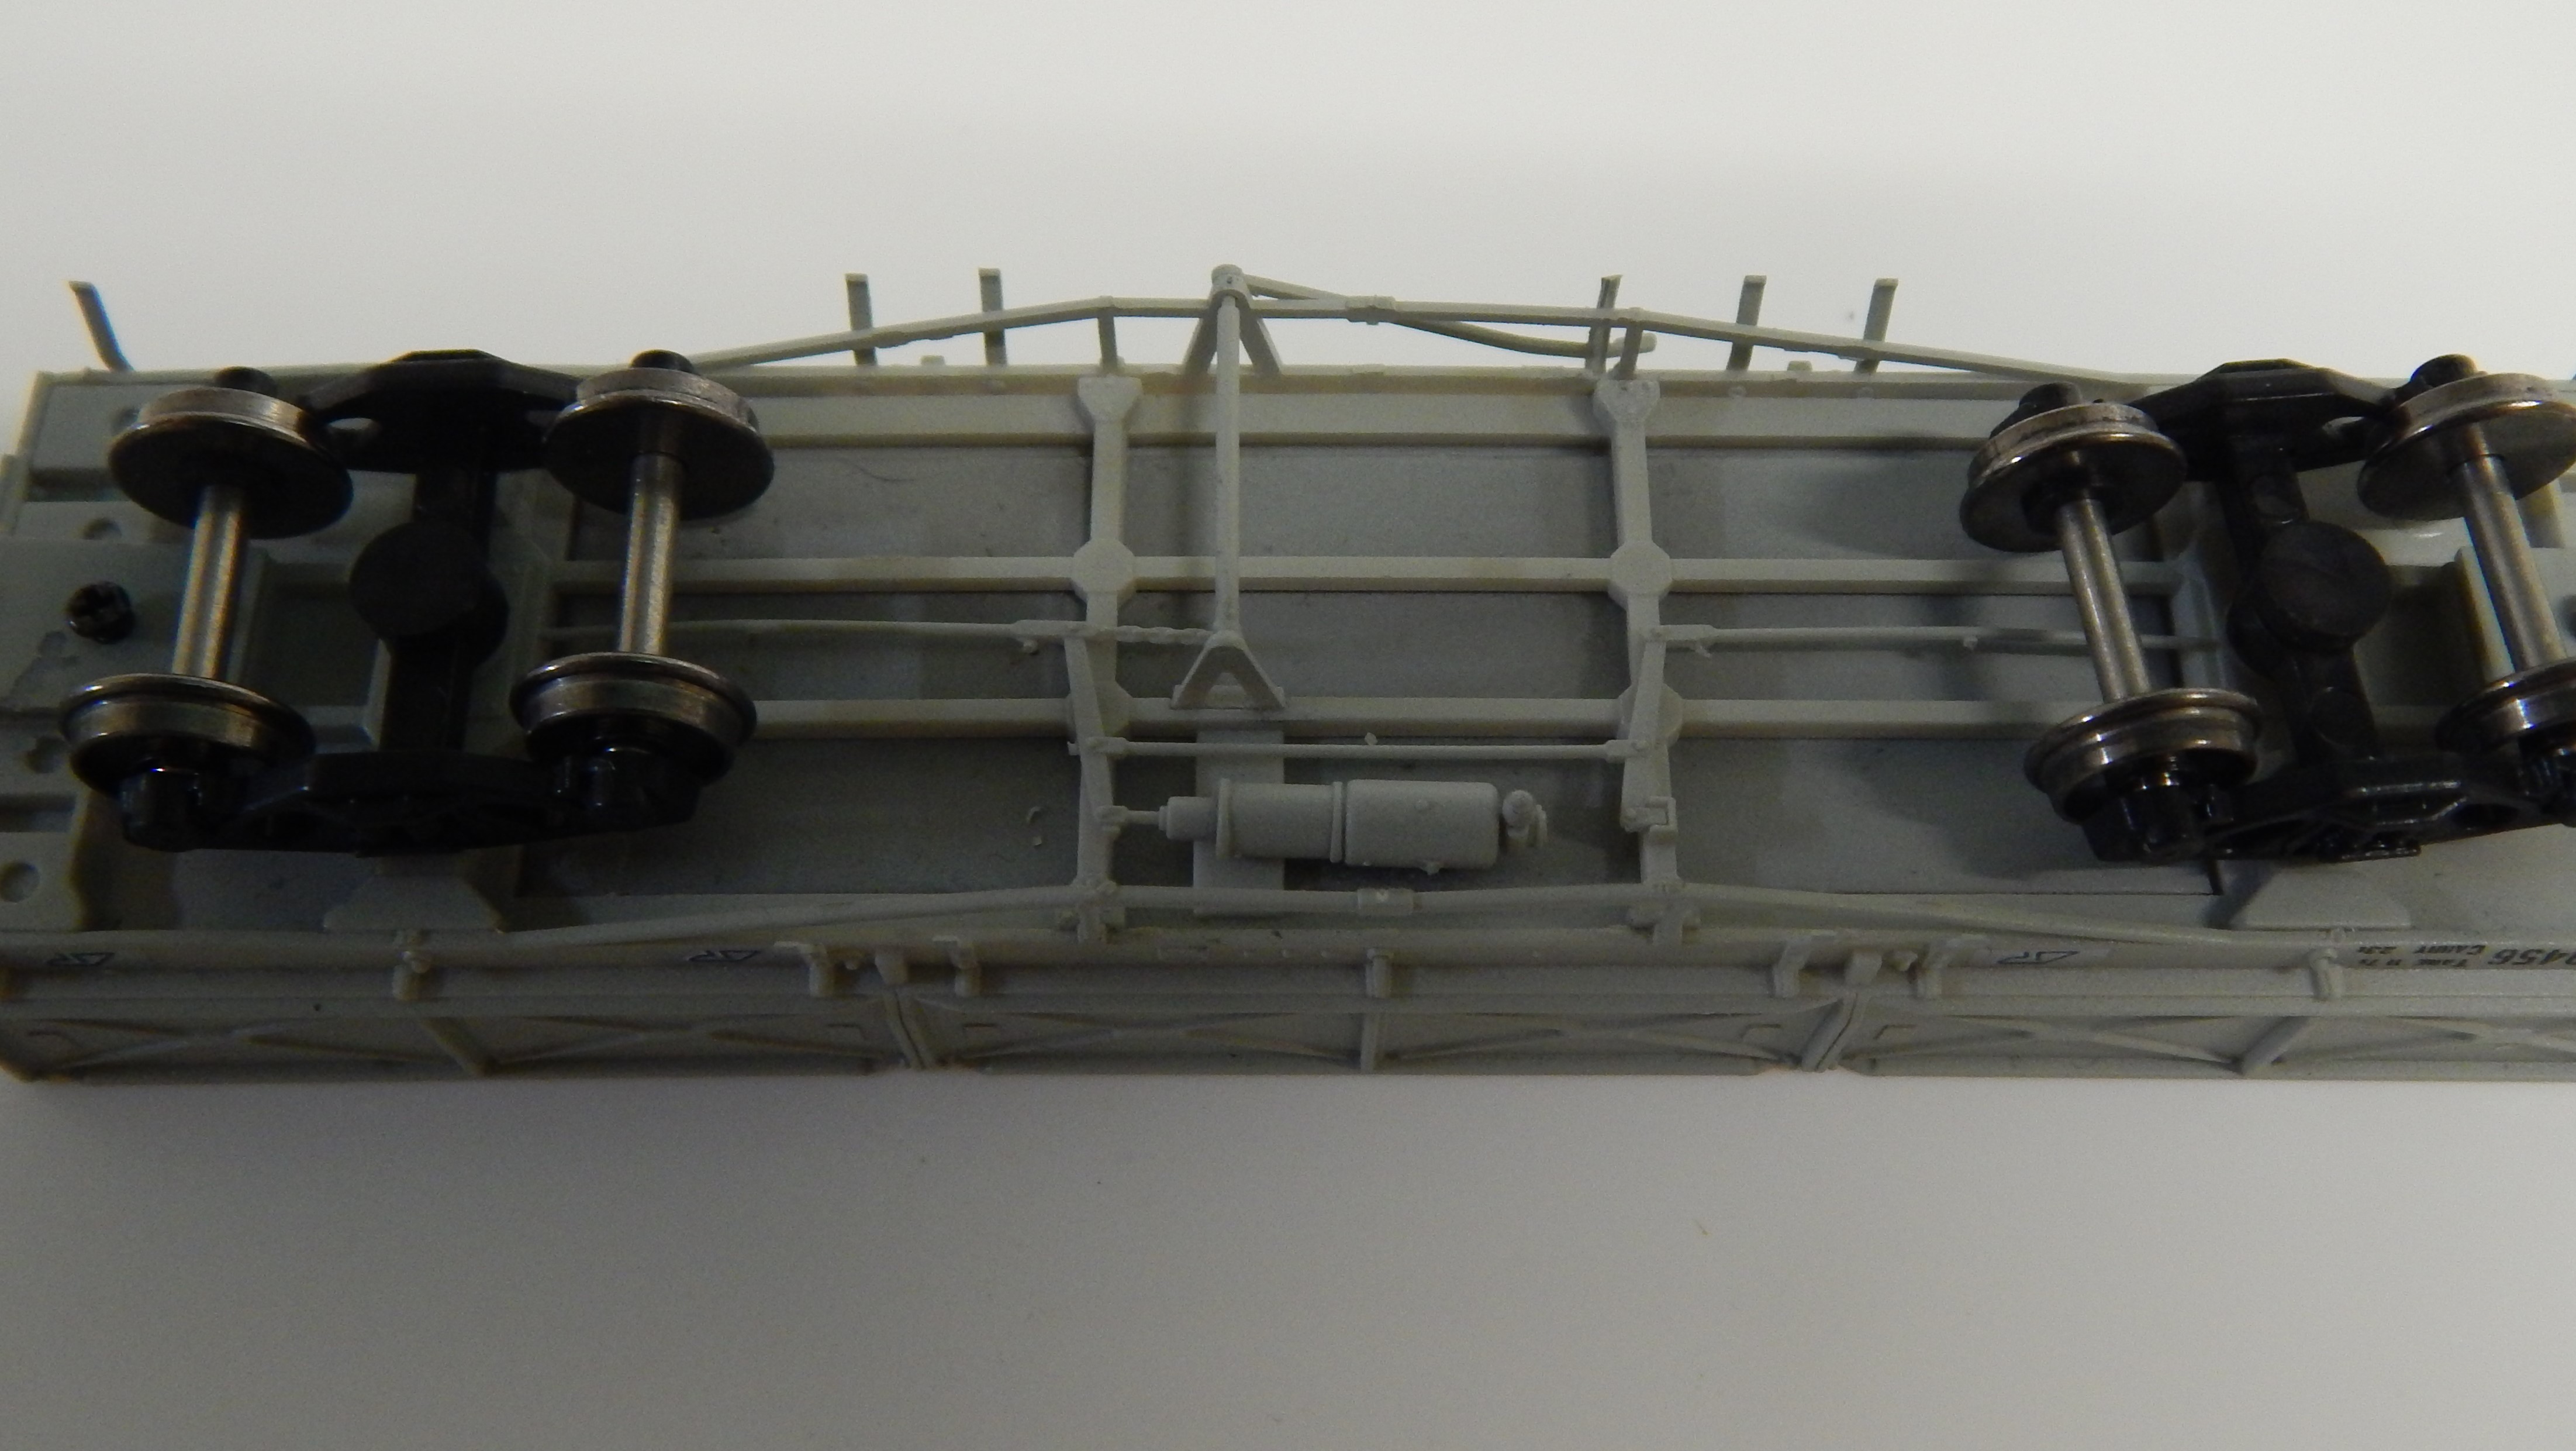
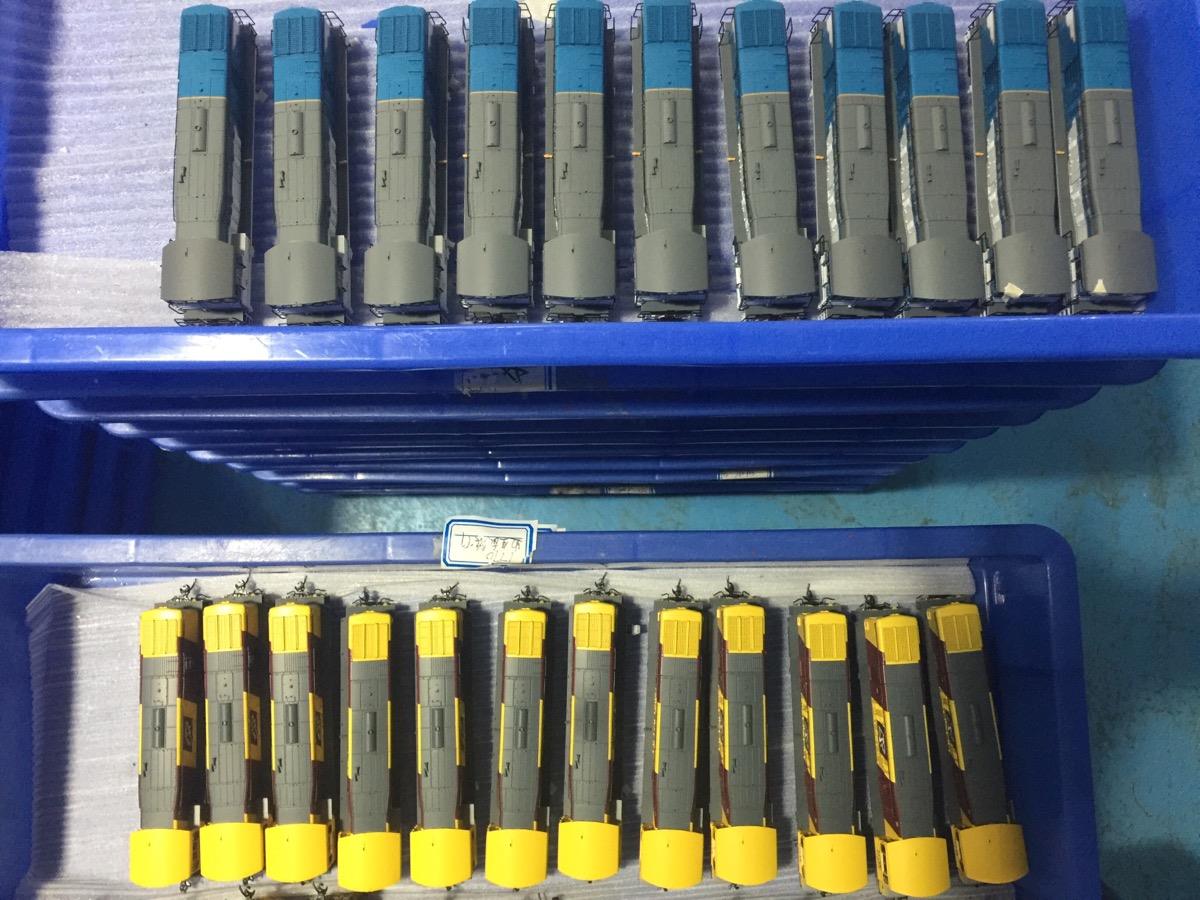
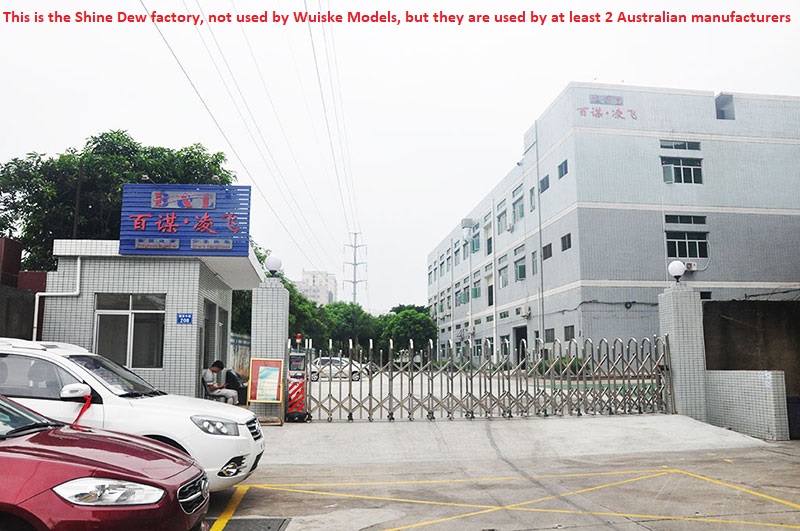
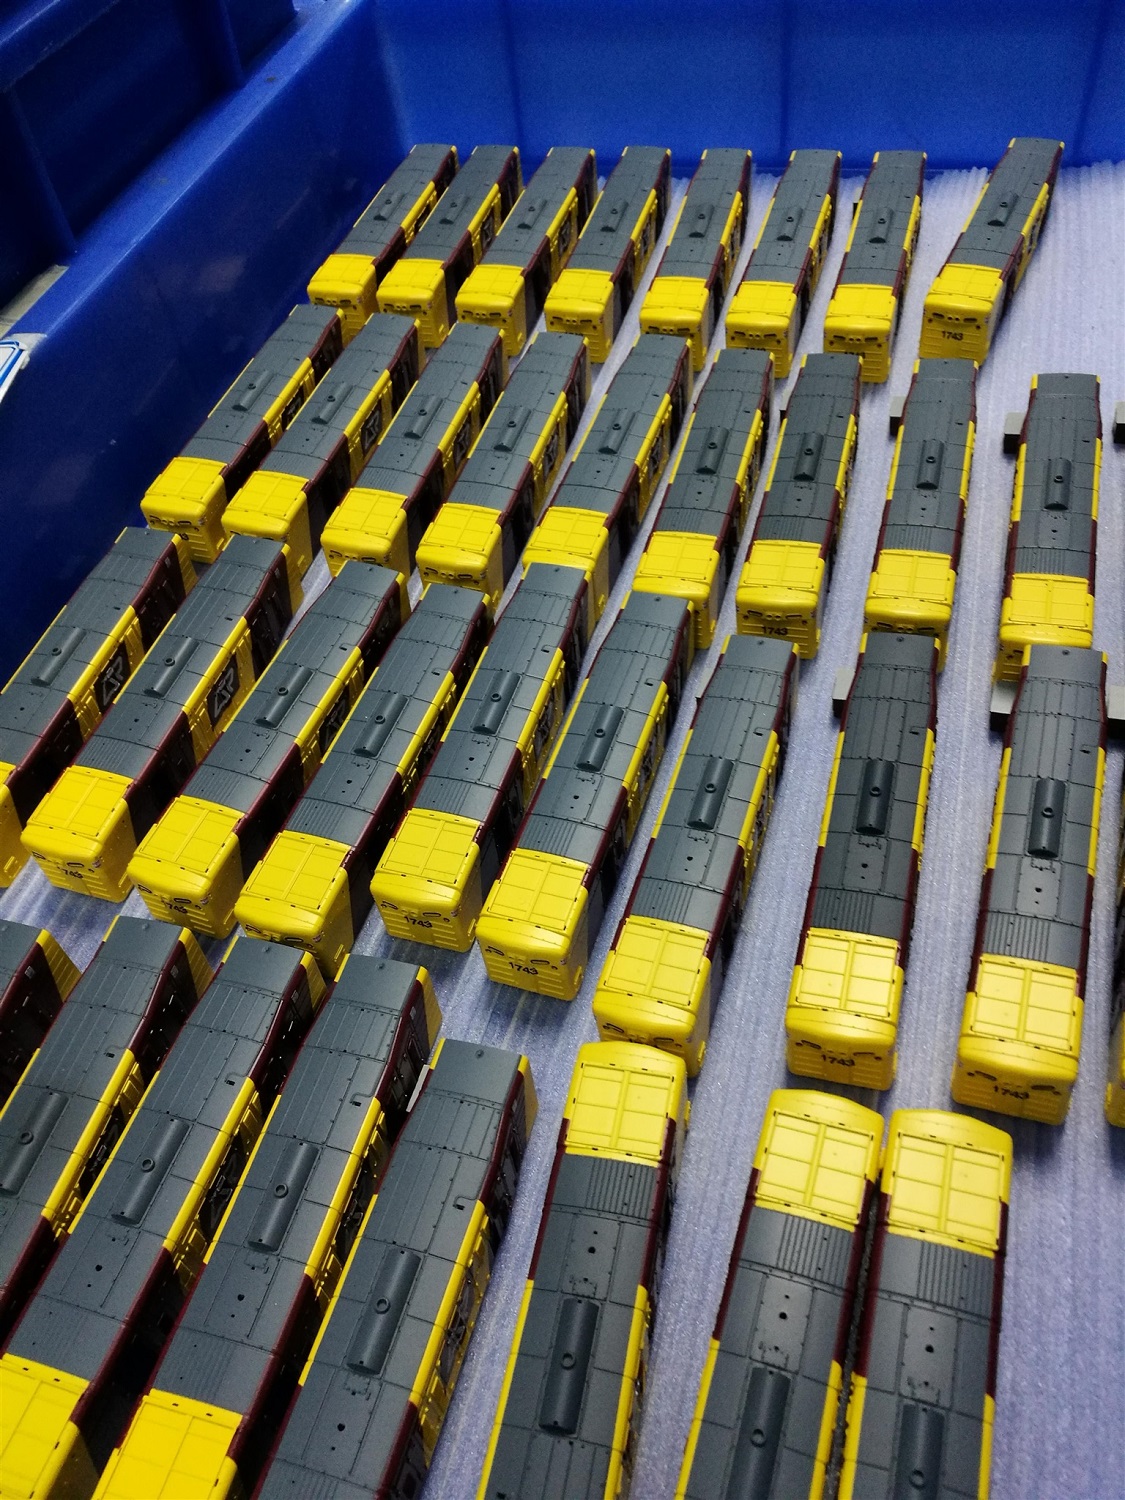
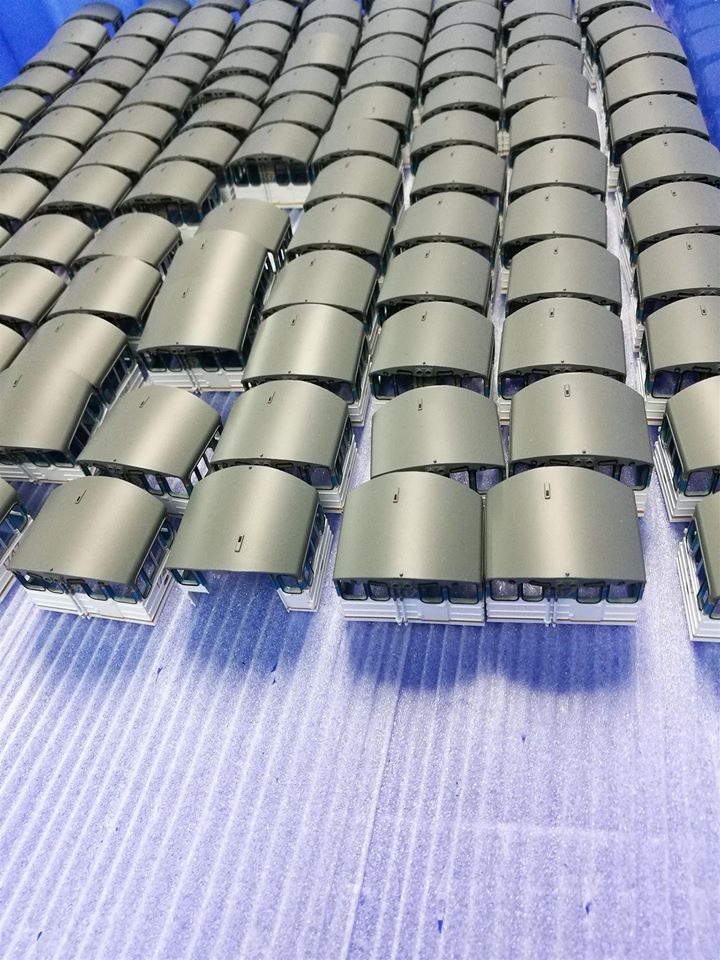
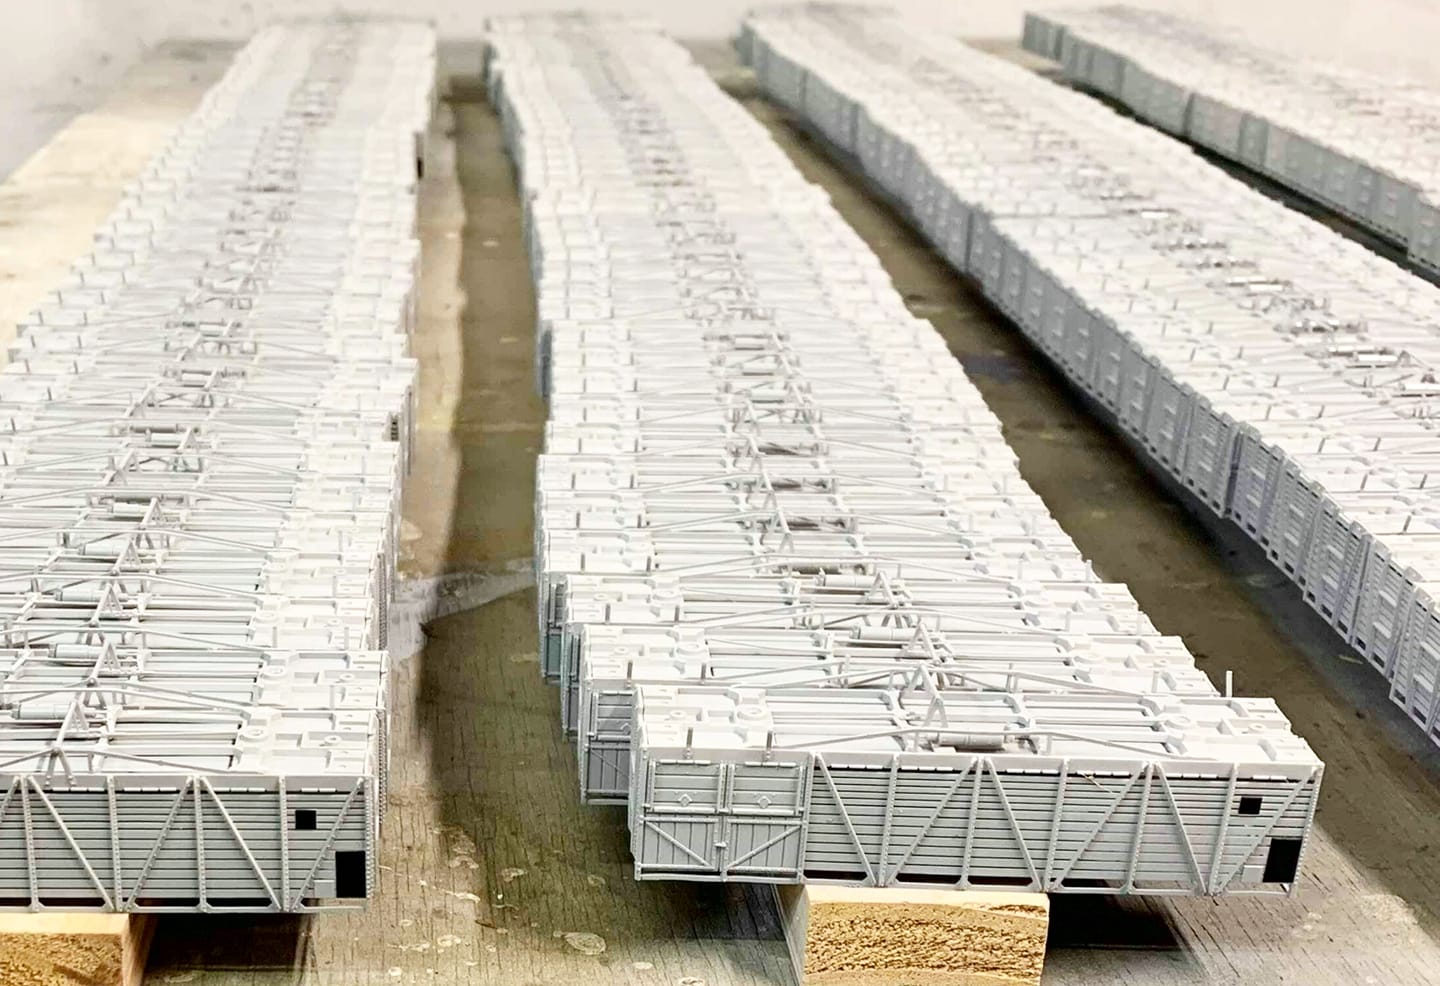
Next, we go into production, this can vary wildly in the time it takes for a run. If the model is being made in China, the production team is usually around 30 woman (they’re far more dexterous than us blokes, deal with it). whilst if we’re producing here in Queensland, our team is between 2 and 8 people depending on the complexity.


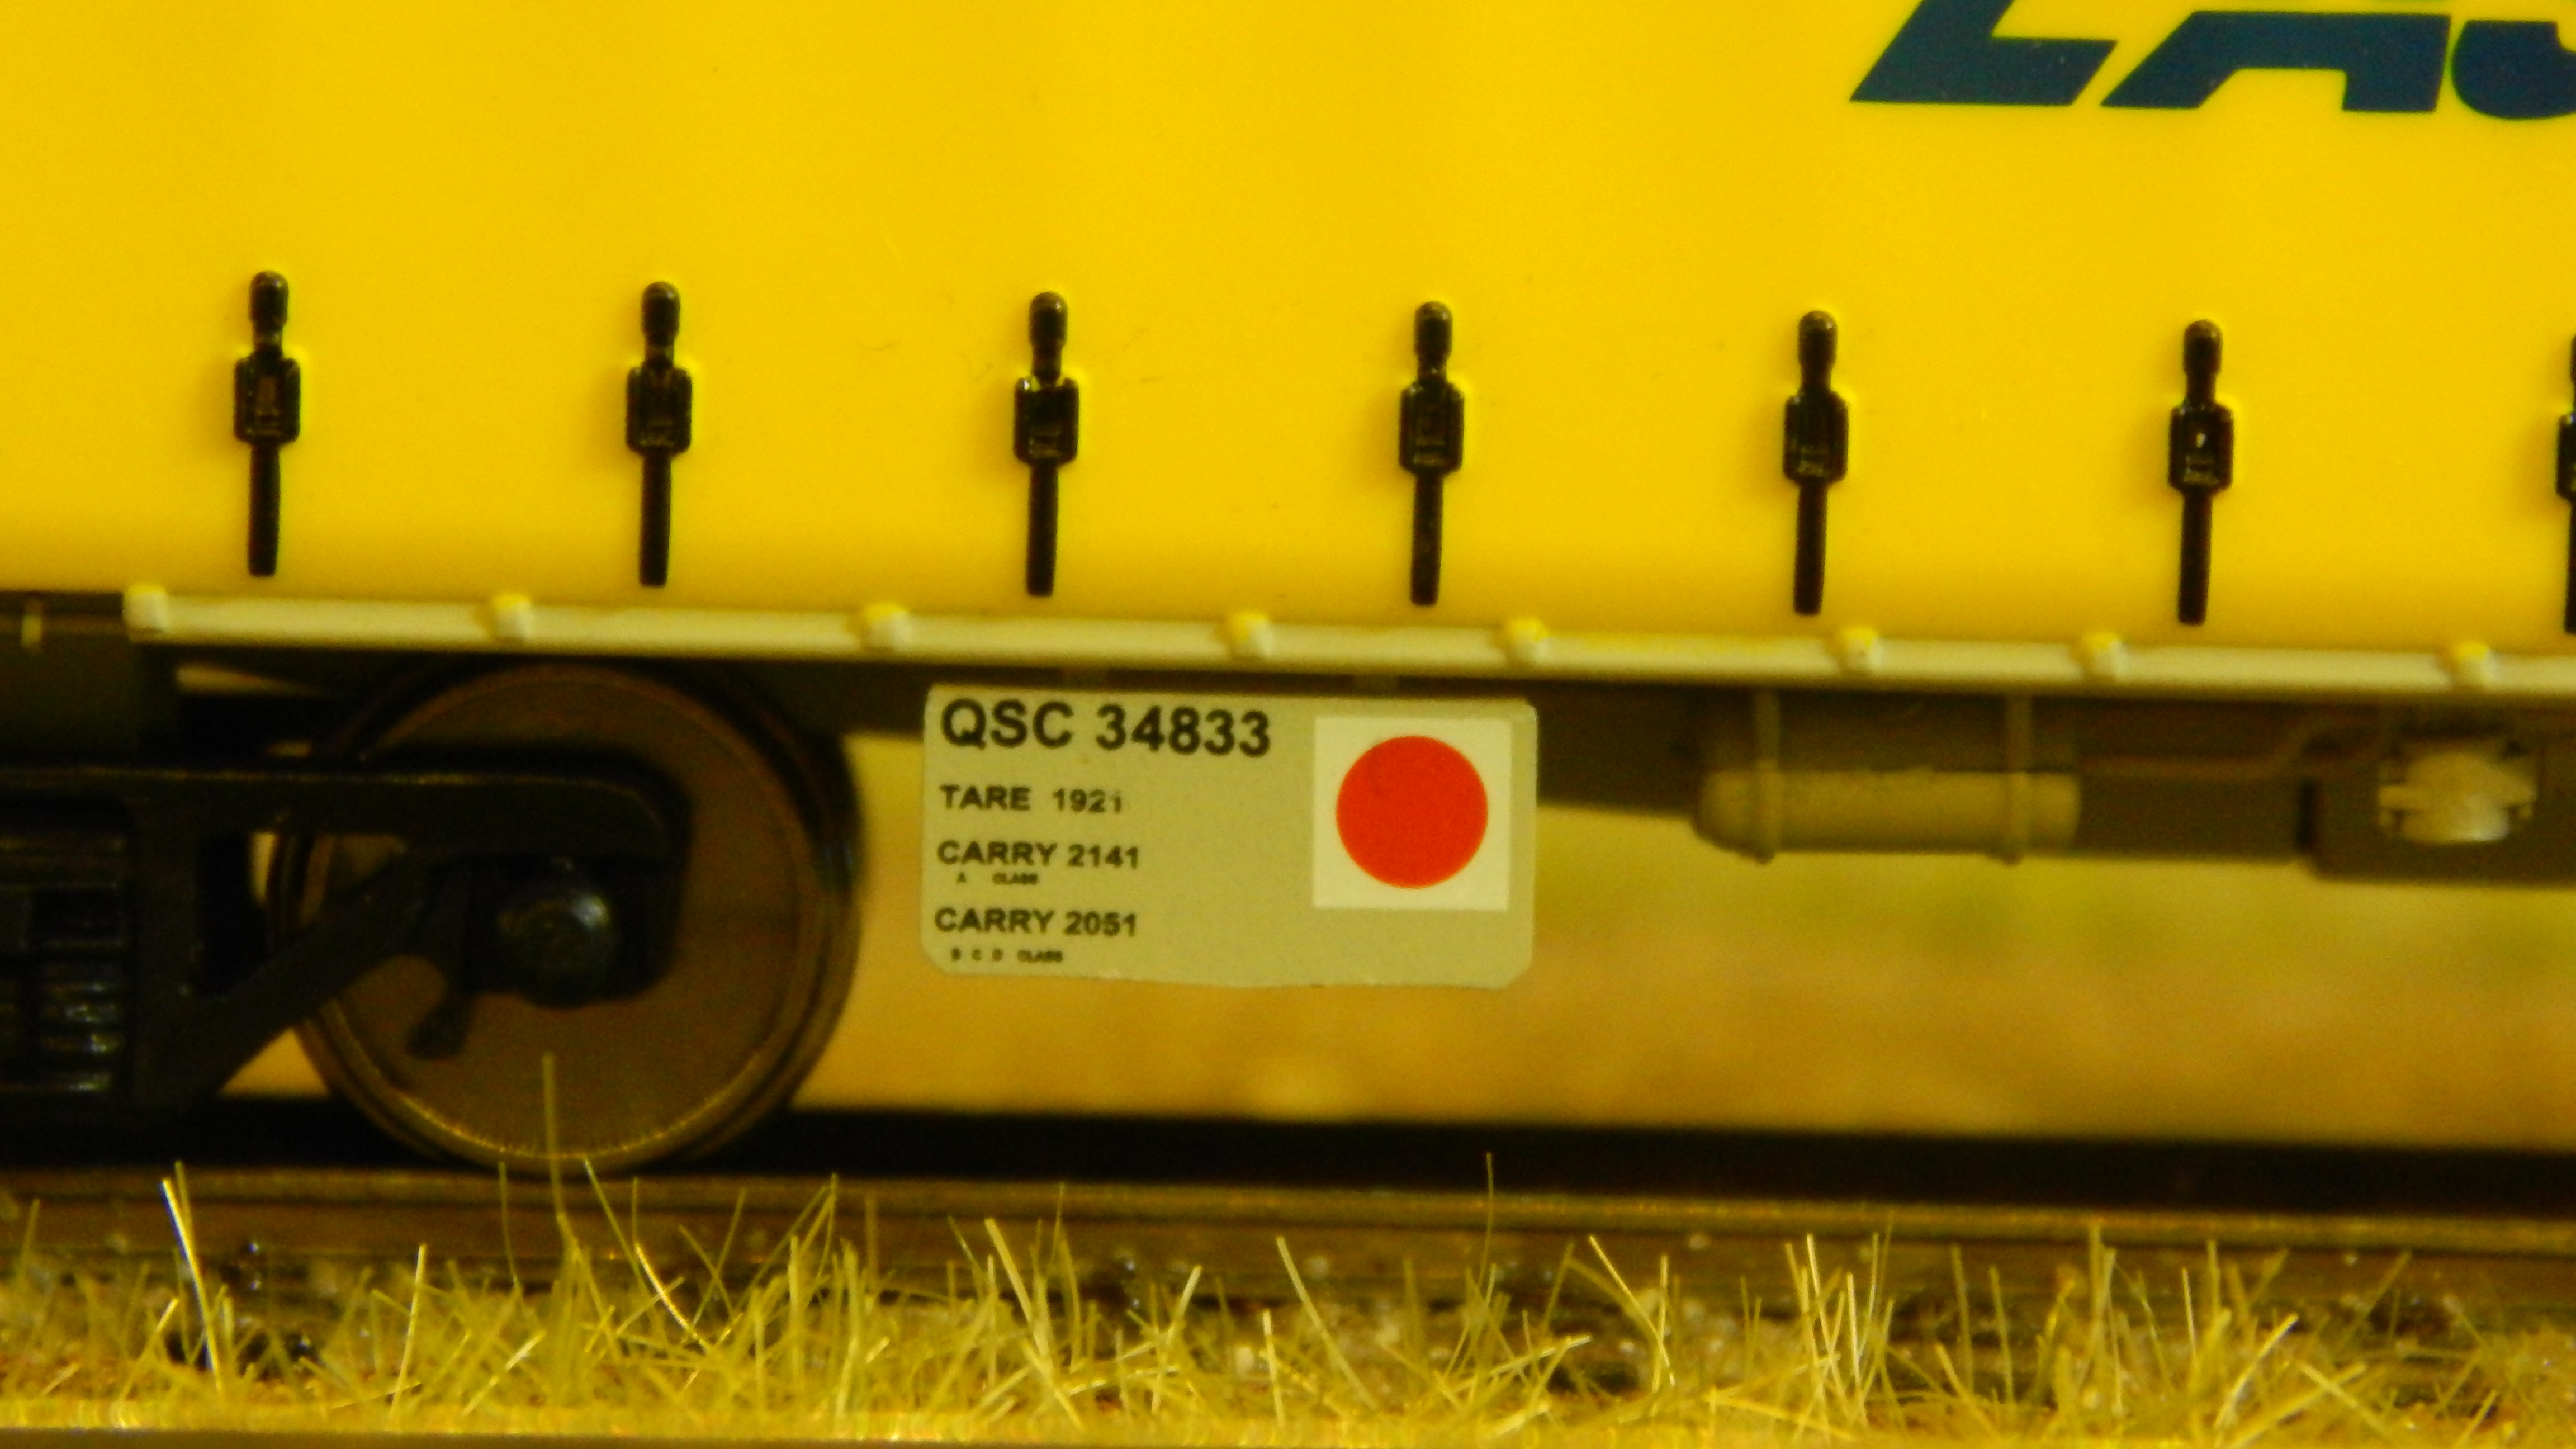
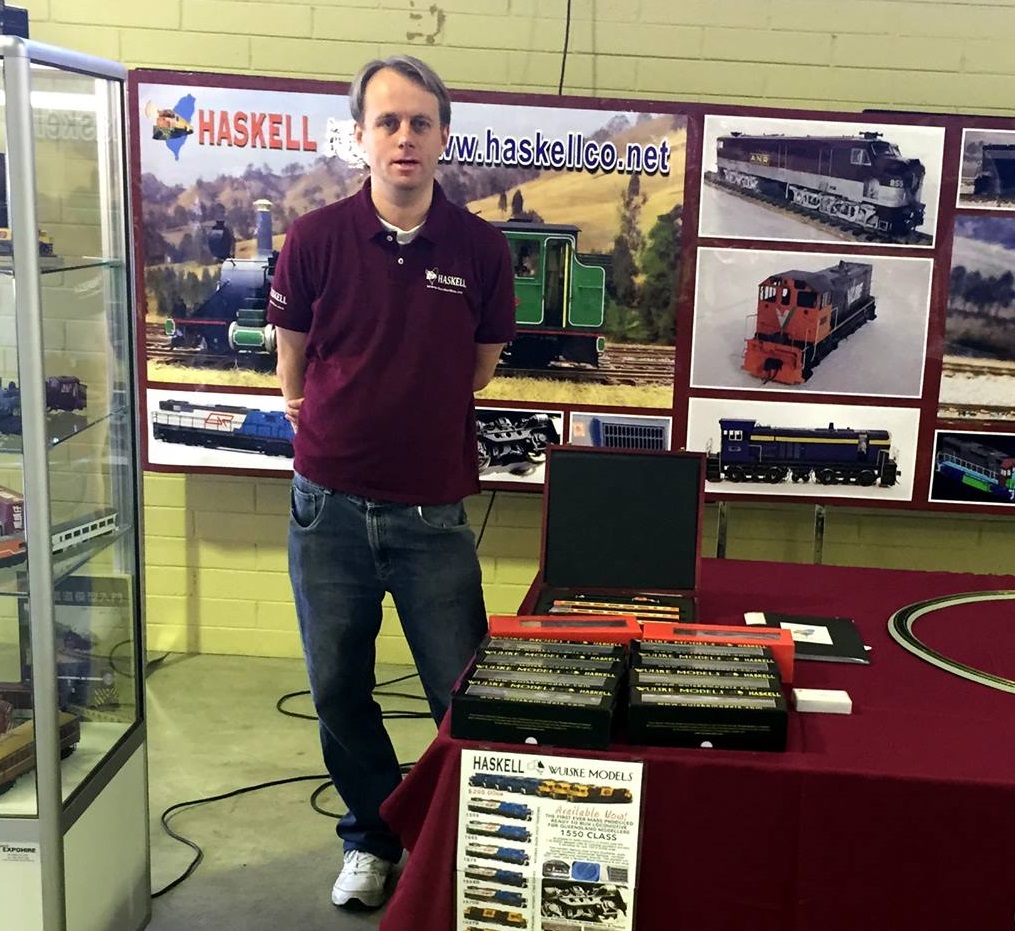
The next step is packaging and Quality control (universally known as QC). This is most likely the biggest part of the production. This is where you find out someone forgot to put the wheels on a model (it happens when there are thousands of them). With our Chinese made products, we can thank (and he will remind us if we forget to do so) Kieren Haskell. That mad half Aussie, half Ferret that we reluctantly call a mate.


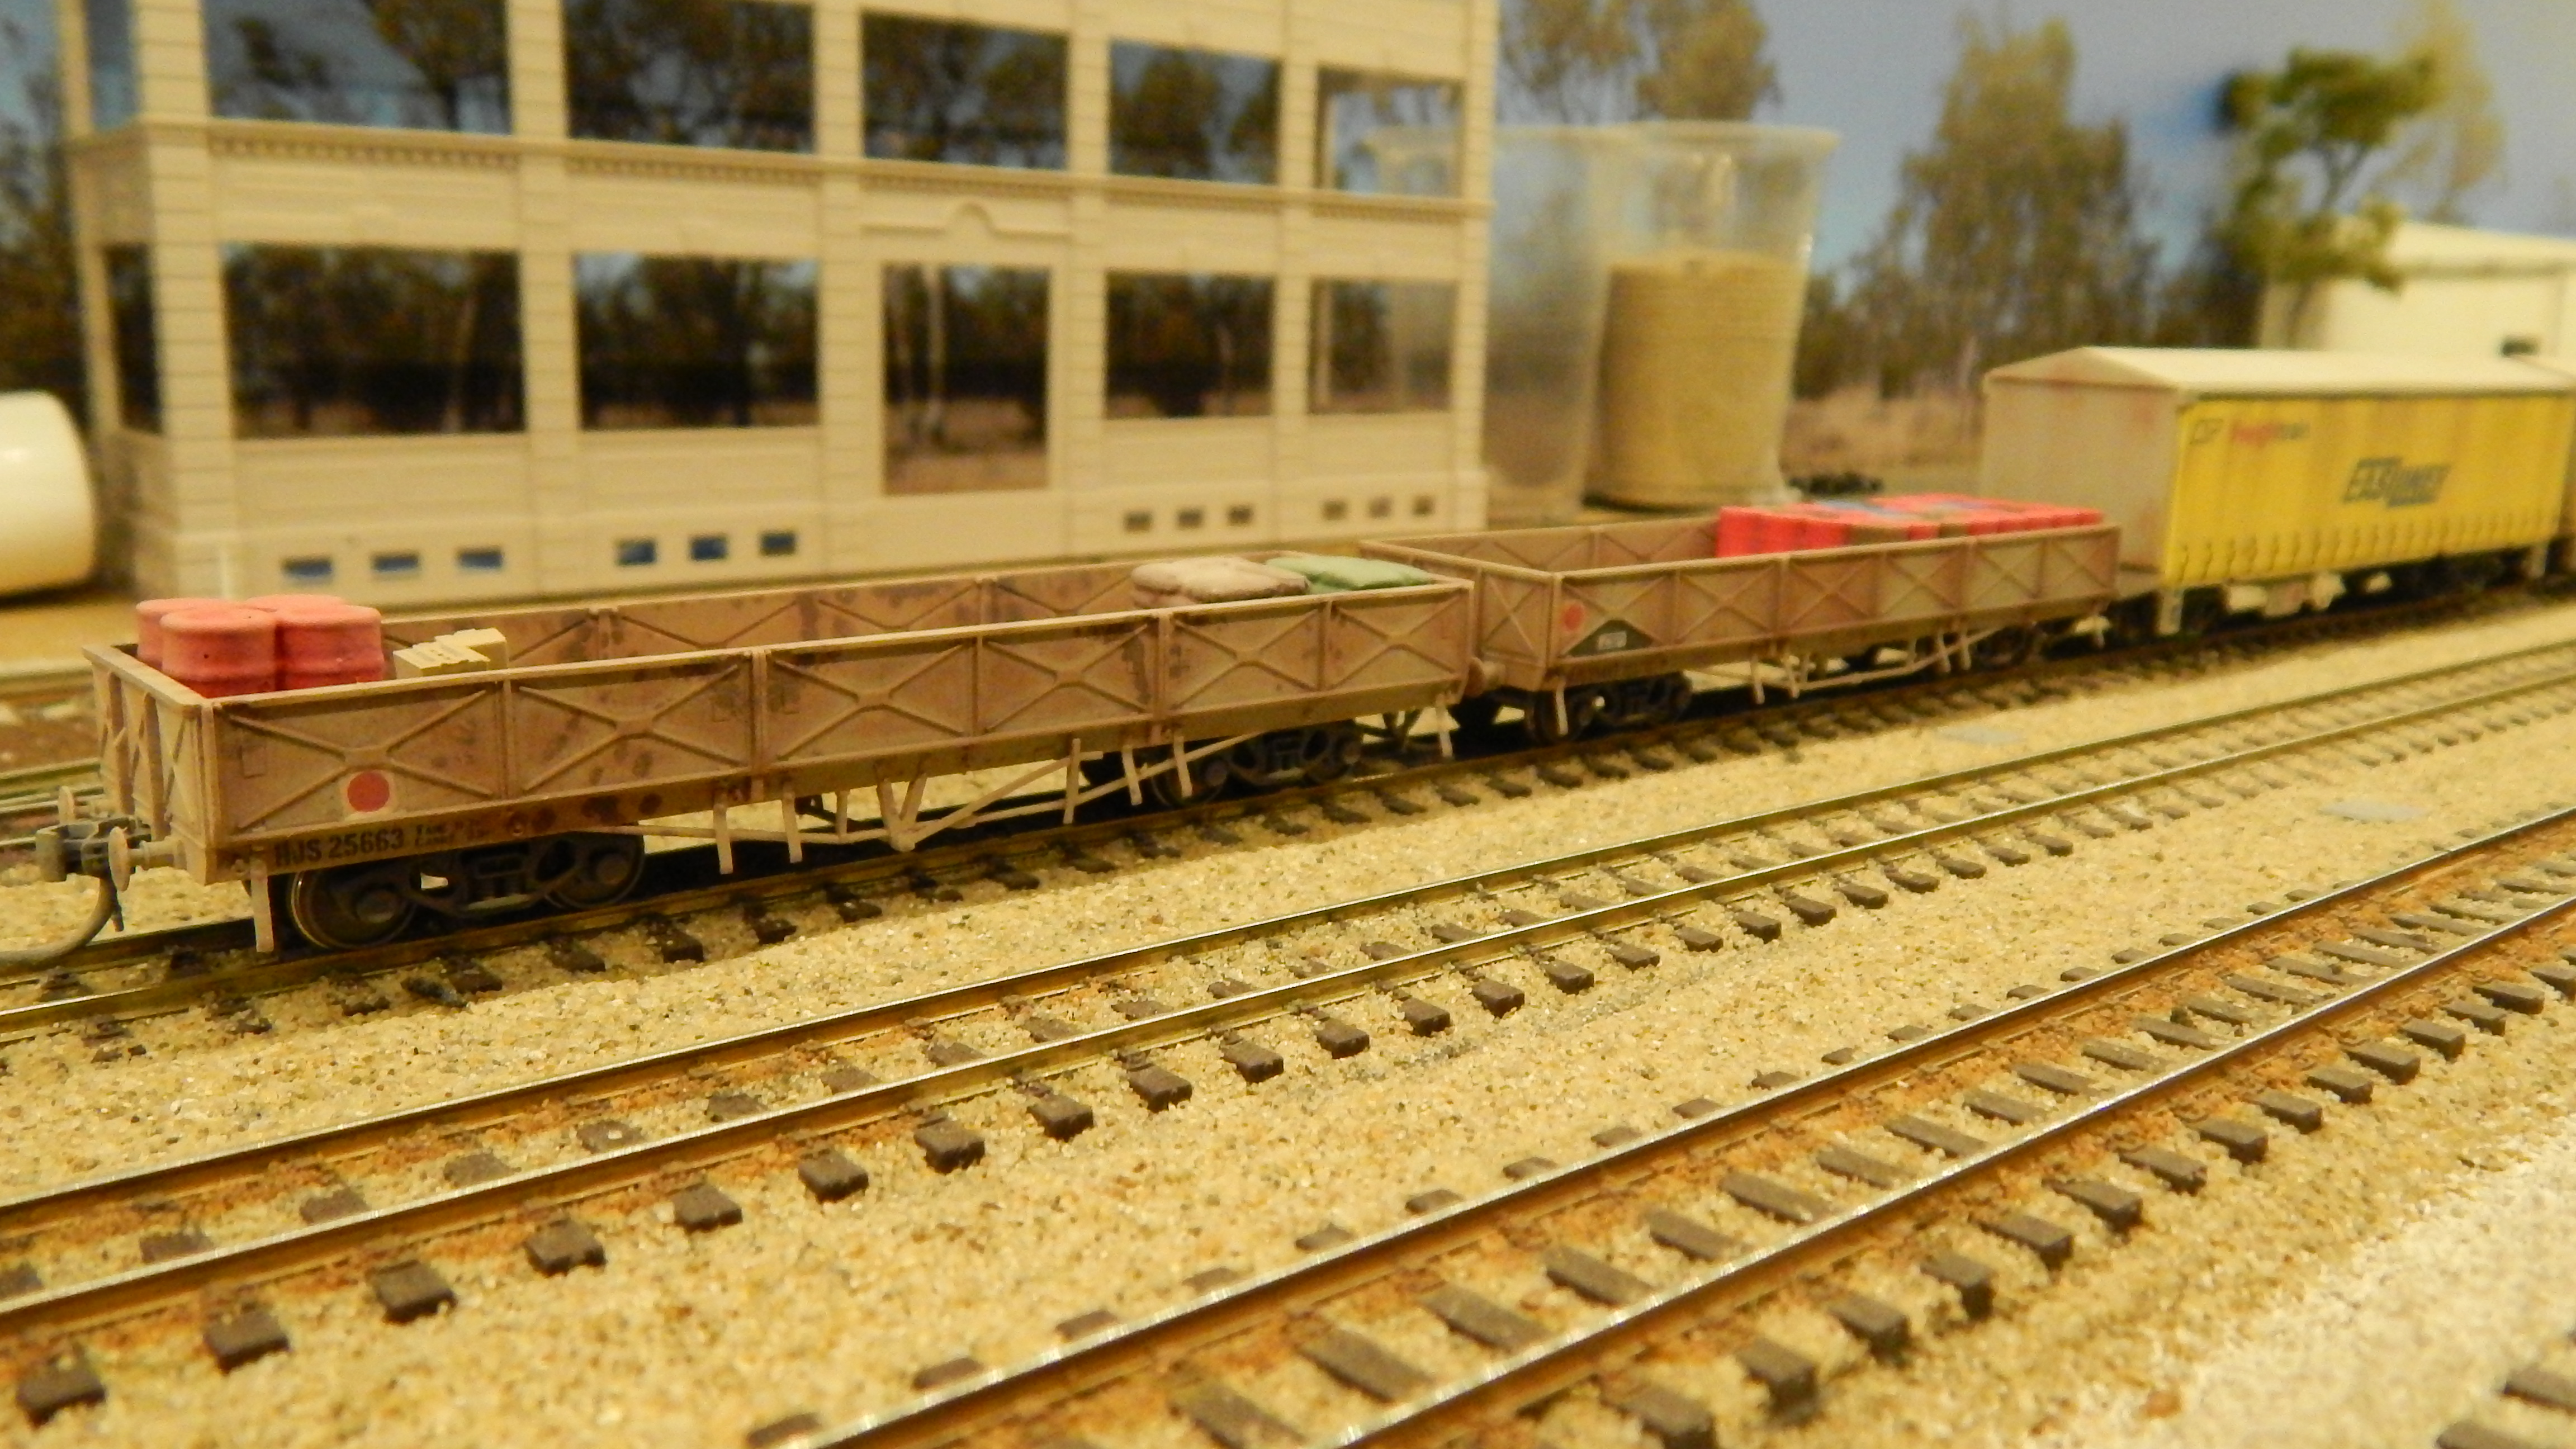
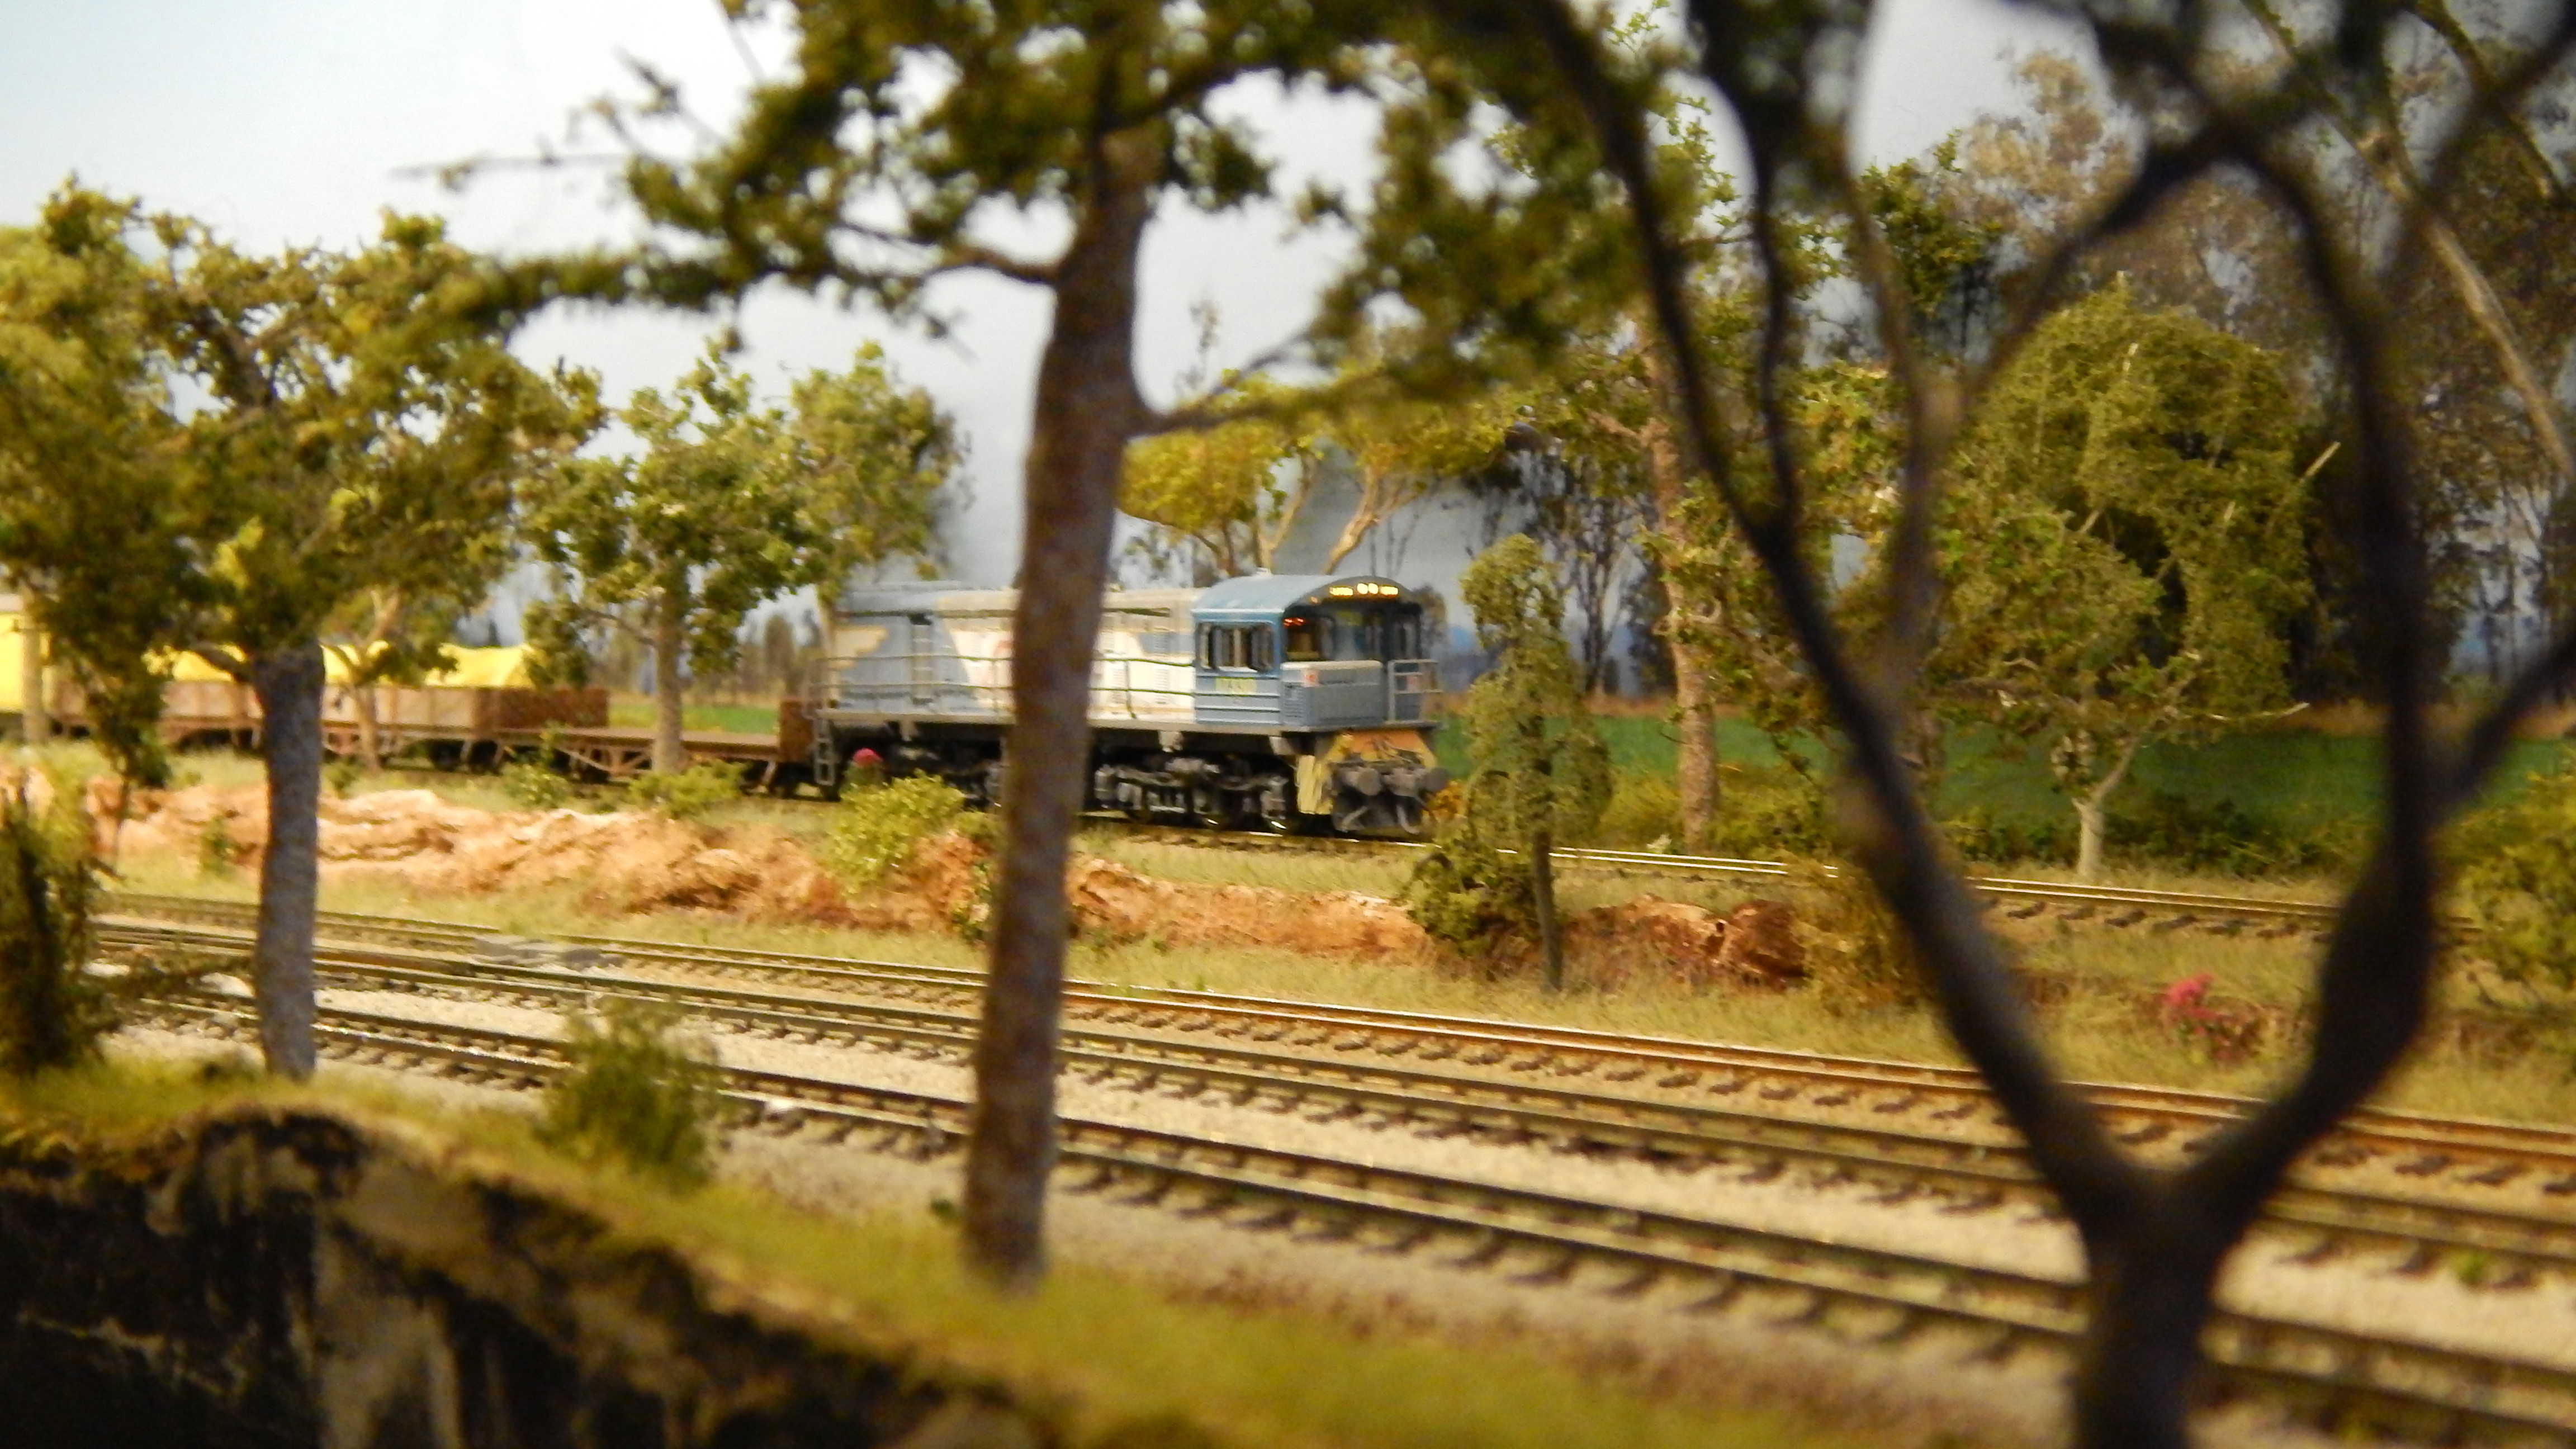
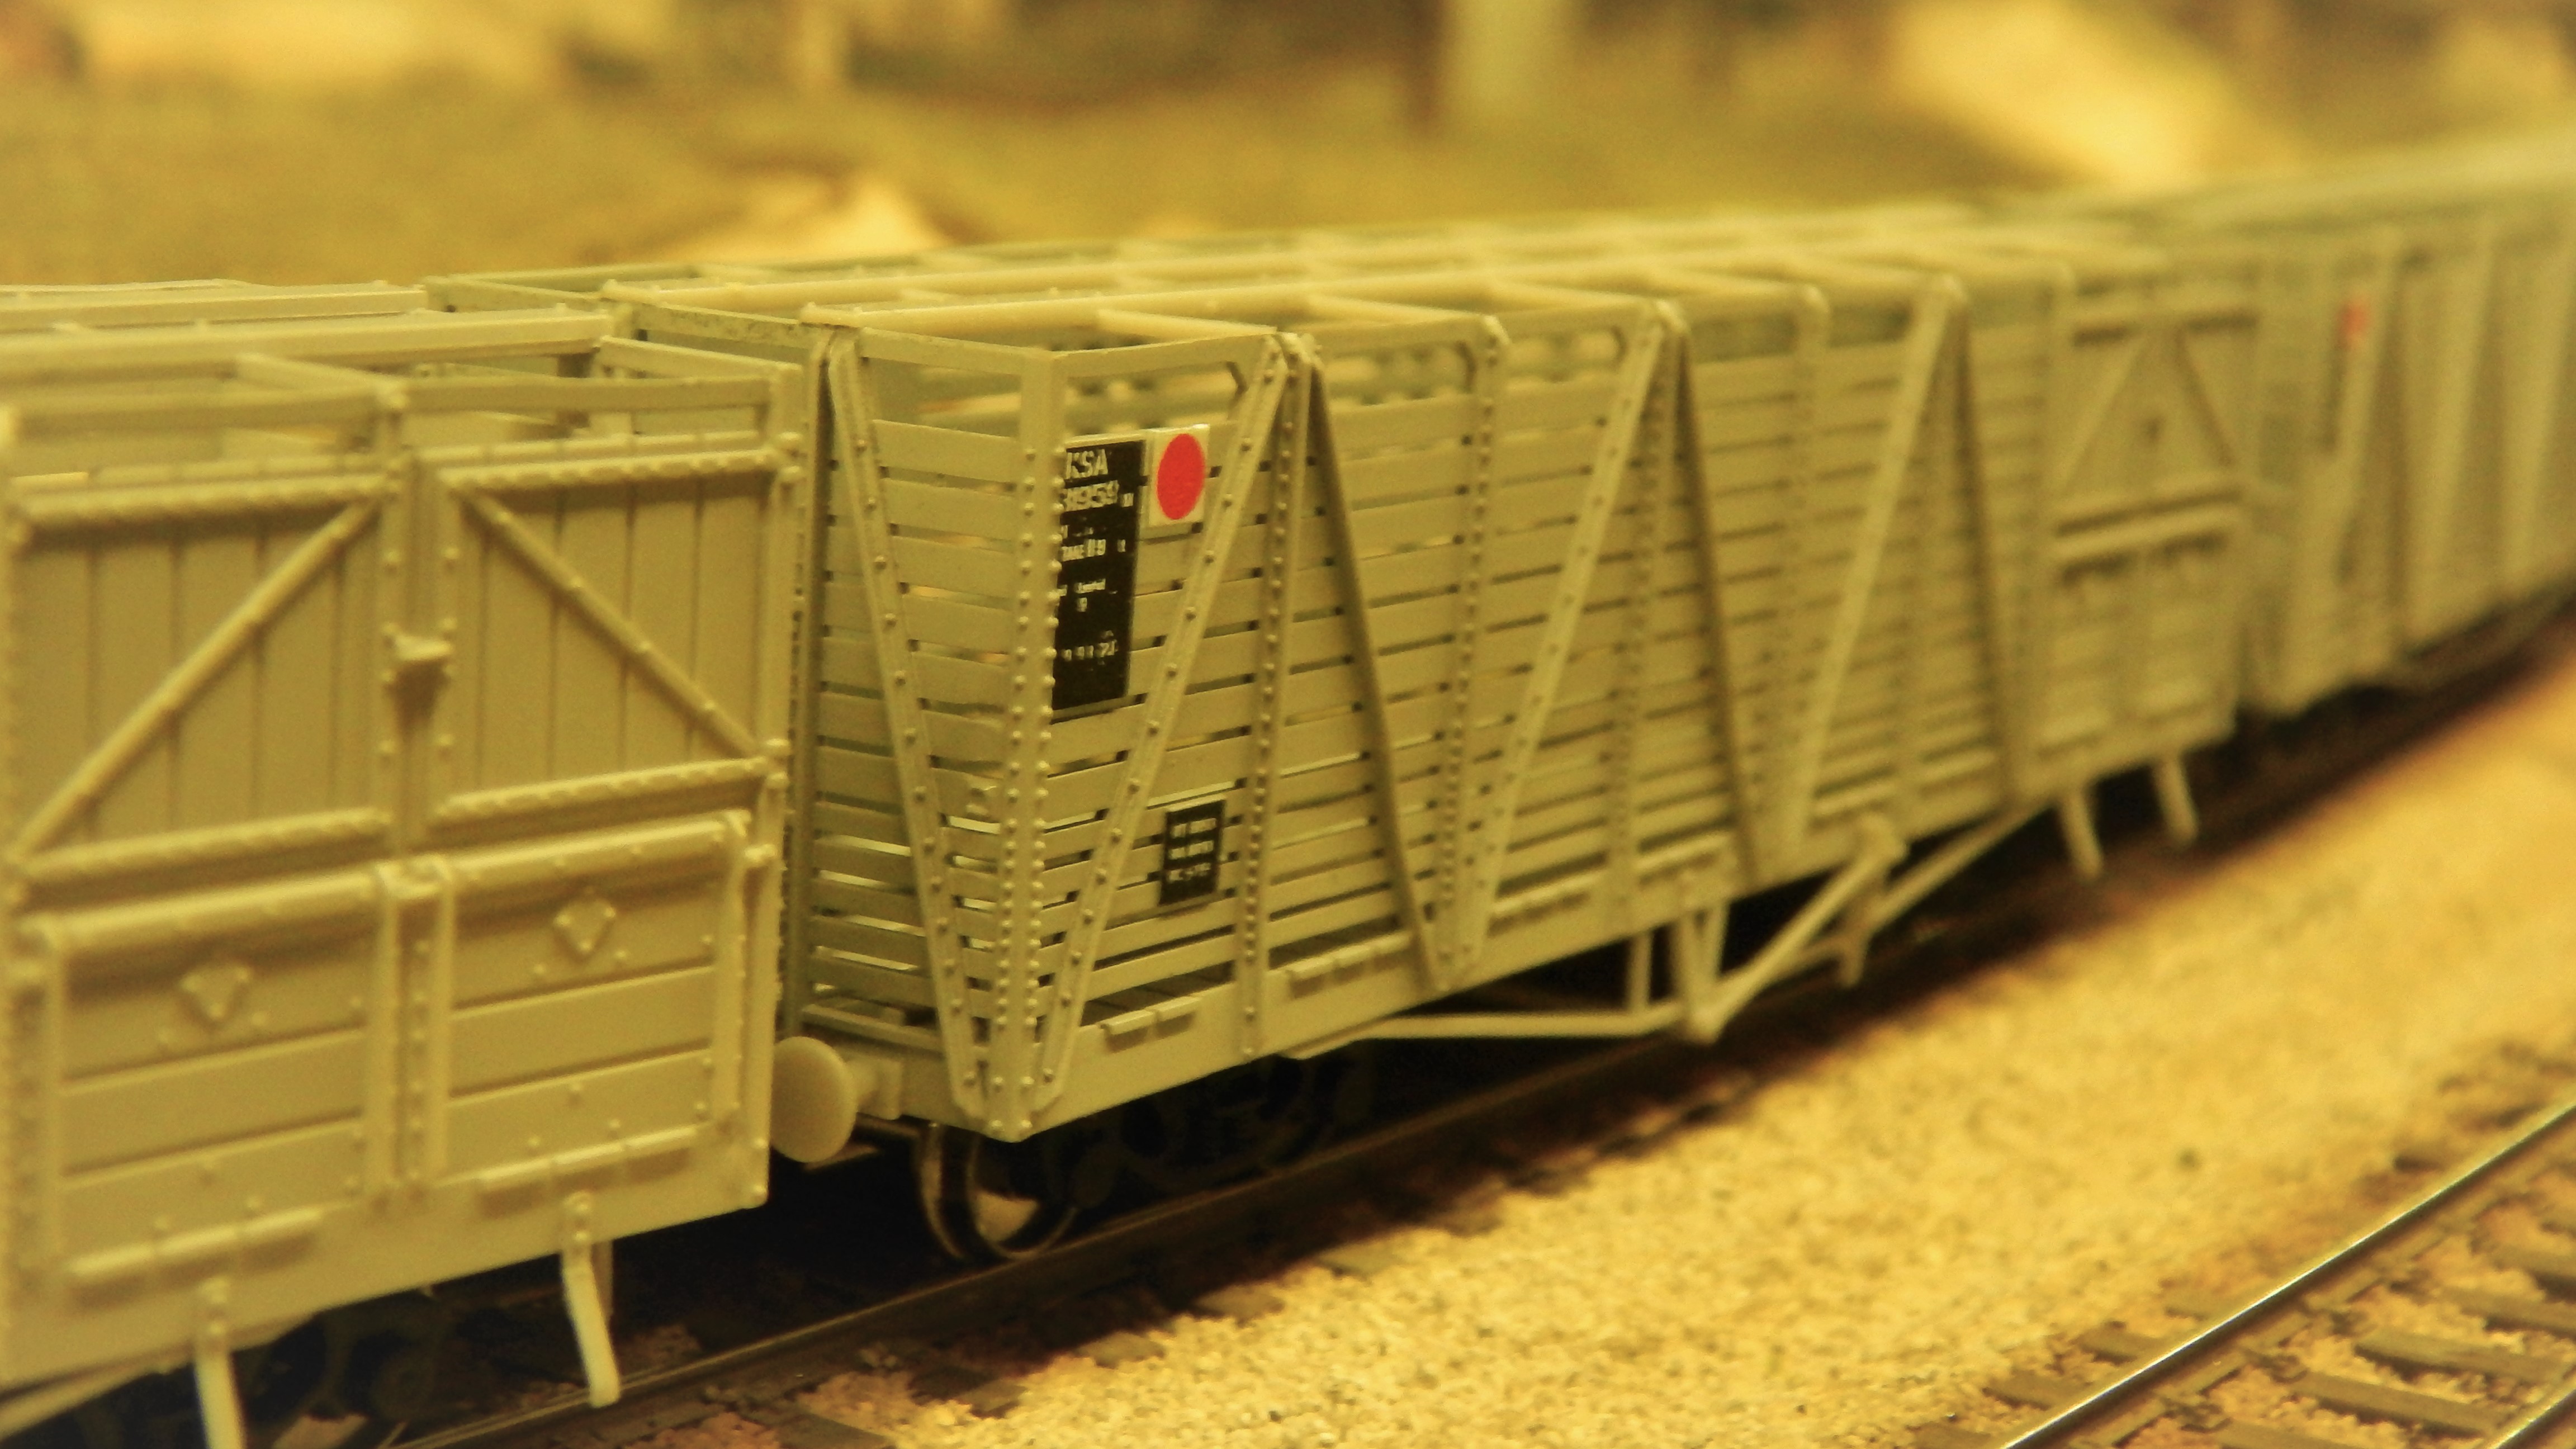
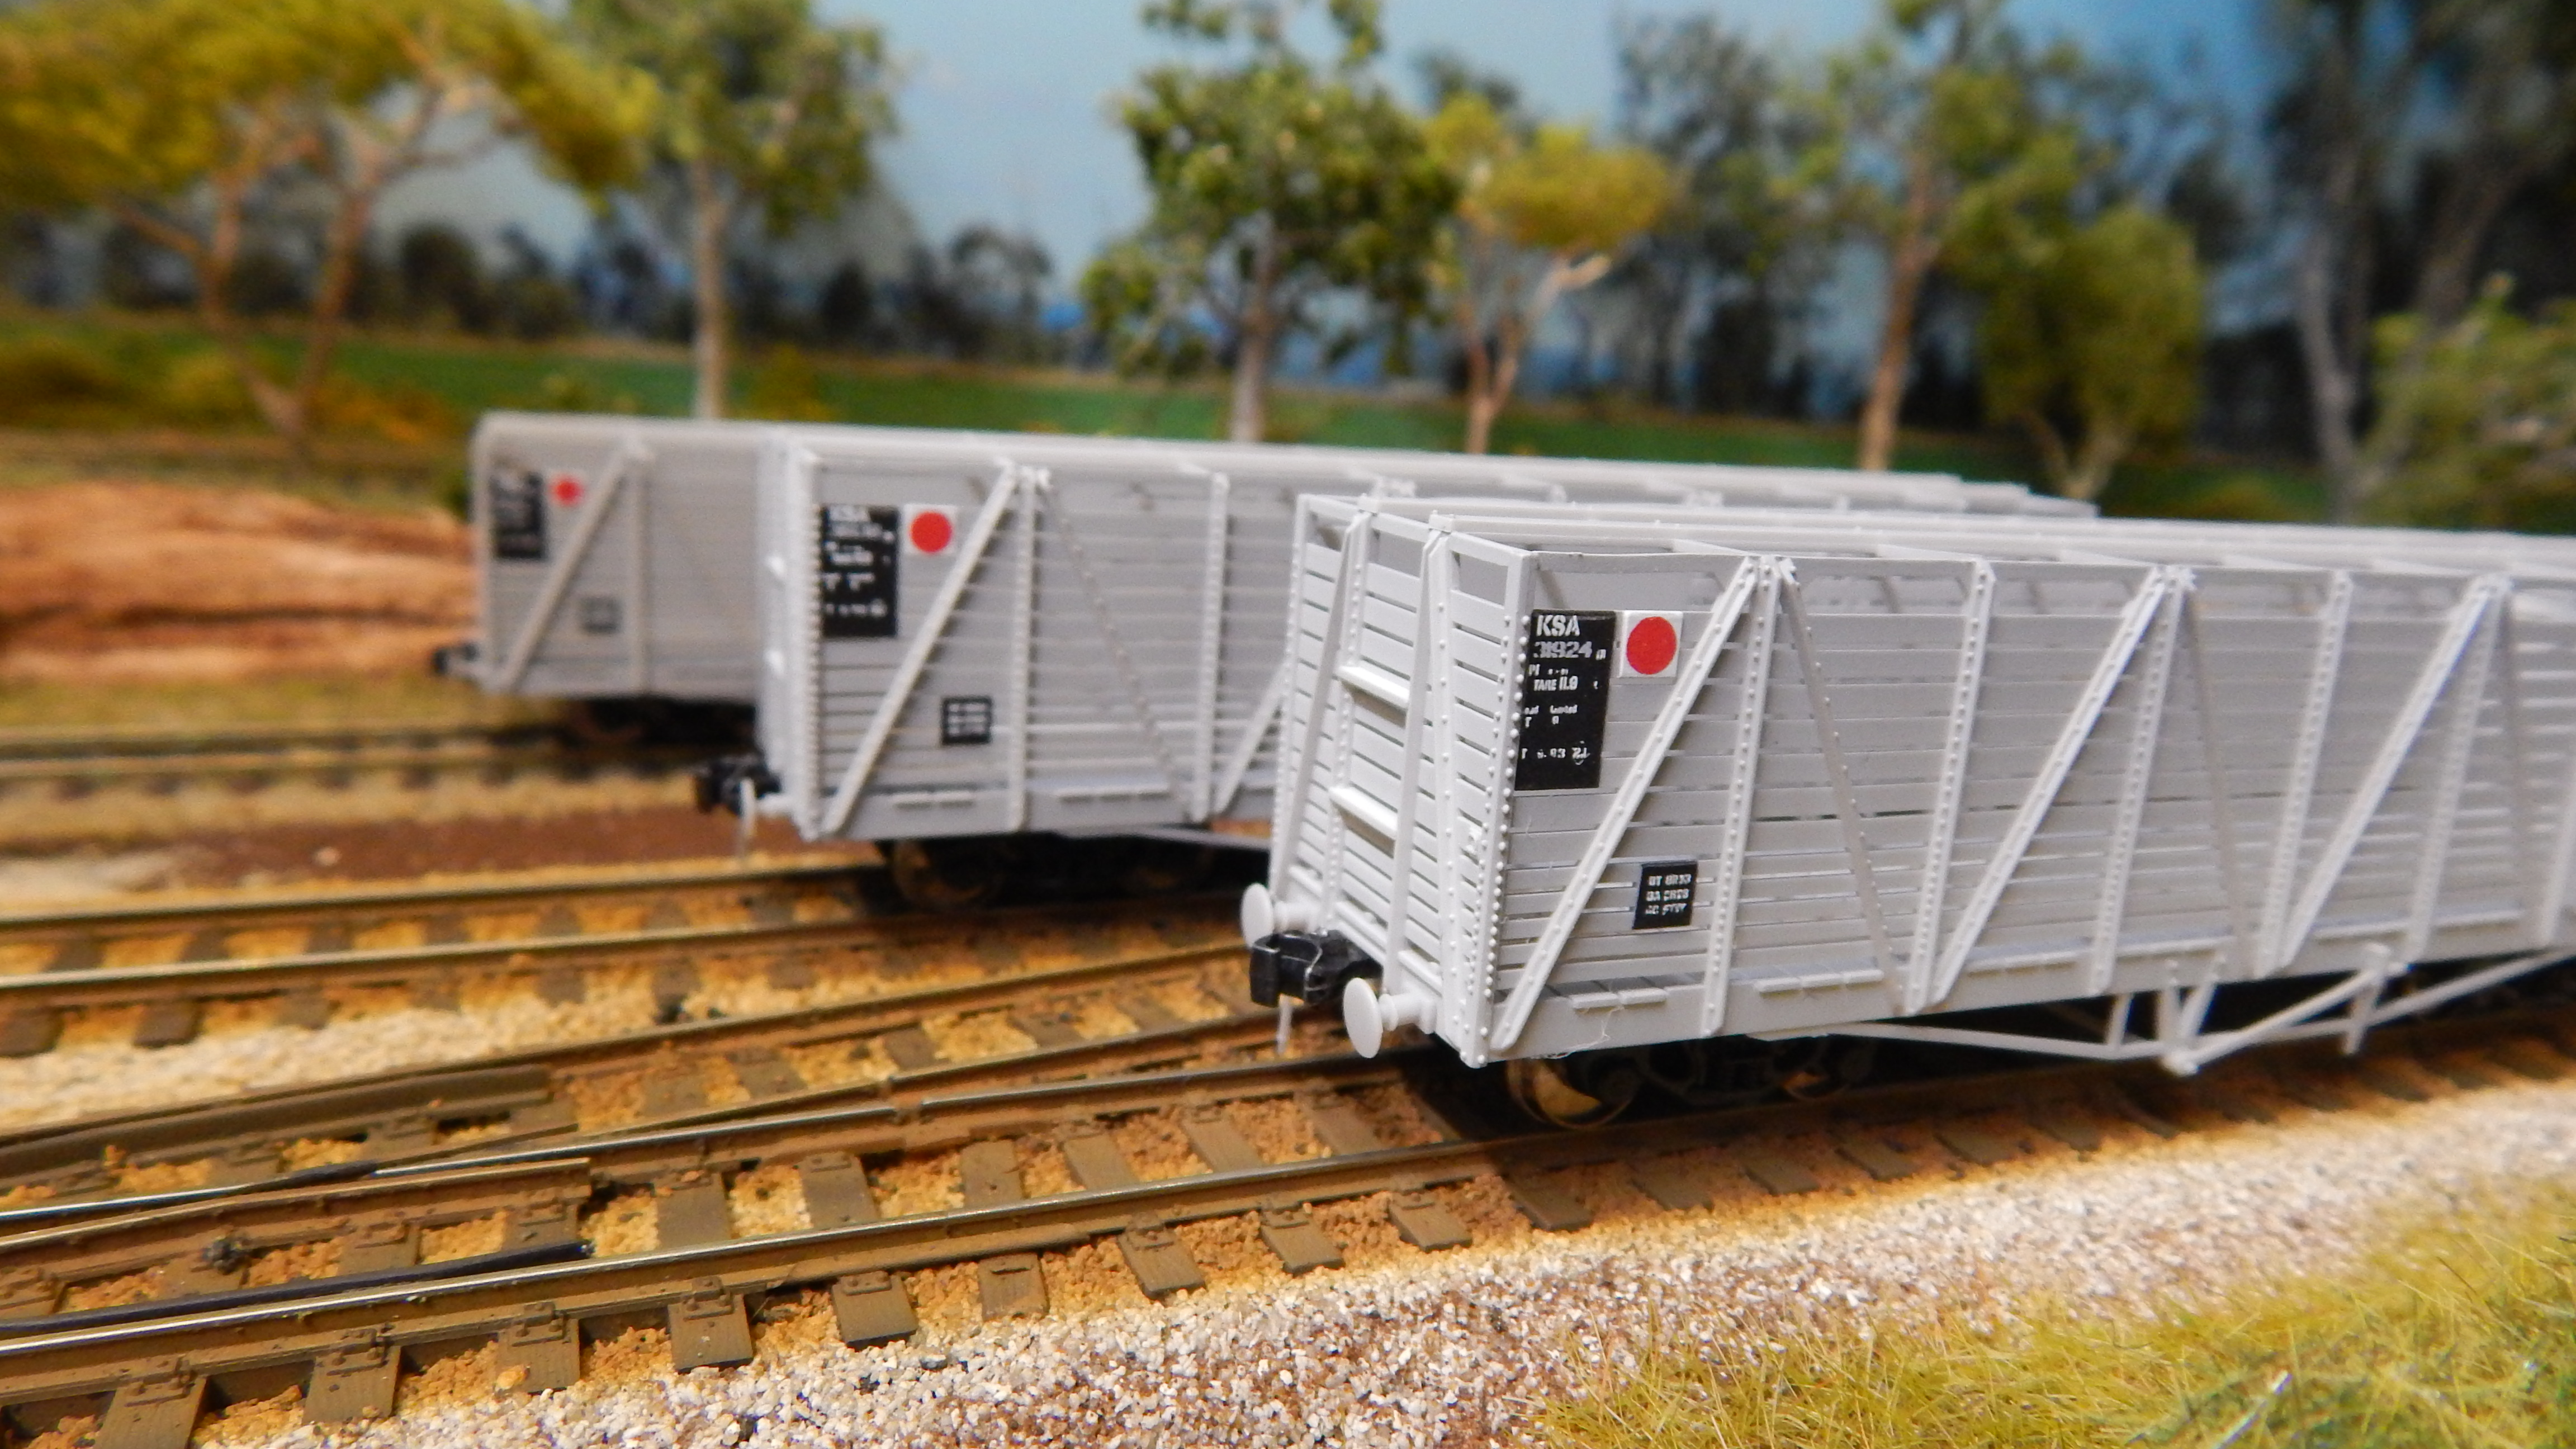
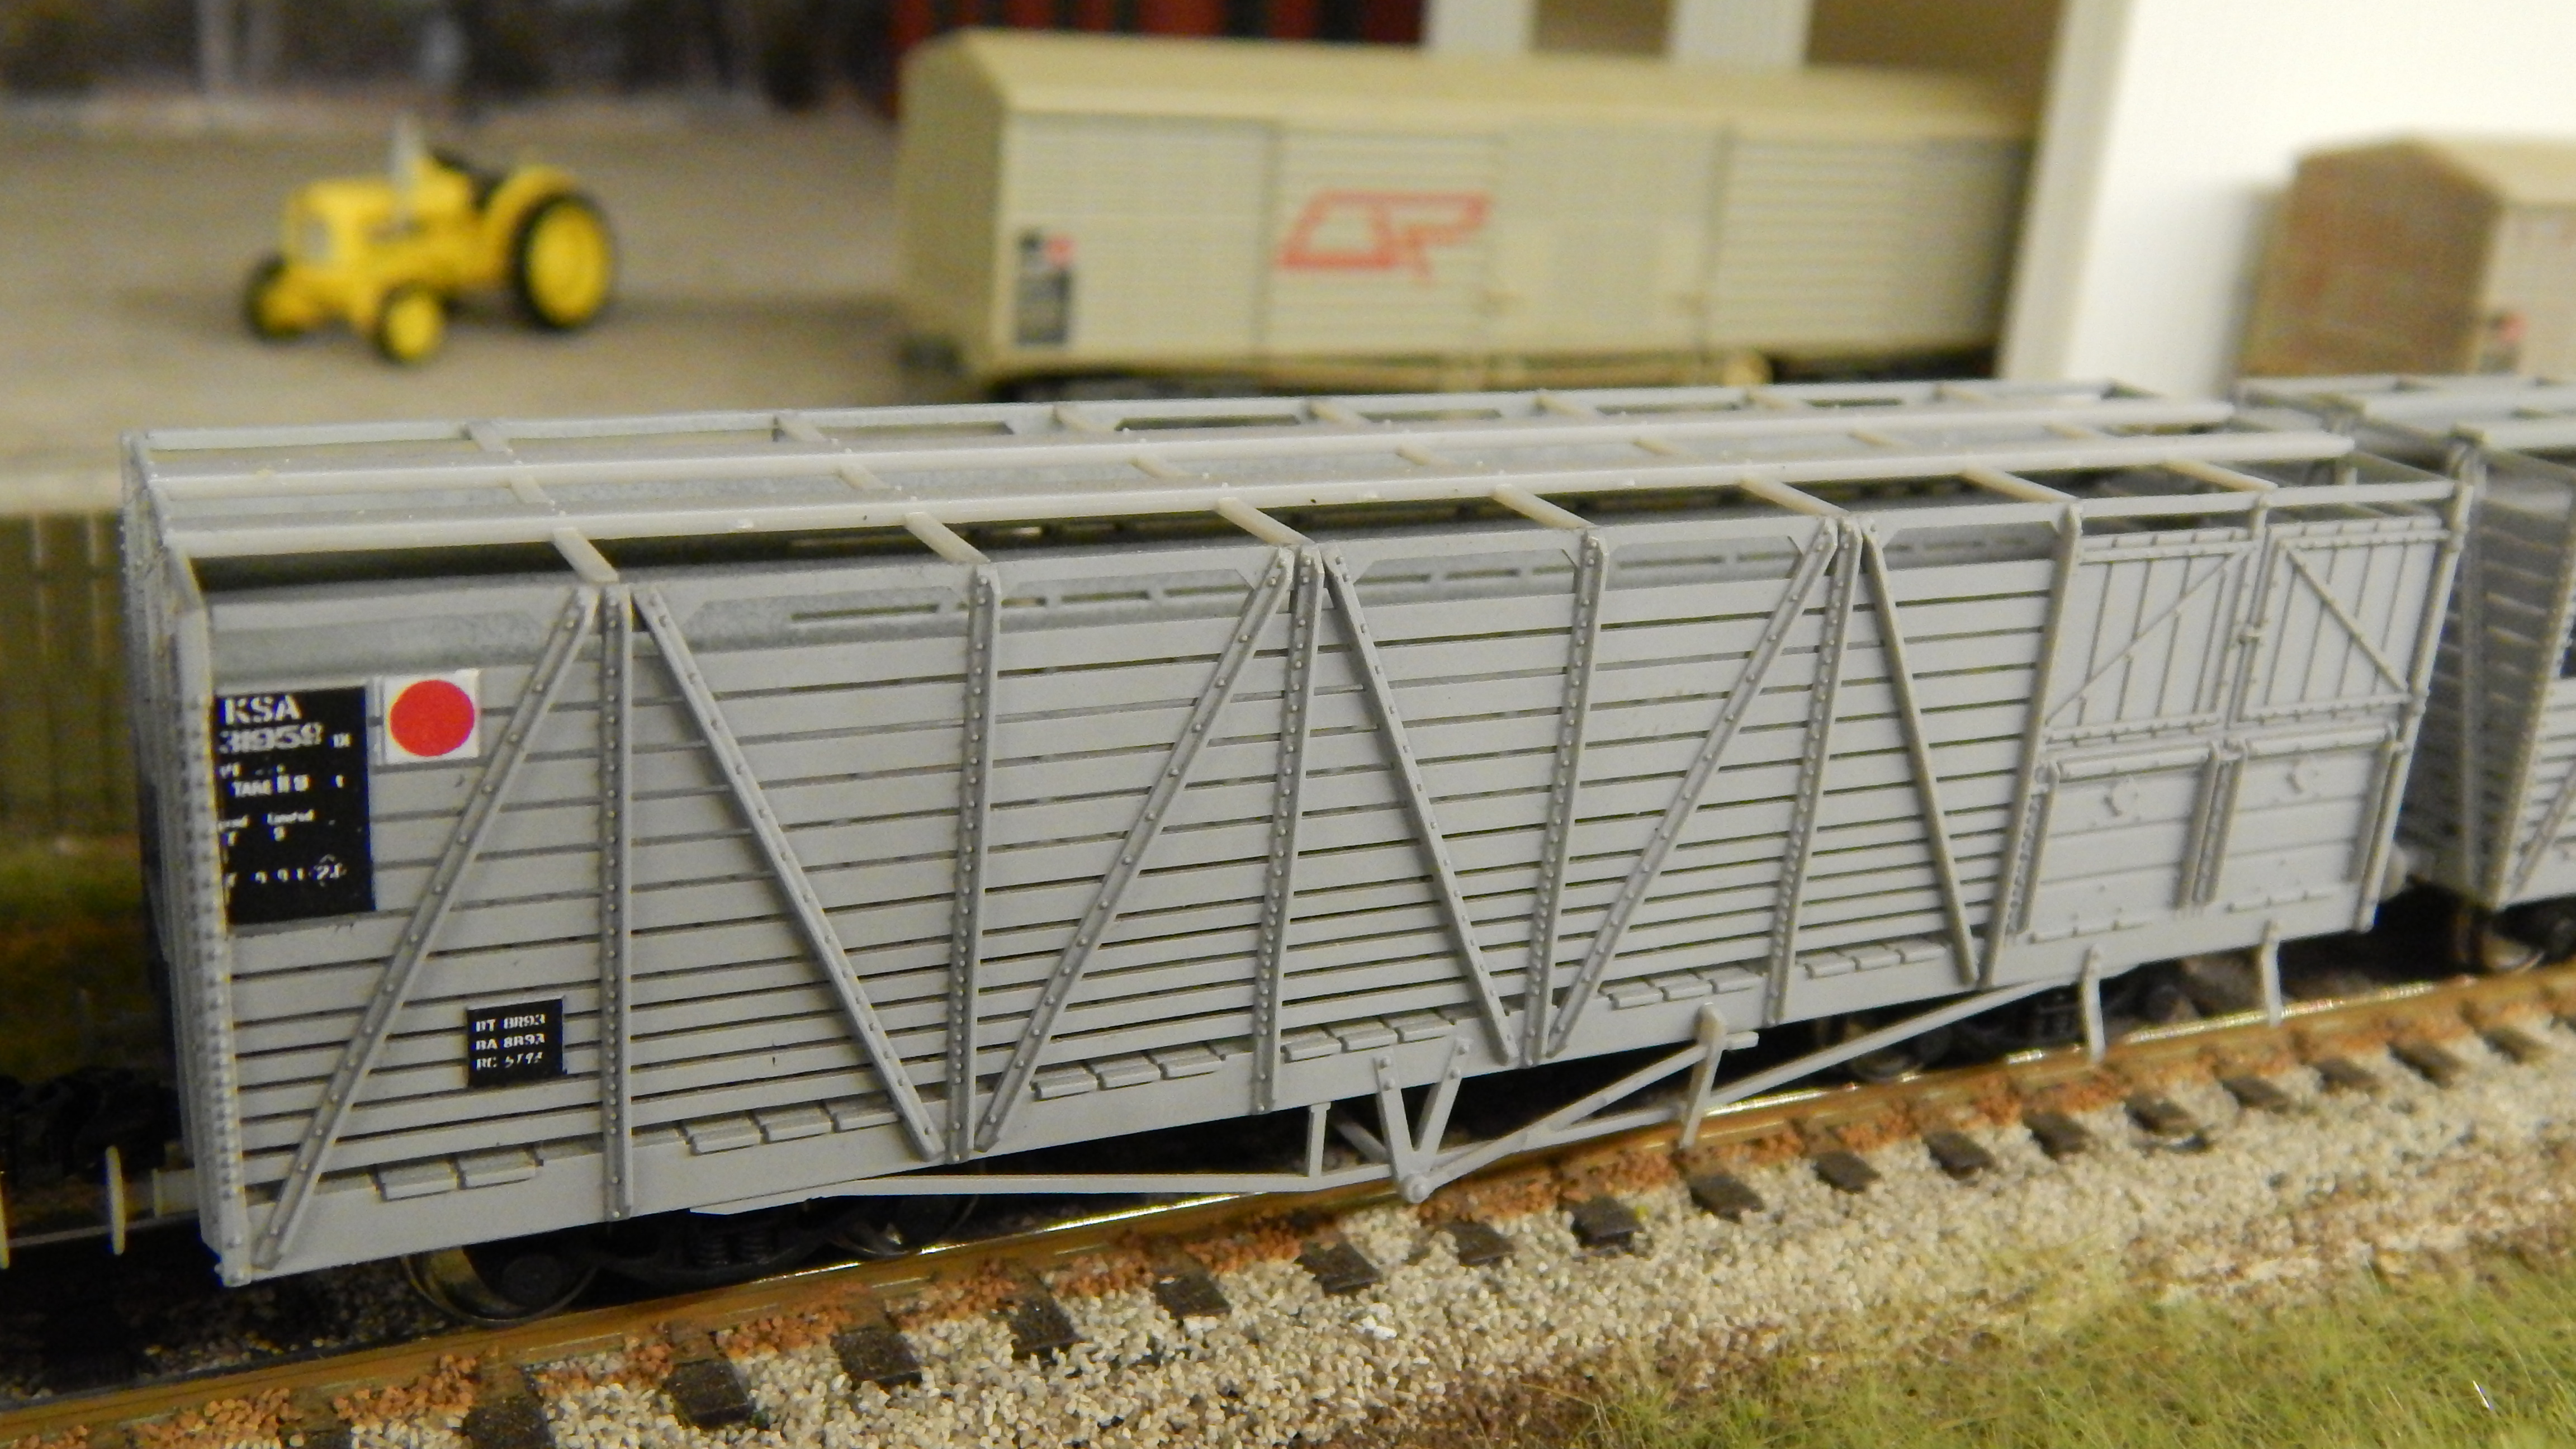
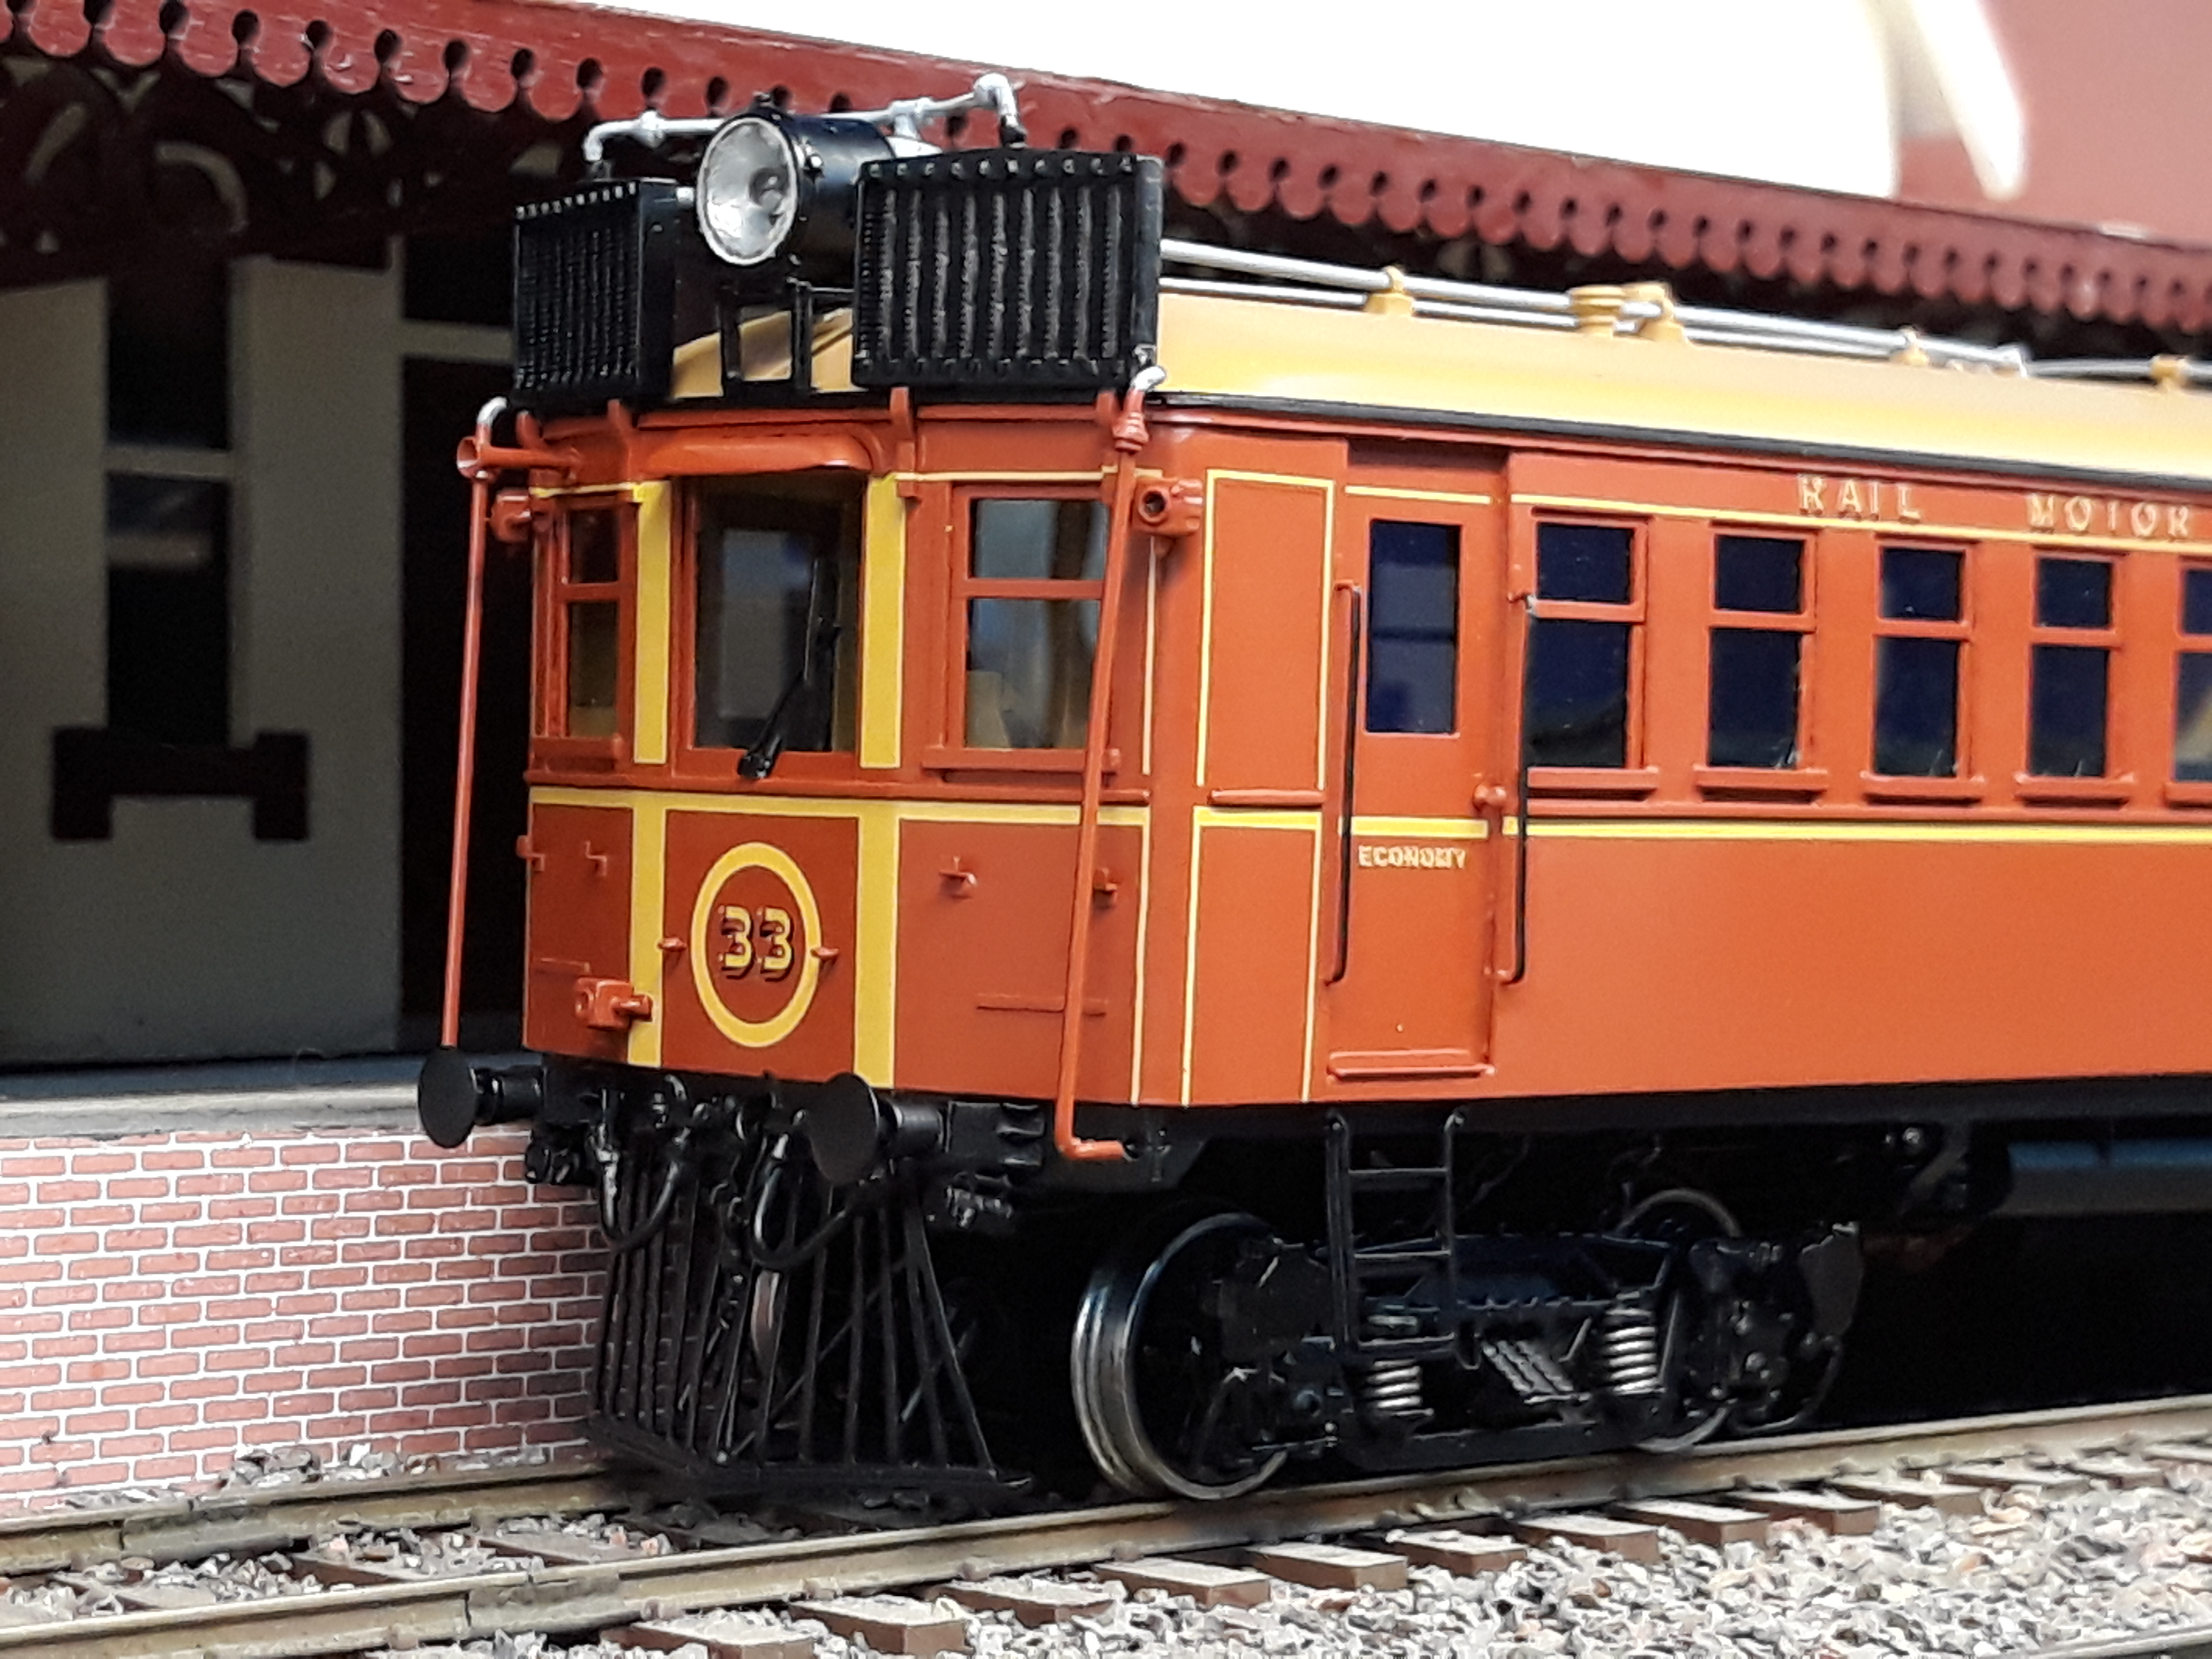
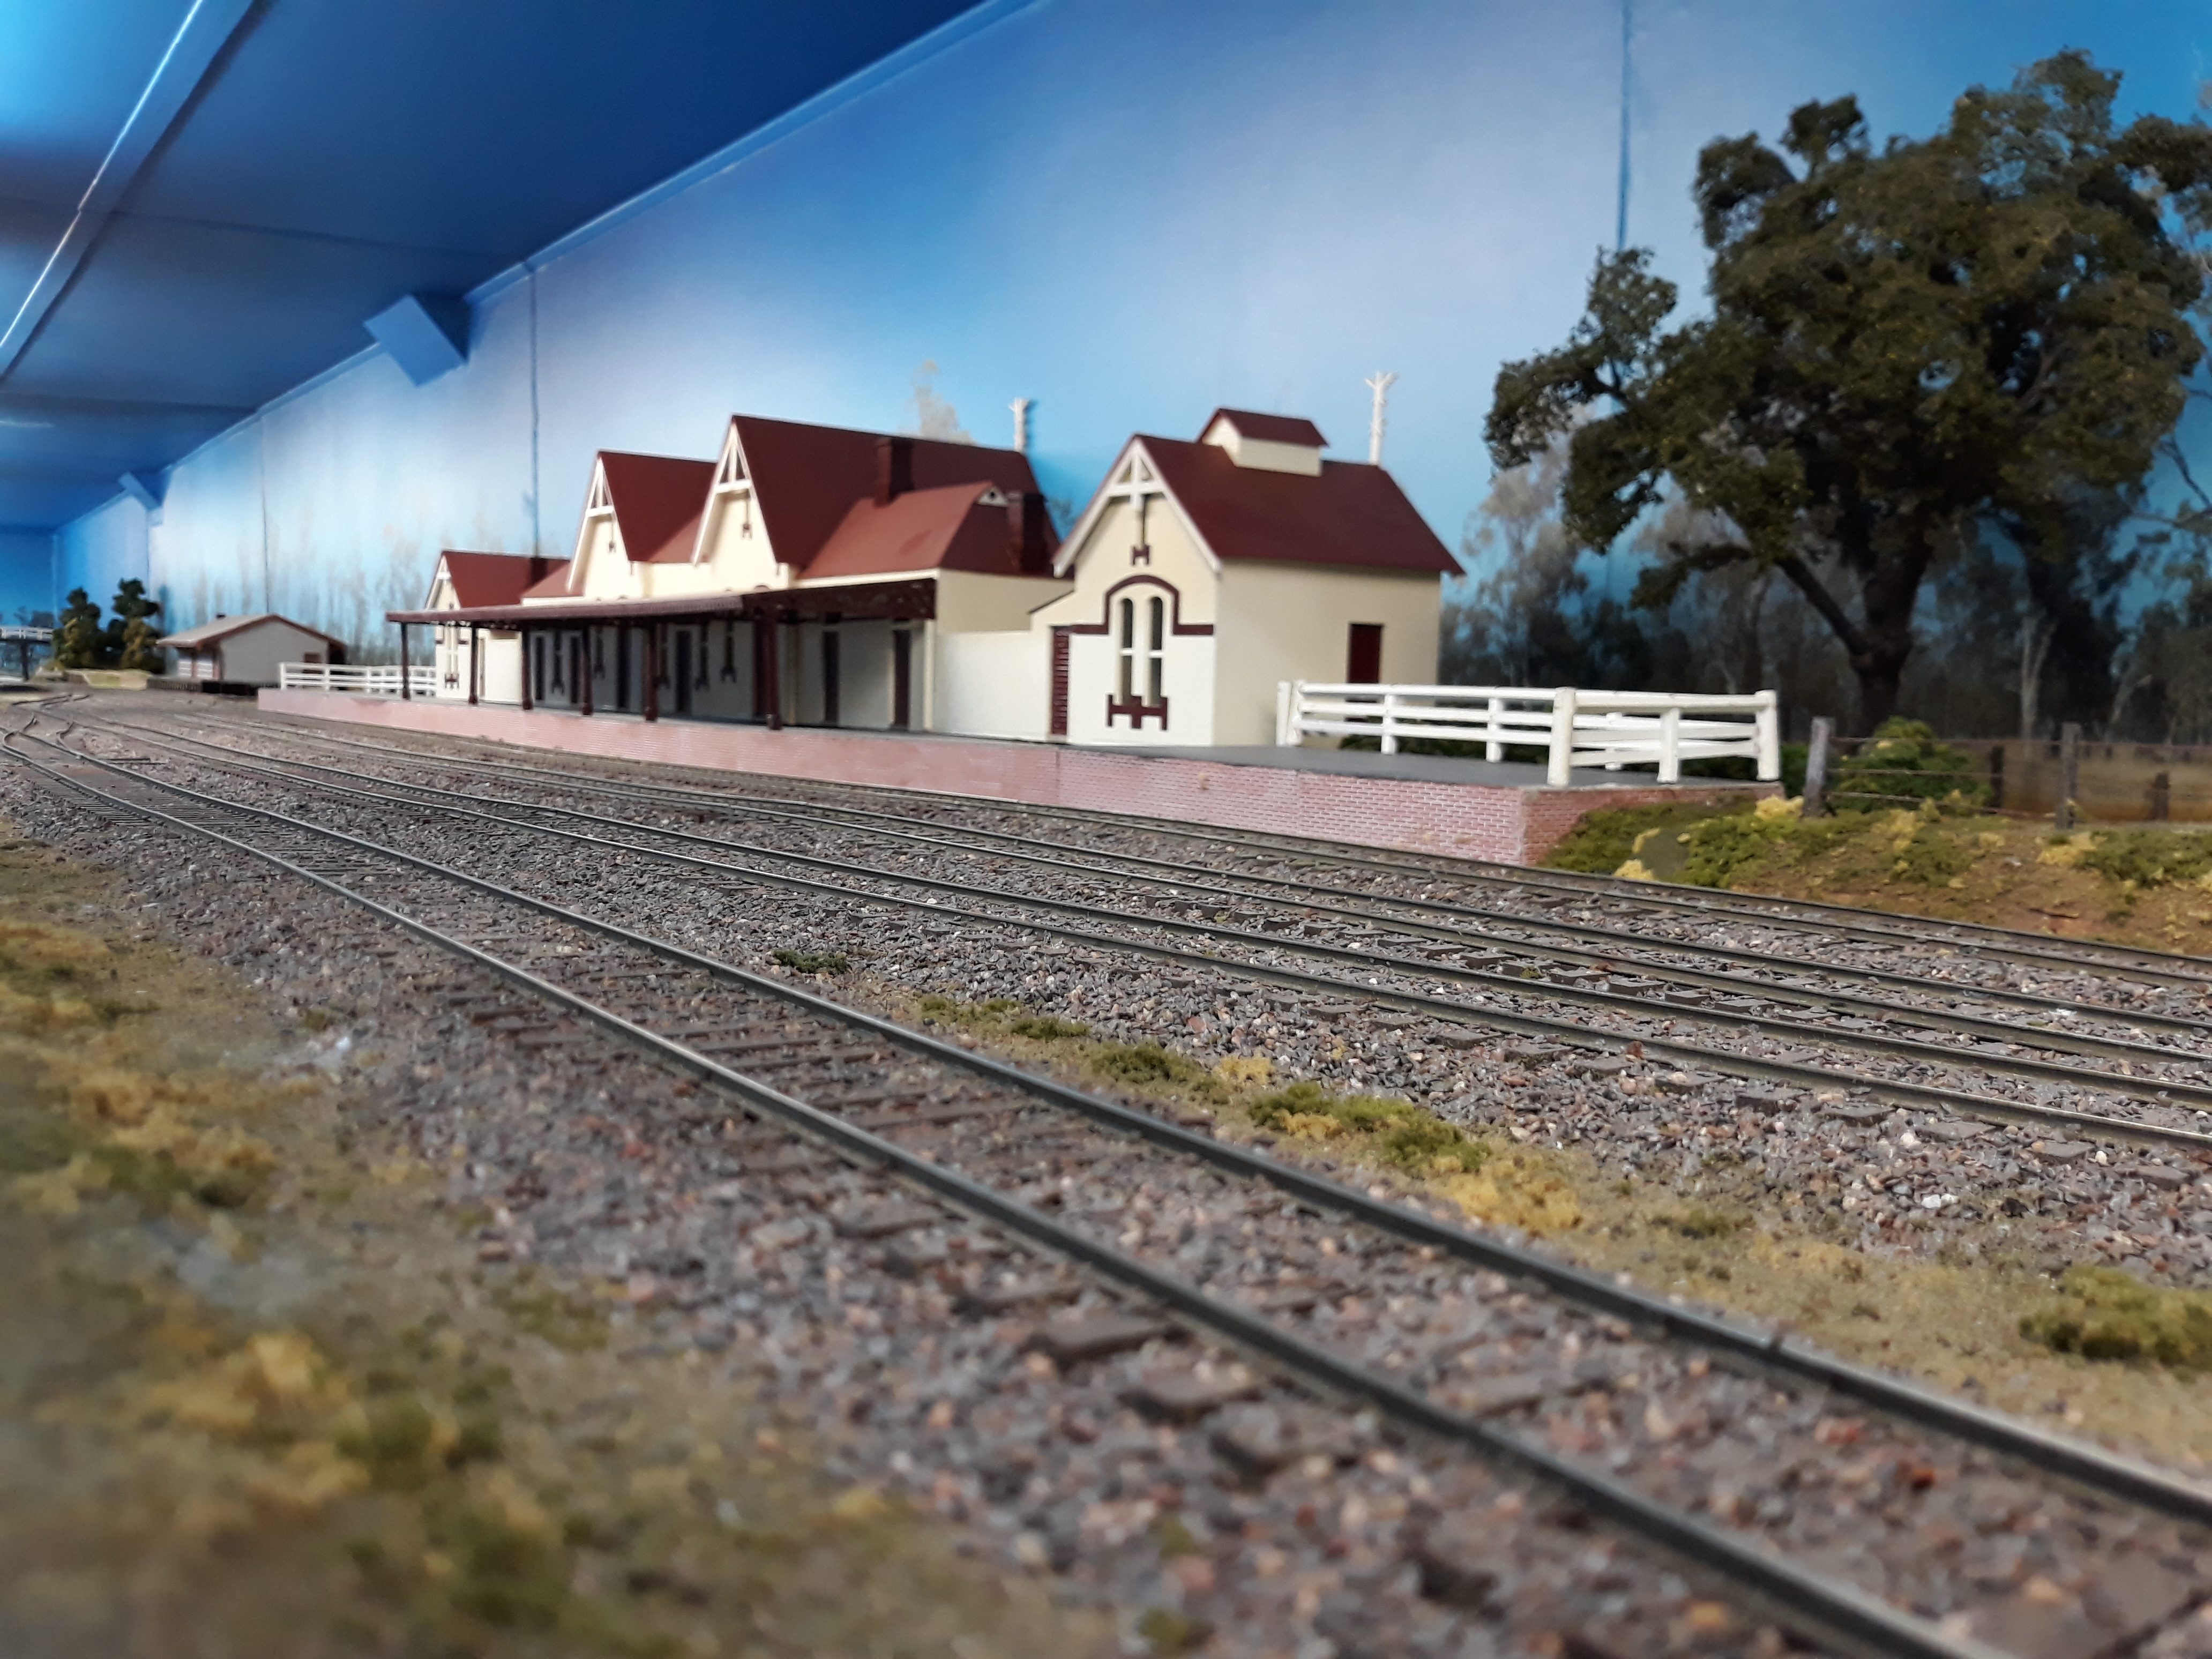
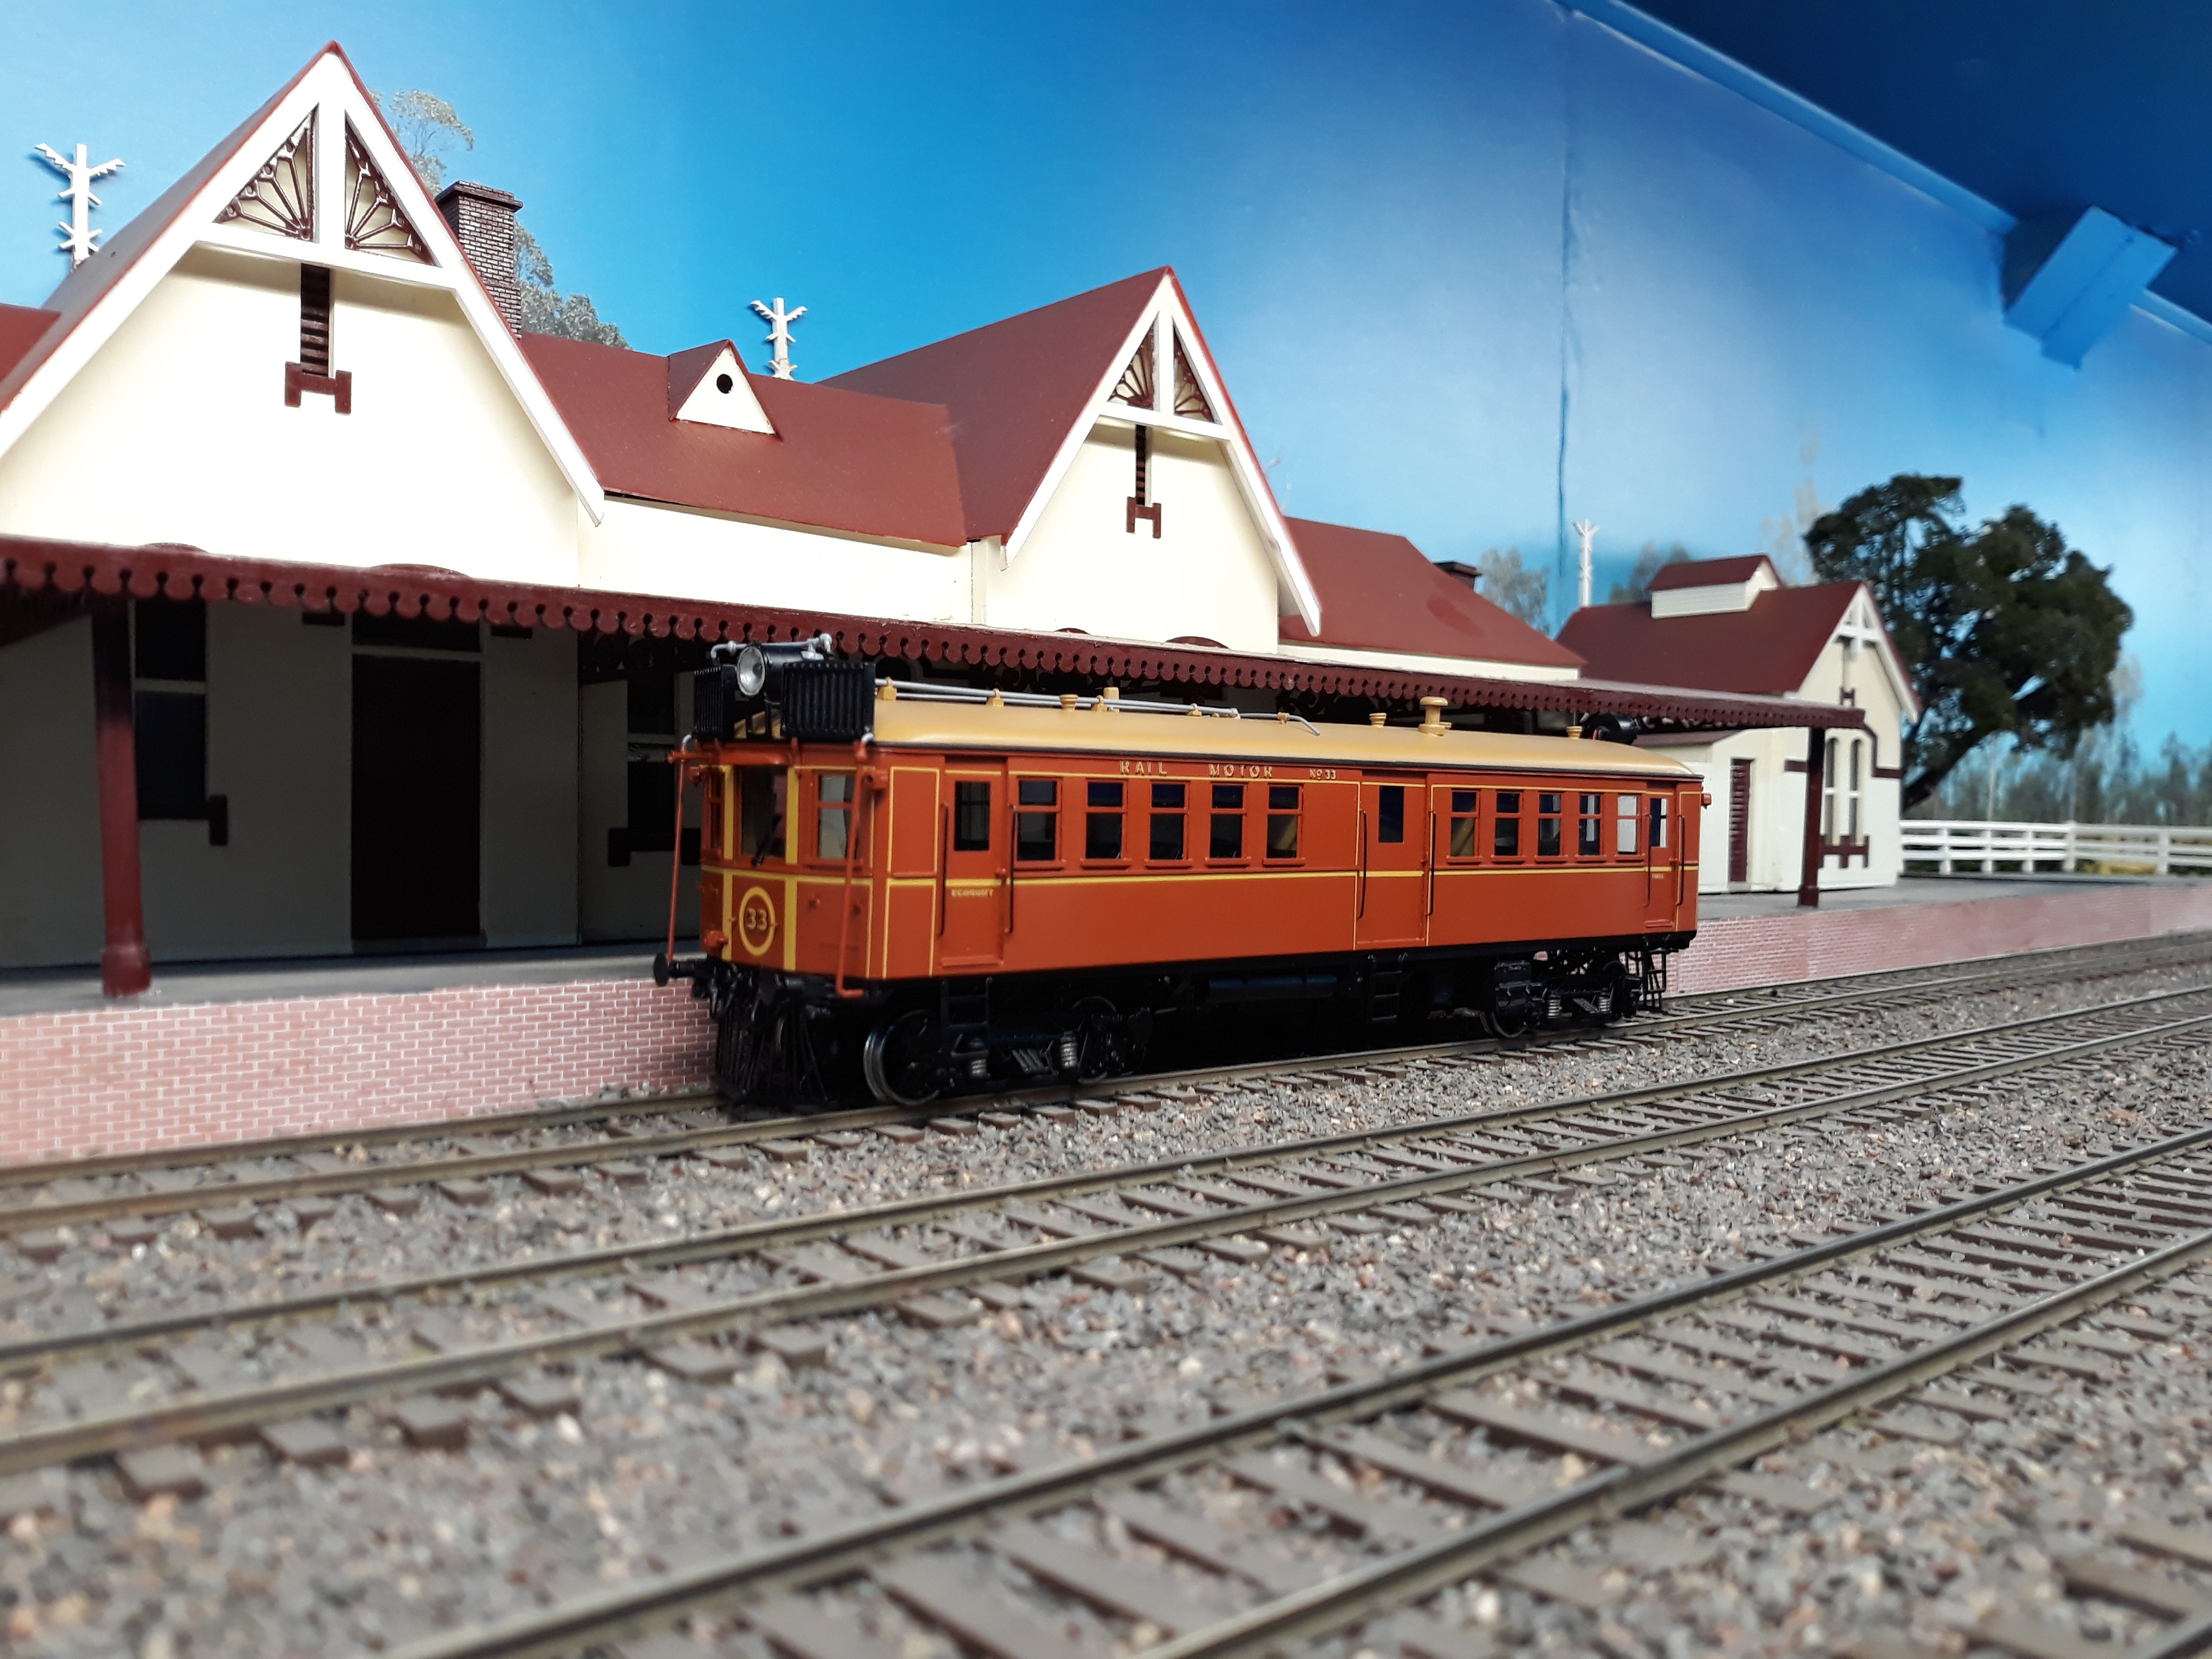
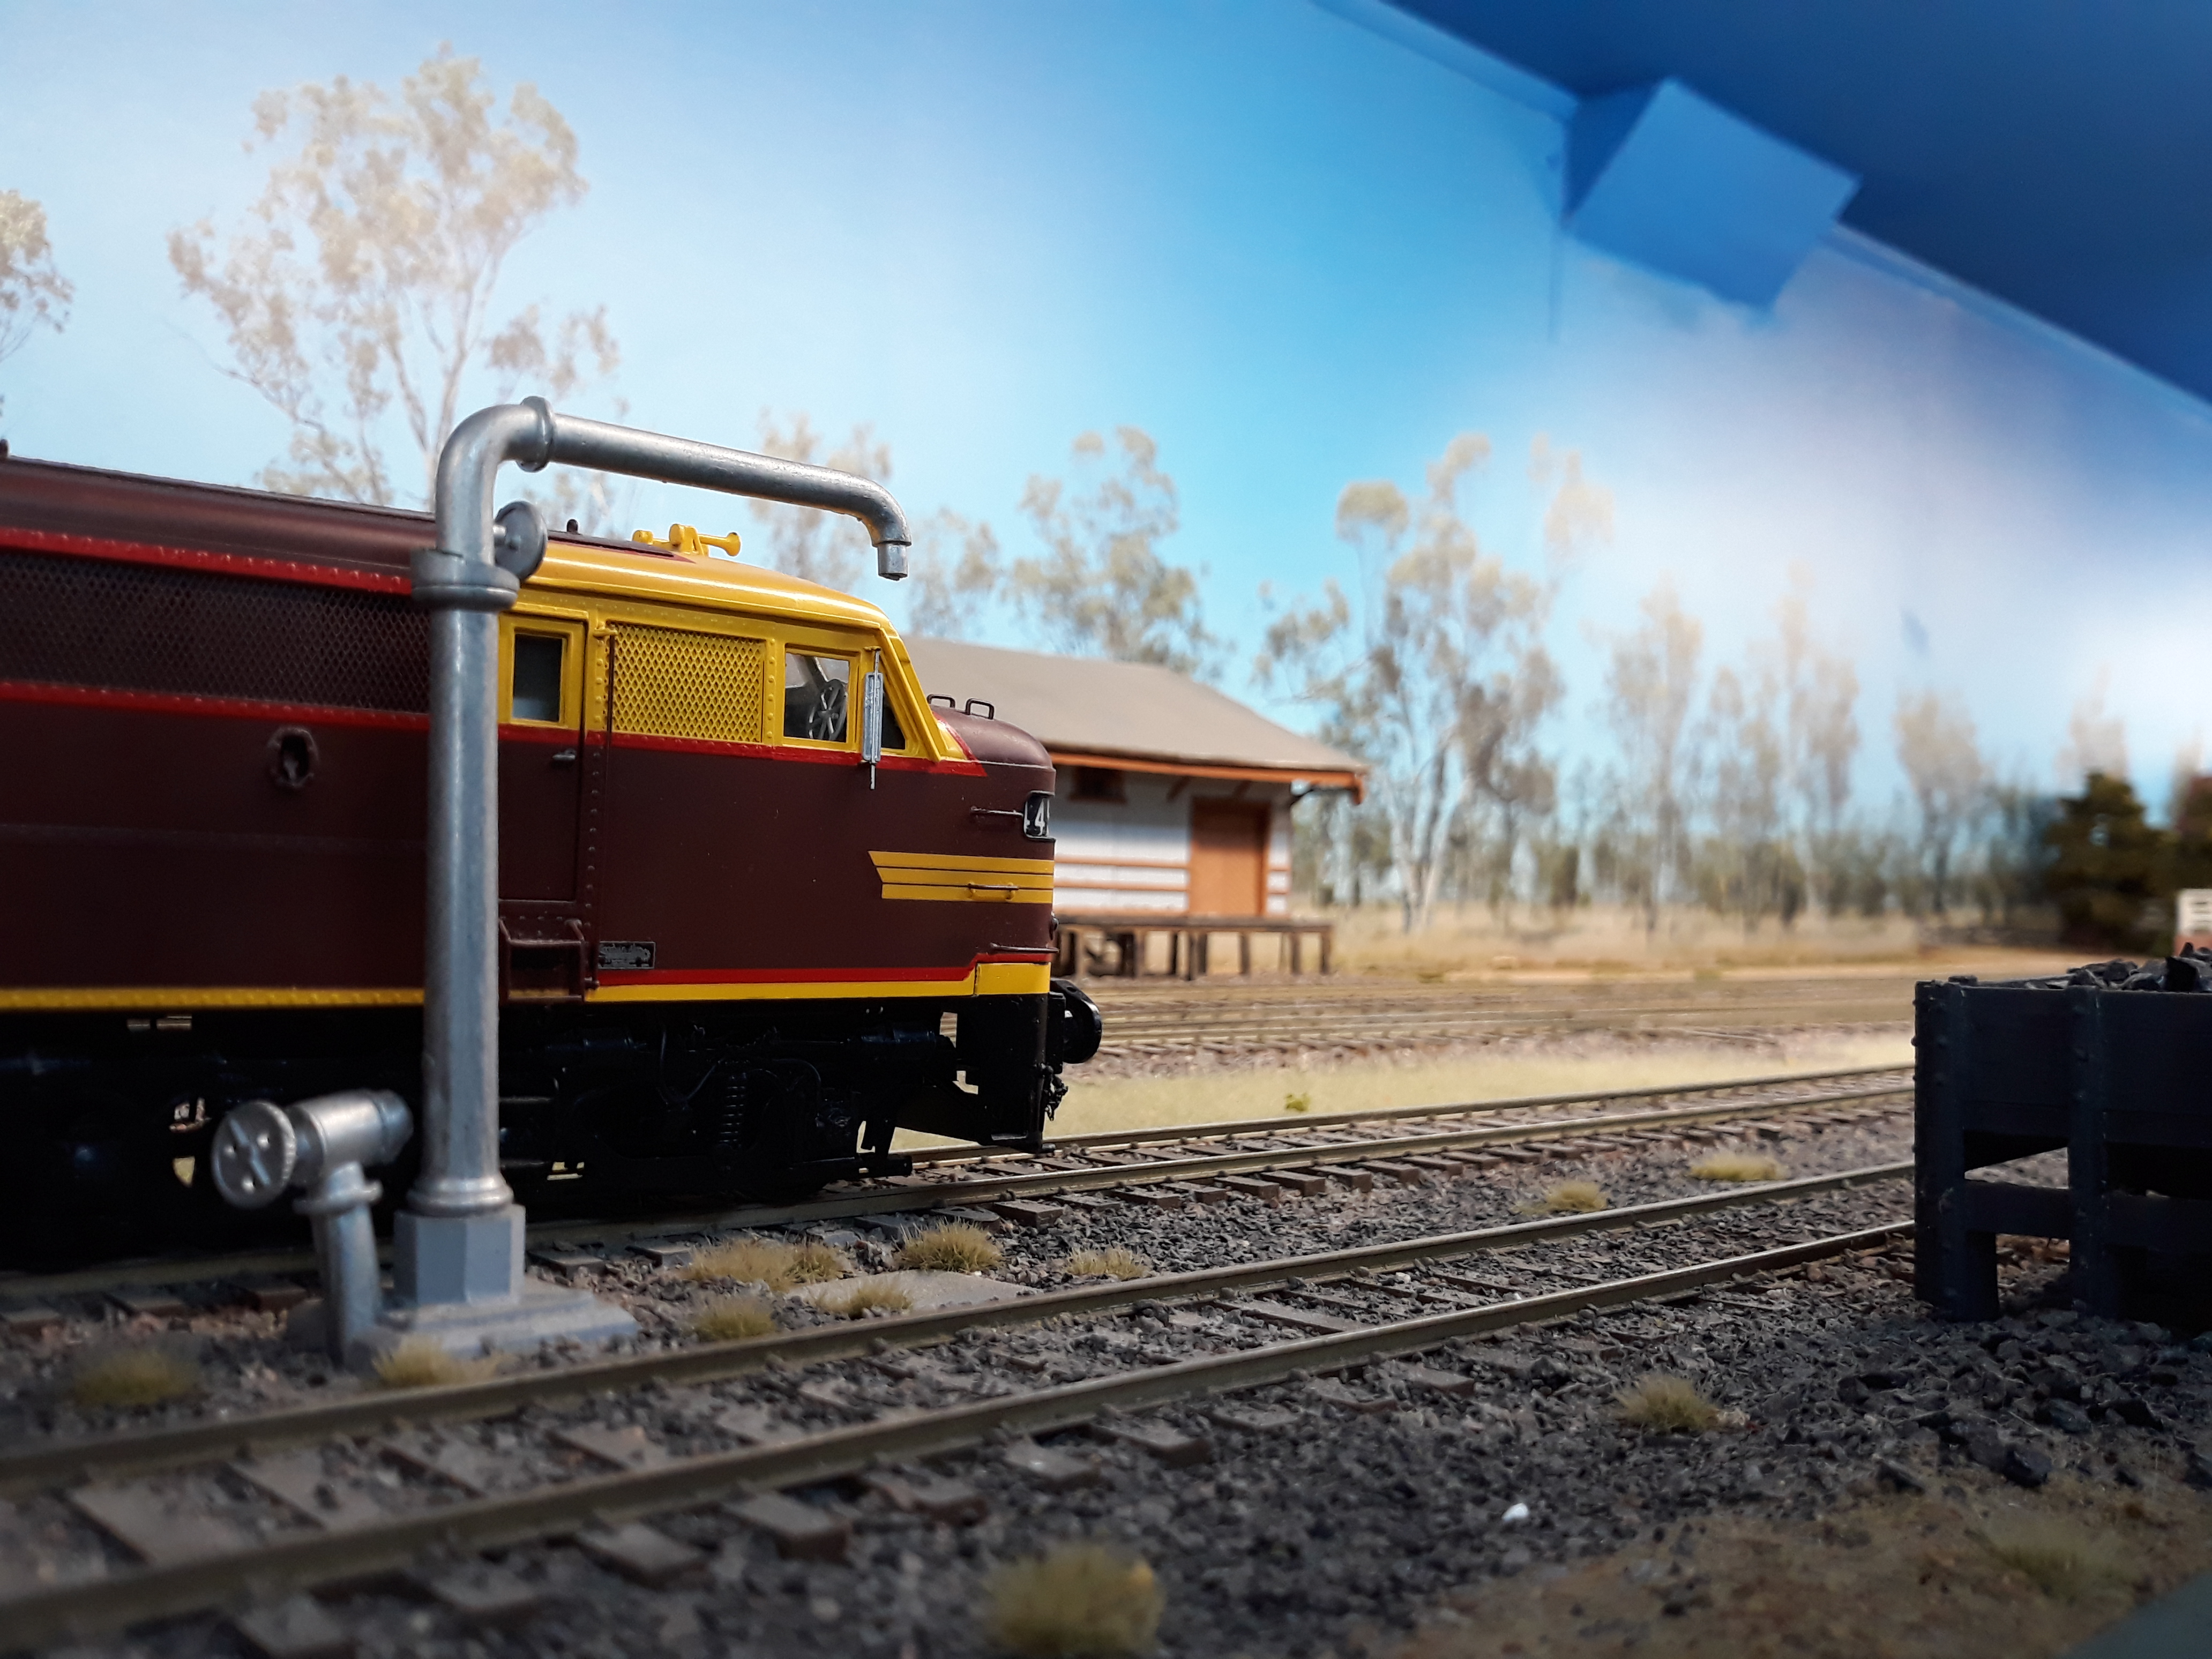
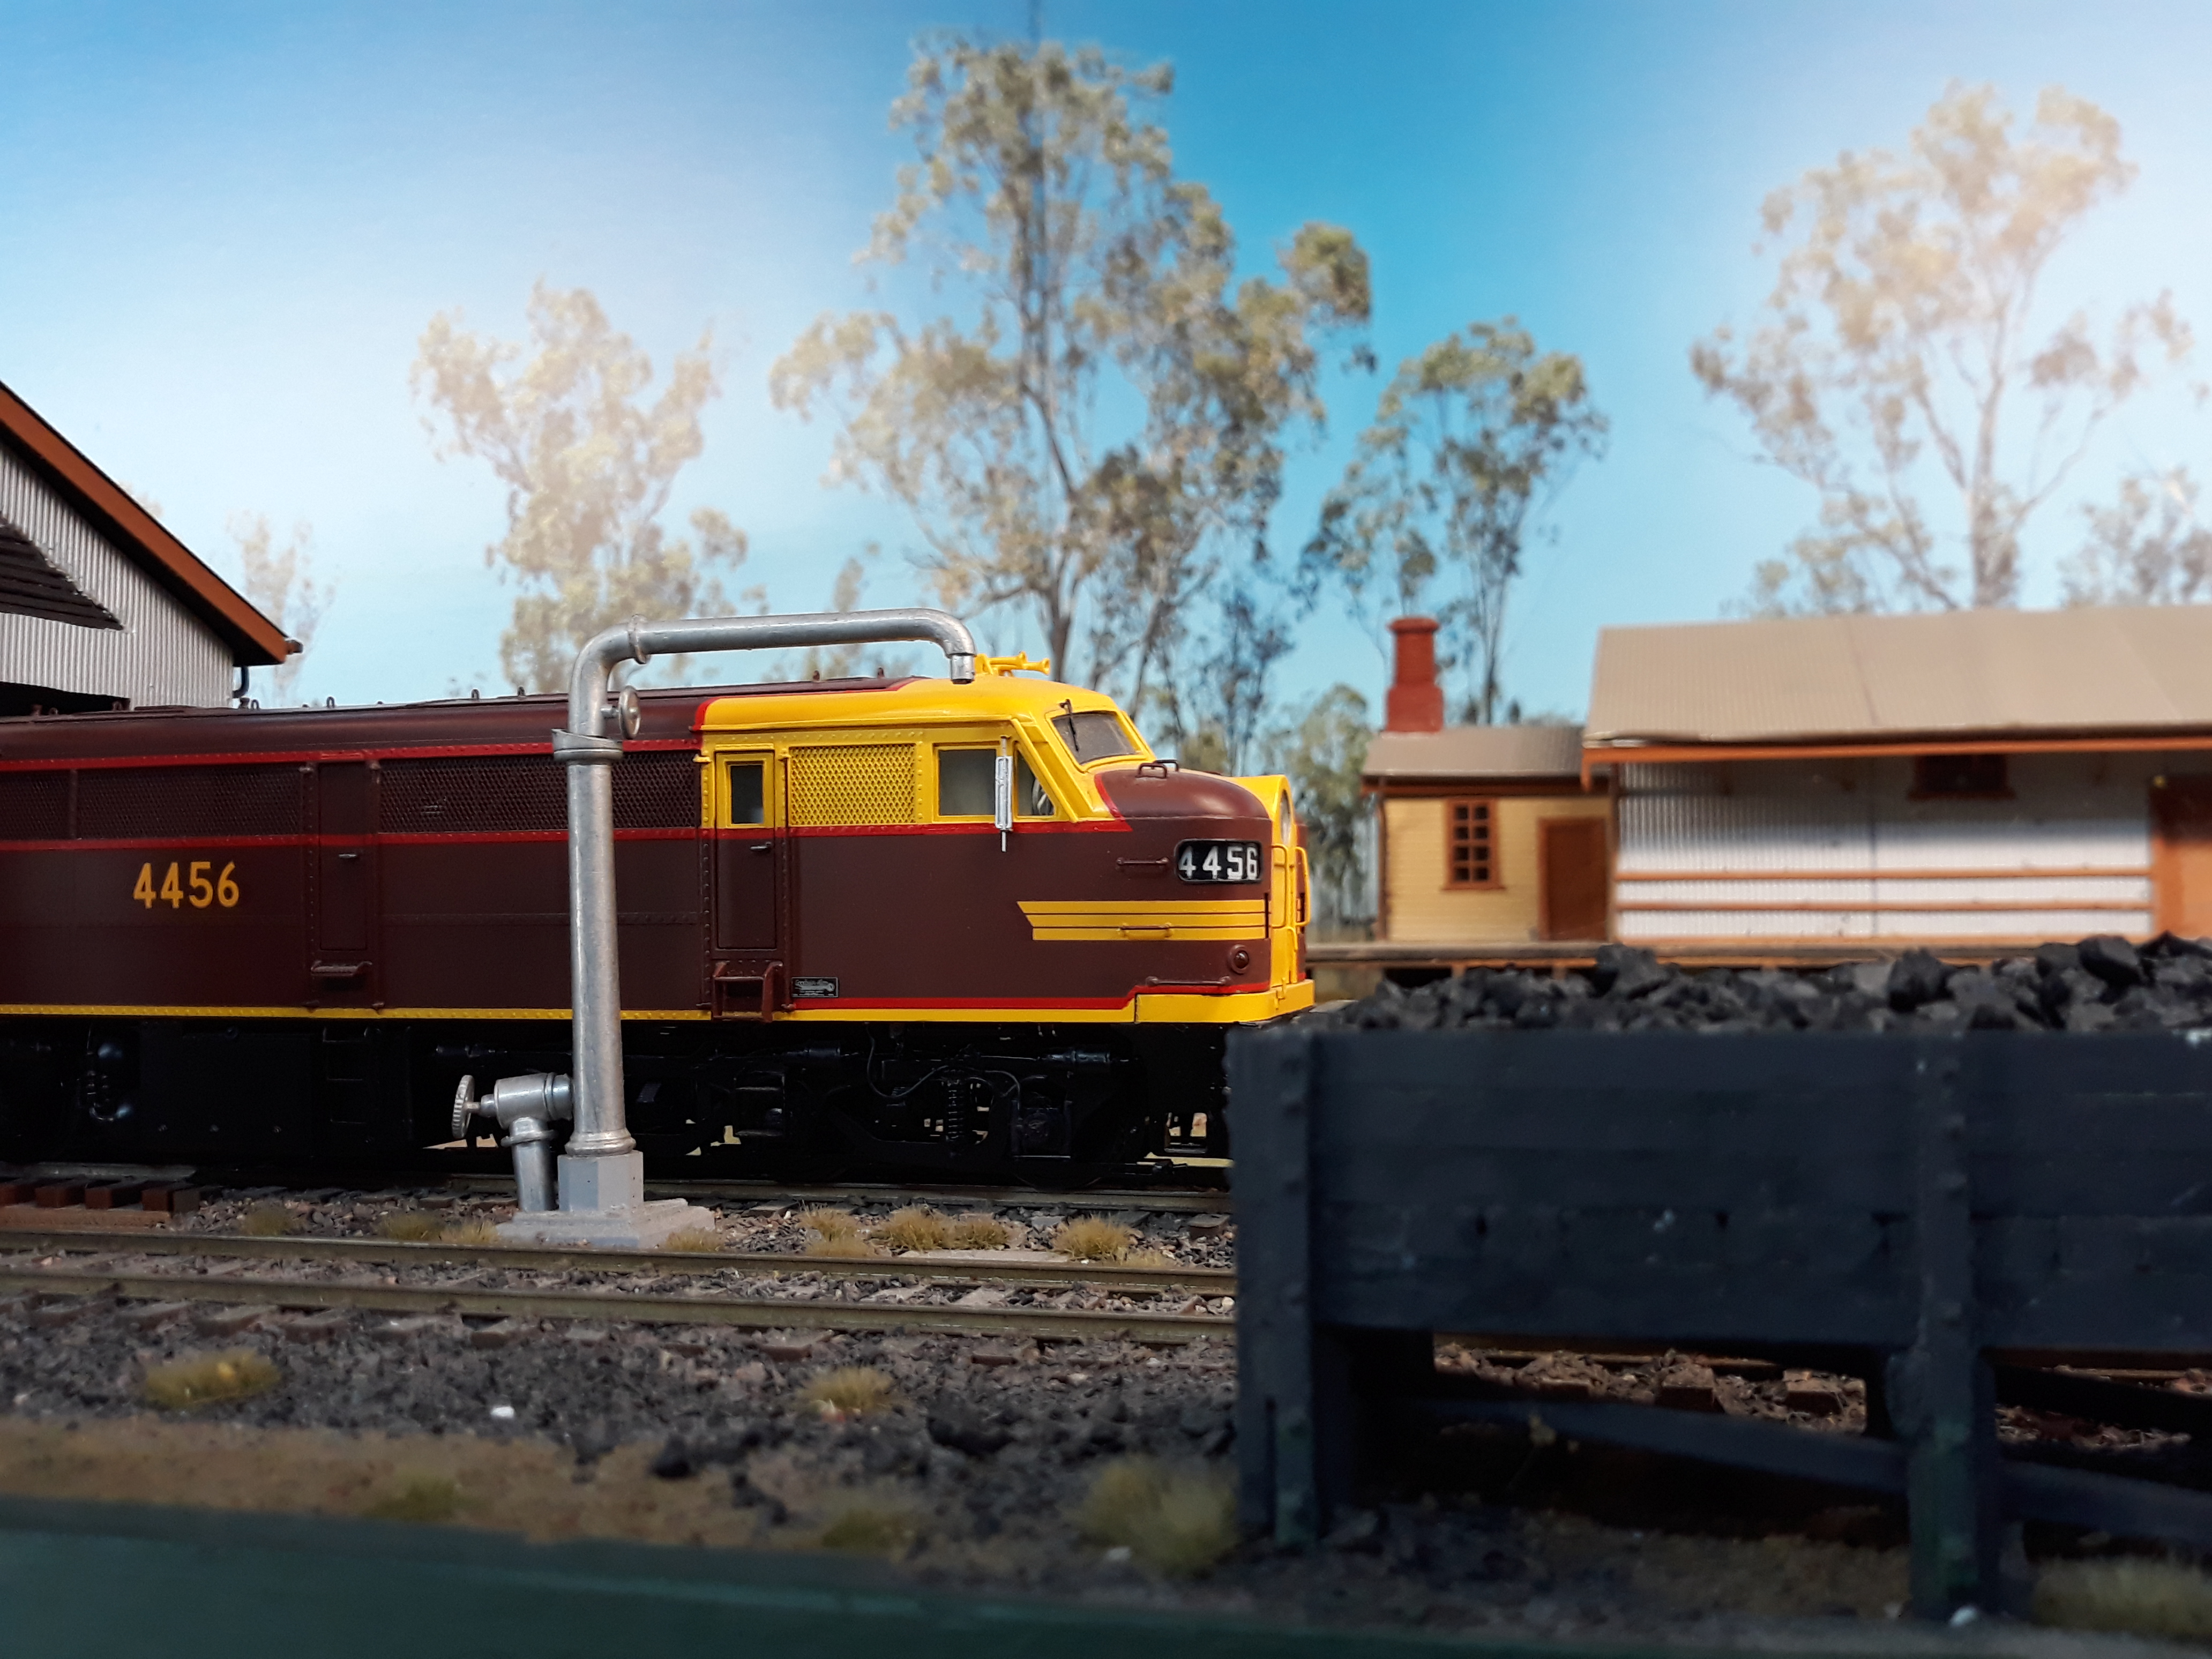
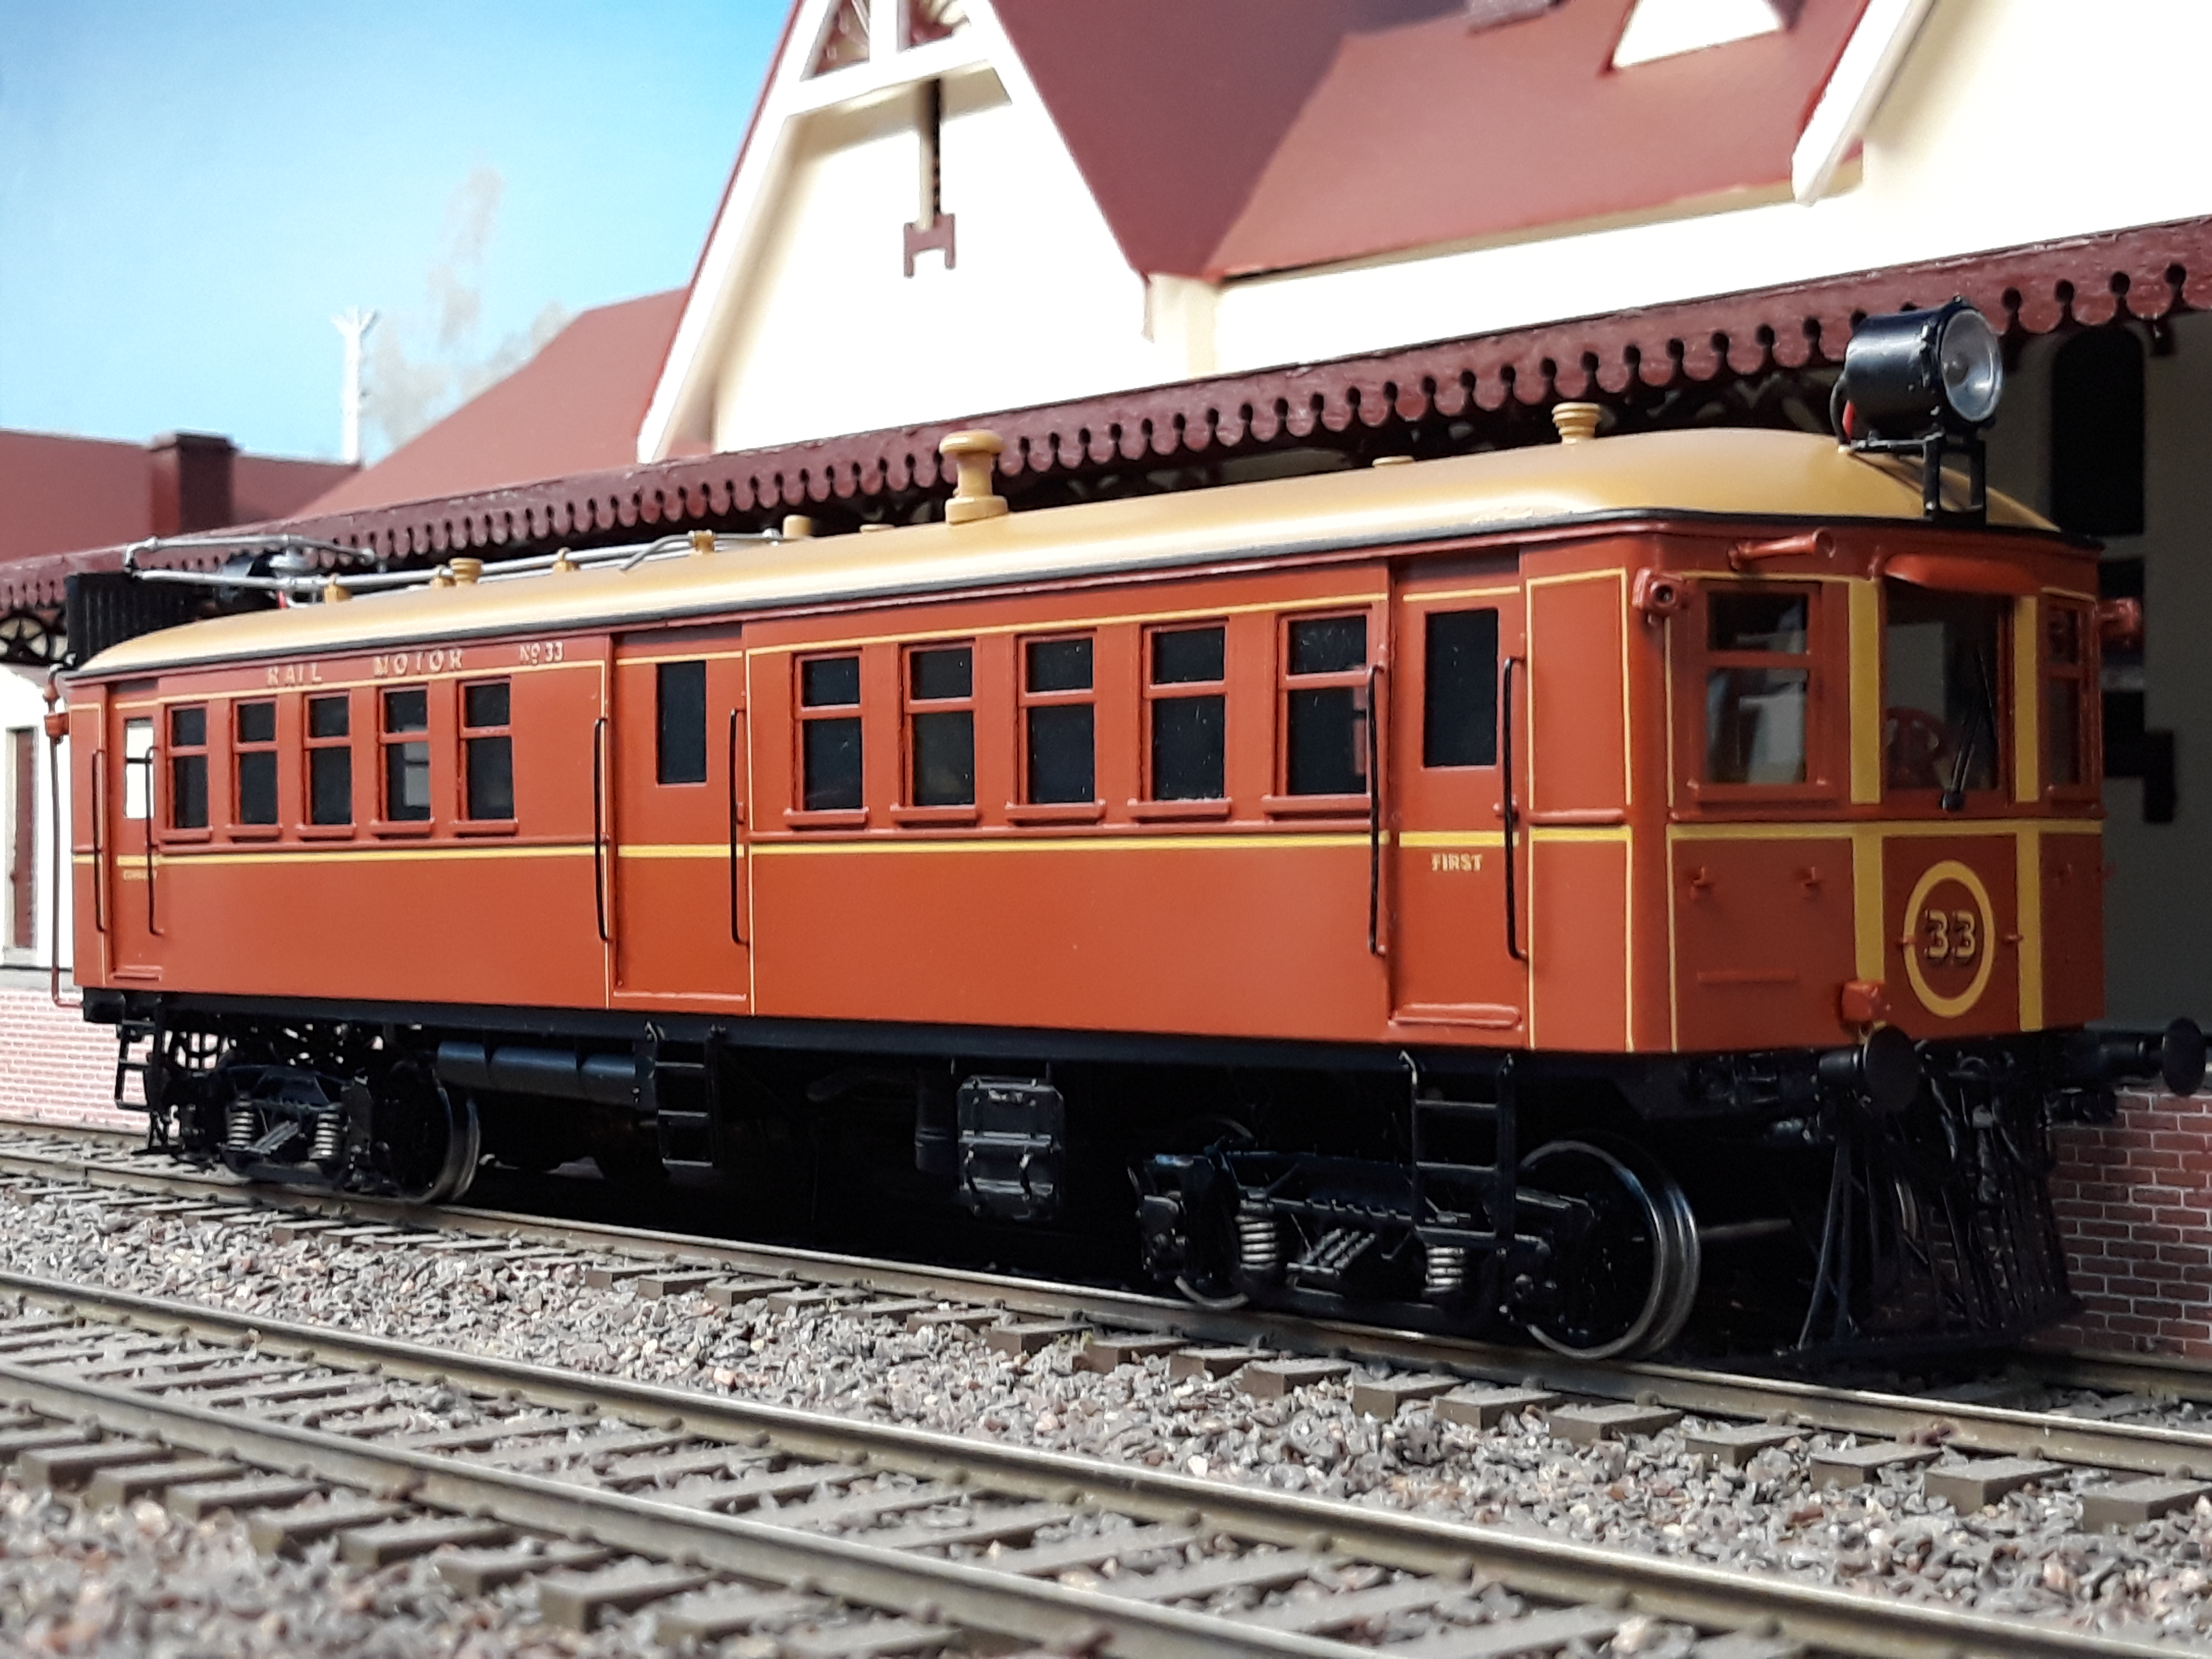
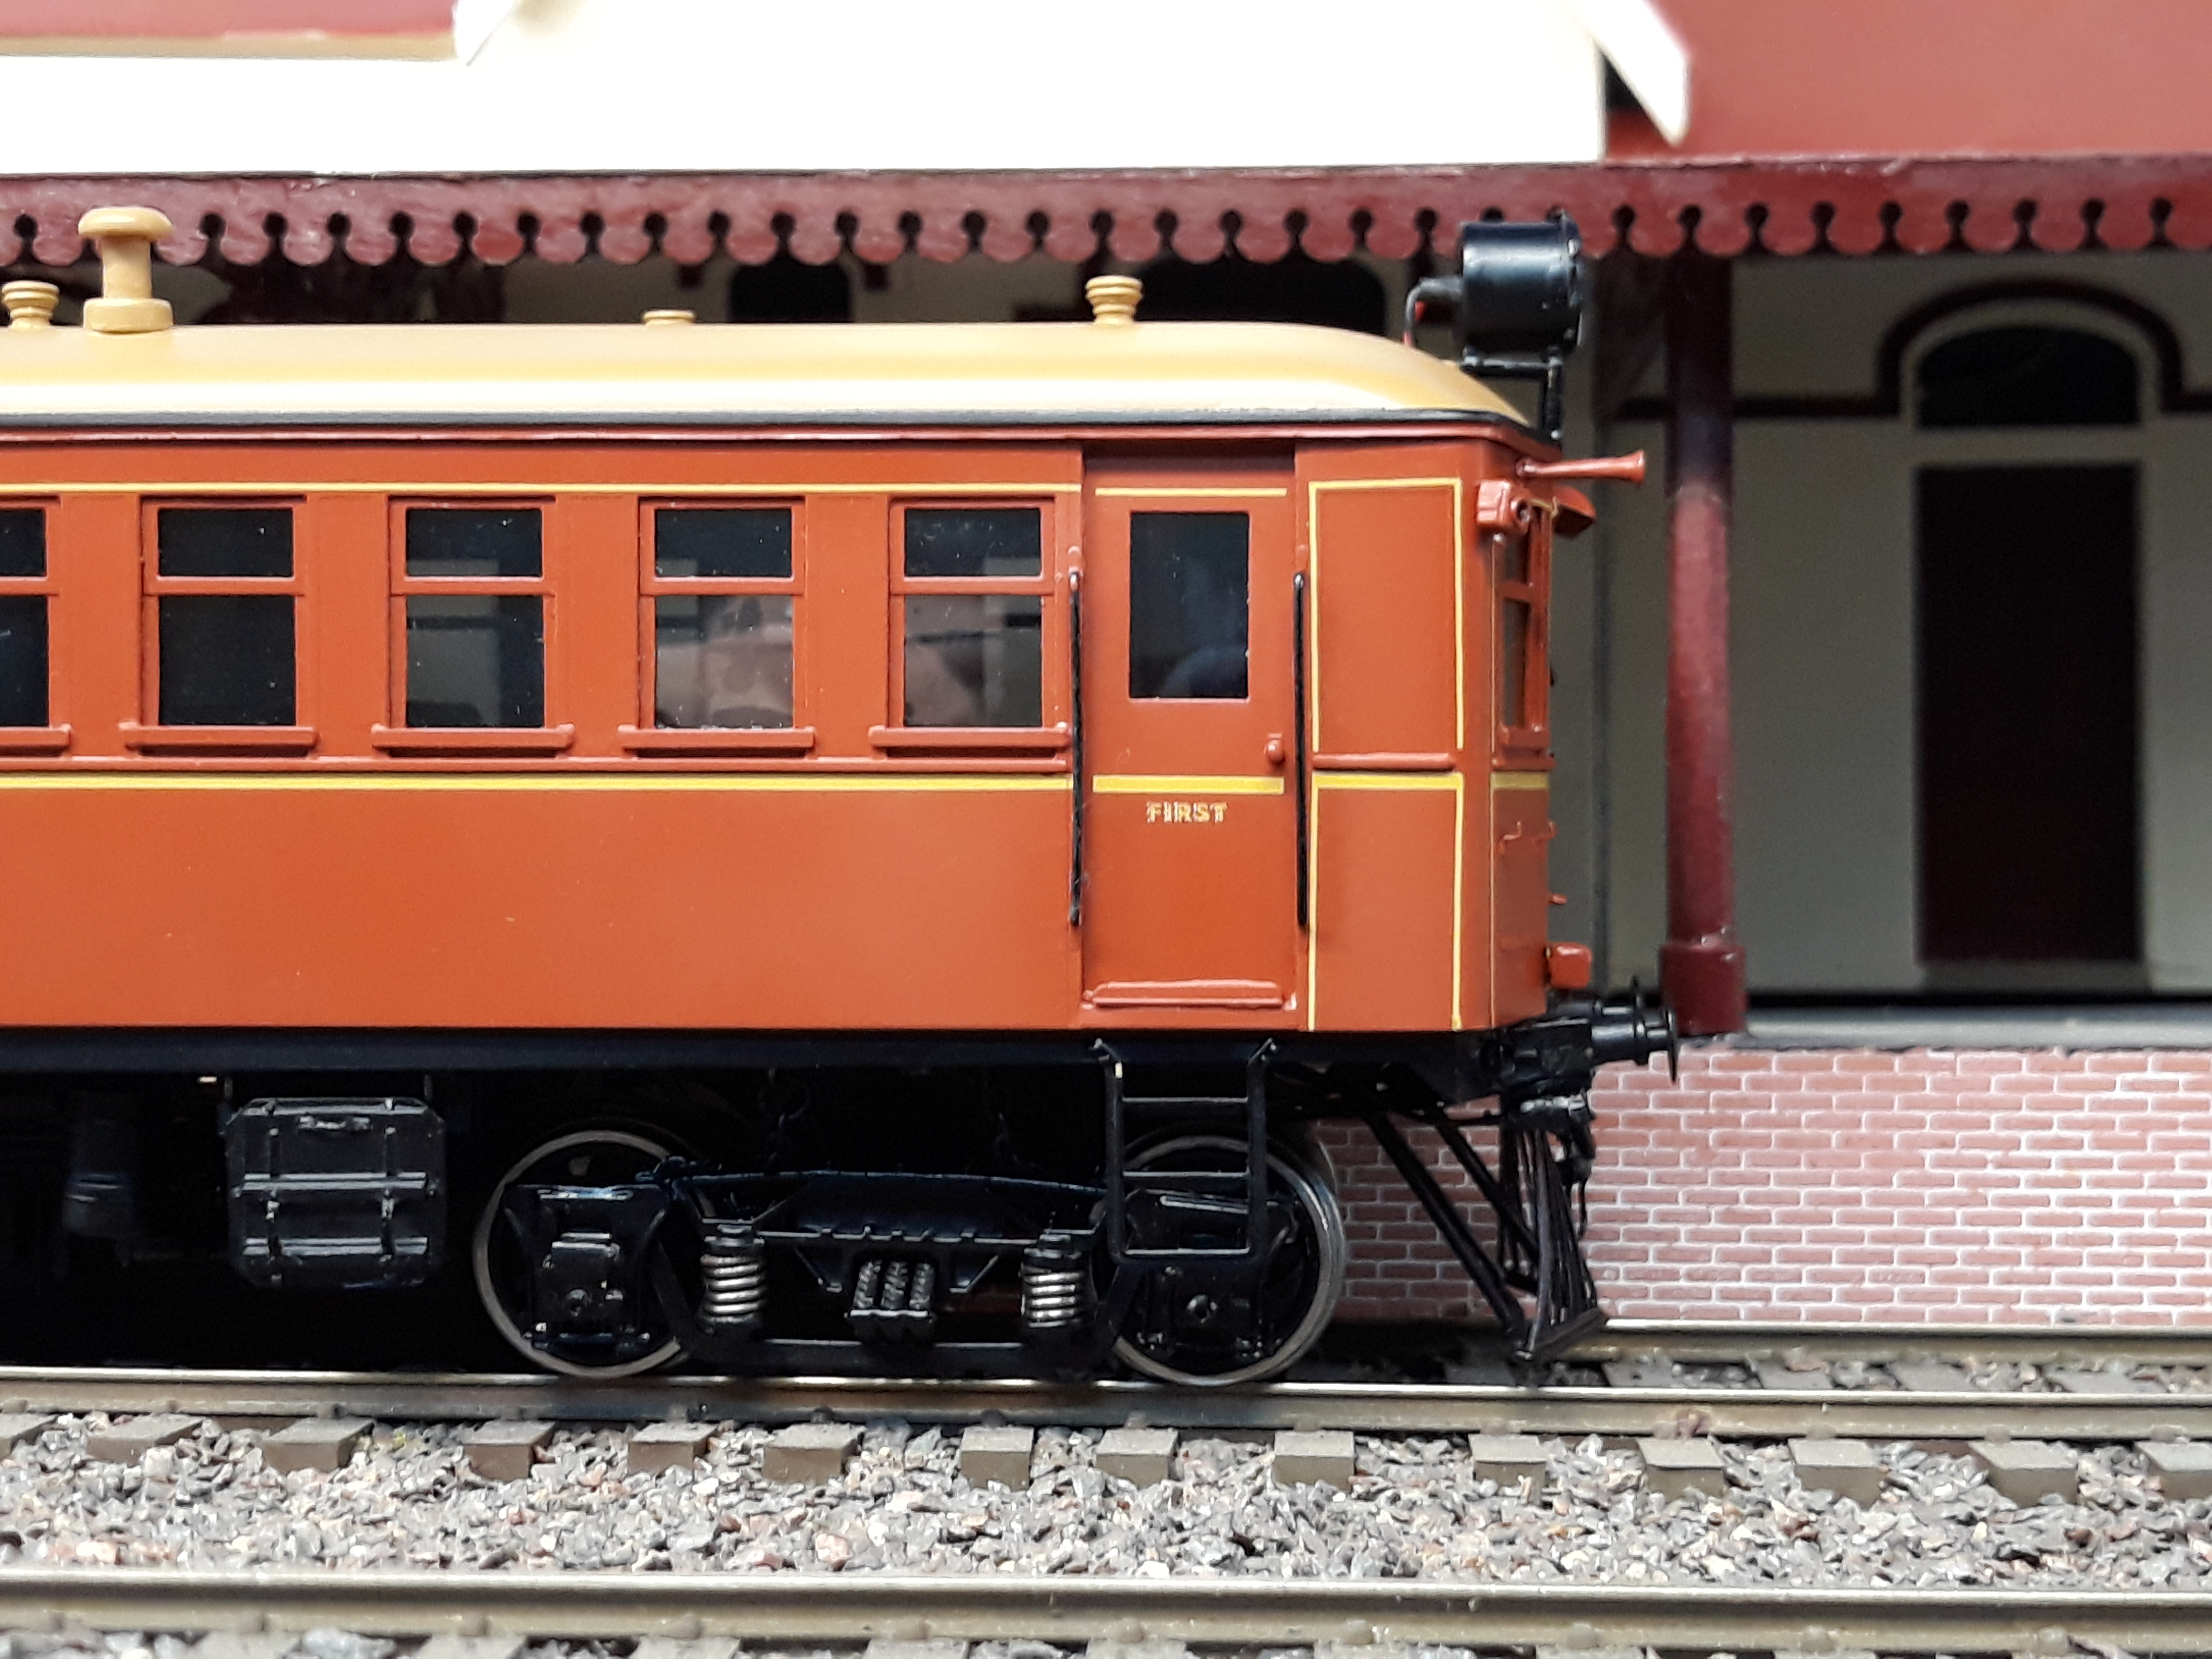
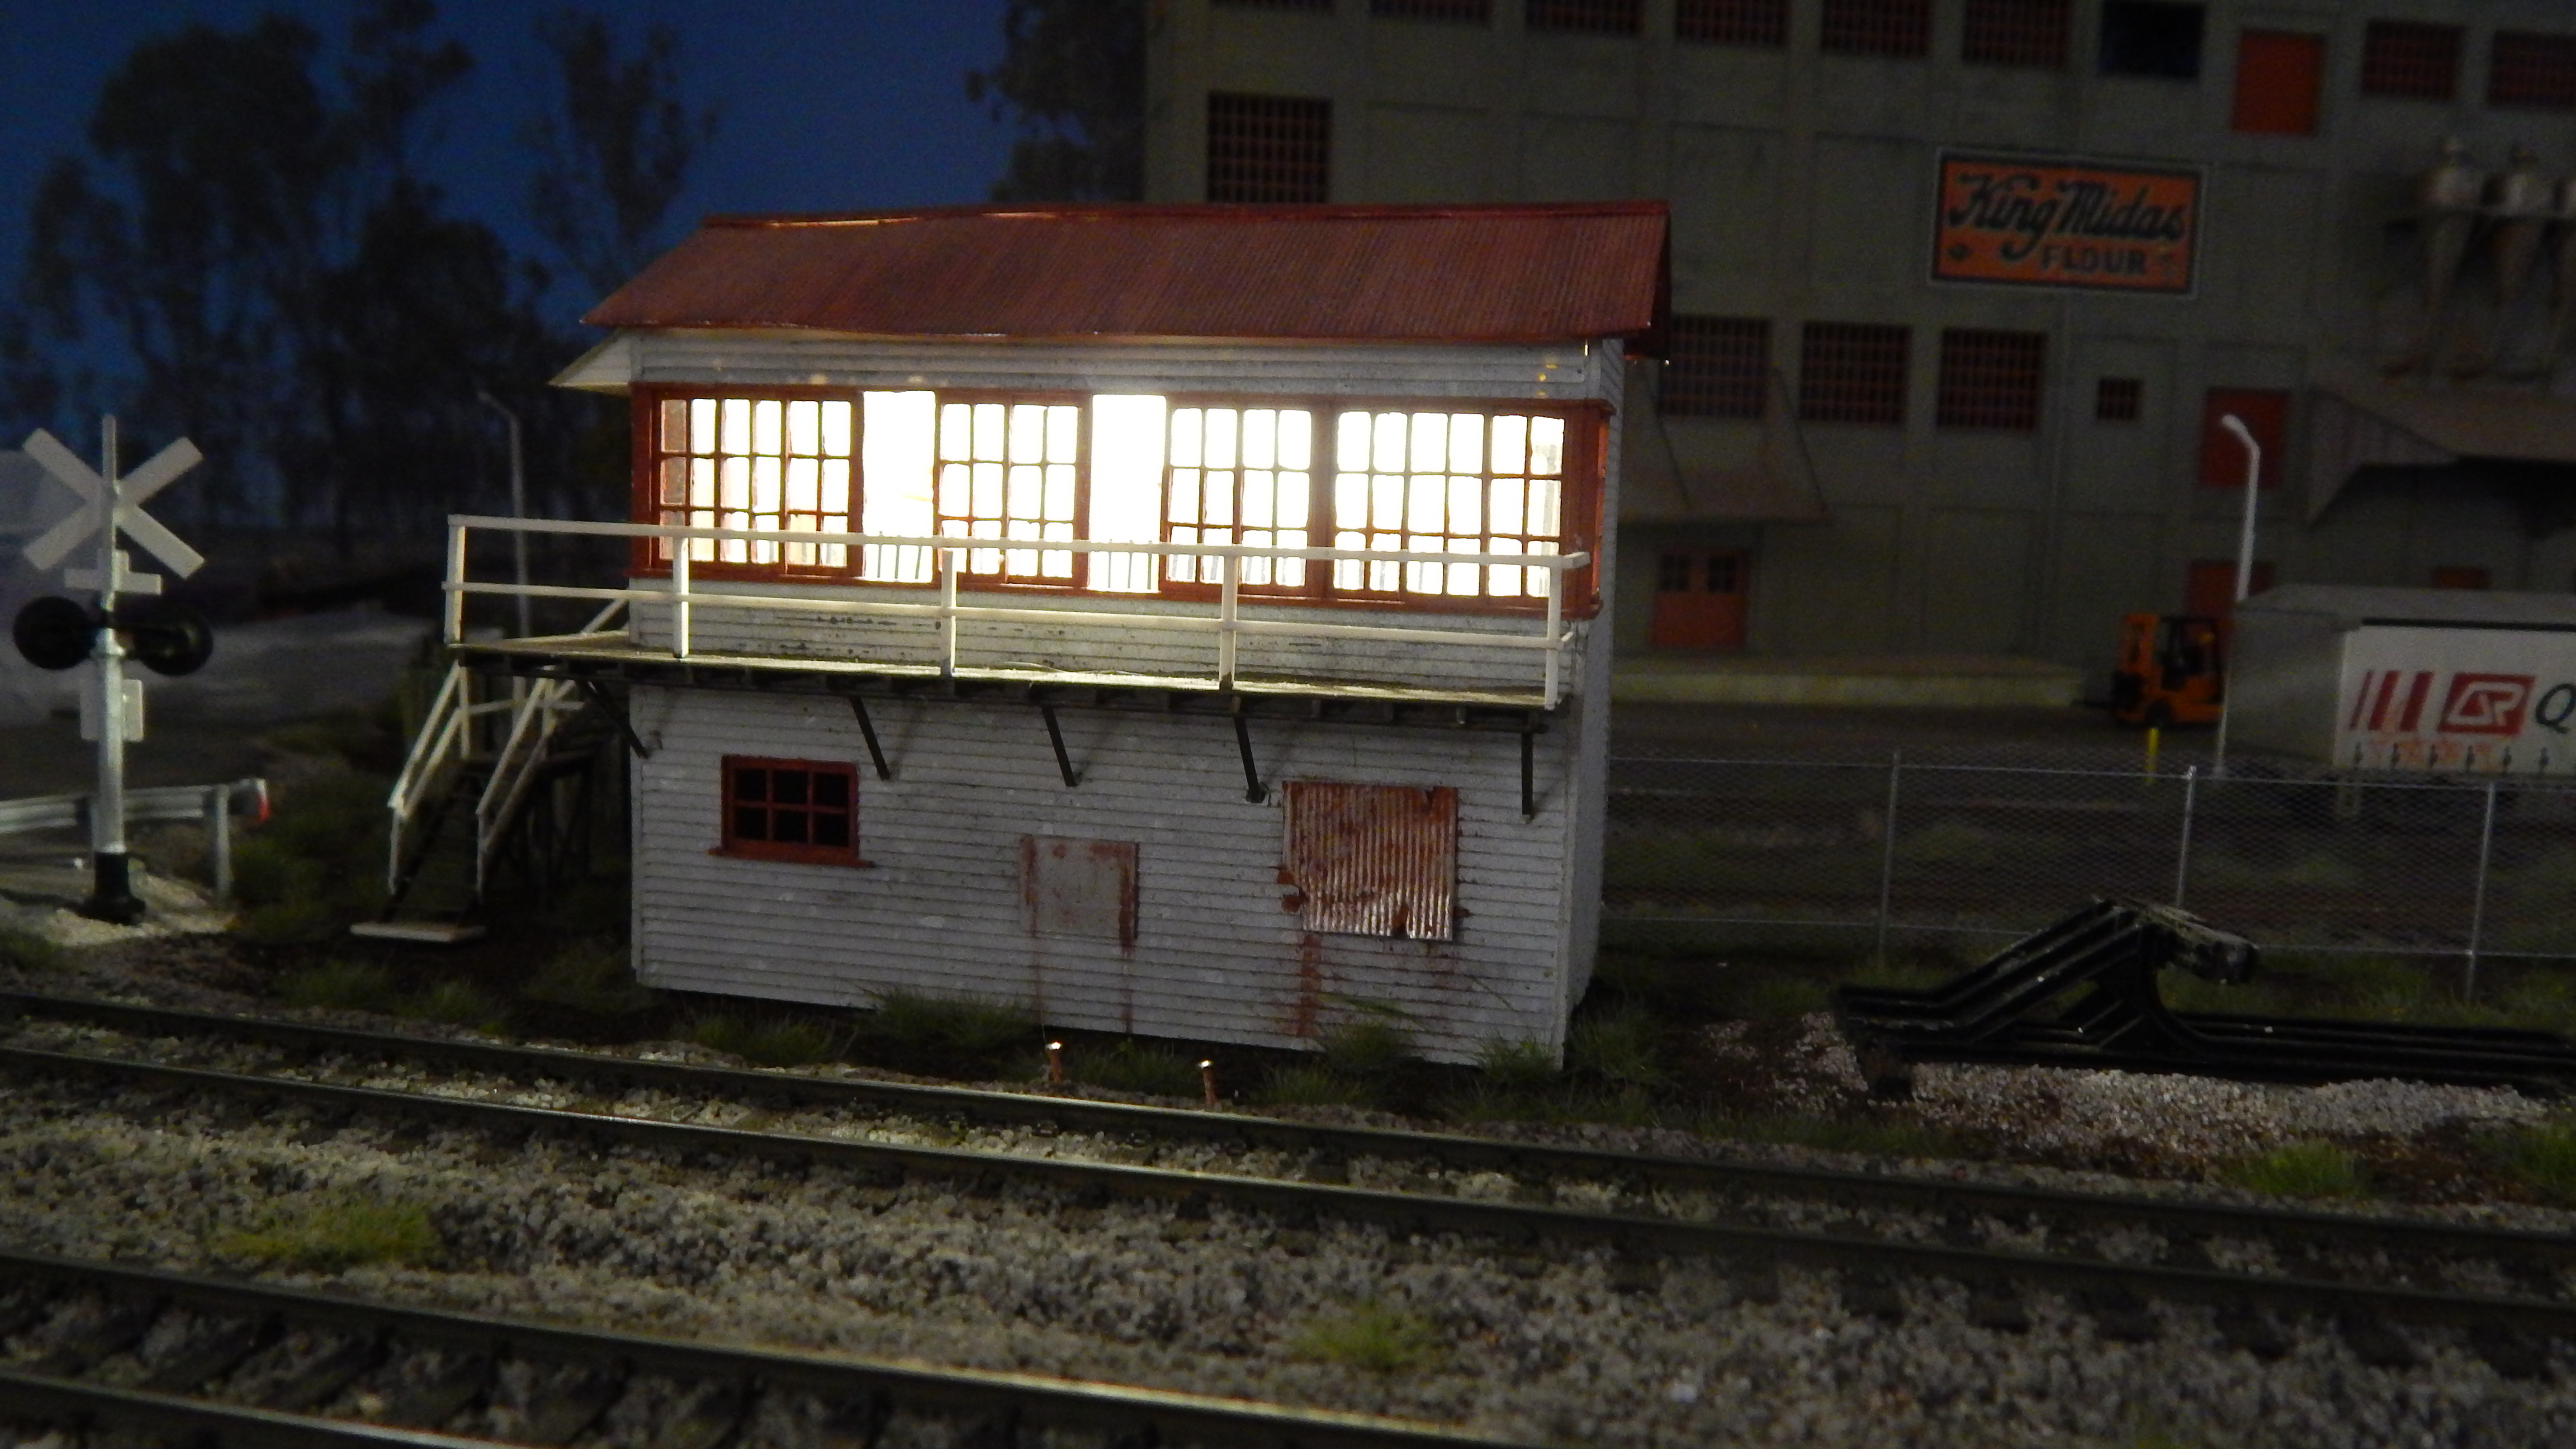
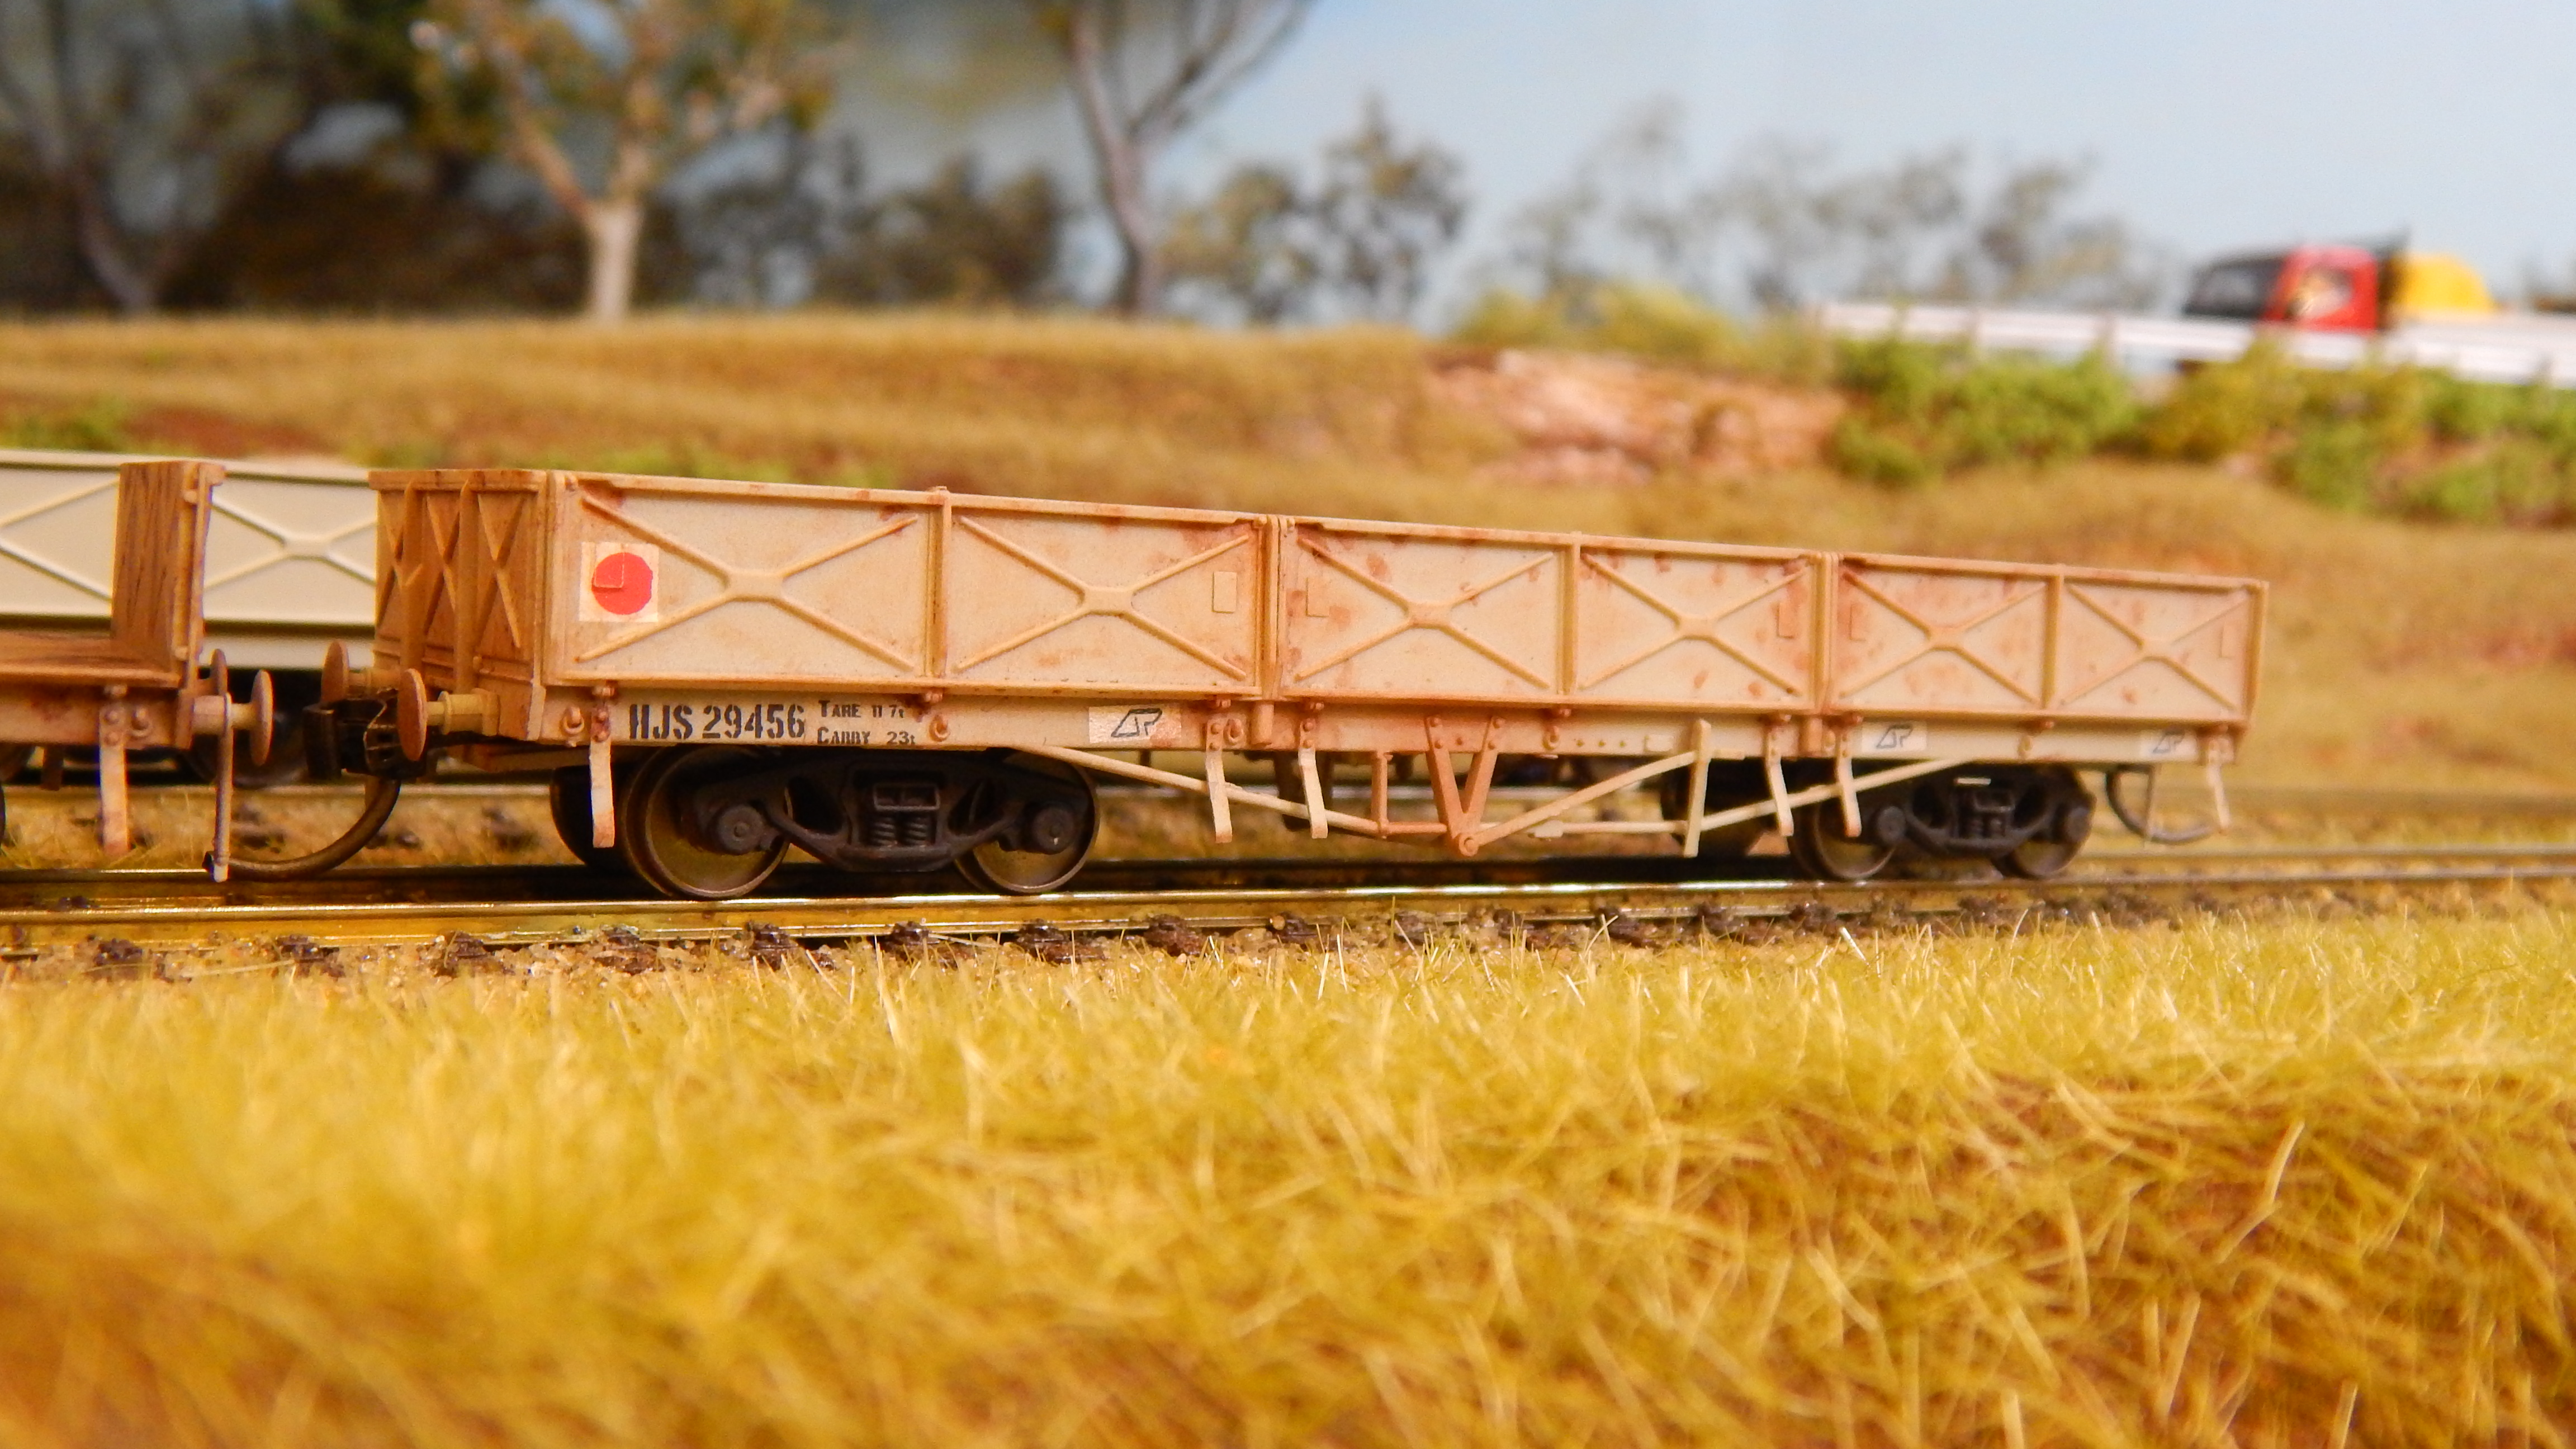
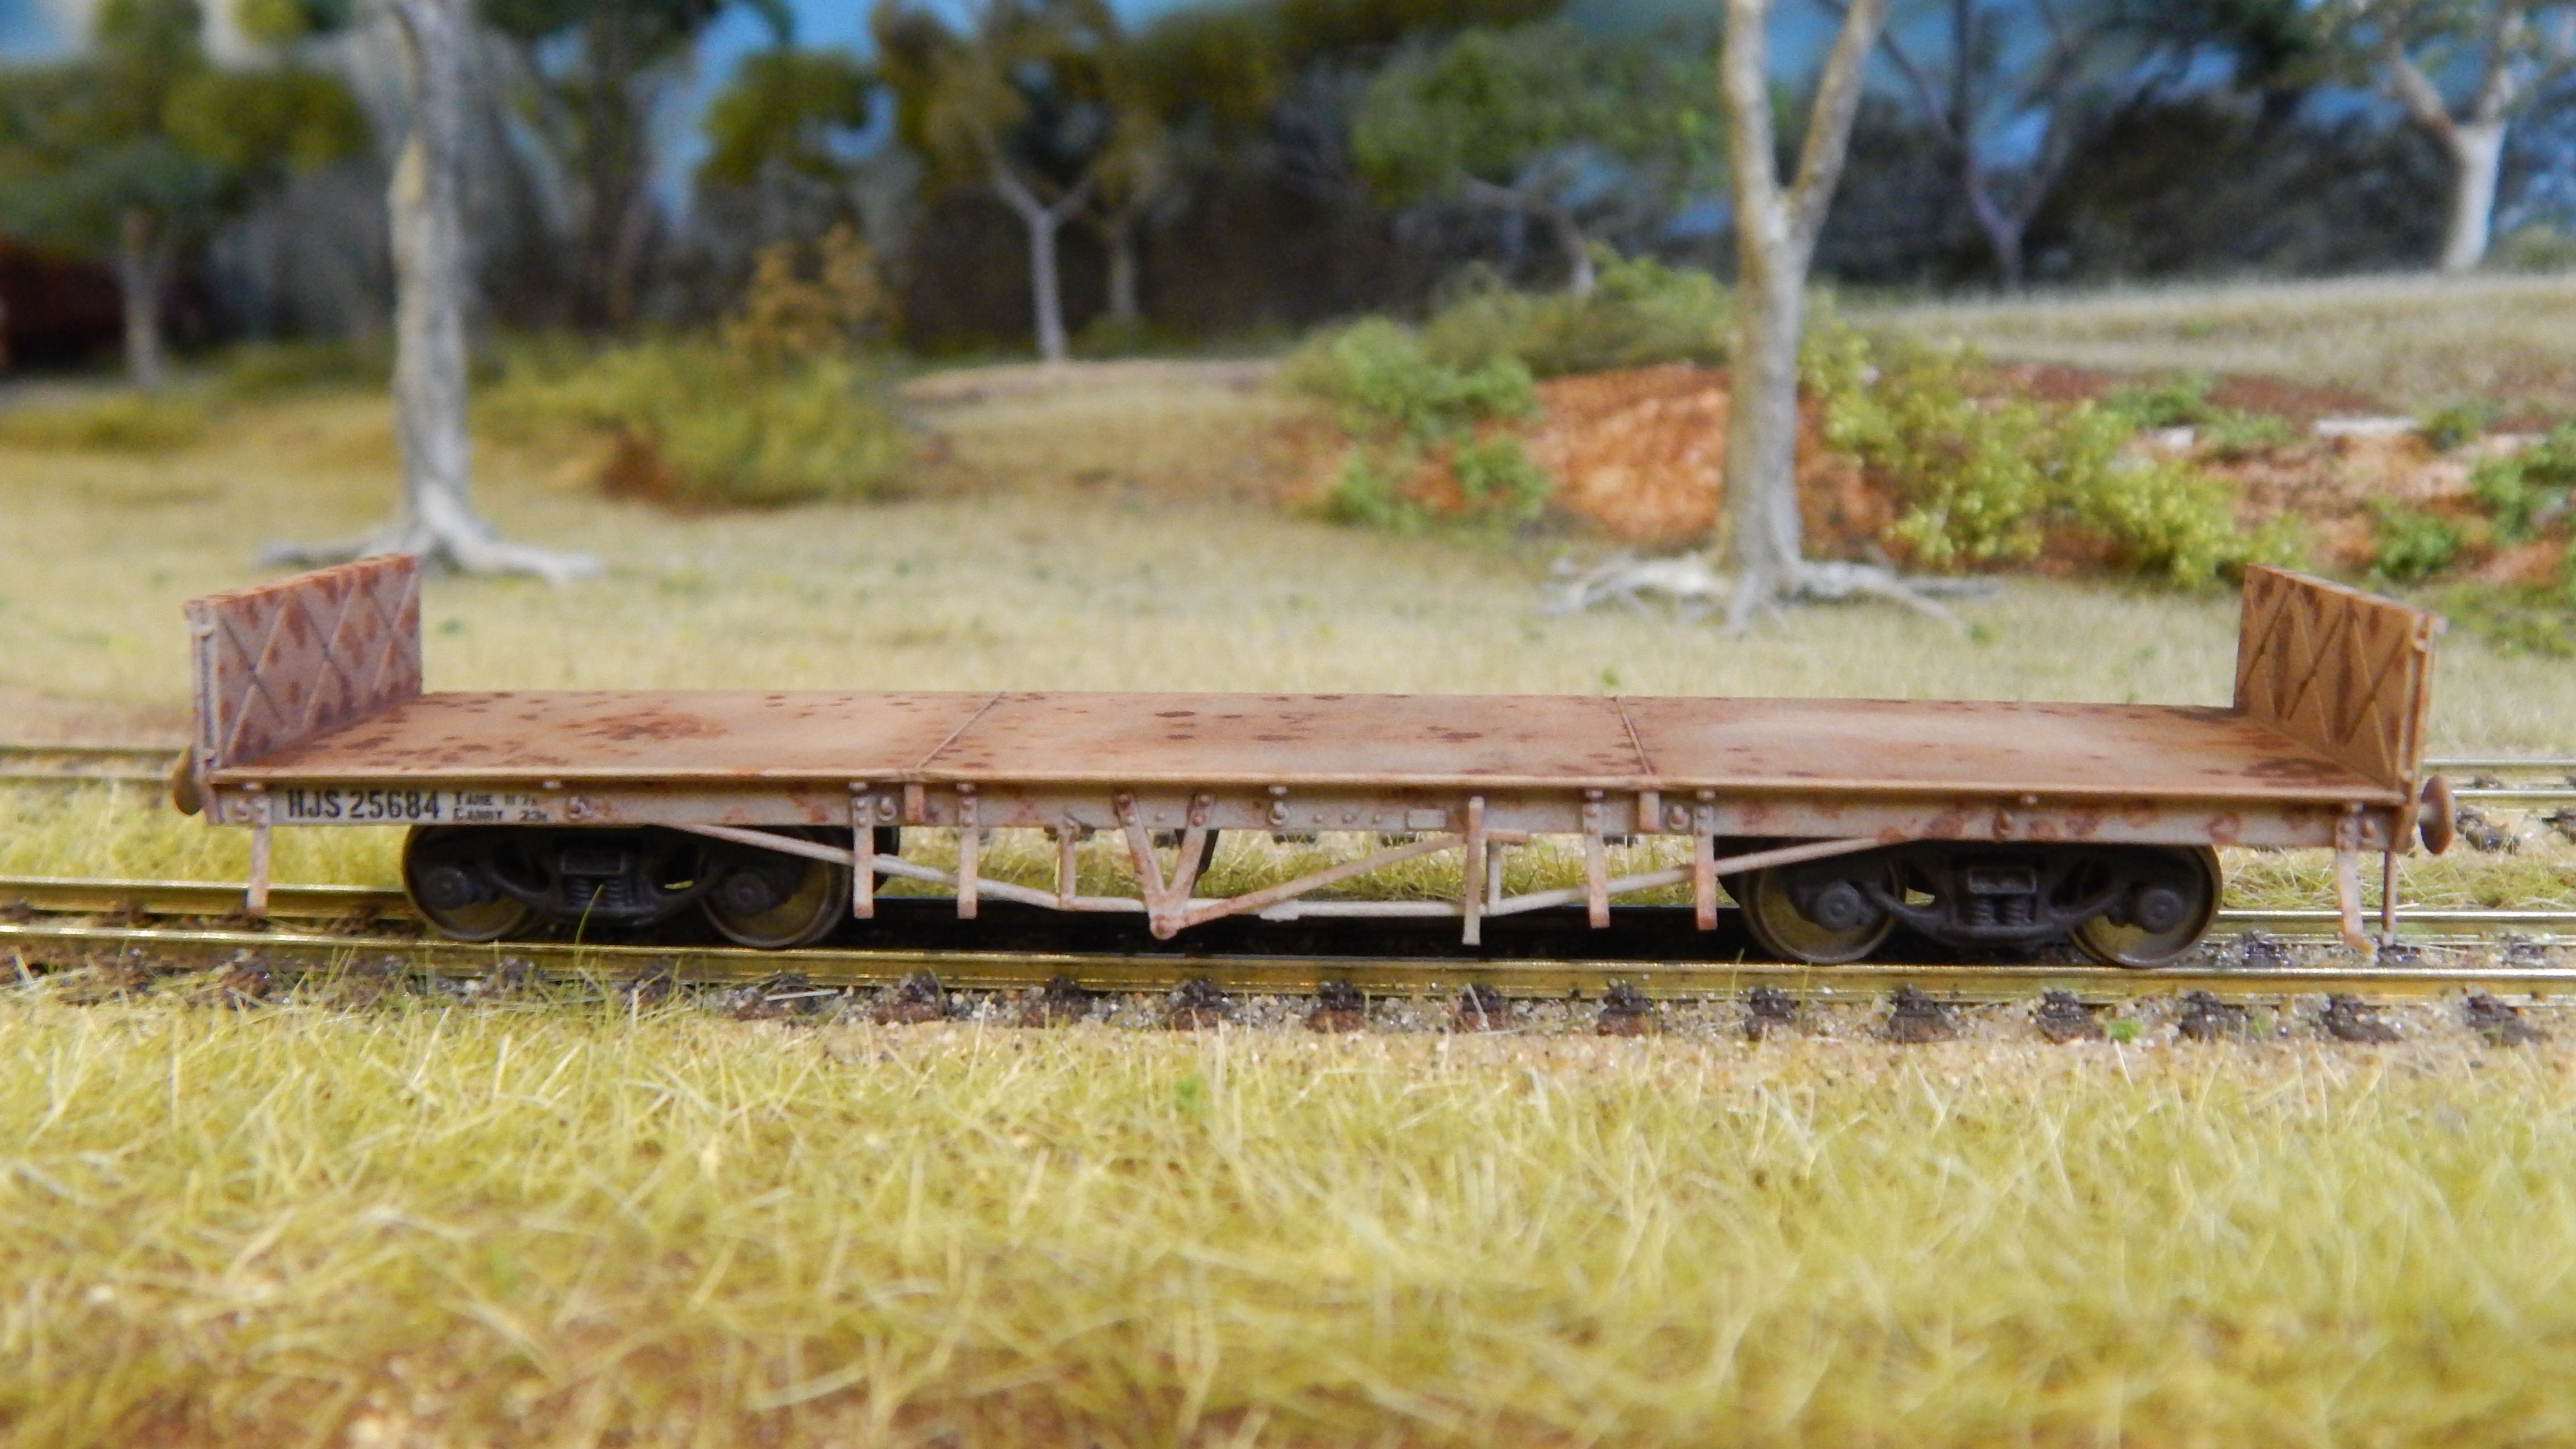
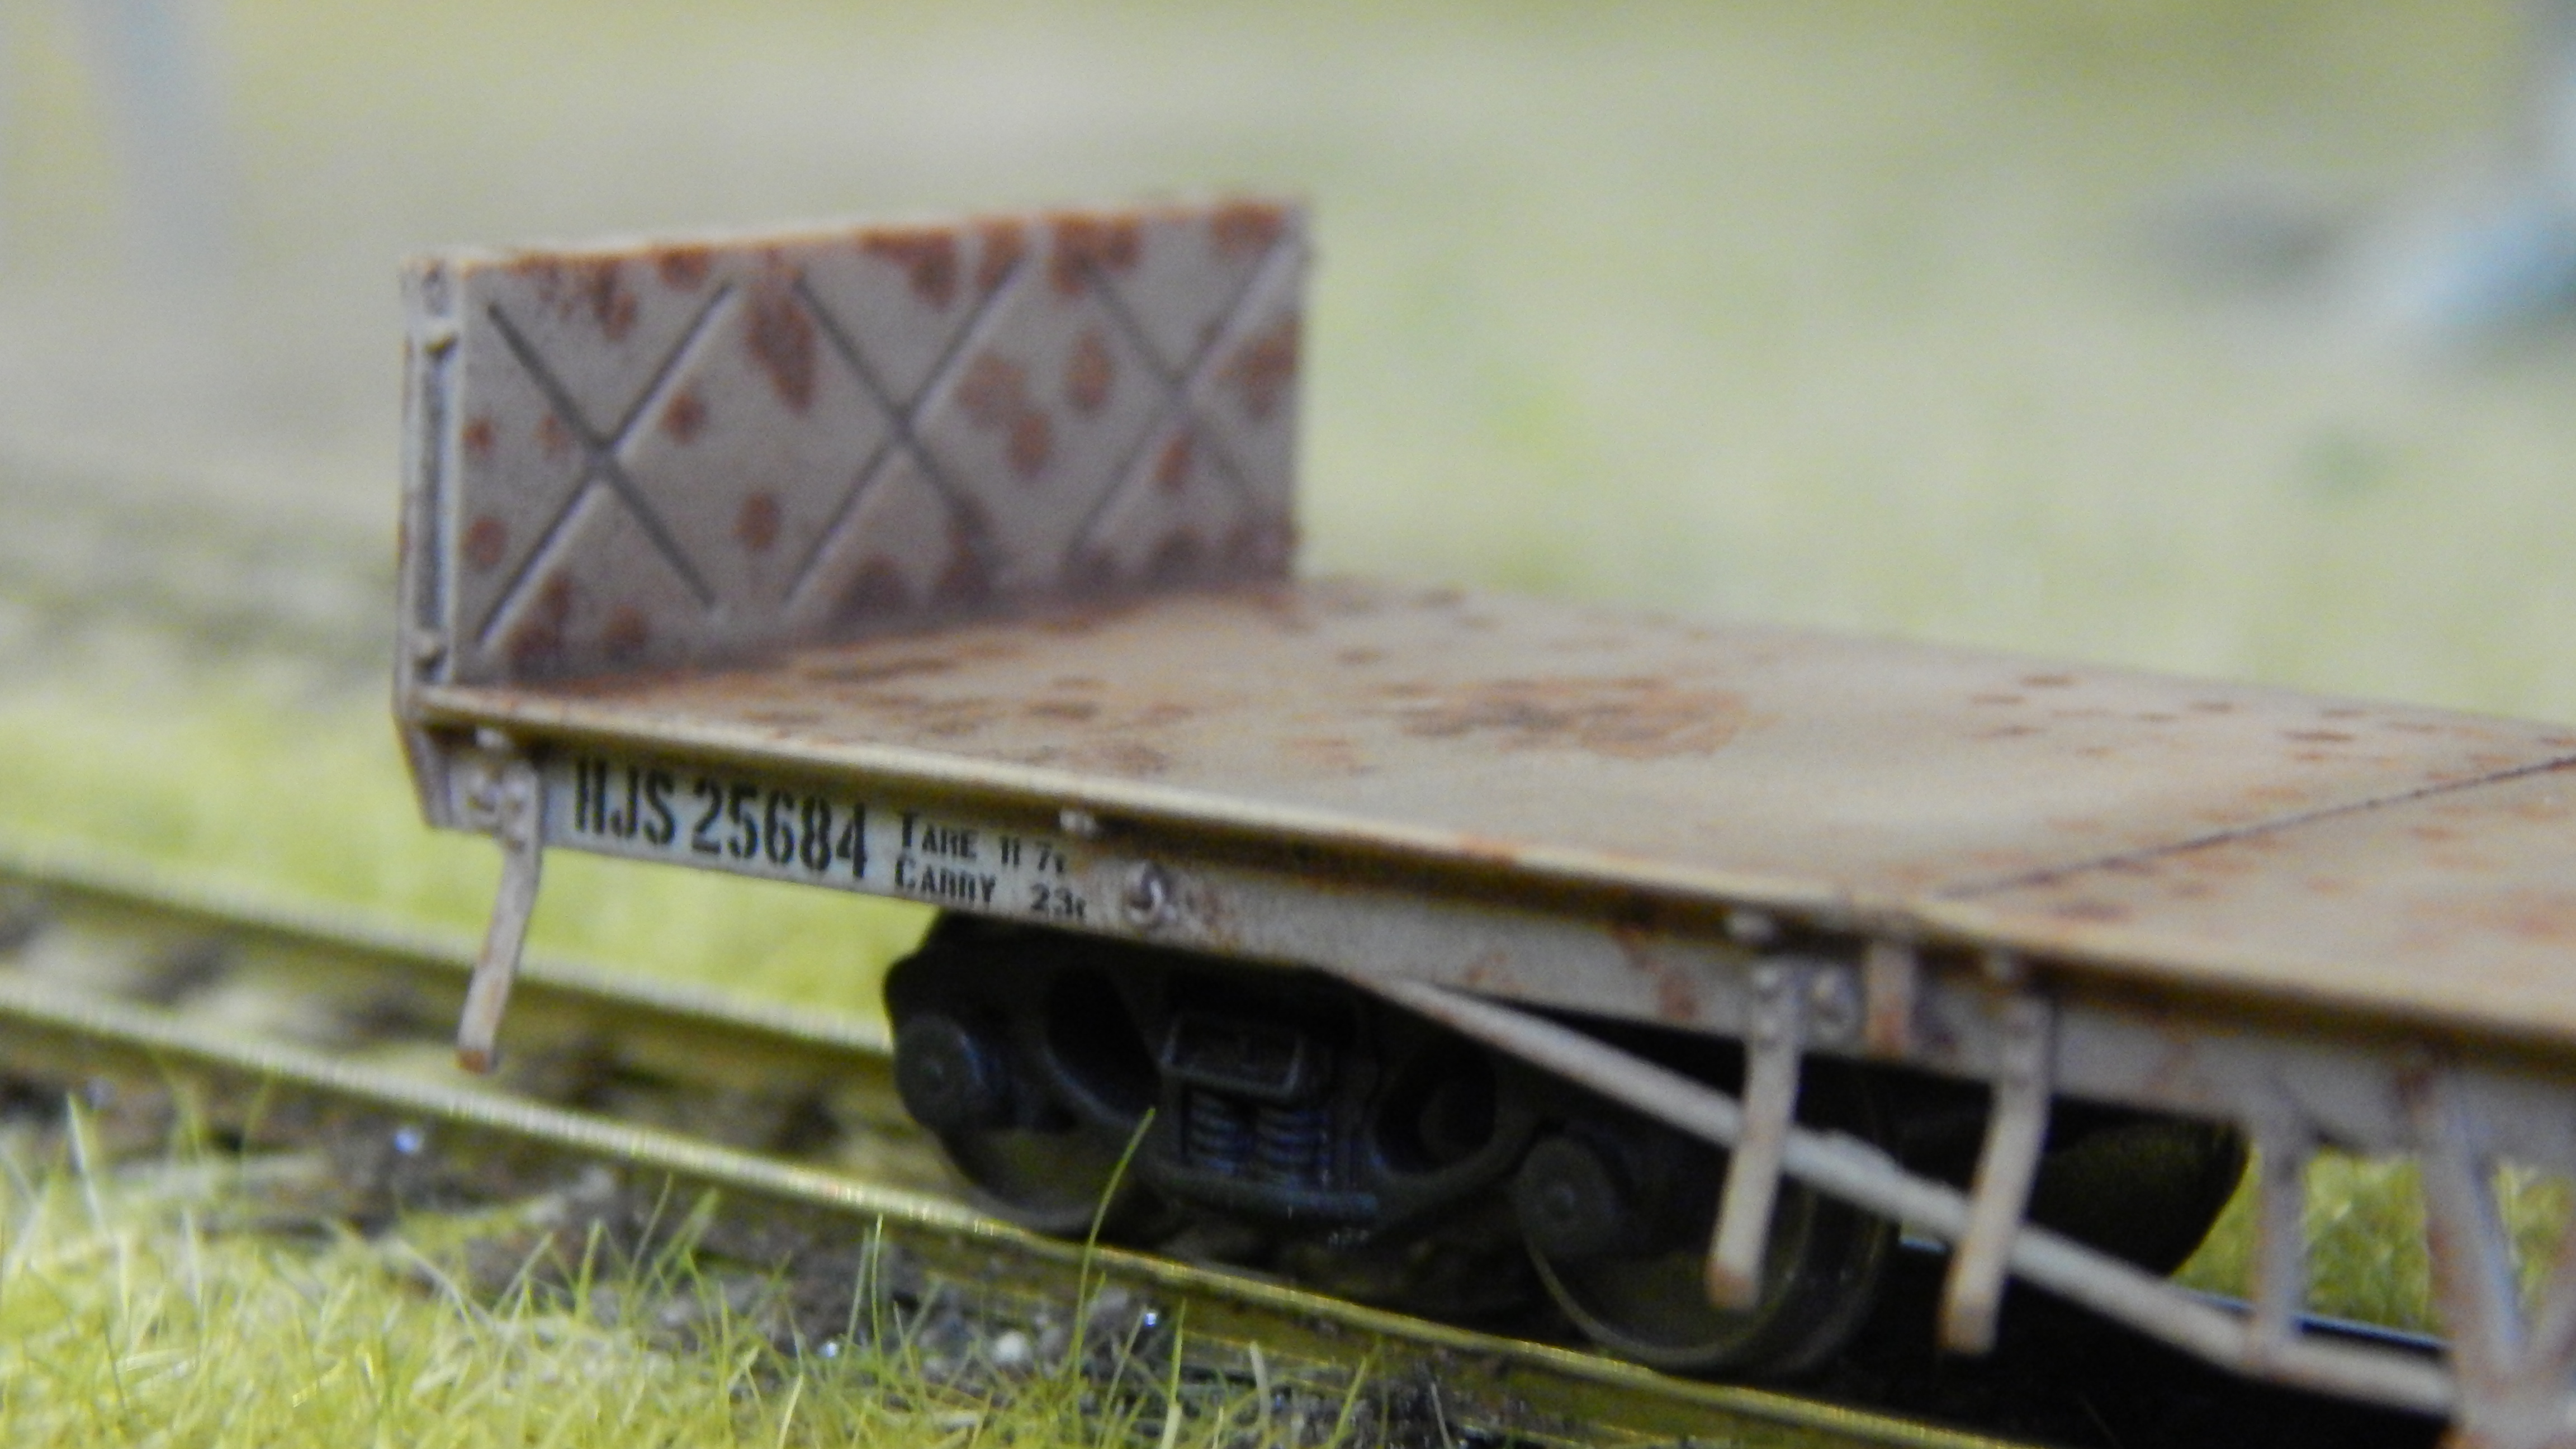
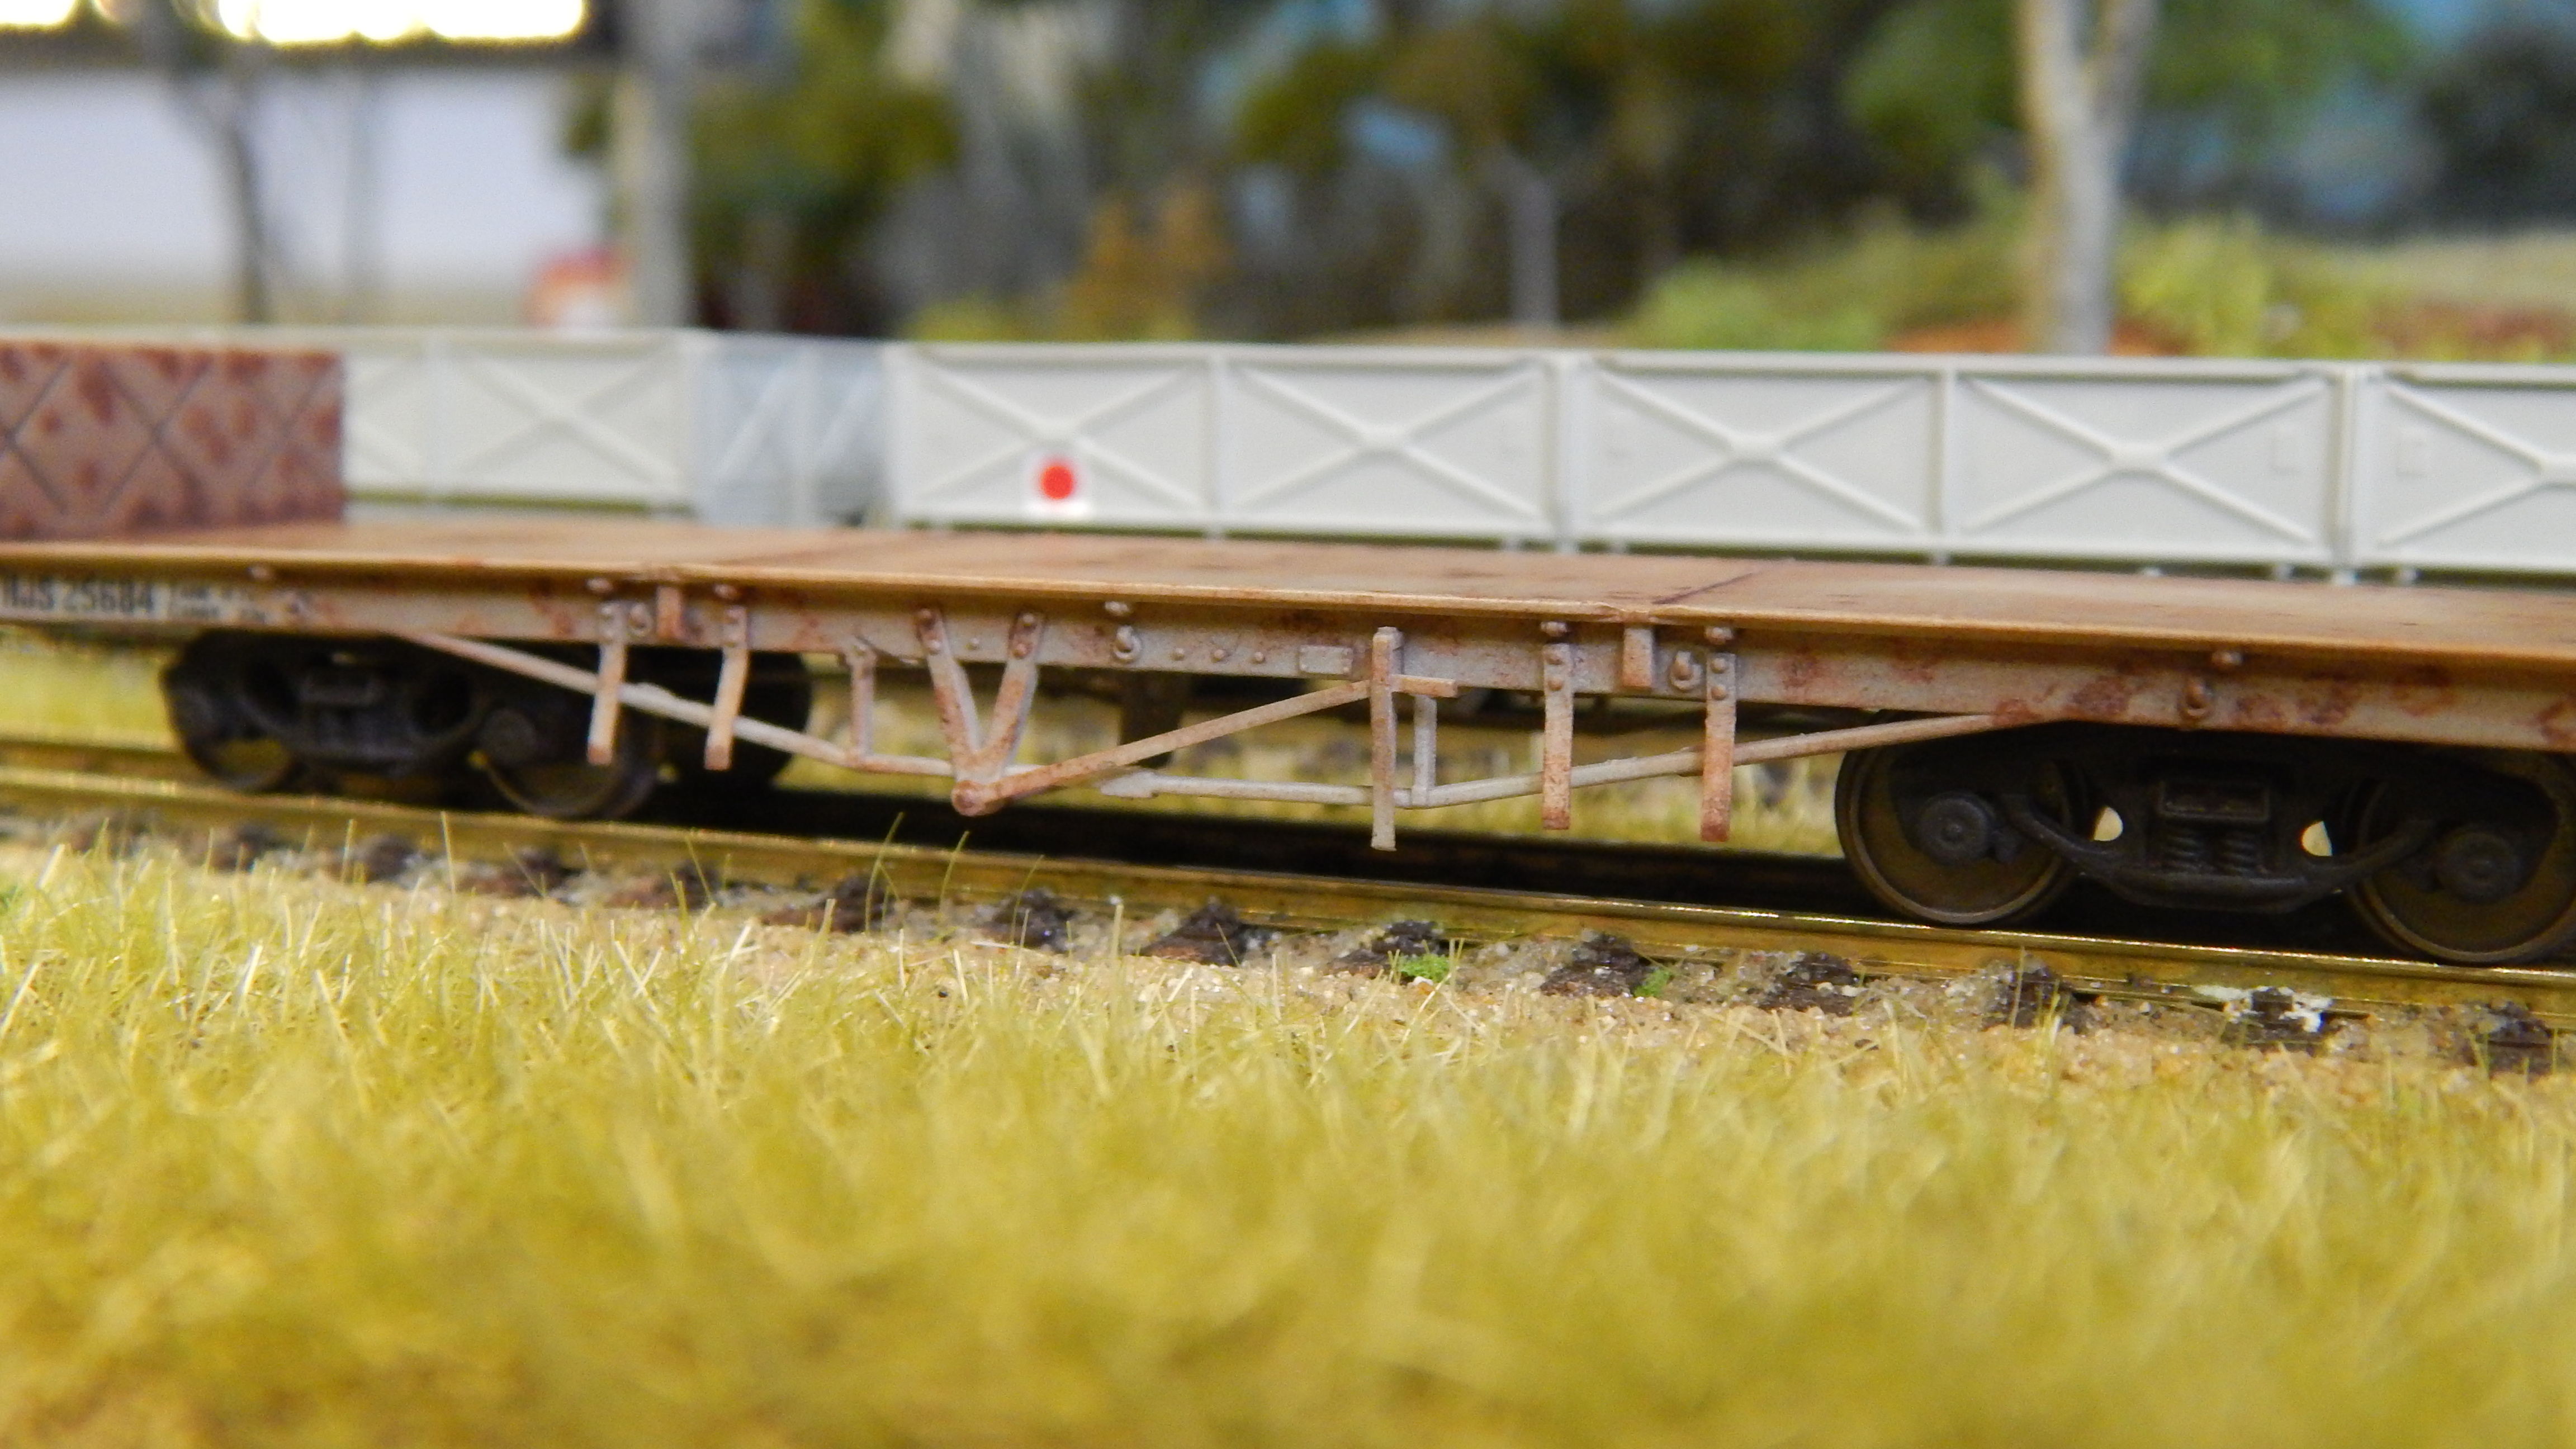
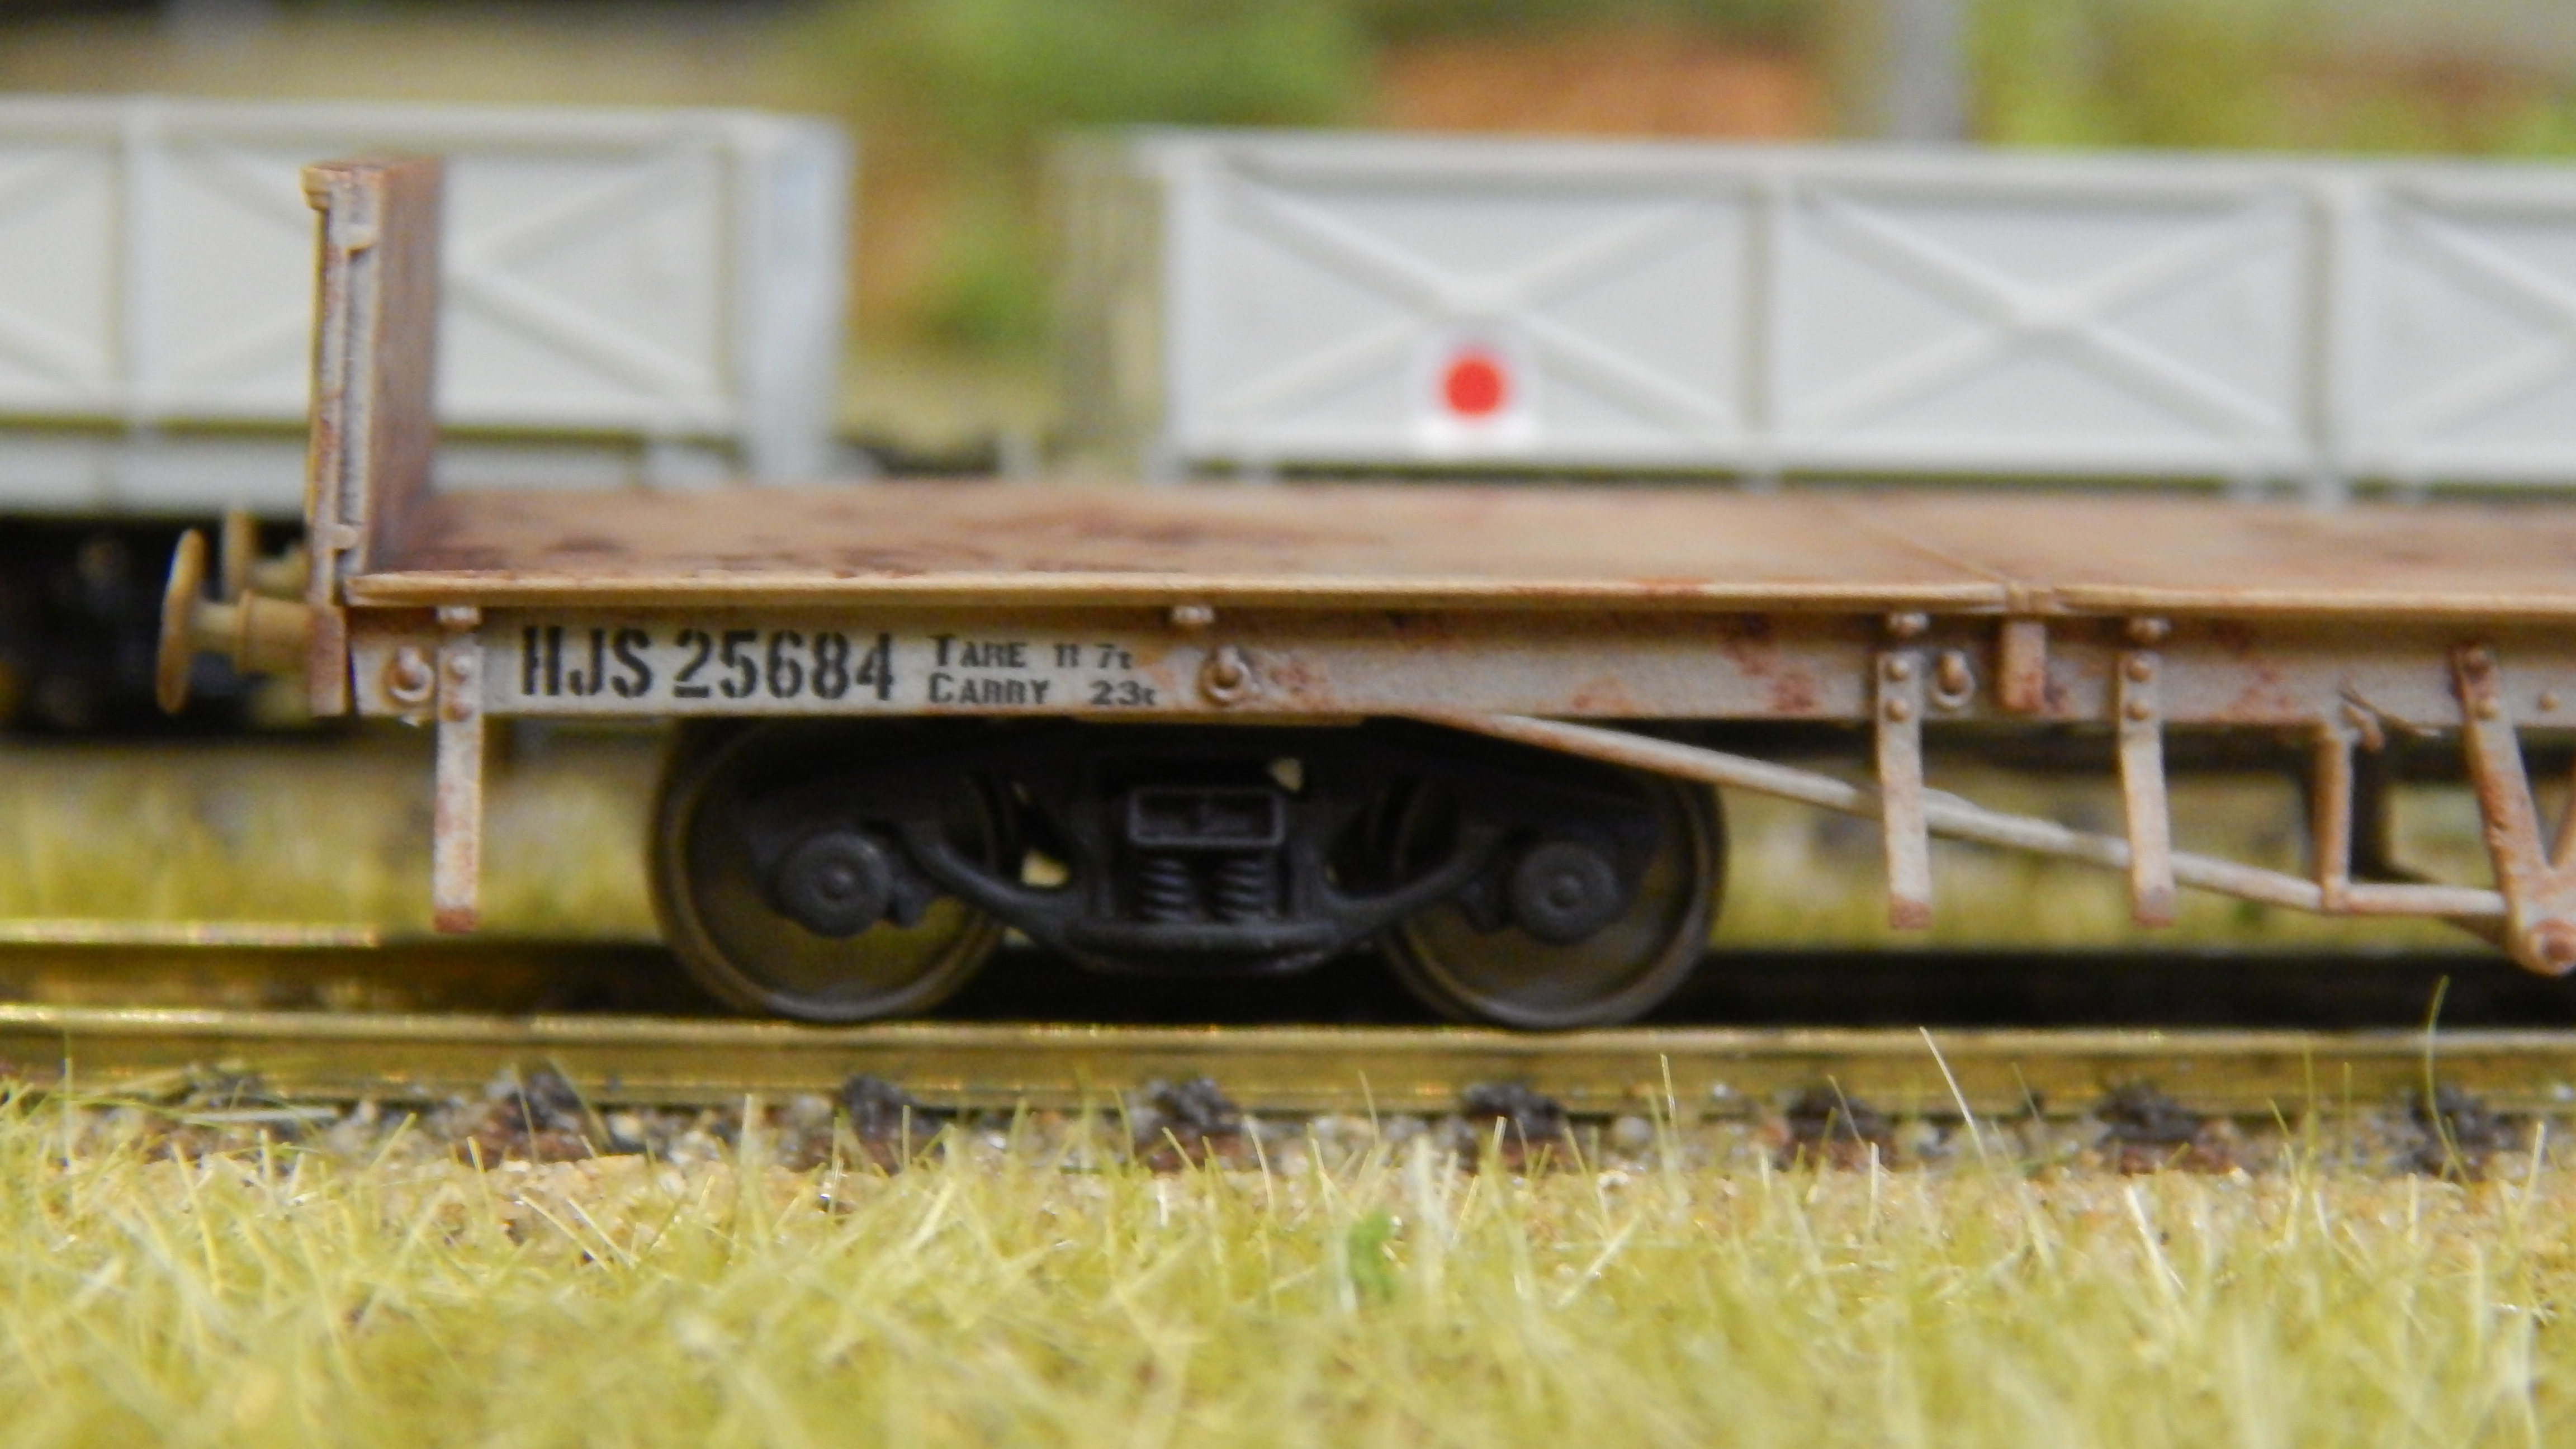
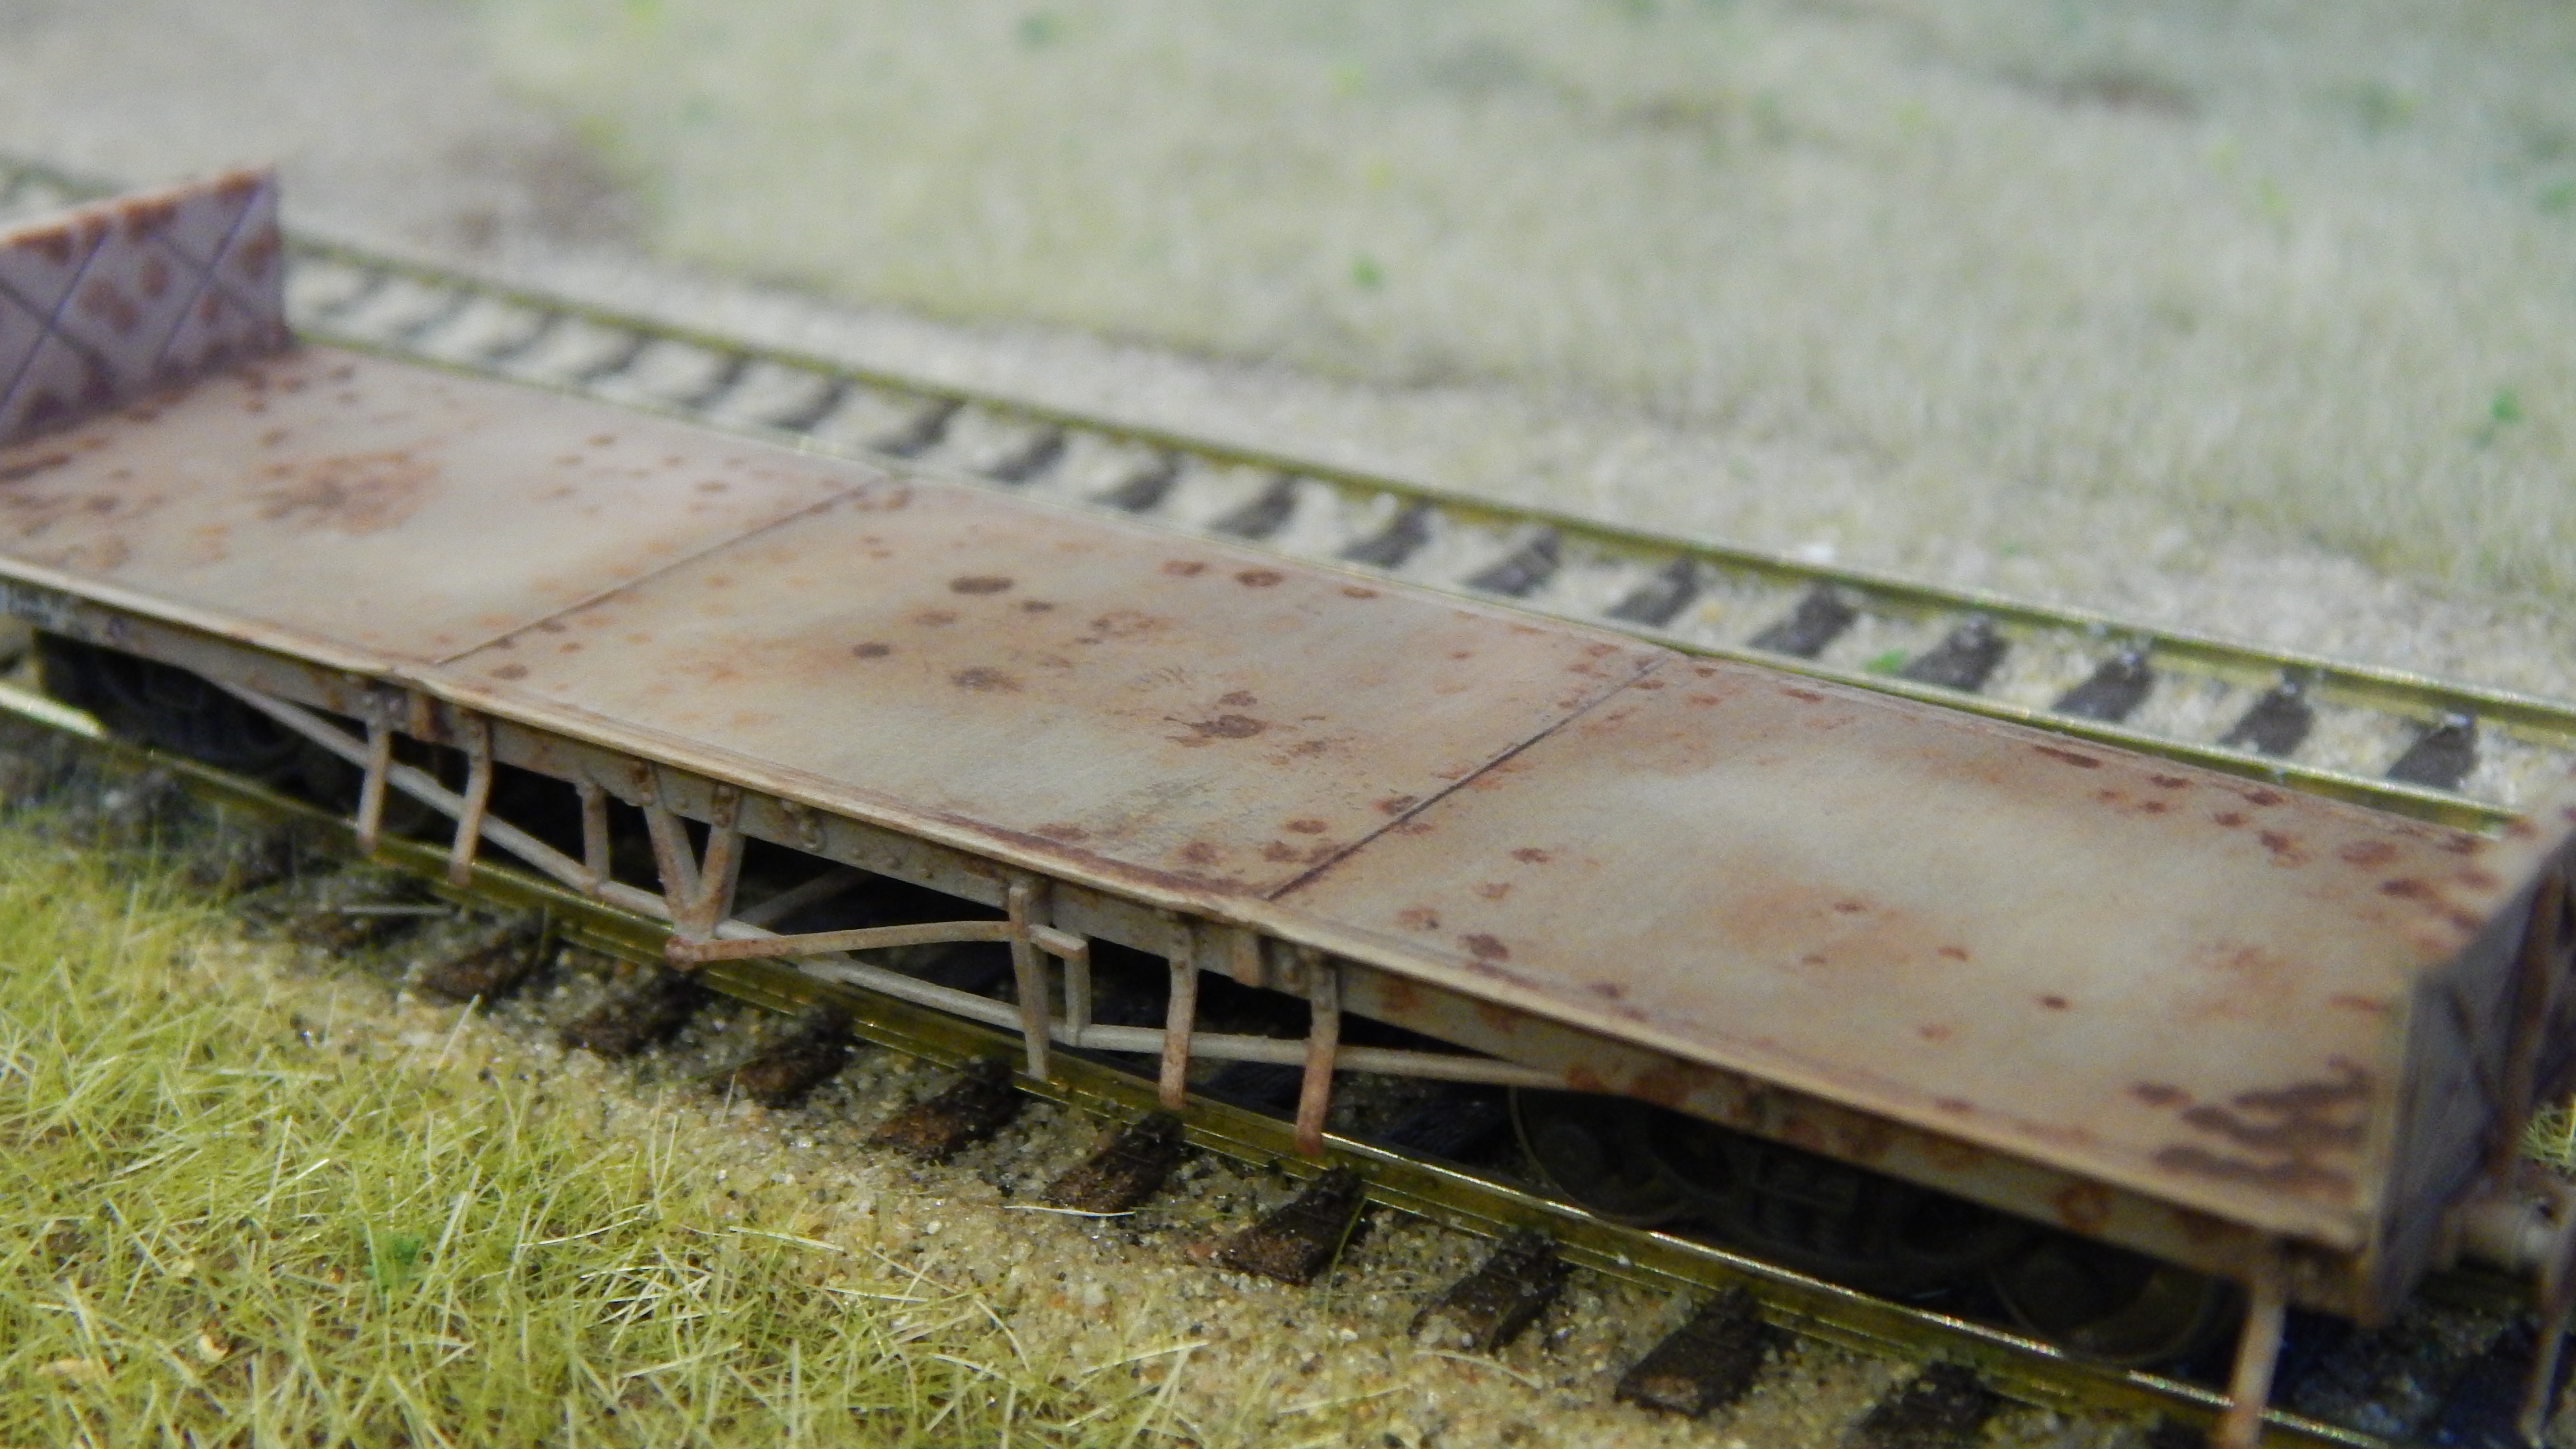
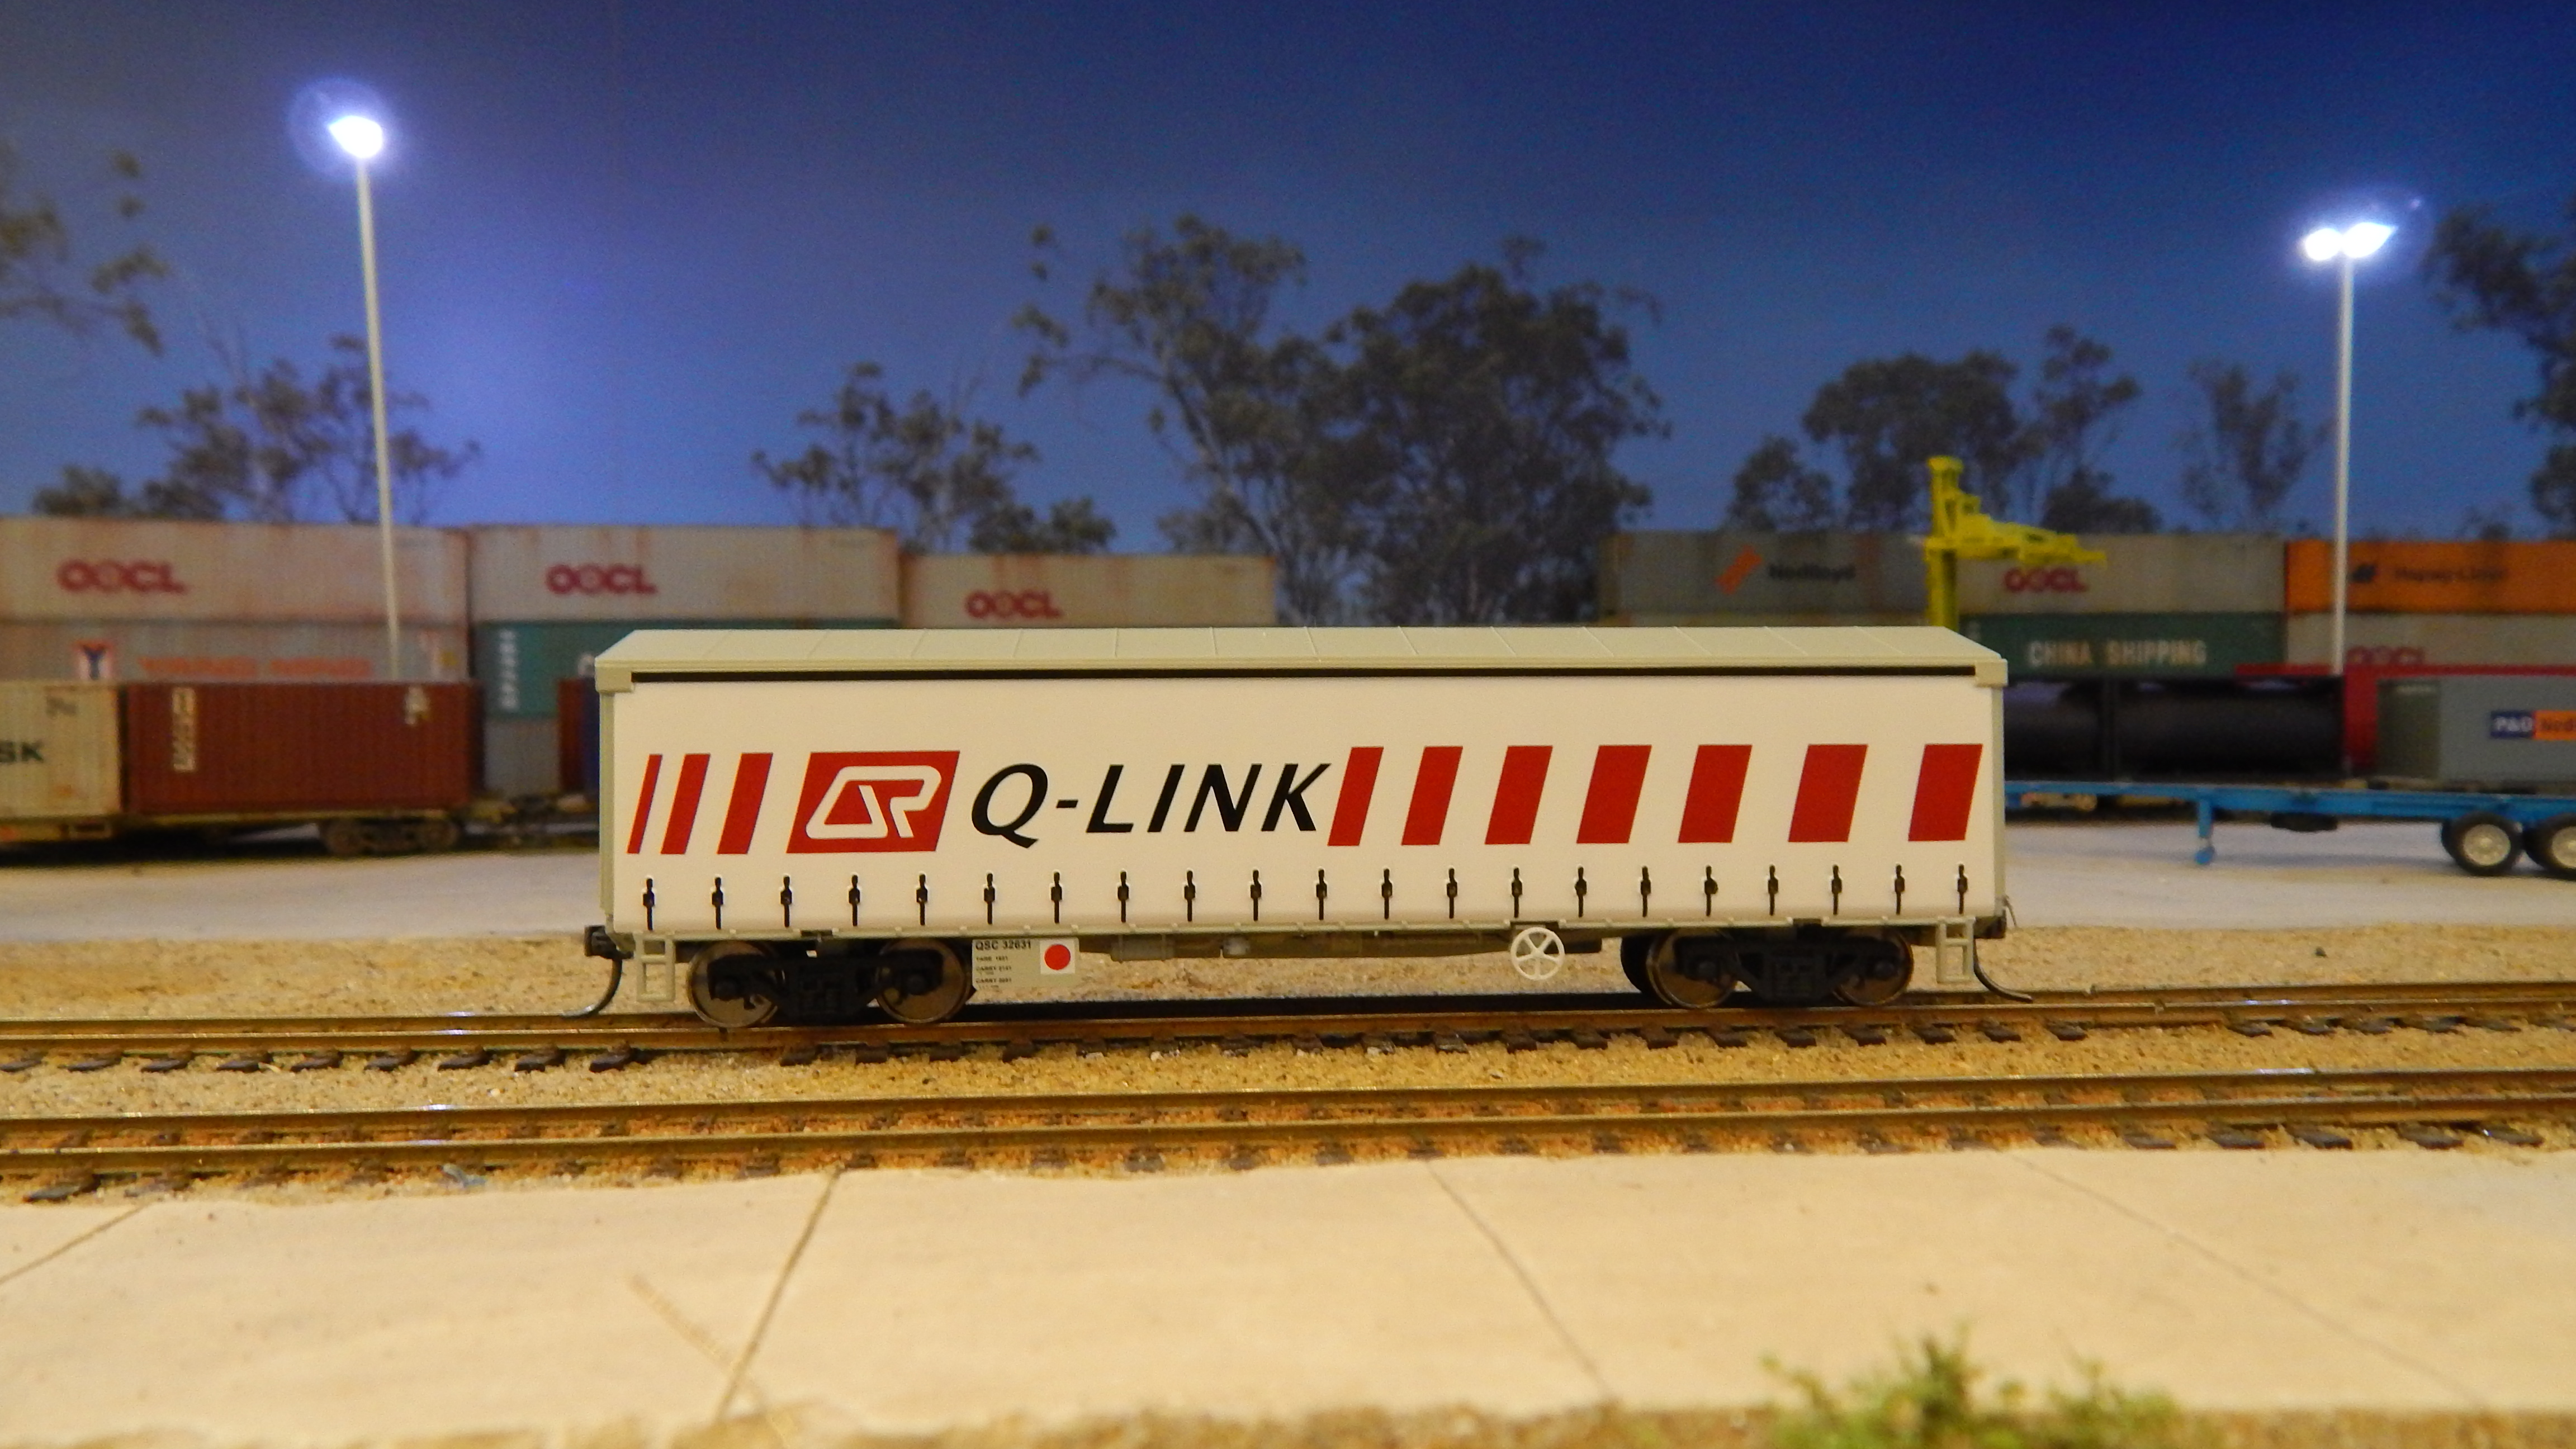
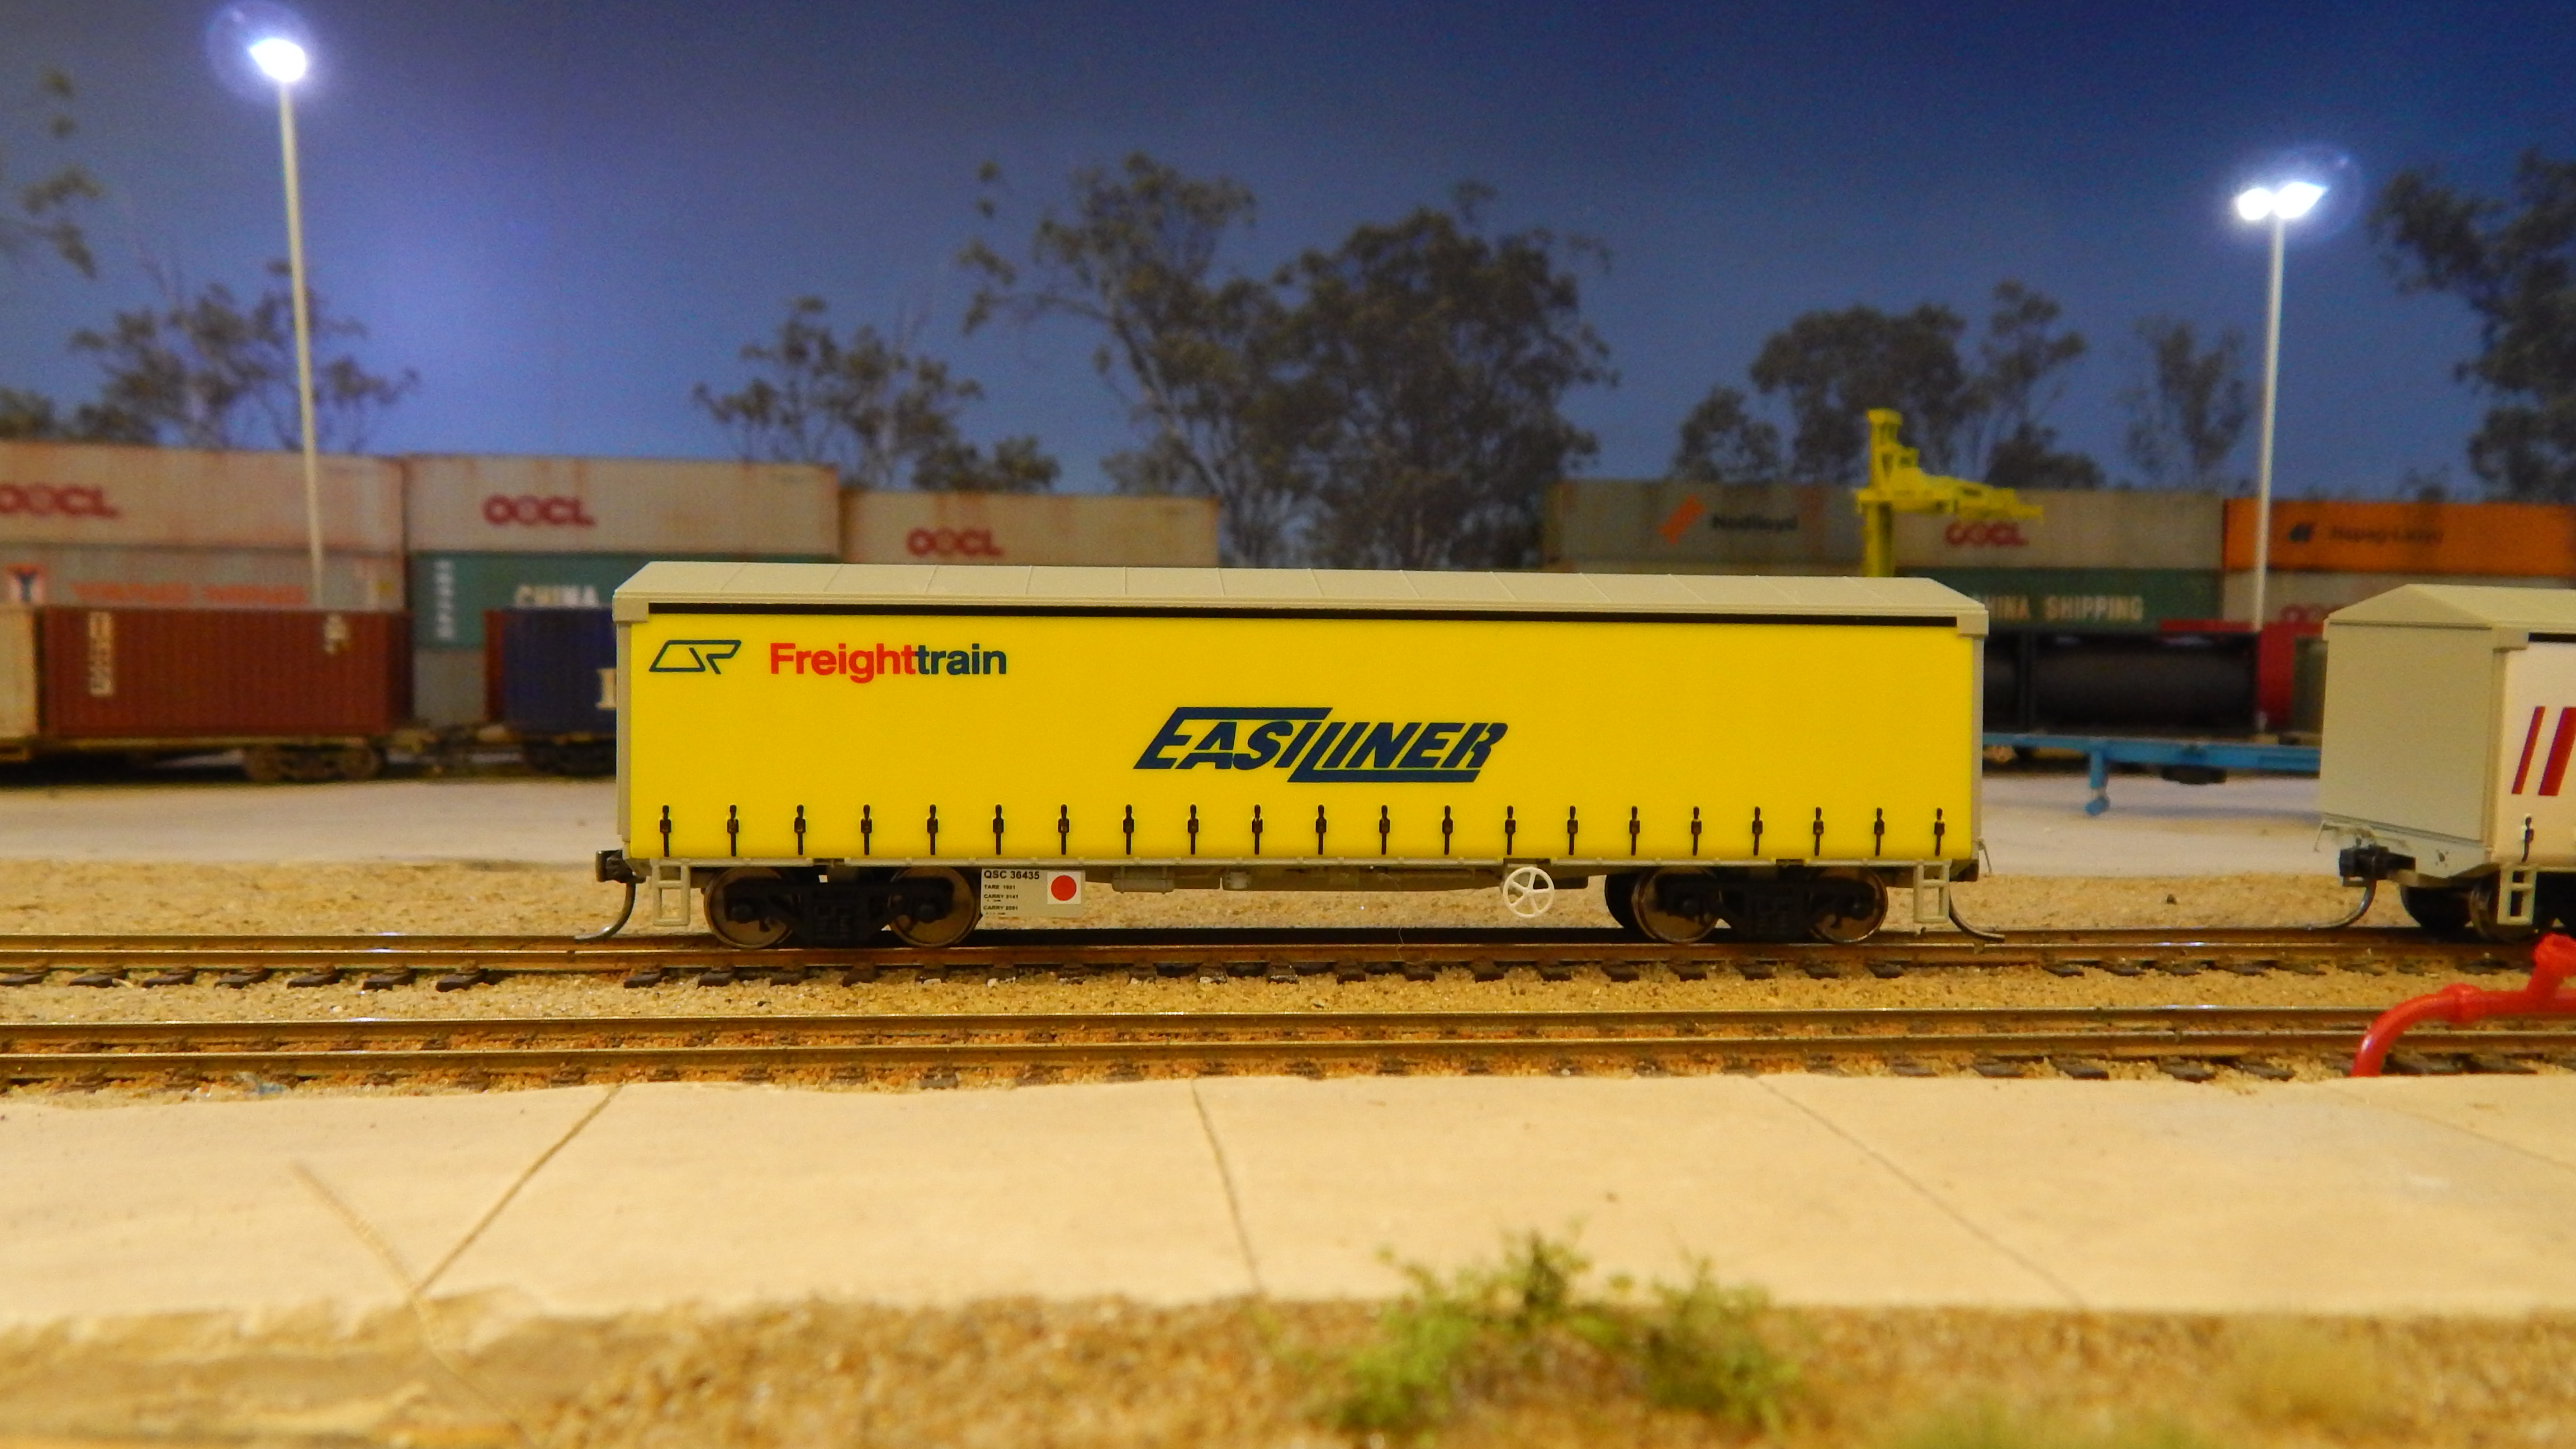
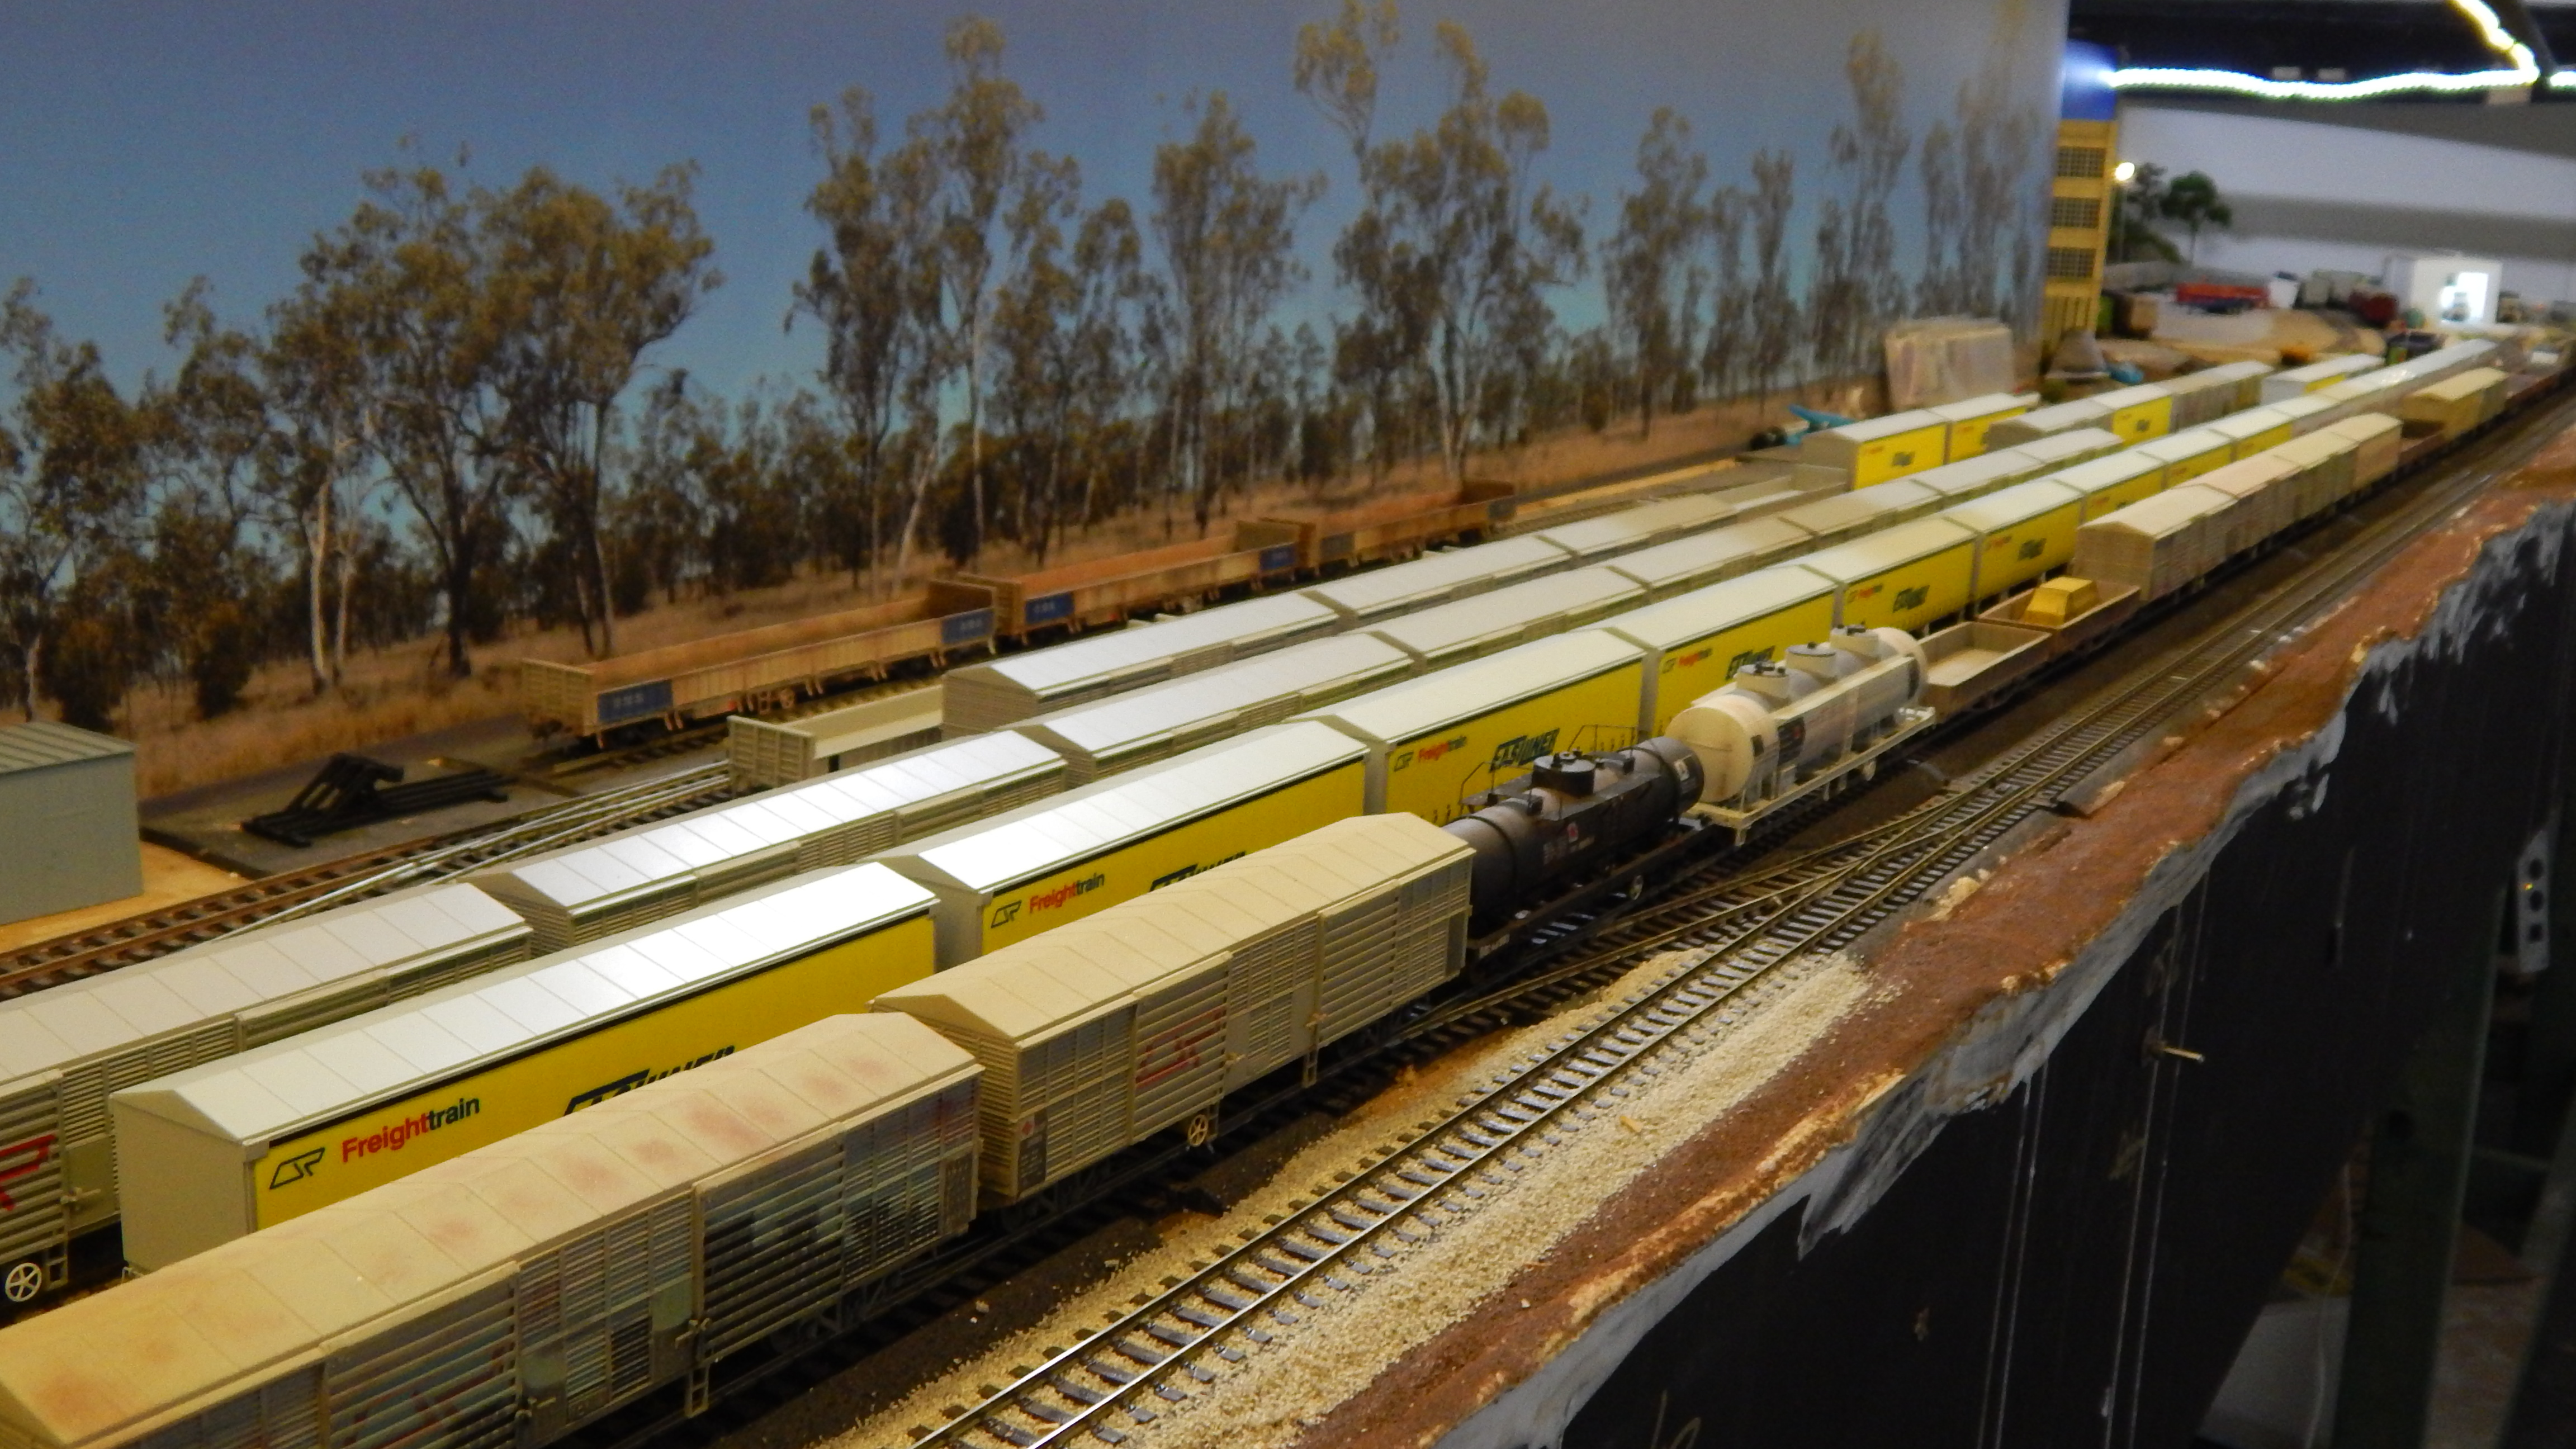
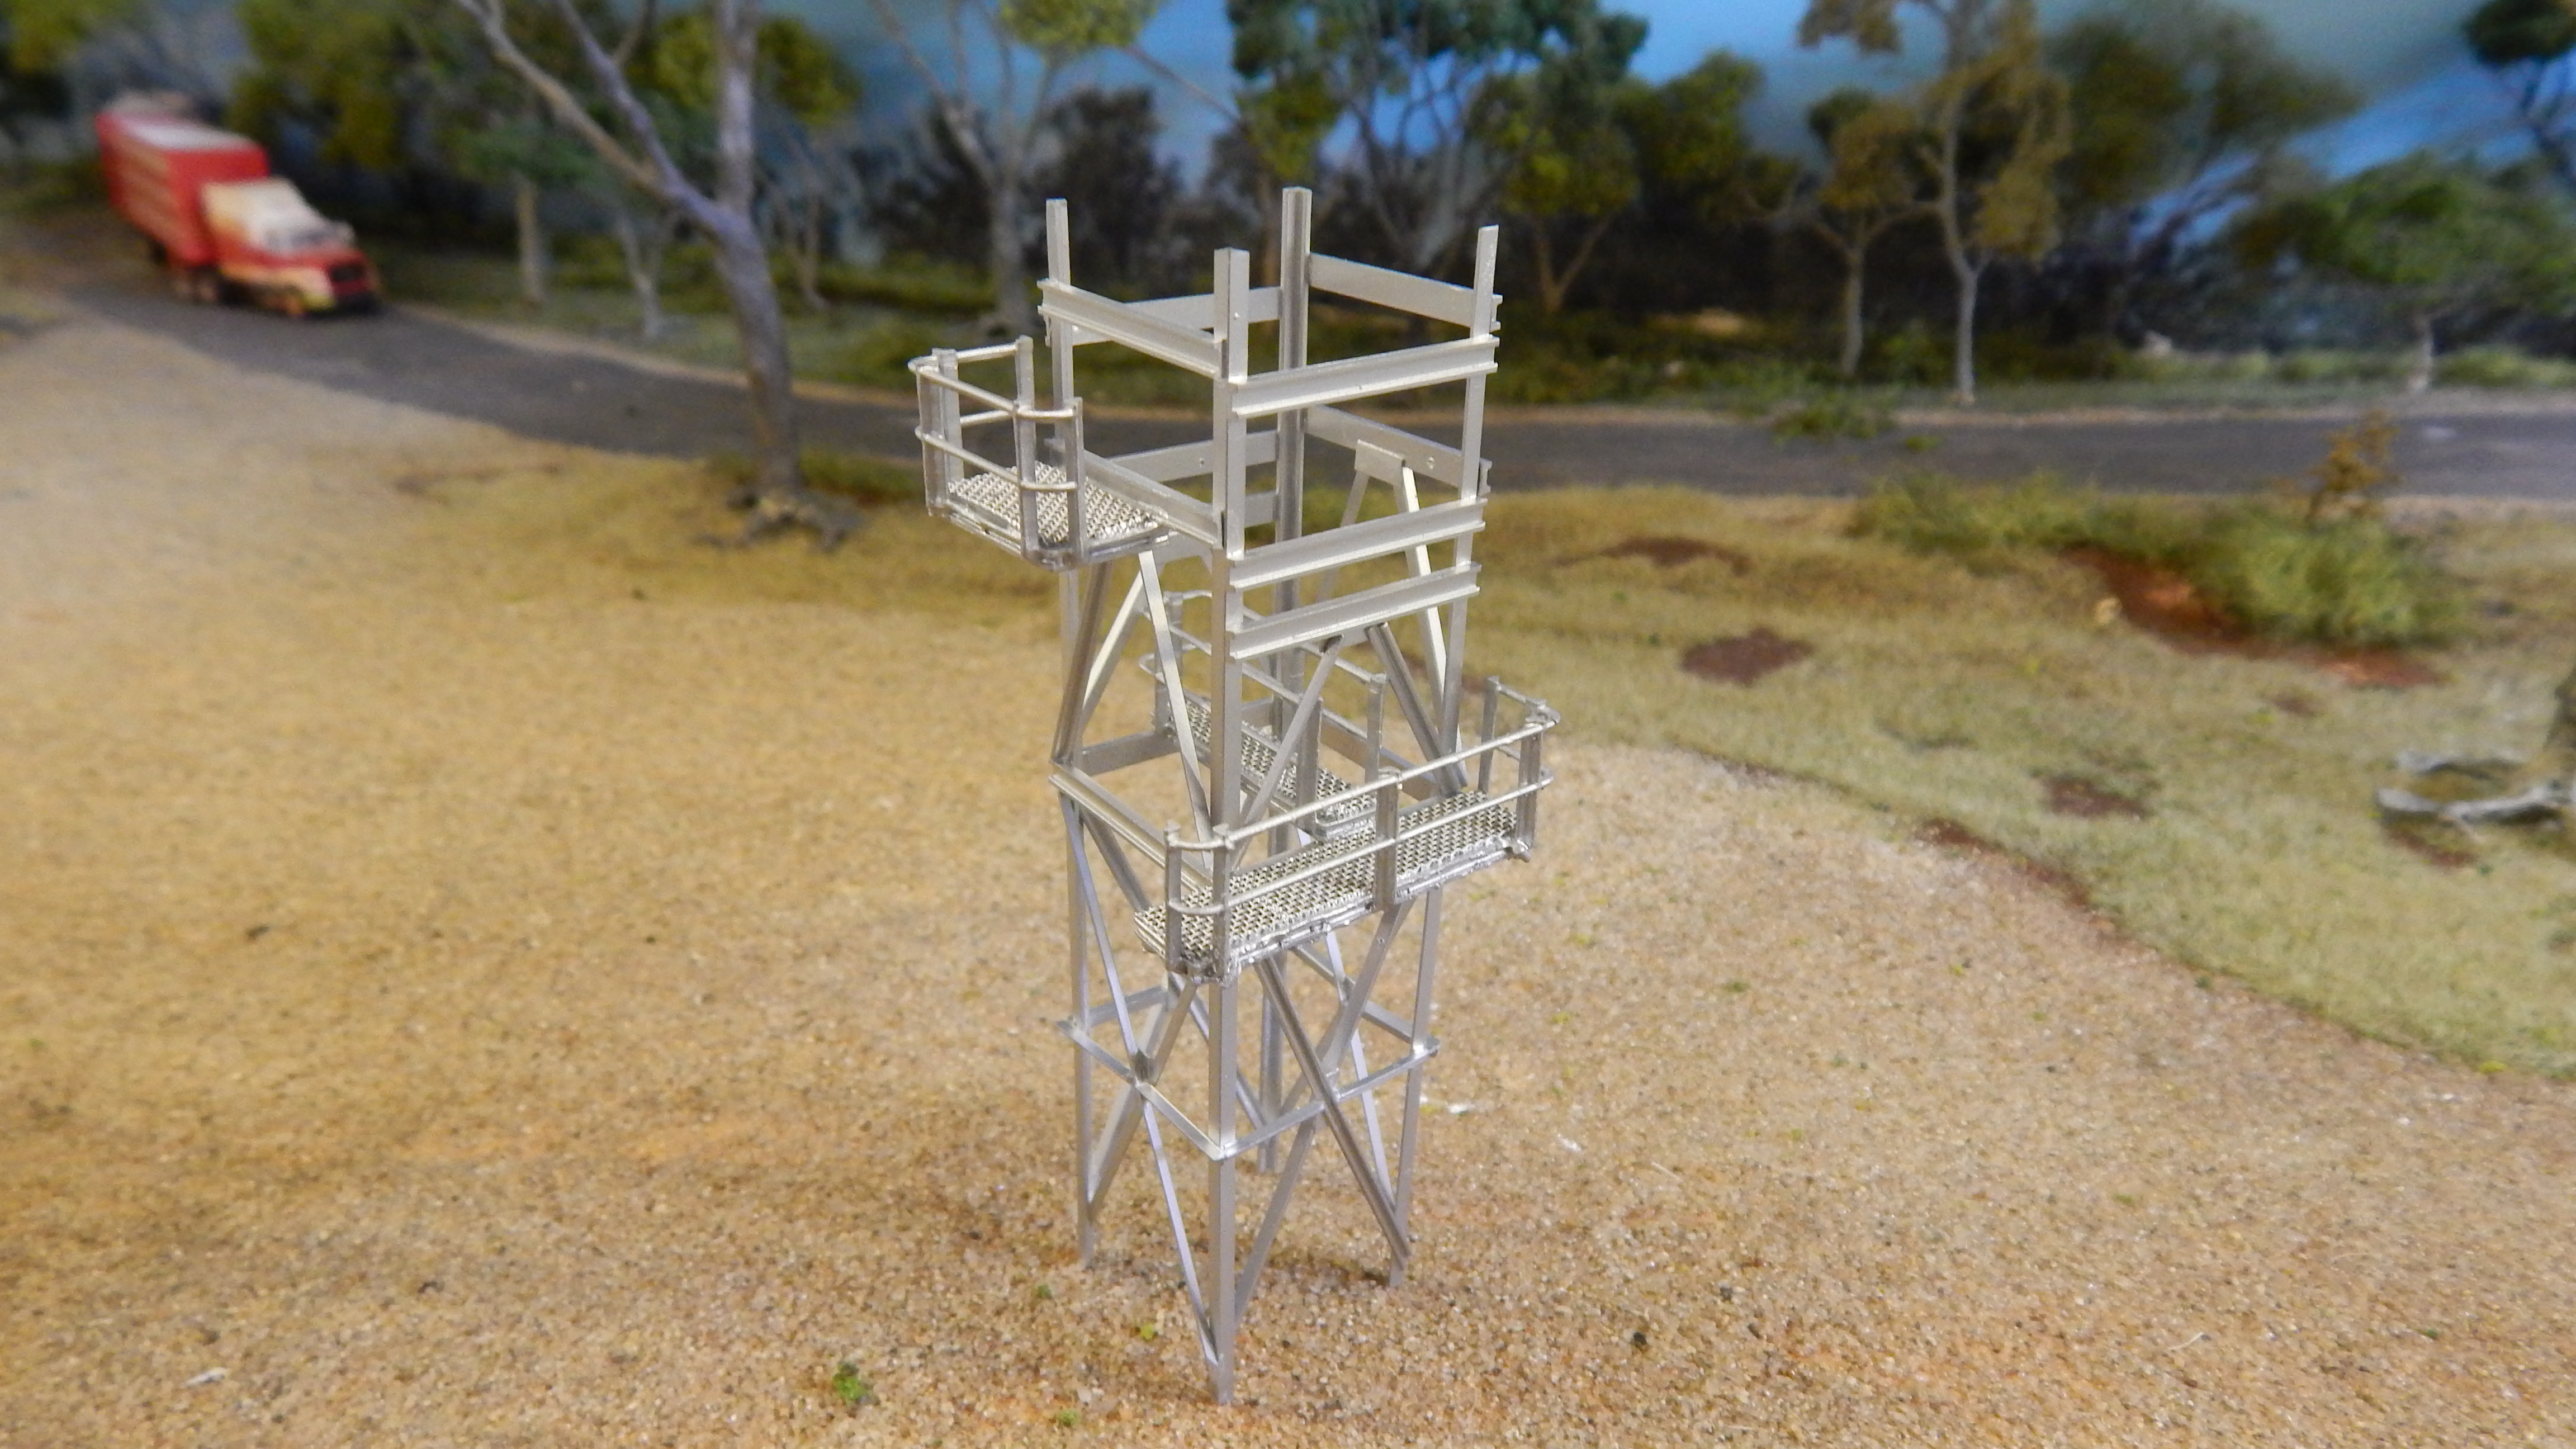
So, now we have a shiny new model to show you. Thousands of shiny new models actually. all we can do is hope like hell that you, the modeller likes them and buy them.


Finally, we can sit back, wipe away the sweat and tears, apologise to our team for that rant I went on each and every evening when we were under the gun and get started on our next project.


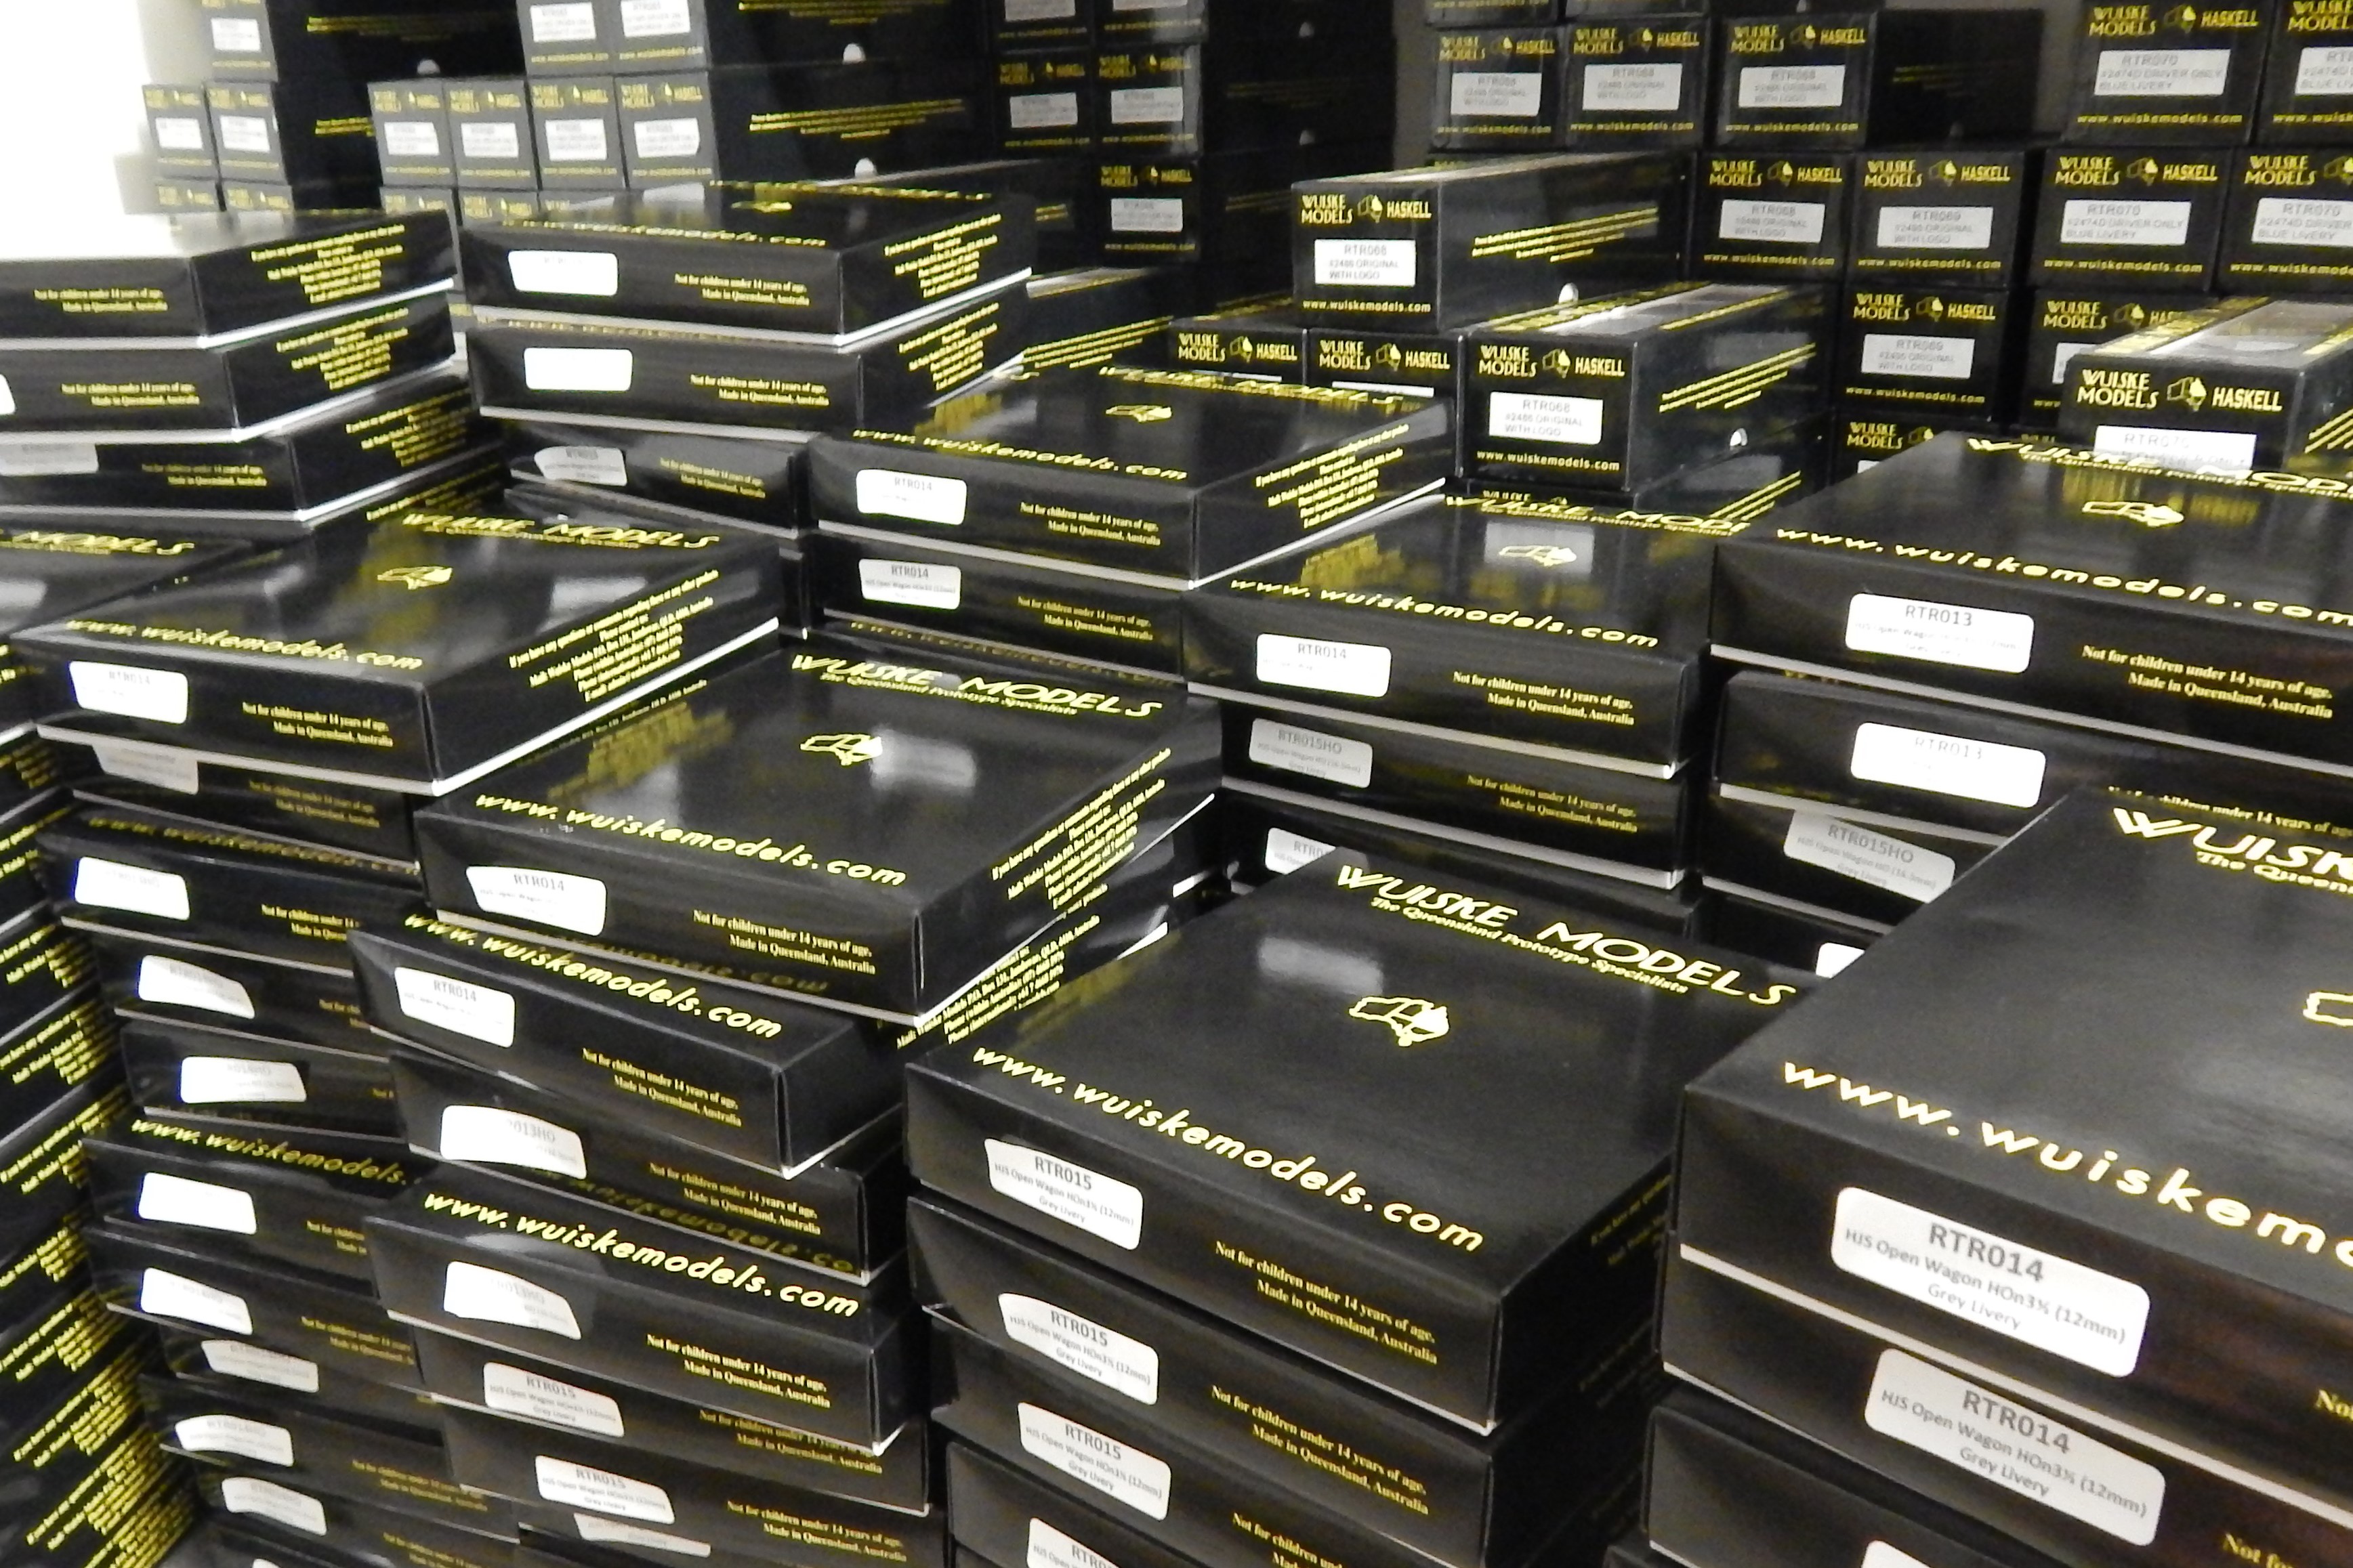
Over the past 17 years of Wuiske Models we have had products made for us in Queensland, New South Wales, Victoria, South Australia, New Zealand, England, Scotland, India, Taiwan and of course China. In an ideal world, we will eventually be able to make the vast majority of our products right here in Queensland.


With our chosen profession,  Bridget and I know we will never be millionaires, but we’re very happy to be working in an industry we love (most of the time), working with friends (again, most of the time) and dealing with people whom are just as insane and obsessed as we are on a daily basis.


With that being said, both Bridget and I would like to thank each and every member of the Wuiske Models team both here in Australia as well as those around the world whom help us deliver the products we love making. Hopefully this little chapter of ours has helped shed some light on the processes involved in making your models.


As mentioned previously, we have some big things coming in 2020 and rest assured we will be working quietly away in the background to bring them to you… As ever, we shall see how we go.

Posted in New Layout | Comments Off on chapter 128 – 23/12/2019

Chapter 127 – 21/12/2019

It appears to be “that time of year again”. That’s right it’s the part of the year where we all pretend we’ve been good for the preceding 12 months and get ready to have our roofs assaulted by 8 terminally chirpy reindeer hauling a morbidly obese, facial hair festooned diabetic with a seriously unhealthy red pajama fetish.


It’s around this time of year that some silly long haired bugger starts getting reflective upon the year that’s been.


For me personally, 2019 will be remembered as the year that we achieved a very personal dream of mine and released not one, but TWO mass produced RTR wagons made right here in Queensland.


This is something we’ve been quietly plodding away at for nearly 10 years. And we’re very thankful to ALL of you for the unimaginable support you’ve directed at us. on behalf of the entire Wuiske Models team, I’d like to say a massive thank you to you all.


Back in April, we released the HJS Open Wagon as our first “Made in Qld” product and the response was brilliant.


With our second release, the KSA cattle Wagon, we managed to step up a few levels of complexity to include finer and more detailed injection molding (that we were told was impossible) and of course Tampo Printing!


Printing of this type is something that has not been done on Model trains in Australia since the 1970s!


Overall, Bridget and I are now about 85% of our way towards setting up a complete model railway factory right here in Queensland and we have A LOT more models coming.


With all of this going on, it’s been a bit of a struggle to find time to get any real work done on our own models. Aside (of course) from the fleet of weathered HJS and KSA wagons that are now at home on the Wuiske Models layout.


About the only things I’ve managed to do is to get  few QLXP wagons completed just for ourselves. These still need couplers and handbrake wheels applied.


We’ve also finally finished the Caintode Flats CLC wagon kit. This still needs the air hoses painted and weathering applied. I did use our Combination Brake Set, Air Hoses and Buffers on this model. Otherwise, it’s a stock standard kit.


I can safely say that 2020 will be bringing a few new and exciting items from both the Wuiske/Haskell stable as well as the wuiske models made in QLD line.


On behalf of Bridget, Myself and the entire Wuiske Models team, we would like to wish you all a VERY merry and safe Christmas as well as a safe and prosperous new year.


Hopefully next year we’ll get some more of our personal models completed. We are hoping to write a chapter on the complete process for making RTR models as this seems to be a closely guarded secret these days here in Australia. As always though, we shall see how we go.

Posted in New Layout | Comments Off on Chapter 127 – 21/12/2019

Chapter 126 – 04/11/2019

So it seems like it’s been a while since another round of weirdness has been unloaded on this humble little page… Most likely because it has been!


However, in our defense, Bridget, myself and the tribe of daylight-fearing pygmies that we call the “Wuiske Models Team” have been collectively busier than a mass group of one-legged men in bum-kicking contests (am I the only one whom really wants to see this?)


So, with all of that aside (and the sunlight topic out of the way for the team for another 6 months), let’s get right into it…


Wuiske Models is VERY proud to announce our sixth ready To Run wagon and our second to be designed and made right here in Queensland–the KSA cattle Wagons.


These wagons are something we’ve wanted to produce for the best part of a decade.
The KSA cattle Wagons were built in 5 batches between 1957 and 1975, totaling 500 wagons in the class.


For this model, we’ve reproduced the KSAs from the second batch. these were introduced between 1961 and 1962. With the majority of the wagons lasting right up until the year 2000.


These models feature ultra fine construction and detailing. The sides are a scale 2 inches thick, JUST LIKE THE REAL THING! They also feature our standard bogie pin mounting system so you can remove, replace or modify the bogies however you want without damaging your models.


The KSAs also feature custom Tampo Printed data panels, based on photographs. This process has not been done in Australia for model trains since around 1971… Until now.


A cattle load to compliment these wagons is in development as we speak and should be ready well before Christmas.


As with all of our models, the KSA includes our popular partially compressed buffers to ensure you don’t need massive curves to enjoy your models.


These, along with the air hoses, are included in the pack for those who wish to add them.


These new wagons can be found here:
In HOn3½ Gauge
In HO Standard Gauge


Bridget and I would like to extend a MASSIVE thank you to the hard working (and ever expanding) Wuiske Models team for making it possible for us to achieve the impossible (and slightly insane) idea of producing Queensland Models in Queensland.


We will be doing more Adam’s Corner pages on these wagons so far as weathering and loading. As always though, we shall see how we go.


Posted in New Layout | Comments Off on Chapter 126 – 04/11/2019

Chapter 125 – 21/08/2019

Well it’s been a while since we last took a little jaunt down Insanity Drive without a parrot, so completely off my own back (and without even the slightest bit of whisperings coming every 3½ seconds from the Bridget shaped object in the house) I’ve decided to do another corner. So here goes.


On our return from the Gold Coast show (wow it has been a while), we dropped in to our good friend Peter Krause’s new house in the beautifully leafy downtown suburb of that Place Near Ipswich.


For some time Krausey had been threatening us with our need to perform a visitation upon his house and shiny new shed. Finally we made it and I for one am REALLY glad we did.


Now, it’s at this point that I should take the time to warn, dear reader, of the horrific images that lay ahead in this chapter.


These images may be disturbing for some of you as they contain the following,
Images of O Scale!
Images of NSW models!
Ridiculously LARGE curves!
Perfect layout height!


And last but certainly not least…
Models made by or in conjunction with KIEREN HASKELL!
You have been warned.


That being said, I am told that a strange sound that remotely resembled an Adam style voice was heard saying “This O scale stuff is not bad”.


Despite my protestations of it being some form of native bird call, both Bridget and Krausey maintain it was me that made the noise… obviously, the jury is still out and whilst we await scientific verification of my bird theory, let’s get back to Krausey’s layout…


The layout itself is based on Tenterfield in NSW. The layout of the station yard is pretty well spot on for the area although it has been compressed in length a small amount.


When I say a small amount, I do mean a small amount. Just the station building is 3 FEET LONG!


This layout is just impressive, no matter how you look at it. The details are exceptional! There is no fancy rare or freak occurrences (like car crashes etc) to draw the eye, just a small slice of rural NSW.


from the station and yard, which still has a dairy, meatworks and other associated industries to be added to it, the trains round the largest curves, either Bridget or I have ever seen on a home layout… 8 FEET RADIUS!!!! No matter what you’re interested in, these are just impressive.


Adding to the wow factor on Krausey’s layout is the fact that he has it set at a realistic height. The amount of great layouts out there that actually look awful simply because they are set too low is ridiculous.


So it was very pleasing to see what is (in our opinion anyway) the perfect height for operating these massive trains and viewing the scenes.


Once around the curves, the layout arrives at an as yet incomplete station and yard. This will be where the traffic from Tenterfield gets martialled into it’s respective trains and other associated industries can do their thing.


Just before reaching this point, however, a rather interesting set of points has been placed, this is going to be the branch leading to Krausey’s version of Wallangarra. for those of you whom have never heard of Wallangarra, it’s the break of gauge station on the Queensland/NSW border.


Obviously, such a massive station precinct as therer was in Wallangarra will need to be compressed a little bit but it will house his staging yard and justify his rather extensive collection of O scale QLD models!


This was also the first time either Bridget or myself had seem some of the brass models Kieren had built in the flesh. first off was the NSW 44 class.


These were made as a partnership between Kieren, Krausey (when he owned O-Aust Kits) and Peter Berg of Berg’s Hobbies in Parramatta. These are a superb model, not to mention MASSIVE! and they run beautifully… obviously sound is a must for something like this.


These models were something the boys were working on right at the time that Kieren and I did the first RTR wagons for Queensland. So I’d heard a lot about them and was keen to actually see one in the flesh. Bridget was even more keen to run one… and she did.


Next up, Krausey appeared from the house with his CPH railmotor.
These were another model I’d heard a lot about and they were produced by Kieren in conjunction with Chris Harris and roger Porter (formerly of Warratah Models).


These, are an AMAZING model… Not that I am even remotely interested in the CPH, just the detail in them is stunning. My favorite part is the truss on the underframe. Just BRILLIANT!


Whilst Peter Krause and I have had a long association through Wuiske Models and O-Aust Kits, we made a lot of patterns for their kits. We rarely got a chance to sit down and run trains or even to admire the models. We’re happy to say we’ve rectified this.


Whilst I am still mildly annoyed with the existence of that place called New South Wales and have no interest in their railways personally, I can and will say that I kind of get it now. I can see the attraction towards O Scale and the NSW rural scenes.


So I think it’s safe to say that both Bridget and I had a Fantastic time with Pete and thank him for his hospitality. I think it’s also safe to say that we won’t be doing any more of this O Scale stuff again… Oh wait, Krausey has an O scale QR layout that we can talk about publicly now.
I guess we shall see how we go.

Posted in New Layout | Comments Off on Chapter 125 – 21/08/2019

Chapter 124 – 29/05/2019

Well another Brisbane Show is behind us and another RTR wagon is under our belts, on to the next one… But before we do, maybe Bridget and I can get some work done on the layout first.


After much checking, rechecking, double checking, checking to see if we weren’t checking too much and checking to see if we understood what we’d checked and finally a game of checkers… Bridget and I decided to install the Digikeijs components on the layout.


After much revision and swearing from myself, Bridget managed to follow the destructions for the system and I’m pleased to say that we now have the main unit (DR5000) as well as the two booster units (DR5033) wired in and the layout is back to being three power districts.


You’ll notice in the photo, three DR4088LN units. These are the block detection units. I’m very pleased (and relieved) to say that these are VERY simple to connect. Essentially, one wire from the bus remains exactly where it is. The other runs through the DR4088LN and each section (or Block) has one wire going into the corresponding point on the 4088LN.


Whilst Bridget and I have only wired in the first power district for block detection, we now know what we’re ding, so the next step is to place gaps in the rails of the other sections and wire them through the next two 4088LN units.


Aside from all the DCC related stuff, I’ve had a chance to add some loads to a couple of our personal HJS wagons. This was done with simple items I found on eBay over the years. Personally, I think the wagons with the tarped loads need to be dulled down a bit with a misty or a grimy colour.


Aside from this, Bridget has proved far more patient than myself when it comes to installing point motors in difficult positions. We’ve also added some more greenery to the area surrounding the fuel depot.


A fence was made from soldered brass wire (as per a previous chapter) and covered with tulle fabric, the whole thing was then painted with a matt aluminium paint.


This weekend we have the upcoming Toowoomba Model Railway Show, This one is always a great event… Even though it is ALWAYS freezing! As with the Brisbane Show, Steve Colclough has kindly volunteered to lend a hand and install decoders and offer a repair service for everyone. Bridget and I hope to see you there.


With small bits and pieces being done bit by bit, the layout is really starting to take shape, soon enough, we’ll be installing the signalling… Then again, we shall see how we go.

Posted in New Layout | Comments Off on Chapter 124 – 29/05/2019

Chapter 123 – 02/05/2019

Well we’re all ready for yet another Brisbane Model Train Show.
Please remember that this year it is at the Exhibition Building of the Brisbane Showgrounds o the corner of Gregory Terrace and Costin Street in Bowen Hills.


This year, we are proud to have our brand new HJS Open Wagons available for sale. In case you missed the last Adam’s Corner, these are our 10th RTR model and the first mass produced QR model EVER to be made right here in QUEENSLAND!


We were hoping to be able to release the two sets of HJS wagons in the black livery but the axles (one of the very few components not made in Australia) have not arrived in time. As such we only have a VERY limited number of these that will be available on a first come, first served basis.


In addition to this, we will have a small number of the long sold out Bicentennial 2401D models available (by small, we mean 4). These are models that had been put aside for people and never collected, then been overlooked by us. Again, these will be available on a first come, first served basis.


This year we will have a novel addition to the Wuiske Models Stand. Steve Colclough will be on hand for the entire weekend offering his DCC fitting and programing services to all. He is asking just $25.00 to fit decoders to Wuiske Models products but will also be happy to provide any onsite repairs and services as well as fitting general DC decoders to other models.


Whilst we’re talking about Steve and DCC decoders, I should point out that the Loksound V4 sound units have now been upgraded to the shiny and BRAND NEW V5 decoders. These offer far superior sound quality, clarity and functionality. As he will be programing them on site, the files available are for the 1550, 1720, 2100, 2400 and 2470 classes. That’s right, the 2100 files are here!


On a separate note, Bridget and I are very proud to advise that on Monday the 29th of April, we welcomed our latest addition to the Wuiske Clan… Michael Adam Wuiske was born at 8:15pm and both he and Bridget are doing brilliantly.


On behalf of Bridget and myself, we would like to thank you all for the well wishes and congratulatory messages, they mean a lot to us. With a shiny new Ready To Scream Model in tow, we will be enlisting the help of Hayden Lynch from Lynch Castings (and of Captain Blackout infamy) to assist us at the show.


With all of that being said, we look forward to seeing you all there and with any luck, some sleep will have been had prior to the event… As always though, we shall see how we go.

Posted in New Layout | Comments Off on Chapter 123 – 02/05/2019

Chapter 122 – 13/04/2019

Well this chapter is one that I have personally been waiting a long time to write. Some of you may have heard that lunatic Adam prattling on (for the last decade) about “making things in Australia” and “Come hell or high water…”. Well, I am VERY proud (and relieved) to say that we’ve done it.


After a decade of planning, learning, accruing equipment (such as gluing robots and a Tampo Printer that weighs just under a TONNE!), and pulling out hair, Wuiske Models is proud to announce the release of the READY TO RUN HJS Open Wagons!


And whilst we’ve already produced 0ver 14,500 models in RTR format, this one is a little special–Because it is MADE IN QUEENSLAND!


That’s right, the Wuiskes are setting up an actual factory here in Queensland! Our first offering is the HJS wagon and we’ve managed to release it with a team of just 8 people.


For this release, we’ve jumped the gun a little as we’re actually still in production on two packs. Today, we’re releasing three packs in the grey livery and we will have two packs in the original black livery due for release at the Brisbane Show.


As per usual for us, the wagons come in a pack of three and have buffers, door stops and air hoses included in the box. As we’ve always maintained we would try and do, we’ve kept the price at the same $175.00 per pack!


HOn3½ packs can be found HERE.
The HO packs can be found here.


The models, as with our Chinese made wagons made in partnership with Haskell Co of Taiwan feature, factory fitted Kadee #158 Scale Head Couplers, Accurate space between coupled wagons with compressed buffers to avoid buffer lock on tight curves, Highly Accurate interior detail, Our standardised Bogie Mounting Pins for simplicity as well as a factory applied Matt Finish to make weathering applications easier.


All packs are available in both HOn3½ (12mm gauge) as well as Standard HO gauge (16.5mm). Also as per usual, the couplers are set to the correct coupler height for Queensland Rail so you know they will match all of the other accurate RTR models on the market presently. The HJS open wagons have been designed and built to run with a minimum operating radius of 18″ (457mm).


All of the packs of RTR HJS wagons are being made available in new running numbers that have not been offered in the already popular kits. This ensures that no one doubles up on running numbers, because that’s annoying.


At this point, I would personally like to thank each and every member of the Wuiske Models team for the ridiculous amounts of work, time and effort they have put in to help us achieve something that has been a very personal dream of mine for about a decade.


Similarly, I would like to thank them for putting up with the 2am visits, calls, rants, ear bashings, death threats and voodoo curses… that are (honestly) a necessity in under taking a project such as this.


In particular, I would like to thank my ever wonderful (and totally pregnant) Bridget, for keeping me sane (no really) and just being there, helping, throughout the entire process from start to finish.


Assuming all goes to plan and this whole “Made in Queensland” thing works, we have many, many other projects we would like to get stuck into, and hopefully we can have a larger range of models made right here in Queensland, by Queenslanders!
As always though, we shall see how we go.

Posted in New Layout | Comments Off on Chapter 122 – 13/04/2019

Chapter 121 – 27/02/2019

I guess it goes without saying (though I will anyway) that after having worked so long on getting the HJS kits ready, I wanted to snaffle some time to make some models for our layout.


It was after I’d built the first four that I decided to attempt a kitbash of one. With this thought in mind, I plonked my backside down at the modelling bench and did some thinking… After much thinking (and some Panadol) I can tell you what I thunk…


I thunk that I should remove the doors from one of the HJS wagons. This has got to be the simplest kitbash in history! All I did was make a single cut along the back of the sides where it steps out from the side sills. That was it!


The rest of the assembly was exactly the same as how you’d assemble the normal HJS kit.


The model was painted with Tamiya TS-81 Light Grey, glosscoated and the decals applied… That kept me busy for nearly two minutes. Once all that was done, I applied a coat of Matt Clear and let it dry. Then it was onto the weathering.


I took a tip from Pelle Soeborg’s book “Done in a Day” by Kalmbach Publishing. In the book, he demonstrated a method for achieving nice, small rust spots that have a bit of texture to them… Just like REAL rust does.


The first step involved applying a tiny amount of clear varnish (matt clear, gloss clear, it really doesn’t matter) using either a micro brush or a toothpick.


The next step was to use my stippling brush (it’s really just a normal small brush that I’ve over used and destroyed with powders) and dip it lightly into the powders then just dab it over the wet varnish spots.


After letting that sit for about 30 seconds or so, I blew off the powder… most of it vanished onto my already messy desk.


Once that was done, I used a dry, semi stiff brush to just dust off the excess powder… This also created a kind of transitional effect to soften the dots of rust.


Once this was done, I used a VERY small amount of dark grey powder applied it in varying spots around the wagon deck and just brushed it off. I made sure the brush strokes followed a logical path, such as from one side to the other. For a vertical surface it would be from top to bottom.


This gave the appearence of softening further the rust spots and blending it all together.


That’s as far as I’ve gotten with this model at present. From this point on, the next step would be to either apply more subtle blends of powders or to simply air brush a very fine mist of light grey or cream paint to blend everything together and further dull it to appear like a nice faded open wagon. But that’s still yet to be decided.


Aside from playing the part of Mr Sir HJS Kitbasher Extraordinaire (whom is oh so modest of course), I have also been working on a couple more buildings for the layout.


The first building was kit bashed from the Walthers Cornerstone Corn Unloading & Storage Sheds (933-2974). If you can find this kit, buy it! It’s a brilliant and simple kit for two large sheds.


I took one of the end walls of the larger shed and simply cut short lengths of the side walls to mate up to it. The same was done with the roof and presto, we had a background shed.

A VERY boring background shed, but a background shed nonetheless.


The next step was to add some details just to break up the boring lines. I did this with some left over pipework from a Walthers refinery piping kit. I made a simple L shape, marked where it should be mounted and drilled two holes.


Obviously, a pipe sticking this far out from a building needs some support, so I made these using some scraps of Plastruct 1.6mm angle iron. The diagonal stays are 0.020″ (0.5mm) styrene strip. The down pipes were added later as simple 1.5mm diameter rod and cut down brackets from the piping kit.


The whole lot was painted with a suitably boring (yet mildly disgusting) colour (Tamiya TS-68 Wooden Deck Tan) and now awaits the roof and pipe to be painted silver and grey respectively. After getting this far, I started on another background building for the layout.


This time, I used a few pieces I had stockpiled from my collection of Pikestuff (Rix) kits. The entire model is made from two of the large end walls and two ends of the side walls. The roof is their standard roof cut down to suit.


The door castings are supplied with the kit, I just cut down the roller door so it could be open. I made a small shadow box from left over wall sections and glued it behnd the door (I painted it before fitting it into place).


I detailed the inside of the shadow box with a couple of left over Plastruct I beams. This was just to break up the boredom. The beam running above the shadow box serves to keep it aligned whilst it dried as well as providing a mounting position for the interior lighting.


The next step is to add the lights, a few details and make a base for it. Of course, that is for another day though… We shall see how we go.

Posted in New Layout | Comments Off on Chapter 121 – 27/02/2019

Chapter 120 – 06/02/2019

Well here we go again with another chapter of rampant insanity from Planet Jandowae.


Except that this time, it’s not so insane. This chapter we’re focusing on a brand new product as well as a bit of a milestone for both Wuiske Models and the Queensland modelling scene in general.


Wuiske Models is proud to announce the release of the FIRST EVER mass produced,  high pressure injection molded kit for the Queensland market (even if we do speak from a one eyed perspective)… The HJS open wagon.


Bridget and I have been quietly working away on this for some time and are extremely proud of the results.


We’ve managed to incorporate all the fine details of the pressed side doors for these wagons.


One feature we’re particularly happy with is the interior detail.


The brake rigging has been designed to go together with as few pieces as possible.


The end detail captures the look of the wagon nicely. Please note the lashing loops!


So far as assembling this kit, the theory was to make it as simple as possible. As a result, ALL components have small mounting tabs and slots.


The first 600 HJS wagons were first imported from Metropolitan Cammell Carriage & Wagon Co in Birmingham in 1950. The next two batches of HJS wagons (totaling 400 wagons) were built by Evans Deakin & Co in 1952.


The first 600 units from England were fitted with 5 Foot Archbar bogies where as the remaining 400 Australian built units were fitted with QR4 bogies and fitted with roller bearings. The kit we’ve produced here is of the Australian built wagons.


There is every possibility that we will produce the Birmingham built wagons in the future, along with many other things we’ve always wanted. Then again, I have A LOT of HJS wagons that need weathering for the Wuiske layout don’t I? But, as ever, we shall see how we go.

Posted in New Layout | Comments Off on Chapter 120 – 06/02/2019

Chapter 119 – 30/01/2019

Well after a surprisingly hectic New Years and January for that matter some time has been taken by the ever modest and not even remotely conceited me to do some actual modelling. But more about that in a minute.


Recently we were proud to announce the release of our second run of QSC Tautliner wagons.


Yet again, in partnership with that demented Aussie that everyone thinks is a Taiwanese hamster with a bit of Alsatian thrown in for good measure… Kieren Haskell I mean, we have finally got the second run available.


This time round, we did away with the decals that you all loved like a red headed step mother whom thinks you are the devil incarnate. Yes, we’ve supplied them FULLY printed and in all new running numbers.


This time around we’ve done both the original Easiliner and Q-Link liveries that were so common around the state. Essentially, there are now 15 more wagons on the Wuiske Layout.


Some time ago, 4 paragraphs, I mentioned that I had finally gotten in and done some modelling. Well, even more time ago (about 6 months or more) I started making the load out bin for the grain silos on the layout.


On a trip back from Rob’s house one day, I stopped off at the Kingaroy grain silos and took a few dozen photos. Eventually, I started building the frame work for the load out bin from Plastruct C channel.


The first step I made was to draw out the basic shape in CAD to make the measuring and cutting a lot simpler. Then I just cut and glued the bits together until I had a basic frame.


A quick trip (it is apparently possible, so I’m told) to Bunnings and I stumbled across some small joiner pieces of conduit. These were priced at about $1.50 or some similarly cheap price and so I bought two pair in two different diameters. In the end, I ended up printing this also.


After some time of the partially constructed frame work sitting on the bench, I decided to make use of my Anycubic Photon DLP printer (actually MY printer had a catastrophic issue where it developed amnisia and decided it could no longer remember where it’s Z axis is), thankfully my good neighbour Col has one too and was happy to volunteer it for my use.


In any case, it was decided that we should make the detail parts and handrails using this little death machine. The results are pretty impressive and surprisingly strong.


After this, I decided to build the conical base for the grain bin. After this was successful, I thought that perhaps I should design and build the actual bin on the printer as opposed to building it from the conduit I mentioned earlier.


The bin was drawn as a simple series of four rings. Each ring had a small seam added to the edge which replicated the prototype weld lines but also helped to hide the joins in the parts.


A smaller ring was subtracted from the bins to allow mounting rings to be added and make for a nice, straight fit. I should point out that I allowed a 0.1mm gap all around on this. This allowed for the shrinkage you will get due to the UV curing process on the printed resin.


The next step is to draw and print the unloading pipes and their fittings and attach them.
Once this is done, the top of the bin can be made and the ladders can be made up out of brass and fitted.


After that is all done (in about 17 years going by my time scale), it’s on to the silos themselves which will be made from 90mm PVC pipe and then the elevator itself.


As a test for the Photon Death Machine as well as a modelling project, I am REALLY enjoying this one and hopefully I’ll be able to carry on with it at regular intervals. As ever though, we shall see how we go.

Posted in New Layout | Comments Off on Chapter 119 – 30/01/2019